Create an Amazon S3 shortcut
In this article, you learn how to create an Amazon S3 shortcut inside a Fabric lakehouse.
For an overview of shortcuts, see OneLake shortcuts. To create shortcuts programmatically, see OneLake shortcuts REST APIs.
Prerequisites
If you don't have a lakehouse, create one by following these steps: Creating a lakehouse with OneLake.
Ensure your chosen S3 bucket and IAM user meet the access and authorization requirements for S3 shortcuts.
Create a shortcut
Open a lakehouse.
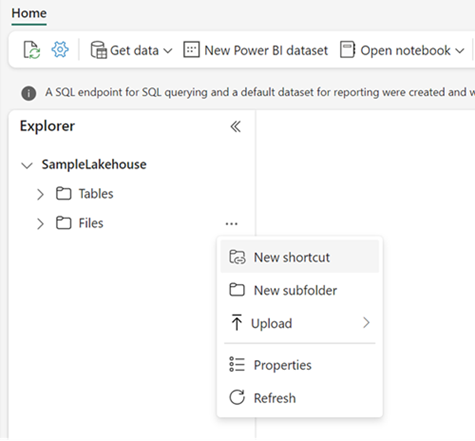
Right-click on the Tables directory within the lakehouse.
Select New shortcut.
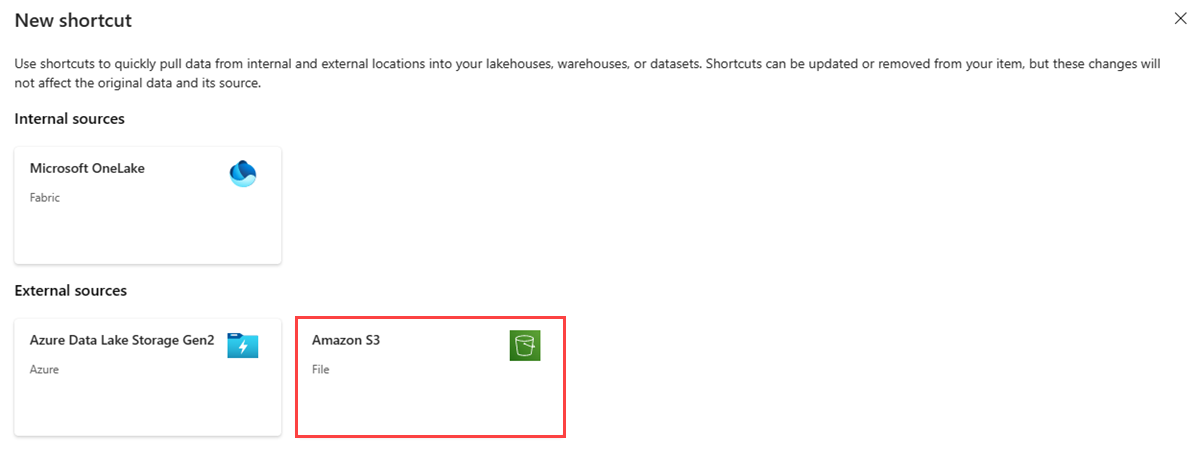
Select a source
Under External sources, select Amazon S3.
Enter the Connection settings according to the following table:
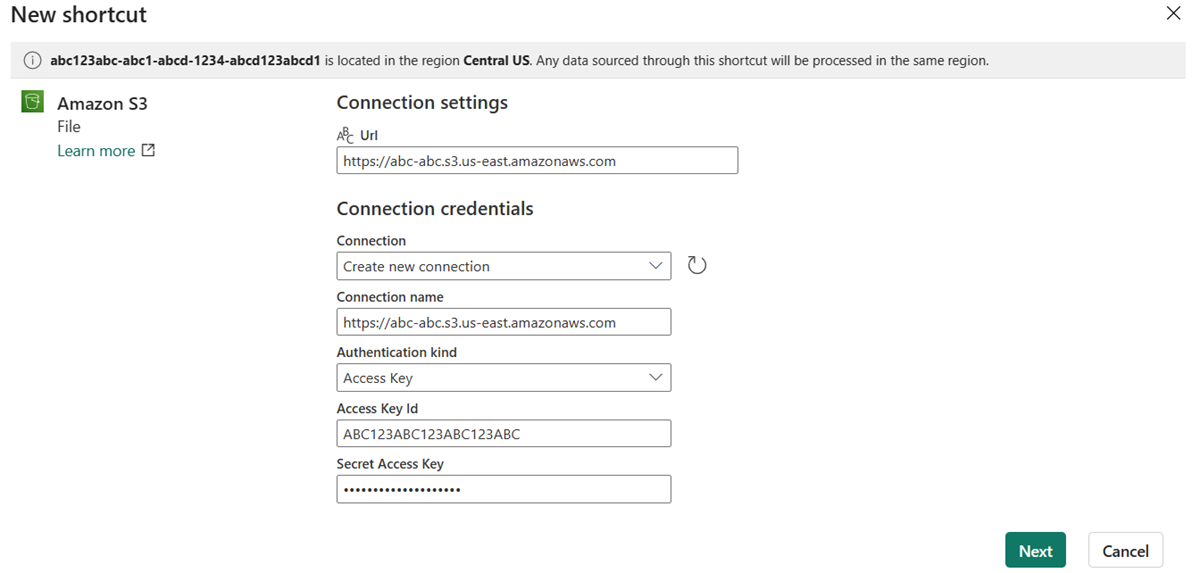
Field Description Value URL The connection string for your Amazon S3 bucket. https://BucketName.s3.RegionCode.amazonaws.comConnection Previously defined connections for the specified storage location appear in the drop-down. If no connections exist, create a new connection. Create new connection Connection name The Amazon S3 connection name. A name for your connection. Authentication kind The Identity and Access Management (IAM) policy. The policy must have read and list permissions. For more information, see IAM users. Dependent on the bucket policy. Access Key ID The Identity and Access Management (IAM) user key. For more information, see Manage access keys for IAM users. Your access key. Secret Access Key The Identity and Access Management (IAM) secret key. Your secret key.


Select Next.
Browse to the target location for the shortcut.
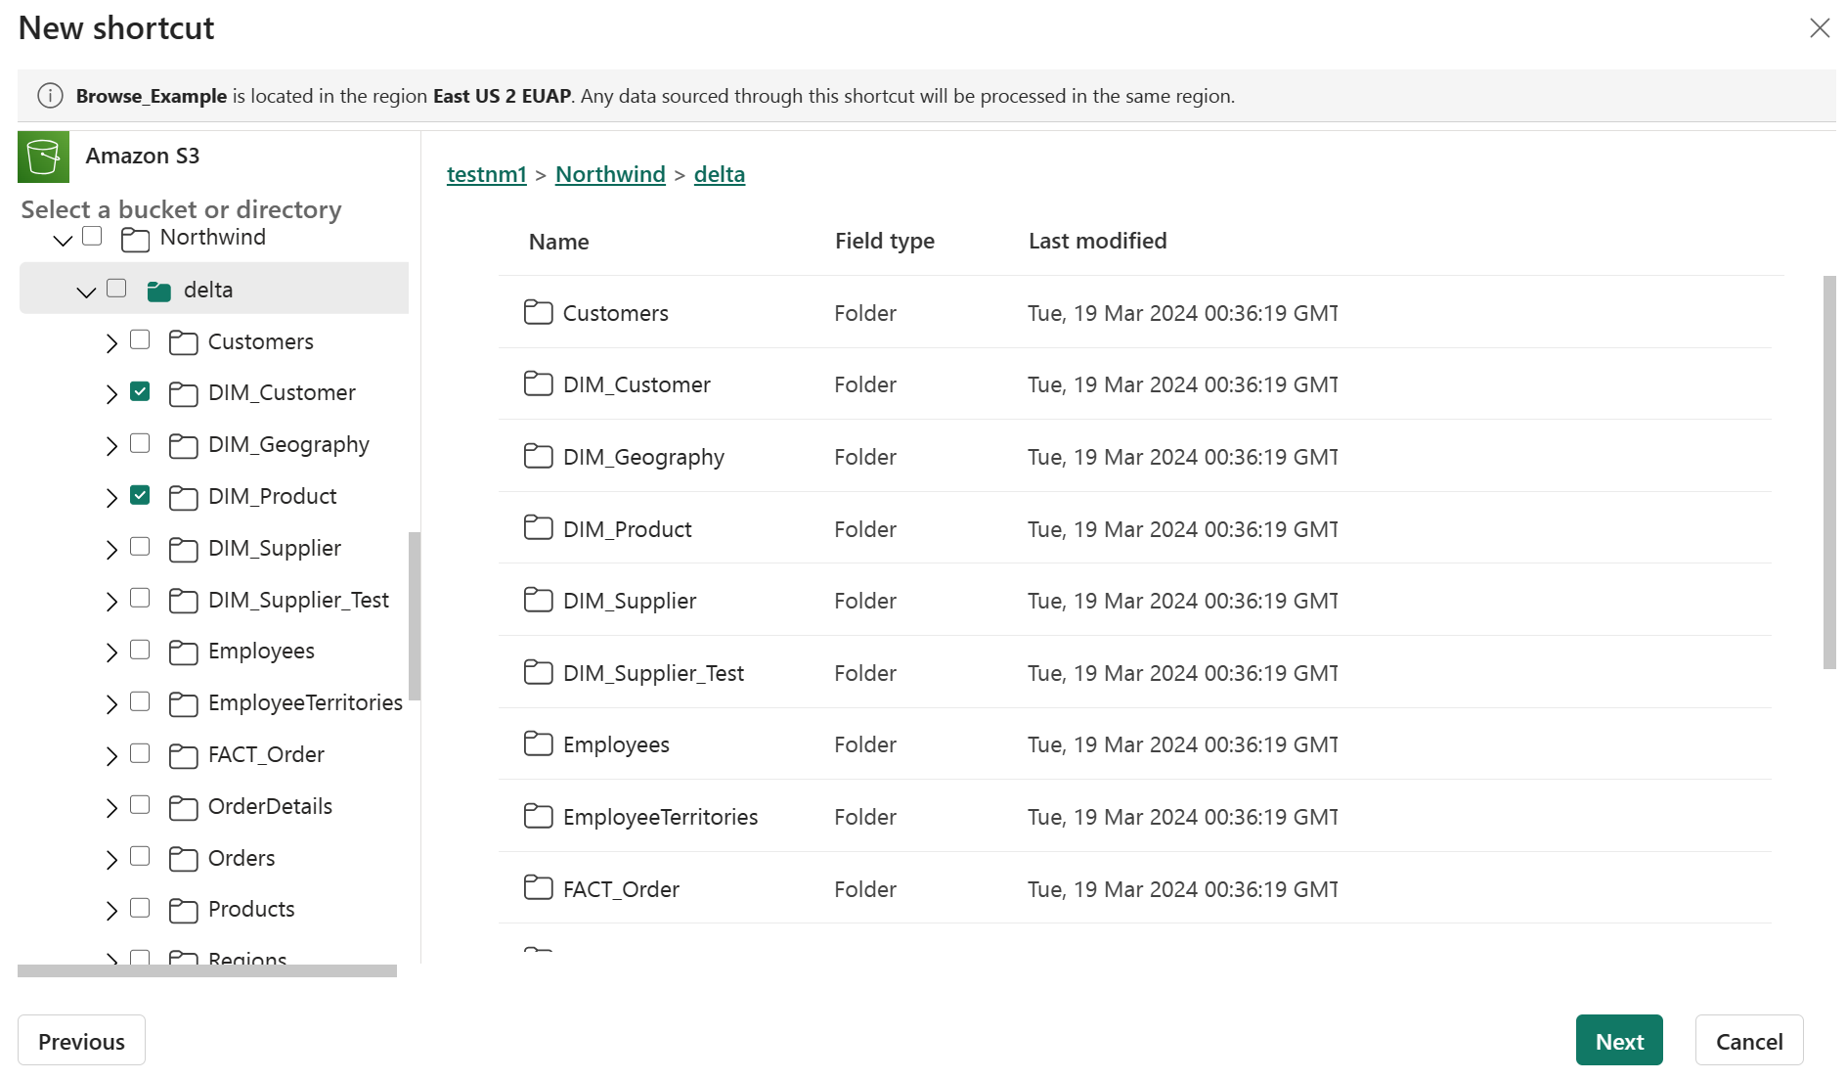
If you used the global endpoint in the connection URL, all of your available buckets appear in the left navigation view. If you used a bucket specific endpoint in the connection URL, only the specified bucket and its contents appear in the navigation view.
Navigate the storage account by selecting a folder or clicking on the expansion arrow next to a folder.
In this view, you can select one or more shortcut target locations. Choose target locations by clicking the checkbox next a folder in the left navigation view.
Select Next

The review page allows you to verify all of your selections. Here you can see each shortcut that will be created. In the action column, you can click the pencil icon to edit the shortcut name. You can click the trash can icon to delete shortcut.
Select Create.


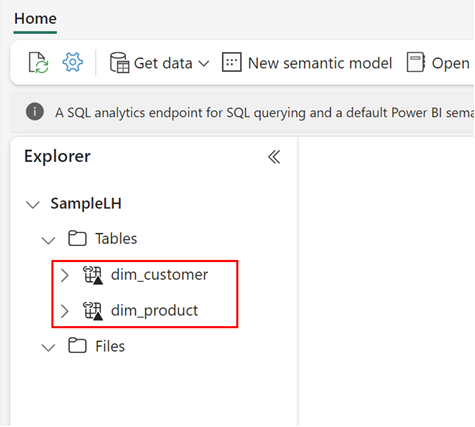
The lakehouse automatically refreshes. The shortcut appears in the left Explorer pane under the Tables section.