Tutorial: Use a notebook with Apache Spark to query a KQL database
Notebooks are both readable documents containing data analysis descriptions and results as well as executable documents that can be run to perform data analysis. In this article, you learn how to use a Microsoft Fabric notebook to read and write data to a KQL database using Apache Spark. This tutorial uses precreated datasets and notebooks in both the Real-time Analytics and the Data Engineering environments in Microsoft Fabric. For more information on notebooks, see How to use Microsoft Fabric notebooks.
Specifically, you learn how to:
- Create a KQL database
- Import a notebook
- Write data to a KQL database using Apache Spark
- Query data from a KQL database
Prerequisites
1- Create a KQL database
Open the experience switcher on the bottom of the navigation pane and select Real-Time Analytics.
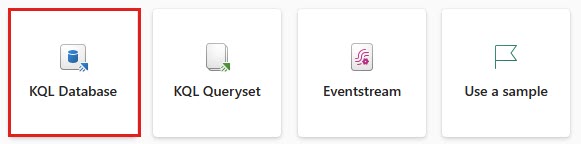
Select the KQL Database tile.
In the KQL Database name field, enter nycGreenTaxi, then select Create.
The KQL database has now been created within the context of the selected workspace.
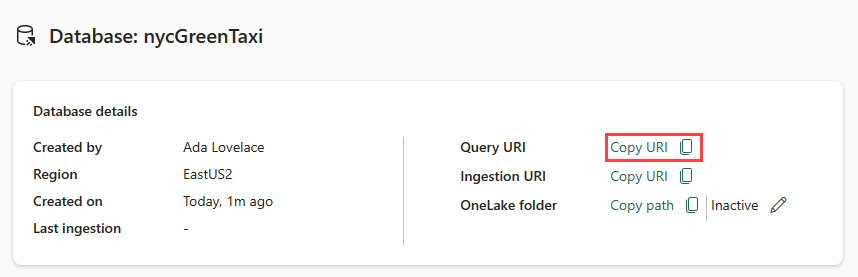
Copy the Query URI from the database details card in the database dashboard and paste it somewhere, like a notepad, to use in a later step.
2- Download the NYC GreenTaxi notebook
We've created a sample notebook that takes you through all the necessary steps for loading data into your database using the Spark connector.
Open the Fabric samples repository on GitHub to download the NYC GreenTaxi KQL notebook..

Save the notebook locally to your device.
Note
The notebook must be saved in the
.ipynbfile format.

3- Import the notebook
The rest of this workflow occurs in the Data Engineering section of the product, and uses a Spark notebook to load and query data in your KQL database.
Open the experience switcher on the bottom of the navigation pane and select Data Engineering.
Select Import notebook.

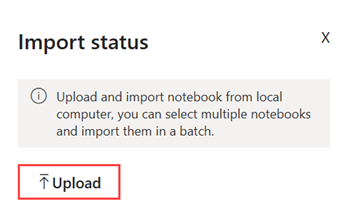
In the Import status window, select Upload.
Select the NYC GreenTaxi notebook you downloaded in a previous step.
Once the import is complete, return to your workspace to open this notebook.
4- Get data
To query your database using the Spark connector, you need to give read and write access to the NYC GreenTaxi blob container.
Select the play button to run the following cells, or select the cell and press Shift+ Enter. Repeat this step for each code cell.
Note
Wait for the completion check mark to appear before running the next cell.
Run the following cell to enable access to the NYC GreenTaxi blob container.

In KustoURI, paste the Query URI that you copied earlier instead of the placeholder text.
Change the placeholder database name to nycGreenTaxi.
Change the placeholder table name to GreenTaxiData.

Run the cell.
Run the next cell to write data to your database. It may take a few minutes for this step to complete.


Your database now has data loaded in a table named GreenTaxiData.
5- Run the notebook
Run the remaining two cells sequentially to query data from your table. The results show the top 20 highest and lowest taxi fares and distances recorded by year.

6- Clean up resources
Clean up the items created by navigating to the workspace in which they were created.
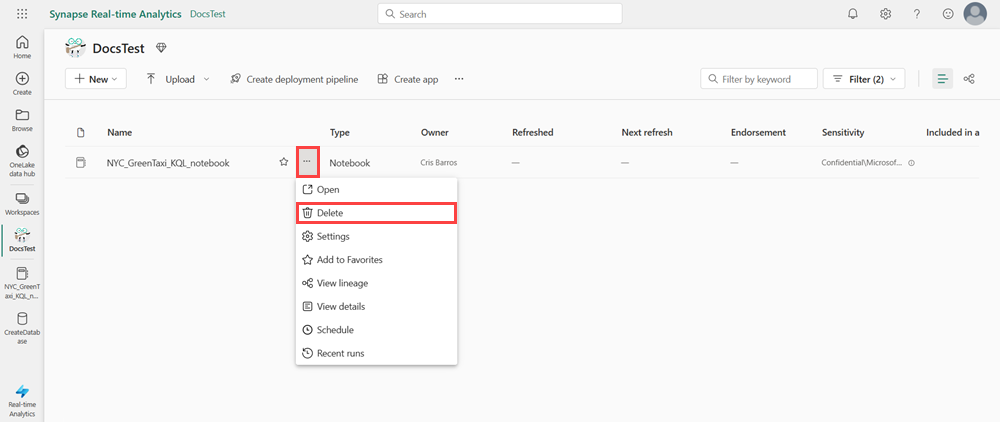
In your workspace, hover over the notebook you want to delete, select the More menu [...] > Delete.
Select Delete. You can't recover your notebook once you delete it.

Related content
Feedback
Coming soon: Throughout 2024 we will be phasing out GitHub Issues as the feedback mechanism for content and replacing it with a new feedback system. For more information see: https://aka.ms/ContentUserFeedback.
Submit and view feedback for