Note
Access to this page requires authorization. You can try signing in or changing directories.
Access to this page requires authorization. You can try changing directories.
When you create your site, you may want to protect one or more pages so that only specific users or roles can view them. In this tutorial, we'll hide or show a page based on an authenticated user's web role.
- Create page permissions
- Assign to the authenticated web role
- Observe how a page and a related menu item are hidden or shown based on the signed-in user's role
Prerequisites
- Have an active Power Pages subscription or start a trial.
- Create a Power Pages site.
- Complete the Add and design a page tutorial.
- Complete the Display data securely on pages tutorial.
Create page permissions
This video shows you how to restrict access to a specific webpage.
The following steps outline how to configure page permissions to restrict access to a specific page.
Sign in to Power Pages.
Select your site, and then select Edit.
In the page navigation, select the ellipses ... to the right of a page, and then select Page settings.
In the side tab, select Permissions.
Select I want to see who can view this page.
In the list, select the Authenticated Users web role.
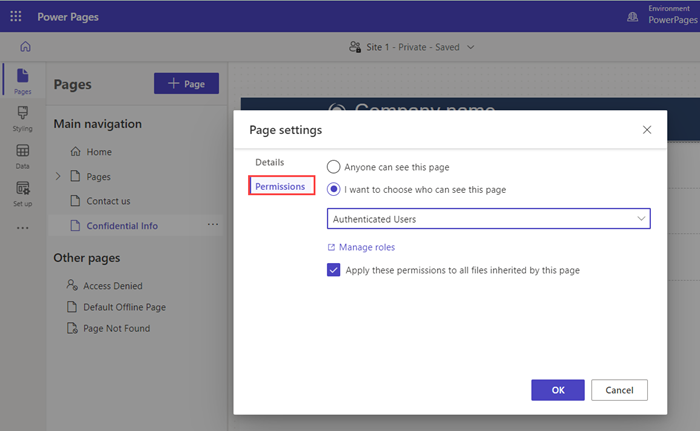
Select OK.
Observe results
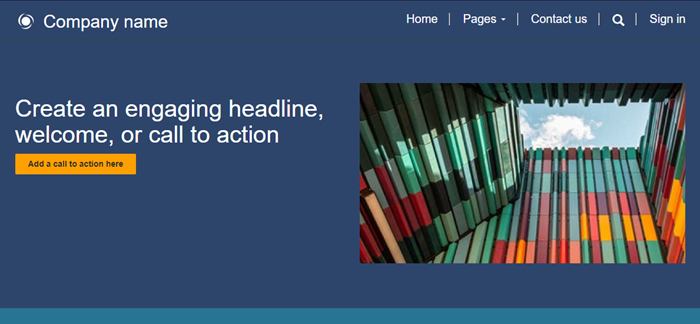
In the design studio, select Preview to view your site.
With no user signed in, observe that the web page that you protected doesn't appear in the main menu or navigation.
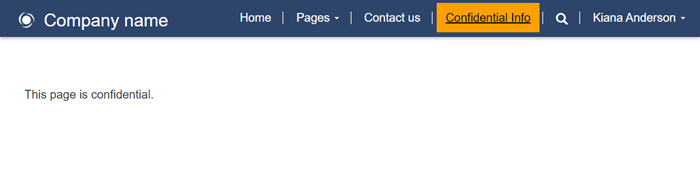
Sign in to your site. You can use Microsoft Entra ID for the purposes of this tutorial.
The link to the protected page should be visible in the main menu and you should be able to view the page.
Page permissions allow you to specify which users or which roles have access to a specific webpage. Use table permissions to configure access to Microsoft Dataverse data.