Create an app by using receipt processing
Receipt processing uses a prebuilt AI model, which means that no prior training or configuration is required. You can use this model immediately in your canvas app by using the Receipt processor component.

In this exercise, you create an app that scans a receipt and then displays the extracted information.
Add the Receipt processor component
To add the Receipt processor component to your app, follow these steps:
Sign in to Microsoft Power Apps Studio and open a new or existing canvas app.
Select Insert > AI Builder from the top menu.
Select Receipt processor.


Select the Play button in the upper-right corner of the screen to preview your app. You can then select the Scan receipt button on the component to upload a test image, which scans and outlines the key detected information from the receipt.
Use scanned information
The AI model looks for the most commonly used fields in receipts. The values of these fields can be retrieved directly as properties from the component.

Select Insert > Label.
After you select the newly created label component, set its Text property by using the formula bar to the Total property of the Receipt processor component.
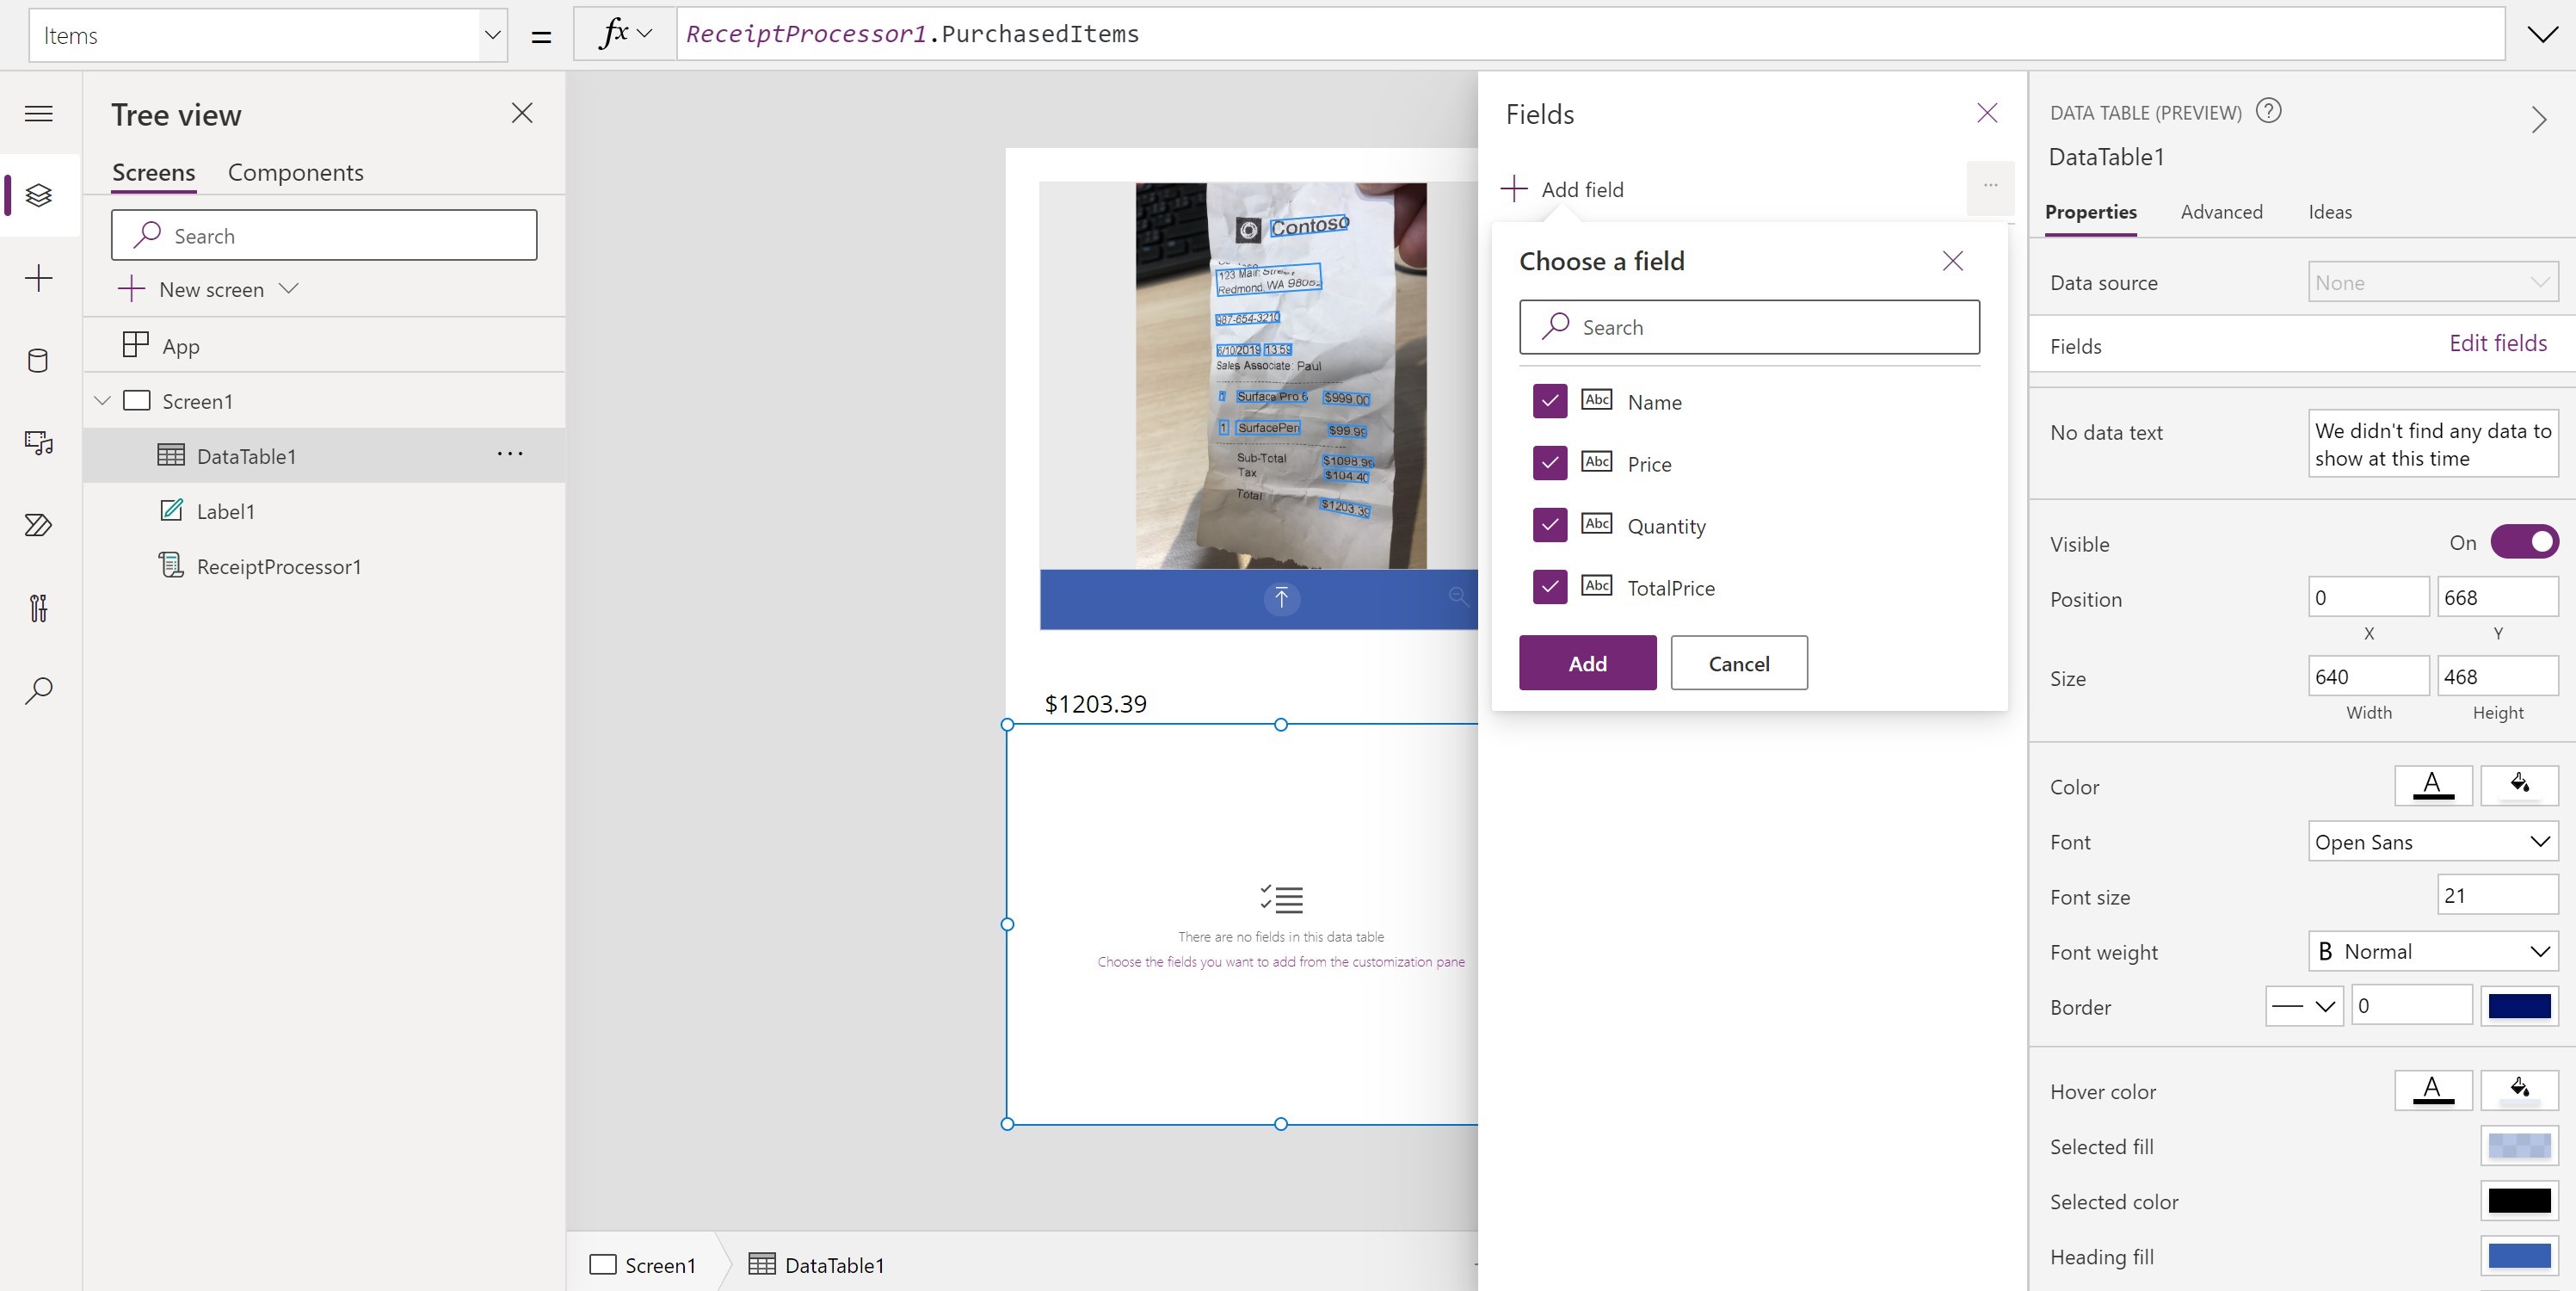
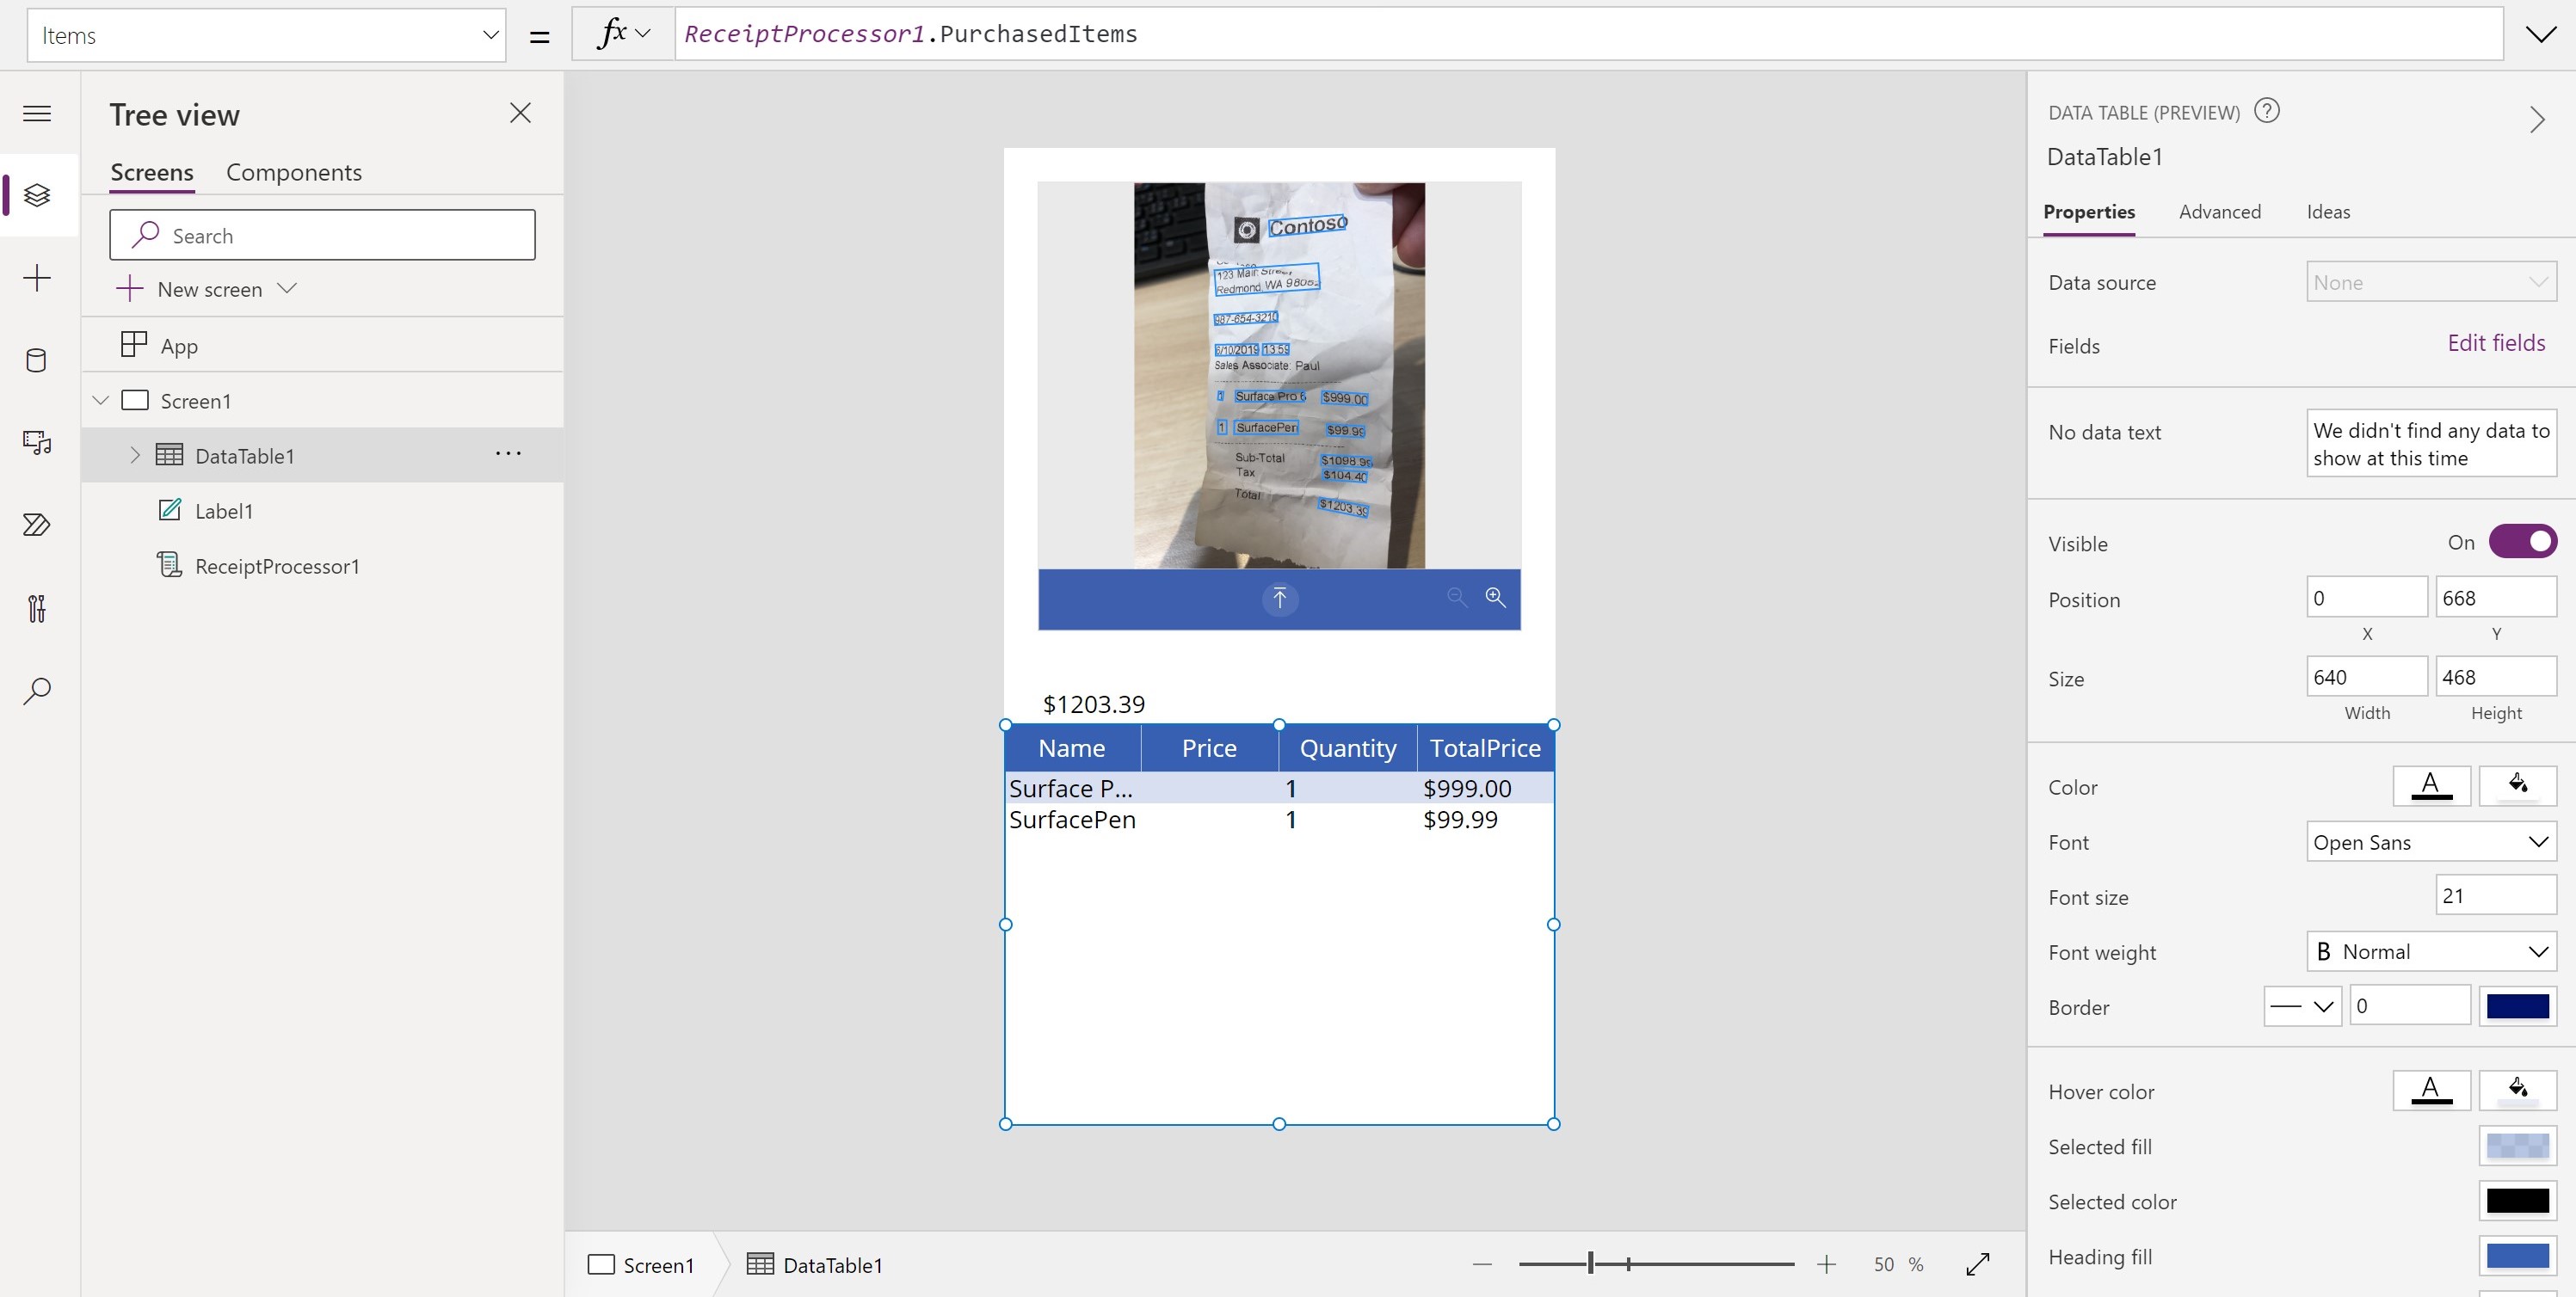
Select Insert > Data table.
After you select the newly created data label component, set its Items property by using the formula bar to the PurchasedItems property of the Receipt processor component.
In the Properties pane of the data label component, select Edit fields.
Select the Add field button.
Select all field options and then select Add.
You can retrieve additional information about your receipts by using the DetectedFields and DetectedText properties.
DetectedText contains a raw list of all recognized lines of text on the receipt.
DetectedFields contains advanced information about the key fields, such as the confidence score, bounding box, and page number.
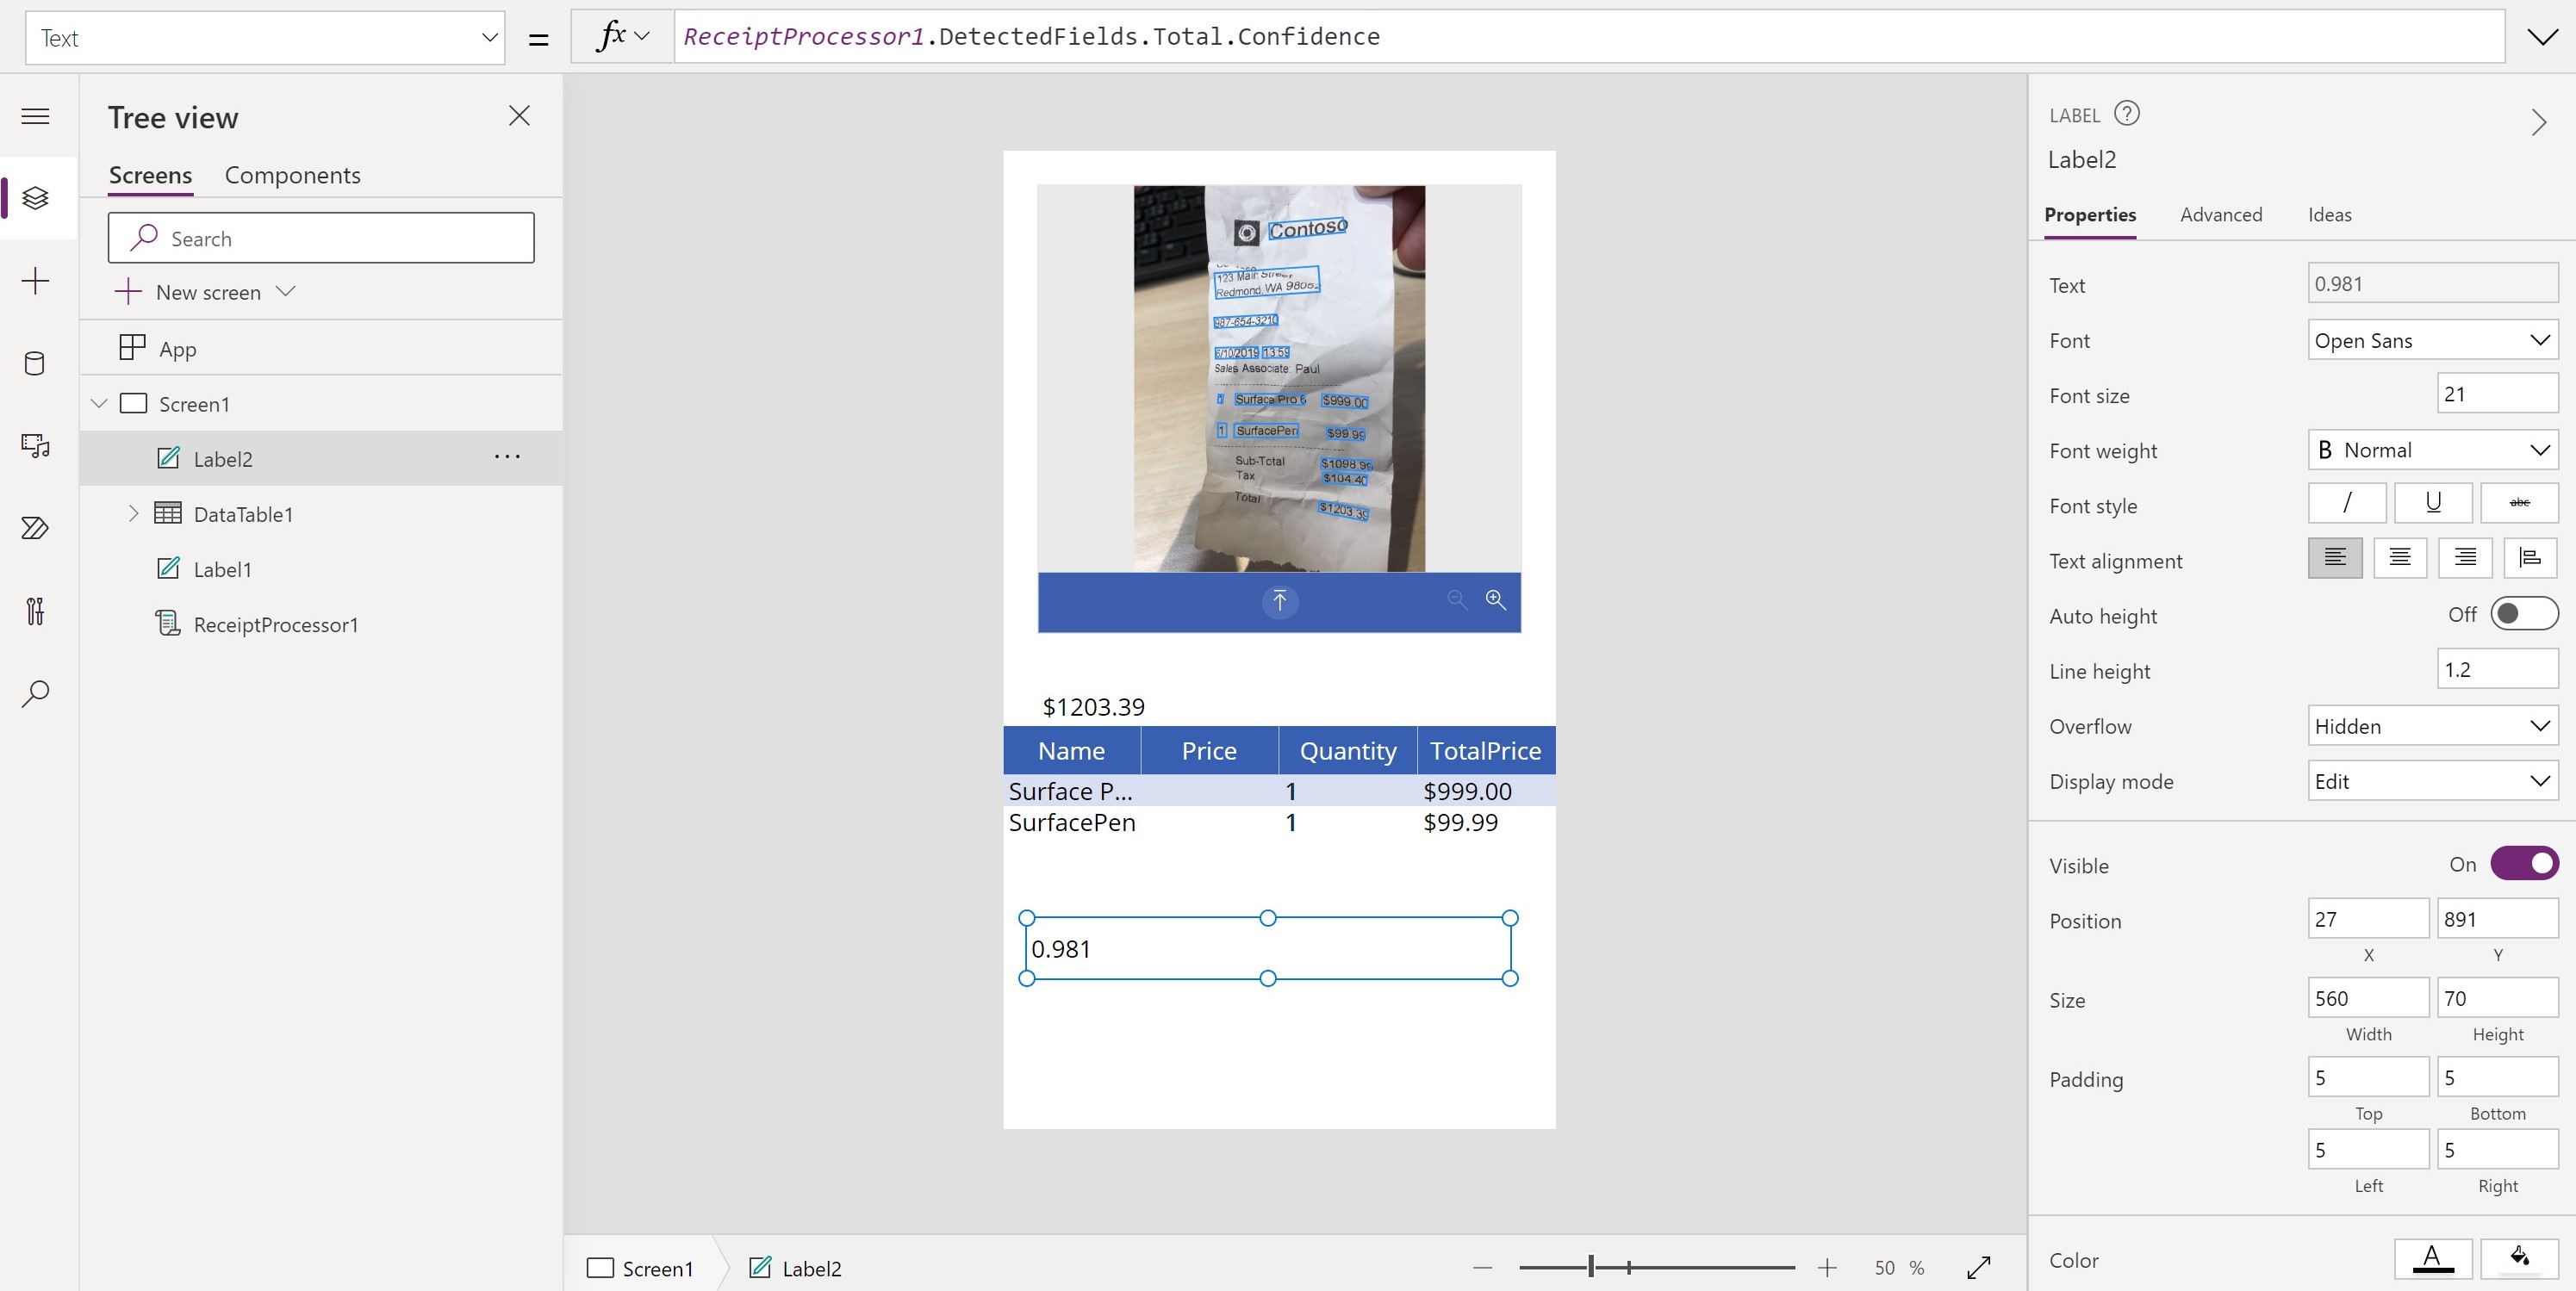
For instance, to show the confidence score for the Total field that you displayed earlier, follow the next two steps. (Confidence shows how confident the model is in the detection of the field.)
Select Insert > Label.
After you select the newly created label component, set its Text property by using the formula bar to the DetectedFields.Total.Confidence property of the Receipt processor component.


After you have all values that you want to retrieve, save this information locally to your device as a collection or to the cloud, such as in Microsoft Dataverse or a list.
Congratulations, you created an app by using receipt processing.
Next steps
Now that you learned how to use receipt processing in your apps, you can learn how to use it in your automated flows.