Exercise- Get familiar with Power Automate for desktop
Note
Make sure that you complete Lab 1: Prerequisite - Install required software to the latest version of Power Automate for desktop.
Note
To complete the exercises, you need to use a few files. Download the RPA in a Day files for use in this module. Extract the contents of this download to your local computer.
To get more familiar with the Power Automate for desktop app, follow these steps.
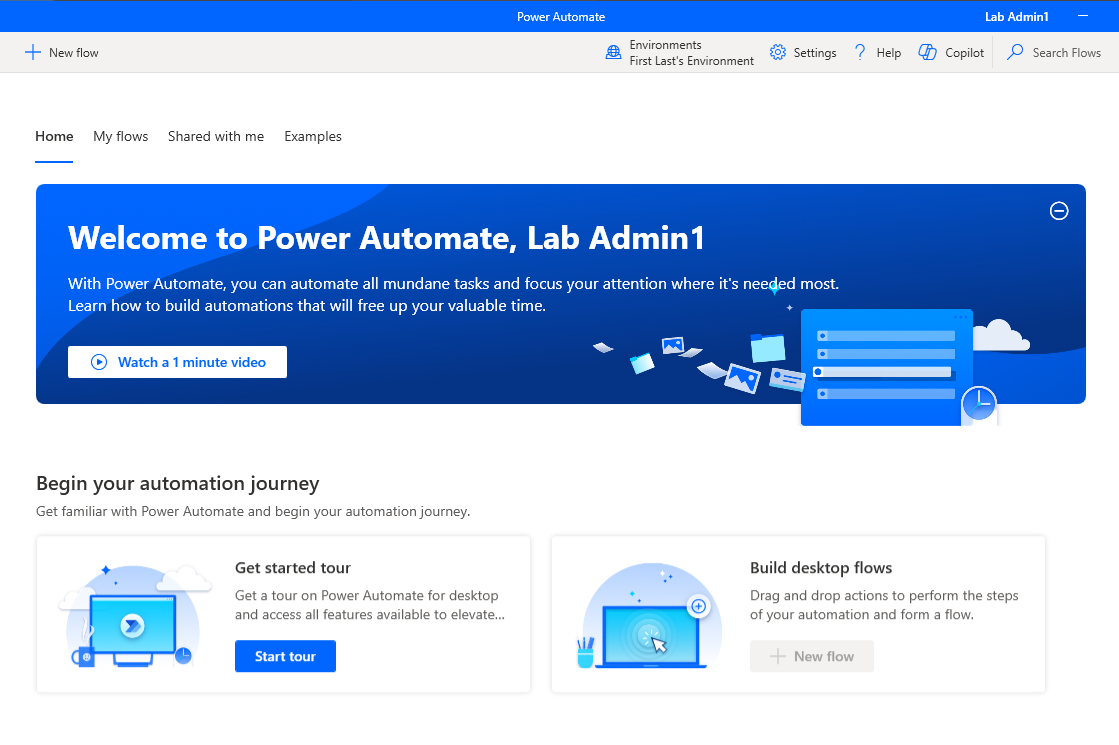
Launch the Power Automate for desktop app from your computer and then sign in to your account.
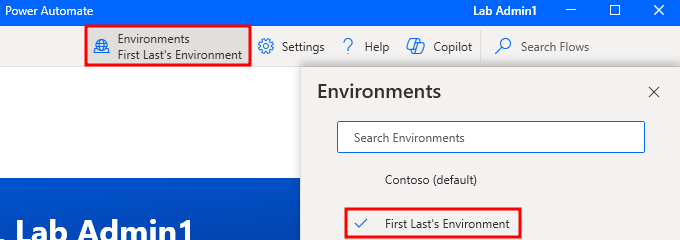
Select the Environments dropdown menu in the upper part of the page to change your environment to the appropriate one.
Select the + New flow button in the upper-left corner of the page to create a new Power Automate desktop flow.

Within the Build a flow dialog, in the Flow name field, name the new flow
testing. Then, in the lower-right corner of the dialog, select Create.
A tour dialog appears if it's your first time signing in. You can choose to continue the tour or to skip it.
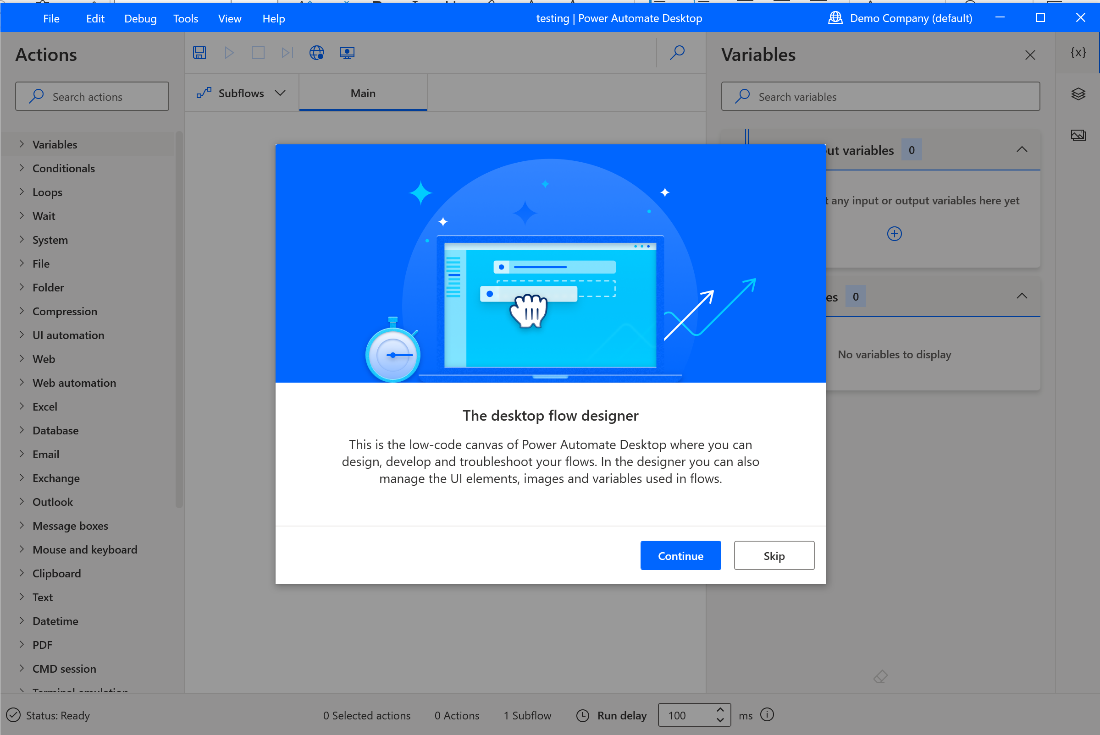
Next, you're directed to the Power Automate for desktop designer, which consists of the following toolbars and panes:
A: Toolbar - Contains basic operations for use with actions (Save, Undo, Copy, Debug, and Paste) and the Recorder option to start the recording and to control the process implementation (Start/Pause/Stop).
B: Subflows - Allows you to create subflows under your main flow.
C: Actions pane - Contains all Power Automate for desktop actions and includes a search bar that helps you find specific actions by matching the action name to the text string.
D: Workspace - Contains all actions added to the process so far. Functions are separated into tabs.
E: Copilot in Power Automate for Desktop - Contains Copilot prompt and response area for Power Automate for Desktop.

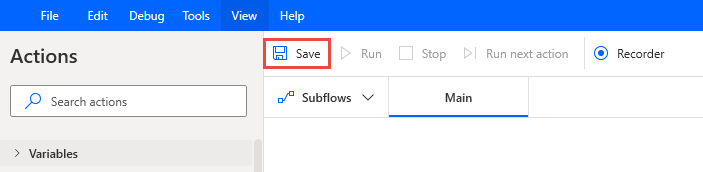
From the tool bar in the upper part of the screen, select Save.
Close out of the testing flow that you created.
Select the ellipsis (...) menu to the right of the flow and then select Delete to delete the testing desktop flow.

Select Yes to confirm the deletion.
Close out of the Power Automate application.


