Exercise - Configure applications to send or receive messages through an event hub
You're now ready to configure your publisher and consumer applications for your event hub.
In this unit, you configure applications to send or receive messages through your event hub. One application acts as the message sender (SimpleSend), the other as the message receiver (EventProcessorSample). Because these applications are written in Java, you can do all developing, test, and management in your browser. However, the same configuration must be used for each platform, such as .NET. The applications are stored in a GitHub repository.
Create a general-purpose, standard storage account
The Java receiver application stores messages in Azure Blob Storage, which requires a storage account. To create a storage account (general-purpose V2), use the storage account create command. We define the following parameters for this command:
| Parameter | Description |
|---|---|
| name (required) | A name for your storage account. |
| resource-group (required) | The resource group owner is the sandbox resource group, which is already defined as a default value. |
| location (optional) | Region is already defined as a default value, but you can include it if you want to set a different region from the default resource group location. |
| sku | The default SKU value of the storage account is Standard_RAGRS. But in this exercise, we specify that value. |
In the previous exercise, we defined default values for resource group and location, so we can omit those parameters from the command.
In Azure Cloud Shell, set the storage account name to a variable. A storage account name must be unique within Azure and must contain 3 to 24 numbers or lower-case letters.
STORAGE_NAME=storagename$RANDOMRun the following command to create the storage account.
az storage account create --name $STORAGE_NAME --sku Standard_RAGRS --encryption-service blobTip
It may take a moment to create this storage account. If storage account creation fails, change your environment variable, and try again.
Run the following command to obtain the access keys associated with your storage account.
az storage account keys list --account-name $STORAGE_NAMETwo keys associated with your storage account are output in JSON format. Copy and save the value of key1 for future use. You need this key to access your storage account.
Run the following command to obtain the connection string for your storage account.
az storage account show-connection-string -n $STORAGE_NAMEThe output contains the connection details for your storage account. Copy and save the value of connectionString. It should look something like this:
"DefaultEndpointsProtocol=https;EndpointSuffix=core.windows.net;AccountName=storage_account_name;AccountKey=VZjXuMeuDqjCkT60xX6L5fmtXixYuY2wiPmsrXwYHIhwo736kSAUAj08XBockRZh7CZwYxuYBPe31hi8XfHlWw=="Run the following command to create a container called messages in your storage account. Use the connectionString value you copied in the previous step.
az storage container create --name messages --connection-string "<connection string here>"
Clone the event hubs GitHub repository
In Cloud Shell, clone the event hubs GitHub repository with git. The source files for the applications that you build in this unit are located in a GitHub repository.
Run the following commands to make sure that you are in your home directory in Cloud Shell, and then to clone this repository.
cd ~
git clone https://github.com/Azure/azure-event-hubs.git
The repository is cloned to your home folder.
Edit SimpleSend.java
In this exercise, you use the built-in Cloud Shell editor to modify the SimpleSend application. You need to add your Event Hubs namespace, event hub name, shared access policy name, and primary key.
Change to the SimpleSend folder.
cd ~/azure-event-hubs/samples/Java/Basic/SimpleSend/src/main/java/com/microsoft/azure/eventhubs/samples/SimpleSendOpen Cloud Shell editor in the current folder.
code .The files in the current folder are listed in the left-hand menu, and the editor space on the right side displays the contents of the filename listed in the title bar.
If not already open, open SimpleSend.java by selecting it from the file list.
In the editor, locate and replace the following strings under `ConnectionStringBuilder``:
"Your Event Hubs namespace name"with the name of your Event Hubs namespace."Your Event Hub"with the name of your event hub."Your policy name"with RootManageSharedAccessKey."Your primary SAS key"with the value of the primaryKey key for your Event Hubs namespace that you saved earlier.
If you forget these values, you can switch to the terminal window below the editor and run the
echocommand to list the environment variables. For example:echo $NS_NAME echo $HUB_NAME echo $STORAGE_NAMEFor your primary SAS key, when you create an Event Hubs namespace, a 256-bit SAS key called RootManageSharedAccessKey is created and includes primary and secondary keys that grant send, listen, and manage rights to the namespace. Earlier in this exercise, you obtained the key by running an Azure CLI command; however, you can also find the keys and connection strings by selecting your Event Hubs namespace in the Azure portal, and then in the menu under the Settings, select Shared access policies; now select the policy name RootManageSharedAccessKey to display the SAS Policy keys.
Save the SimpleSend.java file, and then close the editor.
Tip
To save your edits, use Ctrl+S. Exit the editor by pressing Ctrl+X on Windows and Linux, or Cmd+S on macOS. Unlike the Cloud Shell terminal window, the Cloud Shell editor uses typical copy/paste keyboard accelerator keys for your OS. Alternatively, open the editor menu by selecting the ellipsis (...) in the upper right corner for additional editing commands.
Use Maven to build SimpleSend.java
Now, you build the Java application by running mvn commands.
In the Cloud Shell, enter the following command to navigate to the main SimpleSend folder.
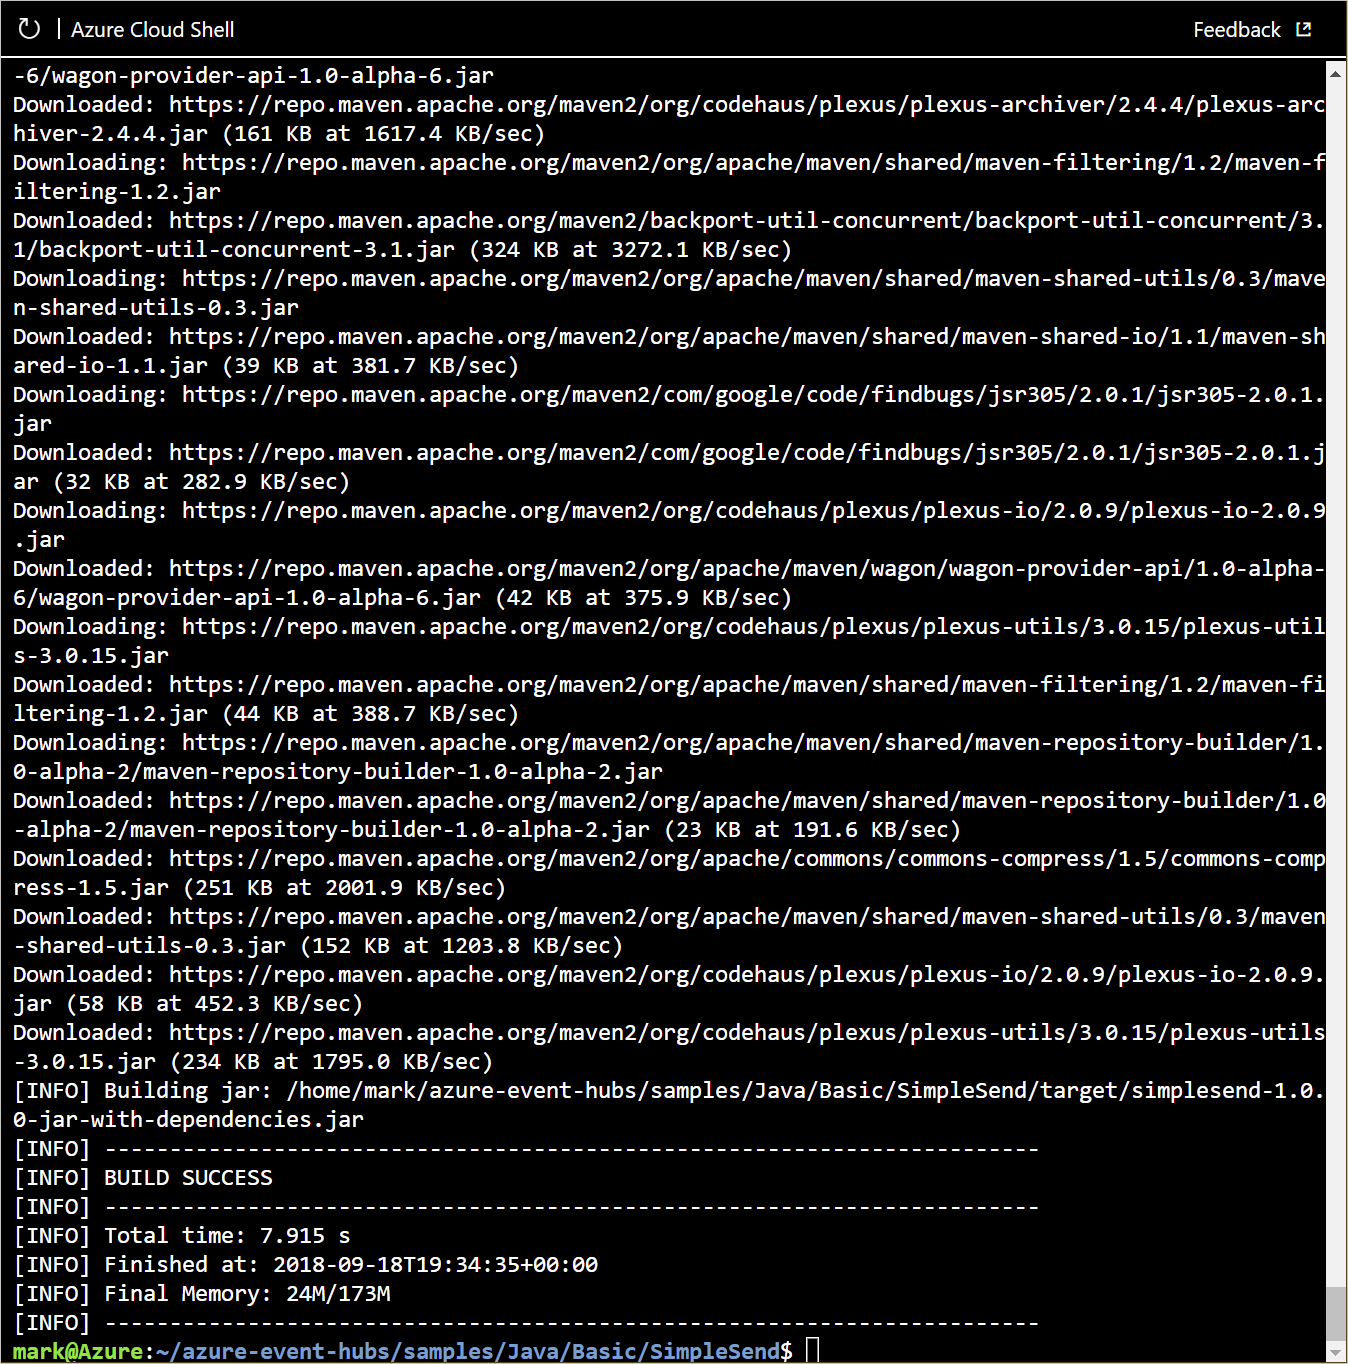
cd ~/azure-event-hubs/samples/Java/Basic/SimpleSendBuild the Java SimpleSend application. This command builds your application using the connection details for your event hub.
mvn clean package -DskipTestsThe build process can take several minutes to complete. Ensure that you see the [INFO] BUILD SUCCESS message before continuing.
Edit EventProcessorSample.java
You now configure a receiver (also known as a subscriber or consumer) application to ingest data from your event hub.
For the receiver application, two classes are available: EventHubReceiver and EventProcessorHost. EventProcessorHost is built on top of EventHubReceiver, but provides a simpler programmatic interface than EventHubReceiver. EventProcessorHost can automatically distribute message partitions across multiple instances of EventProcessorHost using the same storage account.
In this procedure, you use the EventProcessorHost method. You edit the EventProcessorSample application to add the following values: Your Event Hubs namespace, event hub name, shared access policy name and primary key, storage account name, connection string, and container name.
Change to the EventProcessorSample folder by running the following command.
cd ~/azure-event-hubs/samples/Java/Basic/EventProcessorSample/src/main/java/com/microsoft/azure/eventhubs/samples/eventprocessorsampleOpen Cloud Shell editor.
code .Select the EventProcessorSample.java file.
Locate and replace the following strings in the editor:
----EventHubNamespaceName----with the name of your Event Hubs namespace.----EventHubName----with the name of your event hub.----SharedAccessSignatureKeyName----with RootManageSharedAccessKey.----SharedAccessSignatureKey----with the value of the primaryKey key for your Event Hubs namespace that you saved earlier.----AzureStorageConnectionString----with your storage account connection string that you saved earlier.----StorageContainerName----with messages.----HostNamePrefix----with the name of your storage account.
Save EventProcessorSample.java either with the "..." menu, or the accelerator key (Ctrl+S on Windows and Linux, Cmd+S on macOS).
Close the editor.
Use Maven to build EventProcessorSample.java
Change to the main EventProcessorSample folder by running the following command.
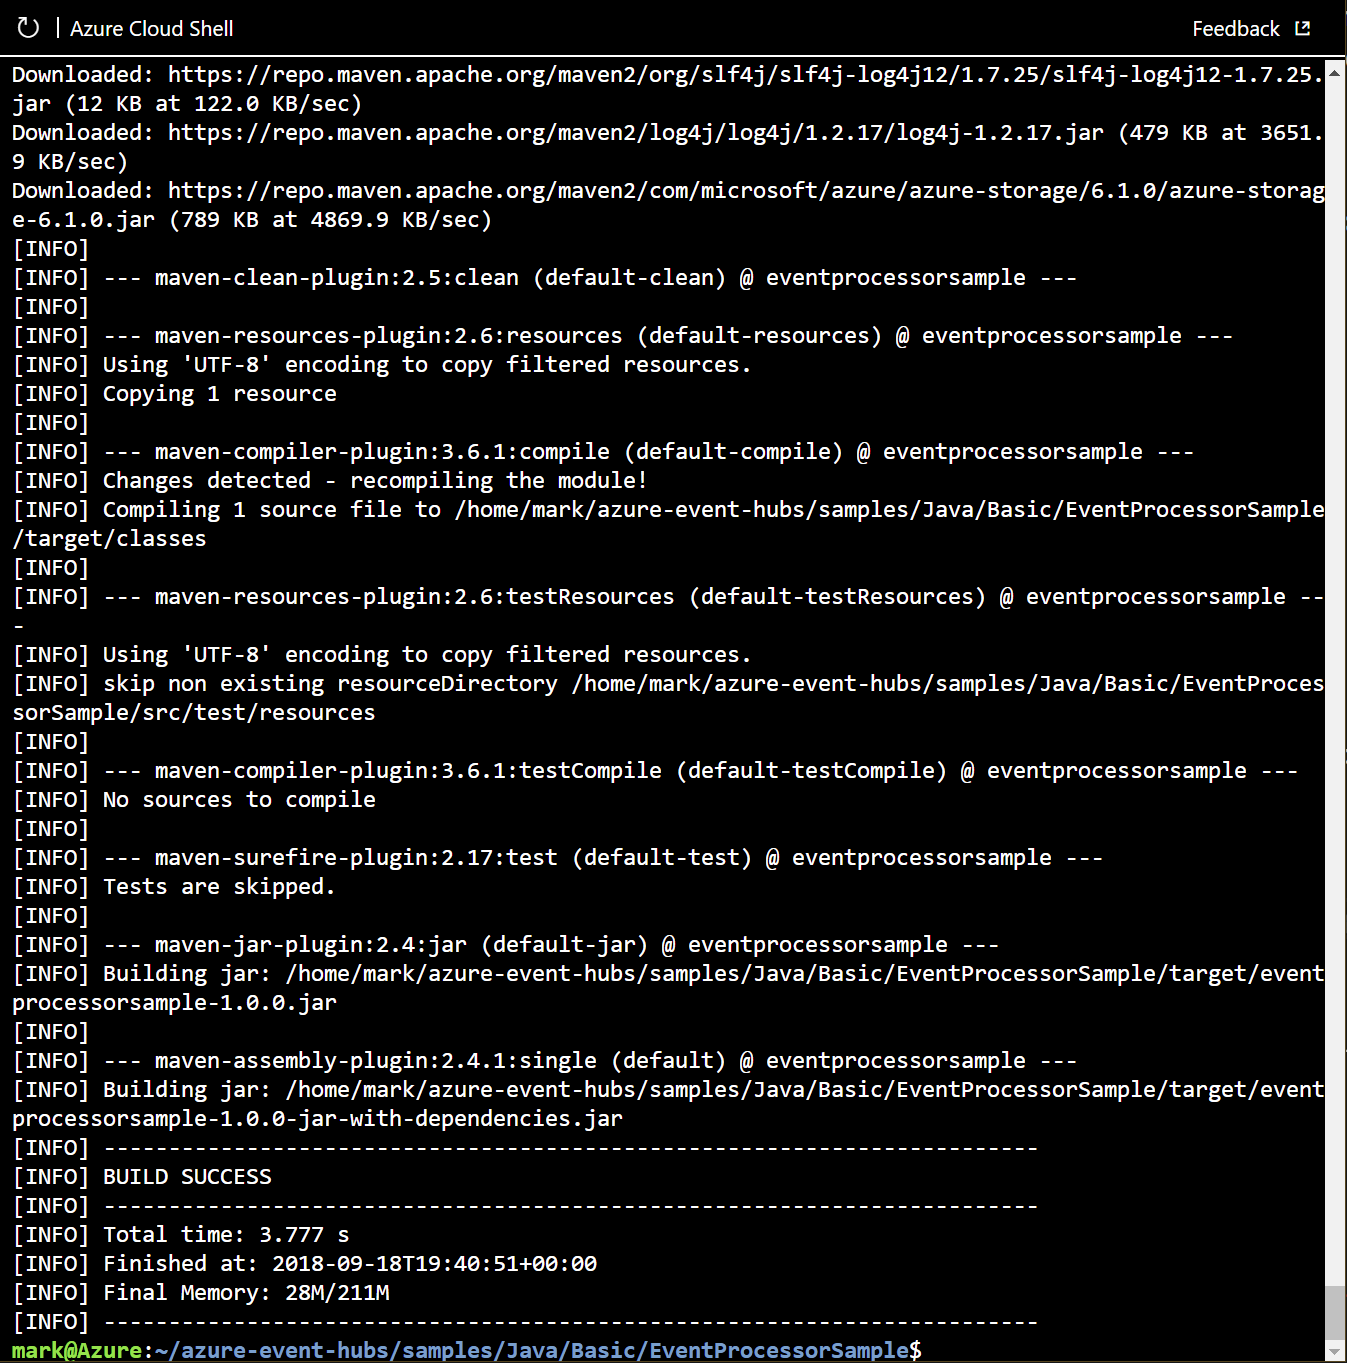
cd ~/azure-event-hubs/samples/Java/Basic/EventProcessorSampleBuild the Java SimpleSend application by running the following command to ensure that your application uses the connection details for your event hub.
mvn clean package -DskipTestsThe build process can take several minutes to complete. Ensure that you see a [INFO] BUILD SUCCESS message before continuing.
Start the sender and receiver apps
Run the Java application from the command line by running the following
javacommand, and specifying a .jar package. Run the following commands to start the SimpleSend application.cd ~/azure-event-hubs/samples/Java/Basic/SimpleSend java -jar ./target/simplesend-1.0.0-jar-with-dependencies.jarWhen you see Send Complete..., press Enter.
jar-with-dependencies.jar
SLF4J: Failed to load class "org.slf4j.impl.StaticLoggerBinder".
SLF4J: Defaulting to no-operation (NOP) logger implementation
SLF4J: See http://www.slf4j.org/codes.html#StaticLoggerBinder for further details.
2018-09-18T19:42:15.146Z: Send Complete...
Start the EventProcessorSample application by running the following command.
cd ~/azure-event-hubs/samples/Java/Basic/EventProcessorSample
java -jar ./target/eventprocessorsample-1.0.0-jar-with-dependencies.jar
When messages stop appearing on the console, press Enter or press CTRL+C to end the program.
...
SAMPLE: Partition 0 checkpointing at 1064,19
SAMPLE (3,1120,20): "Message 80"
SAMPLE (3,1176,21): "Message 84"
SAMPLE (3,1232,22): "Message 88"
SAMPLE (3,1288,23): "Message 92"
SAMPLE (3,1344,24): "Message 96"
SAMPLE: Partition 3 checkpointing at 1344,24
SAMPLE (2,1120,20): "Message 83"
SAMPLE (2,1176,21): "Message 87"
SAMPLE (2,1232,22): "Message 91"
SAMPLE (2,1288,23): "Message 95"
SAMPLE (2,1344,24): "Message 99"
SAMPLE: Partition 2 checkpointing at 1344,24
SAMPLE: Partition 1 batch size was 3 for host mystorageacct2018-46d60a17-7060-4b53-b0e0-cca70c970a47
SAMPLE (0,1120,20): "Message 81"
SAMPLE (0,1176,21): "Message 85"
SAMPLE: Partition 0 batch size was 10 for host mystorageacct2018-46d60a17-7060-4b53-b0e0-cca70c970a47
SAMPLE: Partition 0 got event batch
SAMPLE (0,1232,22): "Message 89"
SAMPLE (0,1288,23): "Message 93"
SAMPLE (0,1344,24): "Message 97"
SAMPLE: Partition 0 checkpointing at 1344,24
SAMPLE: Partition 3 batch size was 8 for host mystorageacct2018-46d60a17-7060-4b53-b0e0-cca70c970a47
SAMPLE: Partition 2 batch size was 9 for host mystorageacct2018-46d60a17-7060-4b53-b0e0-cca70c970a47
SAMPLE: Partition 0 batch size was 3 for host mystorageacct2018-46d60a17-7060-4b53-b0e0-cca70c970a47
Summary
In this unit, you configured a sender application ready to send messages to your event hub. You also configured a receiver application ready to receive messages from your event hub.