Exercise - Set up a DSC and configure a desired state
In this exercise, you'll create an Azure Automation account and upload a PowerShell DSC. Then, you'll onboard an existing VM into Azure Automation. Finally, you'll check if the VM is missing IIS. If it is, you'll run code to install and configure IIS on the VM.
Create a VM
Start by deploying a new VM from a Windows Server 2022 image.
In the Azure Cloud Shell pane on the right, run the following commands to create a username and generate a random password:
USERNAME=azureuser
PASSWORD=$(openssl rand -base64 32)
Run the following command in Cloud Shell to create a VM:
az vm create \
  --resource-group "<rgn>[Sandbox resource group name]</rgn>" \
  --name myVM \
  --image win2019datacenter \
  --admin-username $USERNAME \
  --admin-password $PASSWORD
It takes a few minutes to create the VM and supporting resources. If the VM is created successfully, you should see output like this:
{
  "fqdns": "",
  "id": "/subscriptions/<guid>/resourceGroups/myResourceGroup/providers/Microsoft.Compute/virtualMachines/myVM",
  "location": "eastus",
  "macAddress": "00-0D-3A-36-BA-28",
  "powerState": "virtual machine running",
  "privateIpAddress": "10.0.0.4",
  "publicIpAddress": "104.40.69.56",
  "resourceGroup": "myResourceGroup"
}
Copy the
publicIpAddressfrom this output and save it. Later in the exercise, you'll use this address to access the VM.Run the following command in Cloud Shell to open your VM's port 80 for web traffic:
az vm open-port \
  --port 80 \
  --resource-group "<rgn>[Sandbox resource group name]</rgn>" \
  --name myVM
In your web browser, go to the public IP address of your VM
http://[public-ip]. Although port 80 is open, your connection should time out withThis site can't be reached. This error occurs because IIS isn't deployed on your VM. We'll fix that later in this exercise.
Create an Azure Automation account
Sign in to the Azure portal with the same account you used to activate the sandbox.
On the Azure portal resource menu or from the Home page, select Create a resource. The Create a resource pane appears.
In the Search services and marketplace text box, enter Automation, and select Enter to view the search results.
In the Automation search results, select the Automation Azure service published by Microsoft.
Select Create. The Create an Automation Account pane appears.
Enter the following values for each setting.
Setting Value Subscription Concierge Subscription Resource group Select the existing resource group in the dropdown list Name Enter a name for your automation account. We suggest using [your initials]-automation-account. Use this name wherever you see [your-automation-account-name] in this exercise. Region Accept the default location Select Review + Create, then select Create. Wait until the automation account deploys.
Select Go to resource when deployment completes. The Automation Account pane for your resource appears.
Create a DSC configuration script
In Cloud Shell, run the following command to start a PowerShell session:
pwshAt the PowerShell prompt, run the following command to open a new file named MyDscConfiguration.ps1 in the code editor:
code $HOME/MyDscConfiguration.ps1Enter the following code block in the file. This code creates a configuration to install IIS if it's not already installed. The code then runs the script to compile the configuration.
Configuration MyDscConfiguration {
  Node "localhost" {
    WindowsFeature MyFeatureInstance {
      Ensure = 'Present'
      Name = 'Web-Server'
    }
  }
}
Select Ctrl+S to save the file in your home directory, and then select Ctrl+Q to close the editor.
In your PowerShell session in Azure Cloud Shell, enter the following code, replacing
[your-automation-account-name]with the name for your automation account resource, to upload the DSC script into your Azure Automation account.Import-AzAutomationDscConfiguration ` -Published ` -ResourceGroupName <rgn>[Sandbox resource group name]</rgn> ` -SourcePath $HOME/MyDscConfiguration.ps1 ` -Force ` -AutomationAccountName [your-automation-account-name]The command should produce output that looks like this:
ResourceGroupName     : <rgn>[Sandbox resource group name]</rgn>
AutomationAccountName : [your-automation-account-name]
Location              : eastus
State                 : Published
Name                  : MyDscConfiguration
Tags                  : {}
CreationTime          : 6/25/21 5:44:36 PM +00:00
LastModifiedTime      : 6/25/21 5:44:36 PM +00:00
Description           :
Parameters            : {}
LogVerbose            : False
Add required modules (optional)
After you upload your DSC configuration script, import any PowerShell modules that the DSC process needs. Our configuration doesn't need any other modules, so we can skip this step. If you needed to import or add modules into your automation account, you'd go to your automation account in the Azure portal. From there, you'd select Modules in the Shared Resources heading on the left, then select Add a module.
Compile the DSC script
In the Azure portal, the Overview pane for your Azure Automation account should still be displayed.
In the Automation Account menu, under Configuration Management, select State configuration (DSC). The State configuration (DSC) pane for your automation account appears.
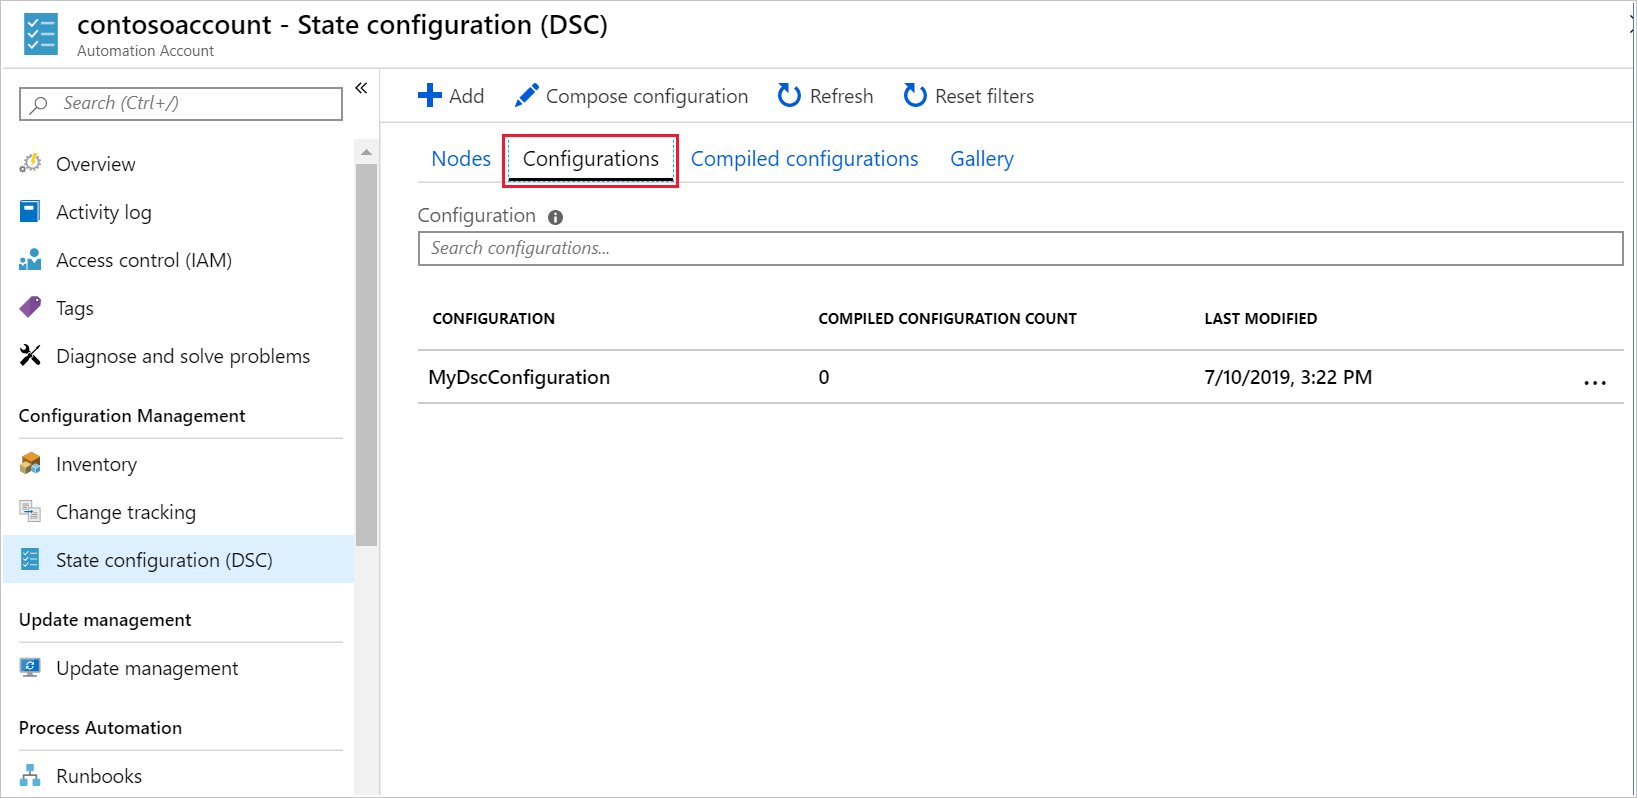
Select the Configurations tab. Verify that the configuration MyDscConfiguration appears, and then select it. The MyDscConfiguration Configuration pane appears.
In the command bar, select Compile.
In the Compile DSC Configuration dialog box, select Yes.
Check your notifications (the Notifications icon is in the global controls in the page header). Wait for the compilation job to show Status of Completed, which might take several minutes.
Note
You might need to refresh to see the status change. To refresh, in the top left breadcrumb path of the Azure portal, select your automation account. The State configuration (DSC) pane appears. In the top menu bar, select Refresh. Then, select MyDscConfiguration configuration from the list to return to the MyDscConfiguration pane. Under the Compilation jobs tab, the Status should now appear as Completed.
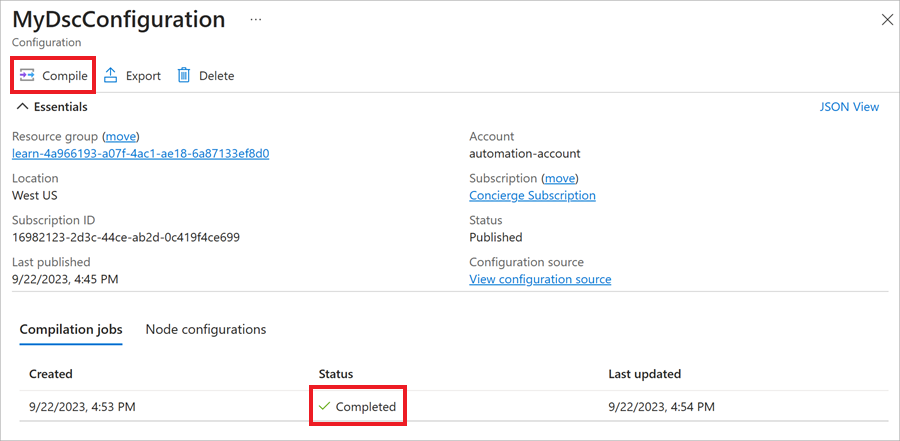
When compilation is completed, close the MyDscConfiguration pane. Your State configuration (DSC) pane appears.
Register the VM with your Azure Automation account
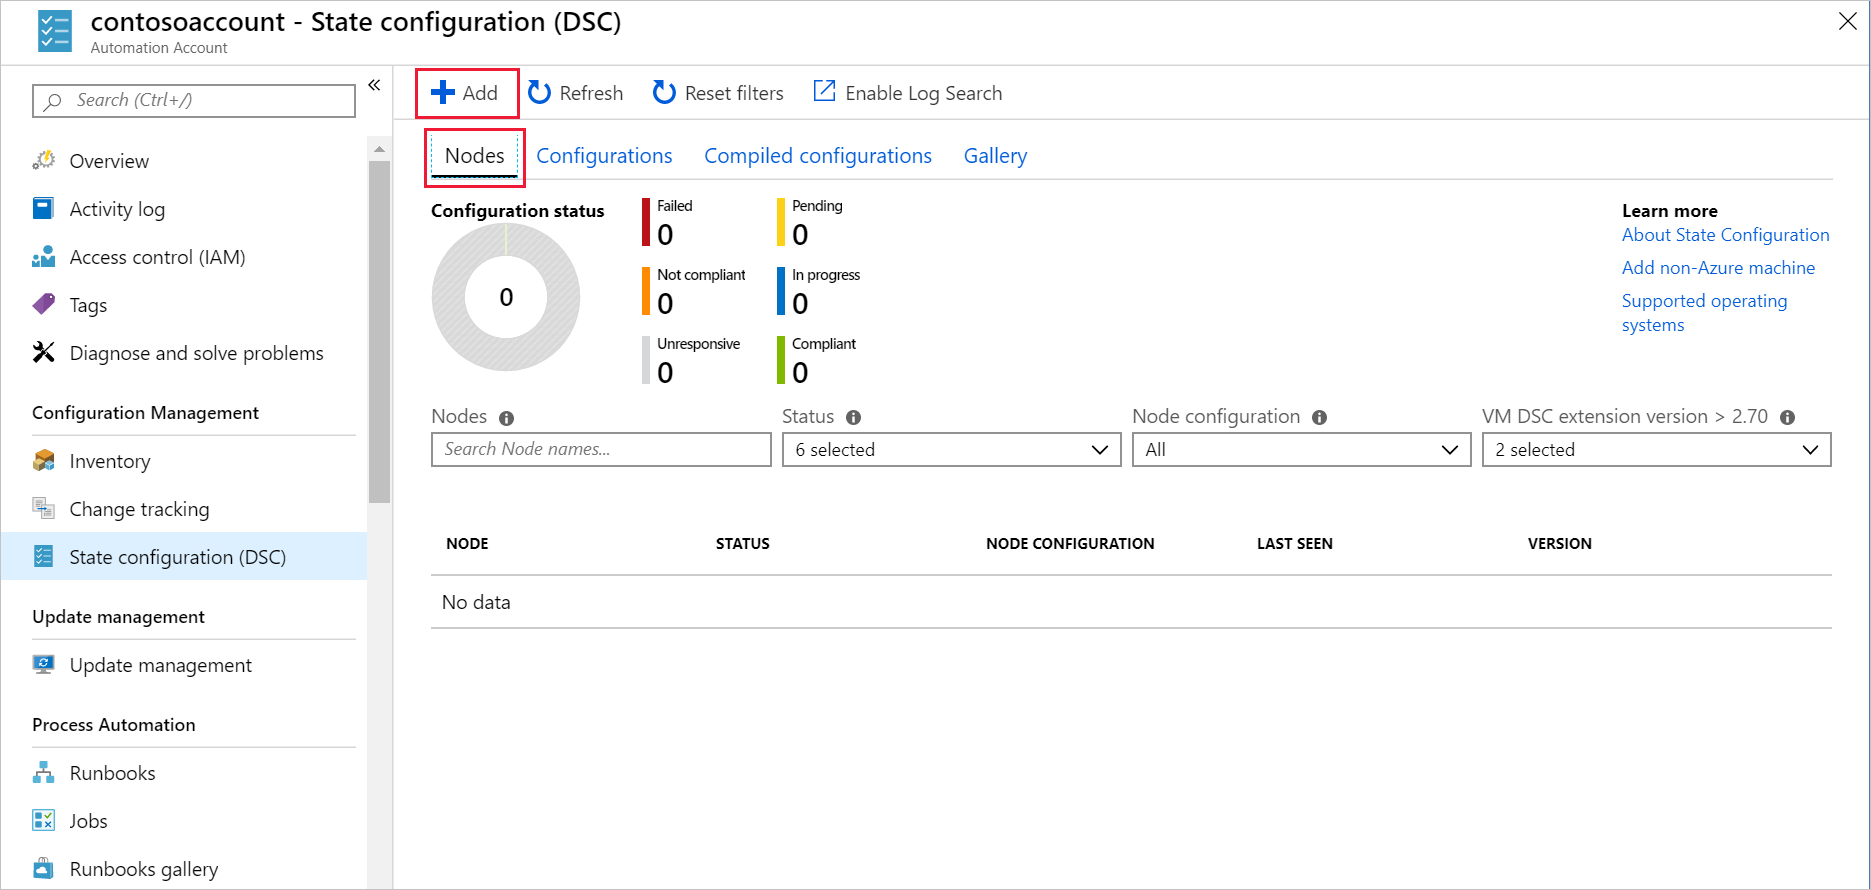
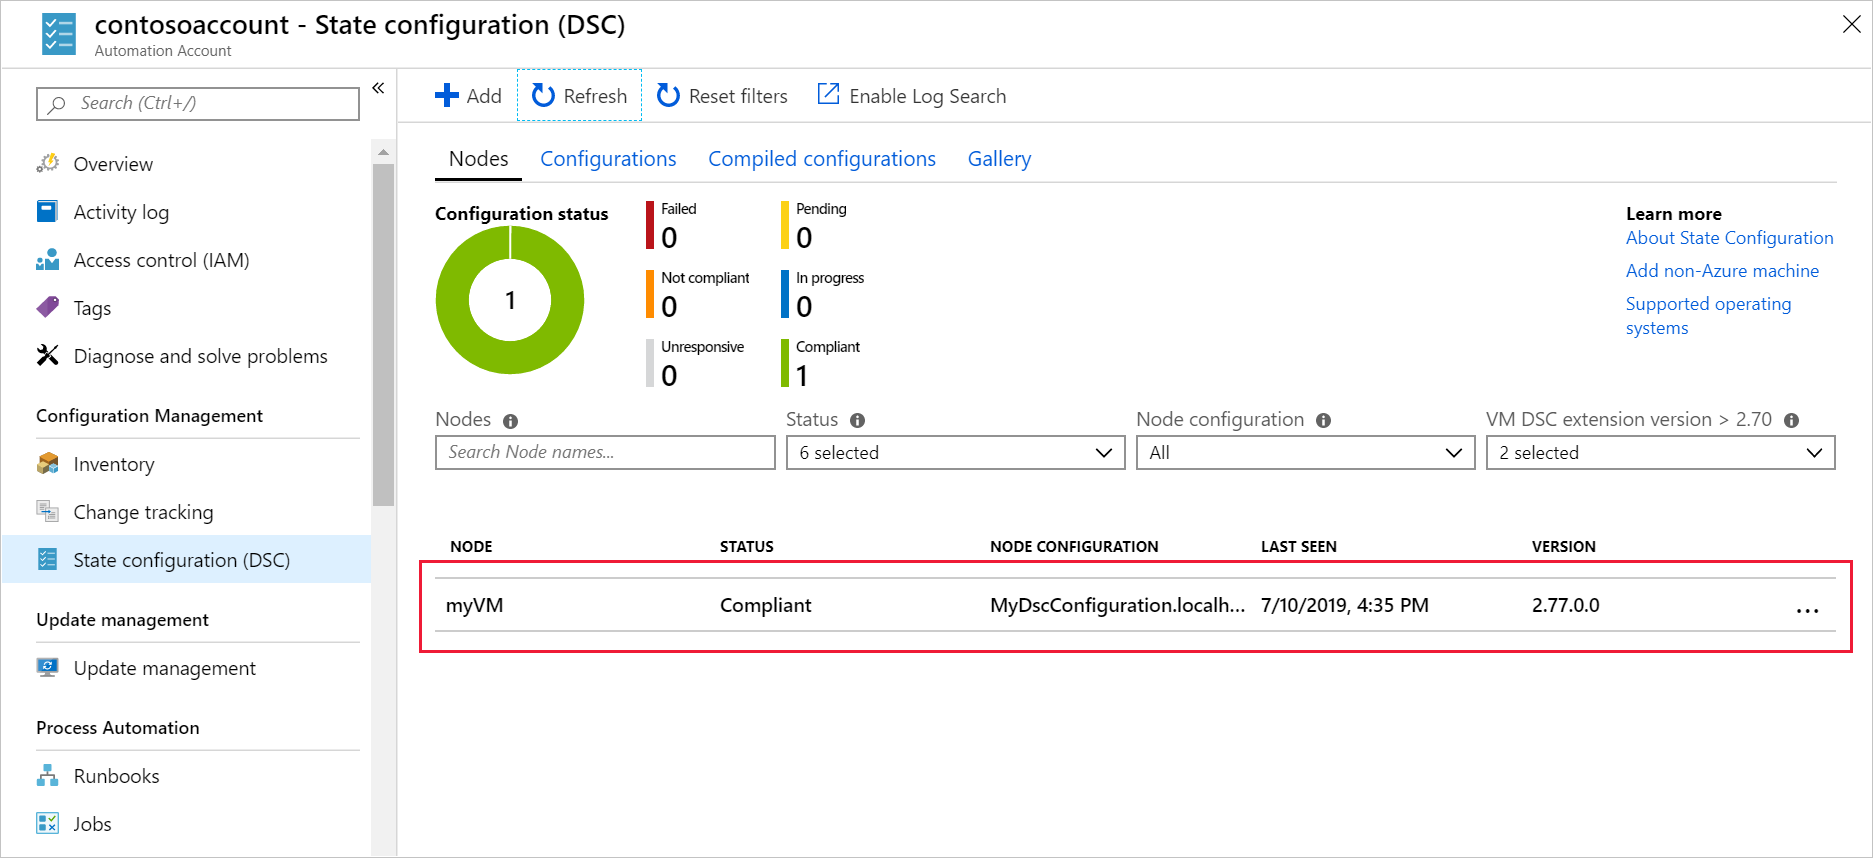
On the State configuration (DSC) pane for [your-automation-account-name], select the Nodes tab. In the command bar, select Add. The Virtual Machines pane for your automation account appears.
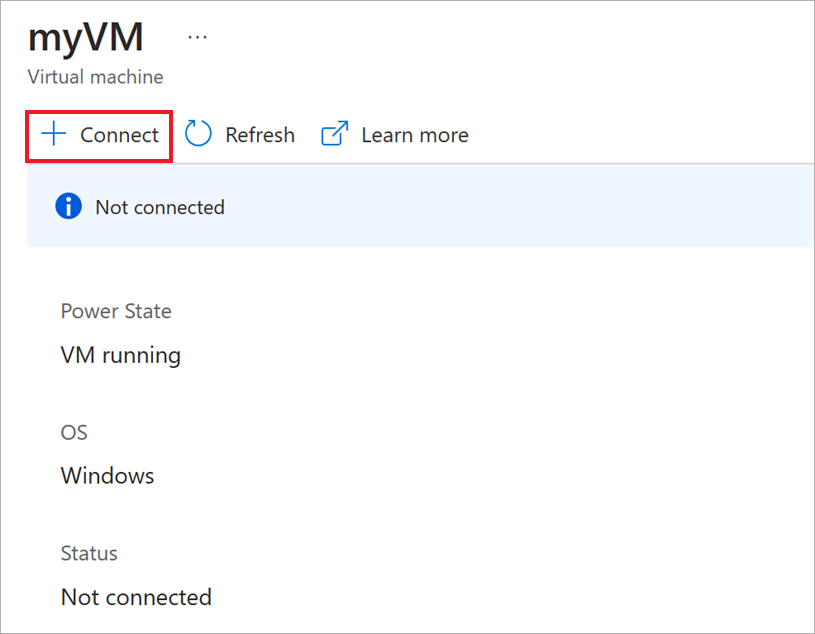
Select the VM you created in the first task of this exercise (myVM). It may take up to 10 minutes for the configuration and VM to propagate in the network. If the VM isn't listed, wait a few minutes, then select Refresh in command bar until it appears.
In the command bar, select Connect. The Registration pane appears.
Enter the following values for each setting.
Setting Value Node configuration name From the dropdown list, select MyDscConfiguration.localhost Refresh Frequency 30 Configuration Mode Frequency 15 Configuration Mode ApplyAndMonitor Allow Module Override Select checkbox Reboot Node if Needed Select checkbox Action after Reboot ContinueConfiguration Select OK.
Wait until the VM is connected. This process might take a few minutes. When your myVM is connected, in the breadcrumb path in the top left of the portal, select your automation account to close the Registration and Virtual Machines pane. The State configuration (DSC) pane for your automation account appears.
In the command bar, select Refresh.
Verify that the node myVM appears in the list and that its status is Compliant.
Verify that IIS is installed on the VM
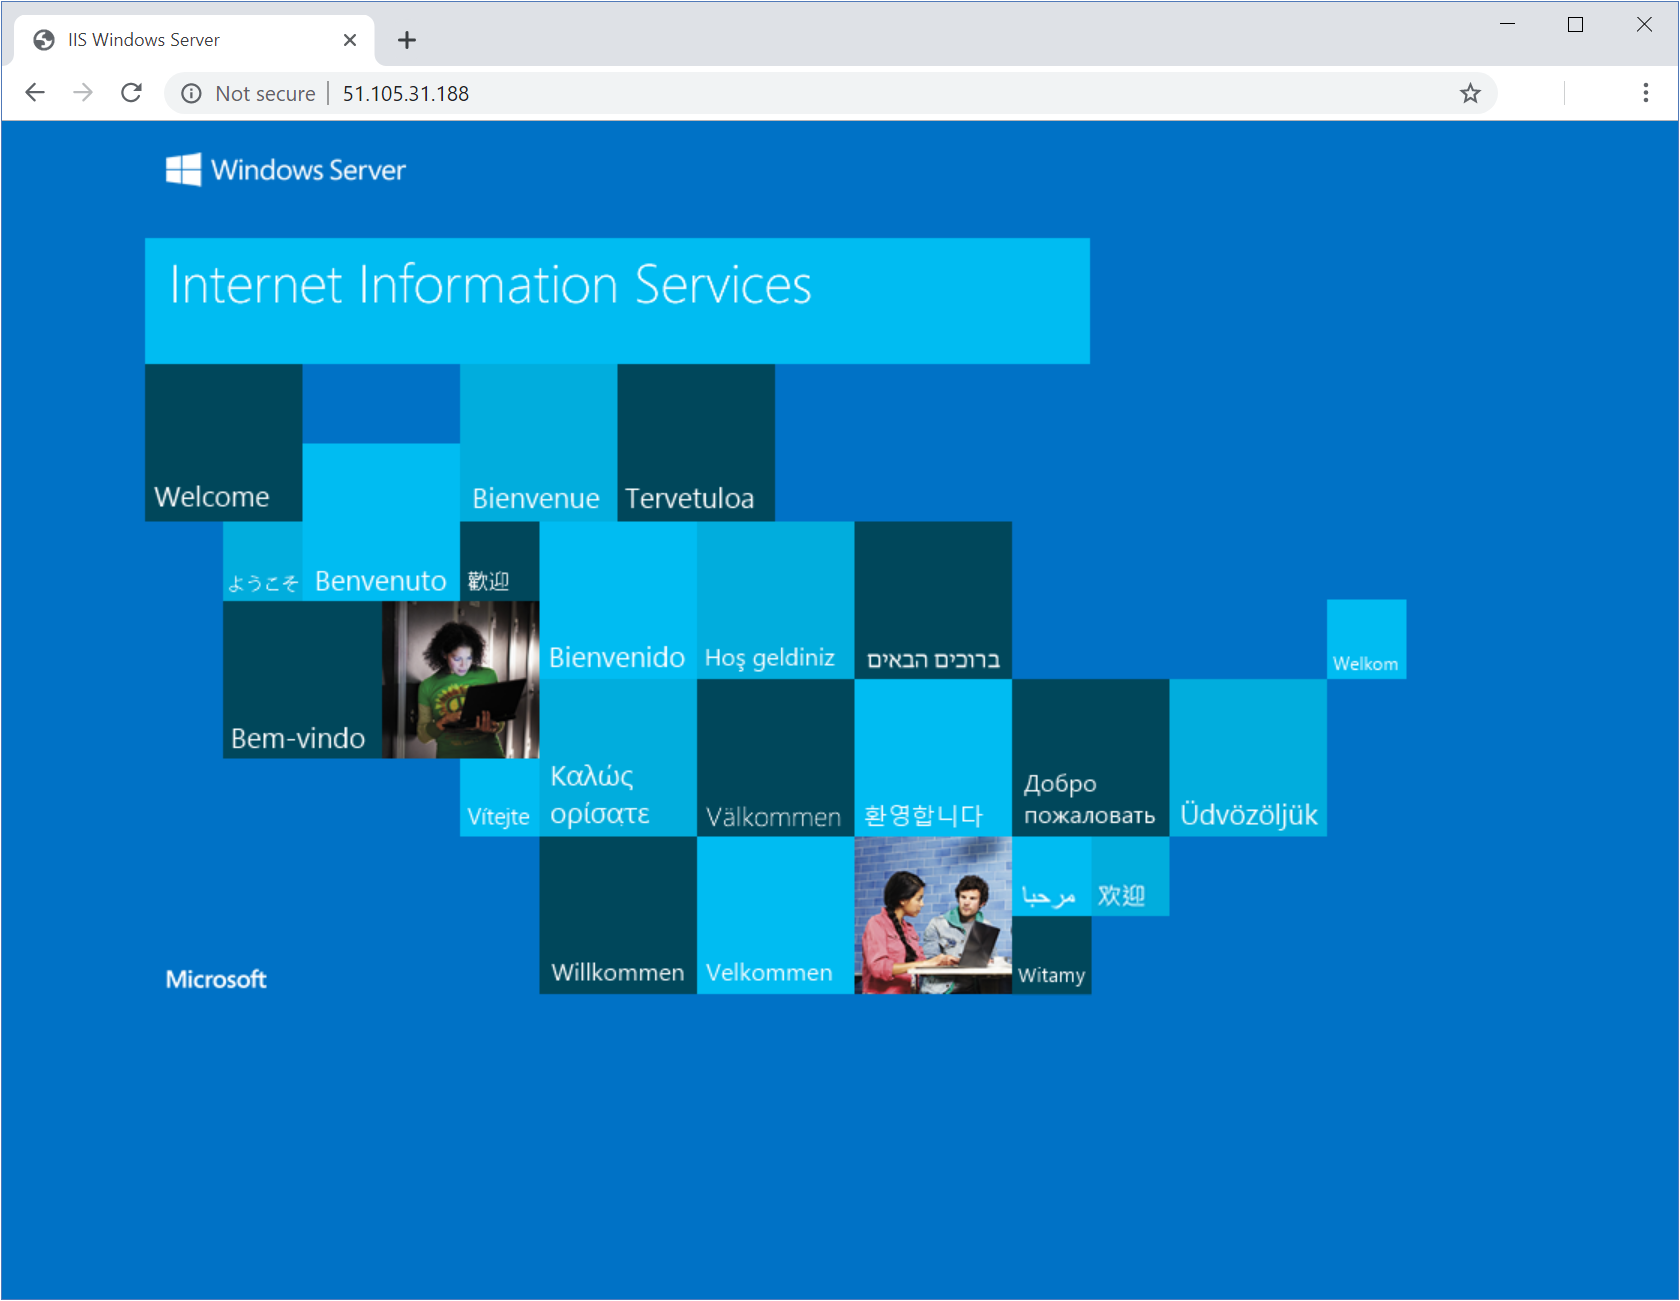
In your web browser, go to http://[public-ip], where, [public-ip] is the public IP address that you recorded earlier in this exercise.
You should see the default IIS webpage.
Congratulations! You've successfully deployed IIS. Azure Automation used the PowerShell DSC script you uploaded to your Azure Automation account.