Exercise - Create an email template
In this exercise, you'll create and then use your first email template in Dynamics 365 Customer Voice.
Note
You can complete this exercise with or without having Microsoft Dynamics 365 Sales enabled in your environment. However, if you want to complete the exercises in subsequent modules, you'll need to complete these steps in an environment that also has Dynamics 365 Sales enabled.
Task 1: Create a new email template
To create a new email template, follow these steps:
Go to Microsoft Customer Voice and sign in with your credentials.
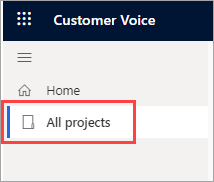
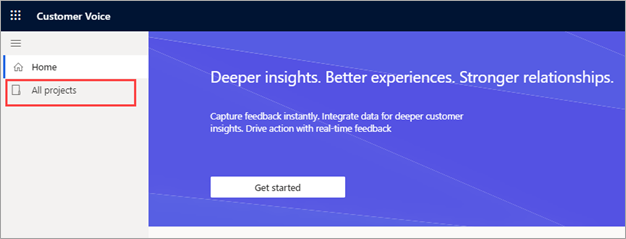
Select All projects from the navigation menu.
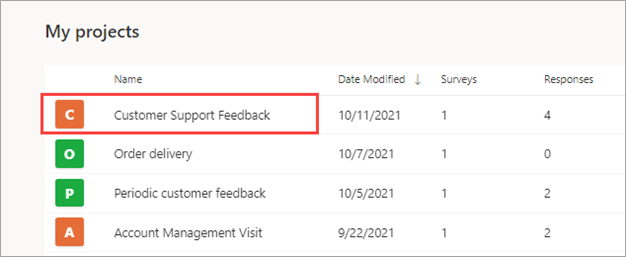
From the list of projects, double-click the one from the list that you created previously in this learning path.
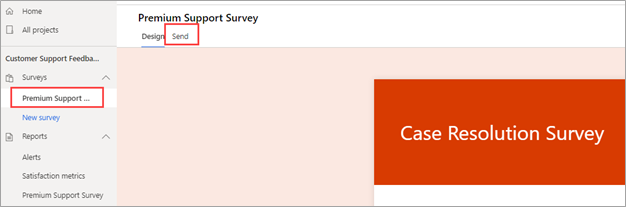
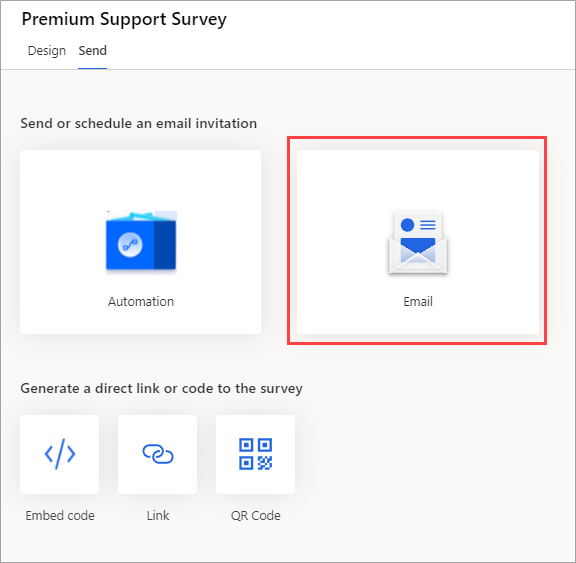
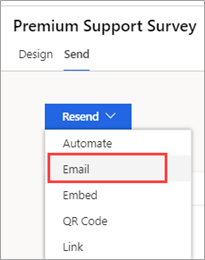
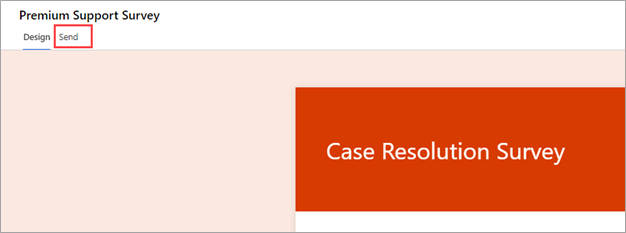
Select Premium Support Survey and then select Send.
Select Email.
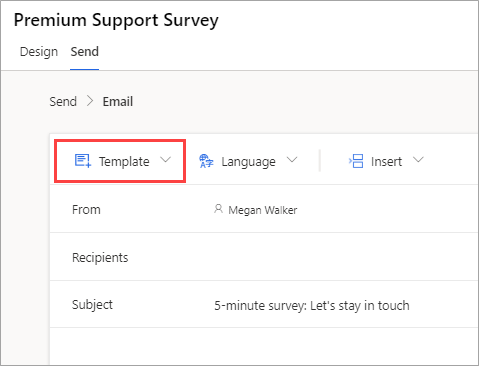
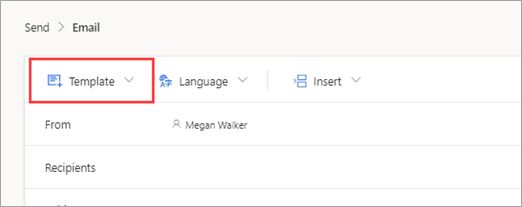
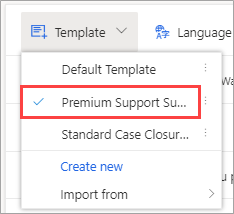
Select Template.
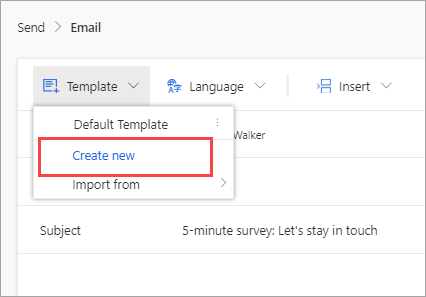
Select Create new.
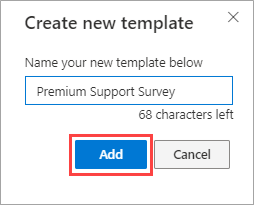
Type Premium Support Survey in the box and then select Add.
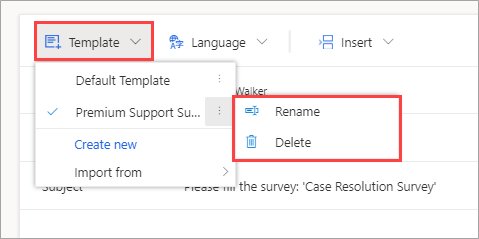
Select the Template dropdown menu. You should now be in your new Premium Support Survey template. Hover your mouse cursor over the ellipsis (...) next to the template name to reveal the Rename and Delete options.
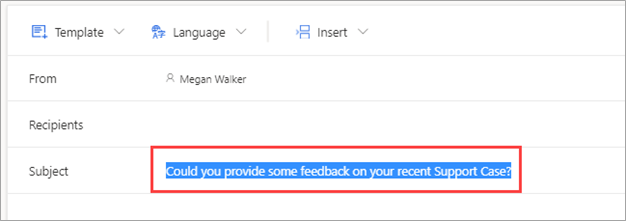
Select the Template link again to close the menu. Next, select the Subject field on the email template.
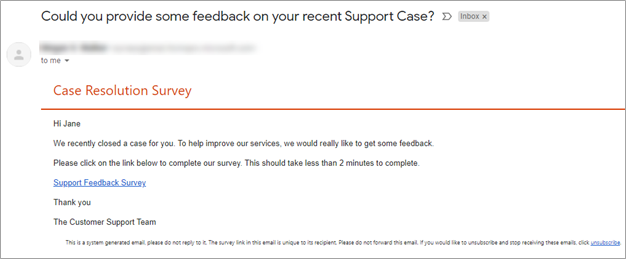
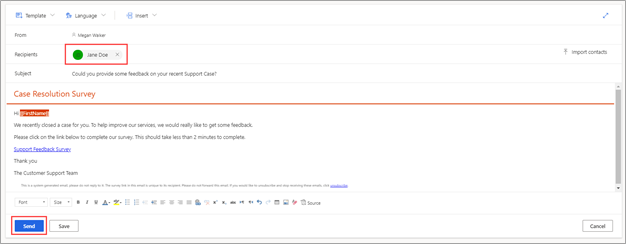
Delete the standard text and then type Could you provide some feedback on your recent Support Case?
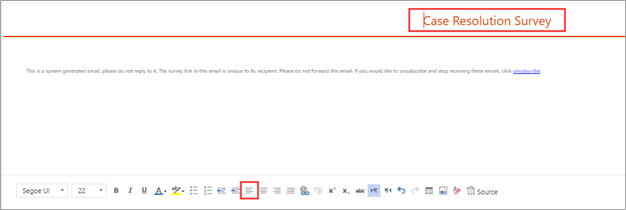
In the body of the email, select all text, apart from the top header and the unsubscribe link. Then, delete all the selected text.

Select next to the unsubscribe link and then select the align left button in the lower part of the menu. Then, do the same process with the header text so that they're both aligned to the left of the template.
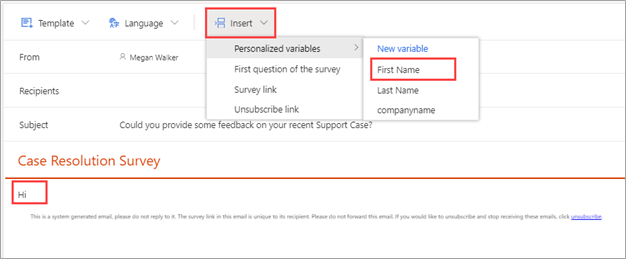
At the top of the template, type Hi and then select the Personalize menu. Select the First Name variable from the dropdown menu.
Start a new line and then type We recently closed a case for you. To help improve our services, we would really like to get some feedback.
Start another new line and then type Please select the link below to complete our survey. This should take less than 2 minutes to complete.
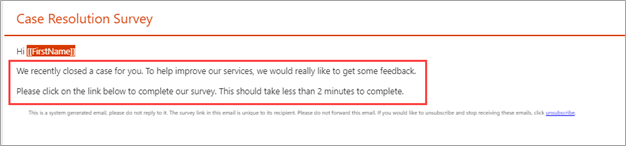
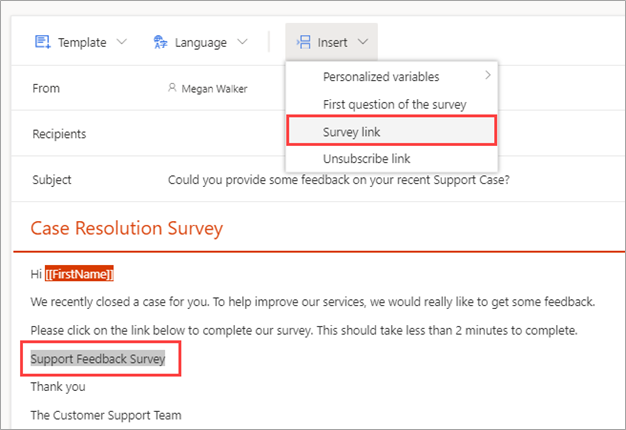
Start another new line and then type Support Feedback Survey.
Select this text, select the Insert menu, and then select the Survey link option. This action will create a hyperlink to the survey.
Add a new line and then type Thank you.
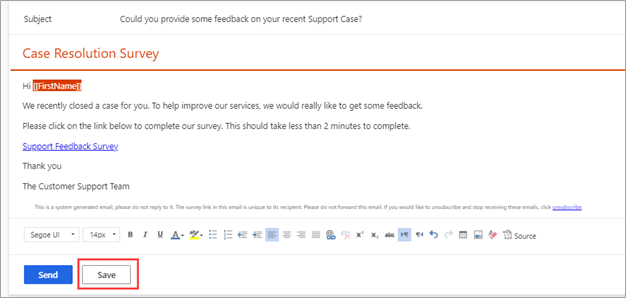
Add one more line and then type The Customer Support Team. Your survey email template should resemble the following image. Select the Save button to complete the new email template.
Don't navigate away from the survey.


Task 2: Import an email template to a project
In this task, you'll import and customize an email template from another project.
Select the Send tab from the Case Resolution Survey.

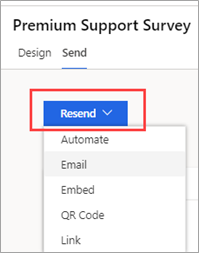
If you haven't sent the survey yet, select the Email option. If you've already sent the survey and the following screen displays, select Resend.
Select Email.
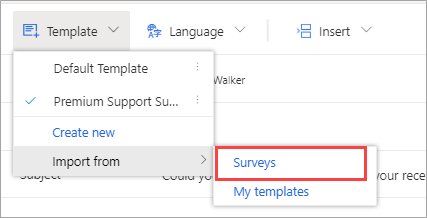
Select the Template menu.
Hover your mouse cursor over Import from to get the flyout menu. Select Surveys.
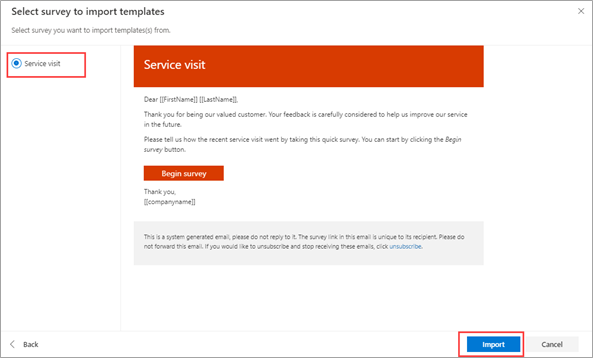
If you previously added the Service visit project, select it from the list in All projects. Otherwise, go through and add this project from the templates.
Select the Field service feedback survey from the list.
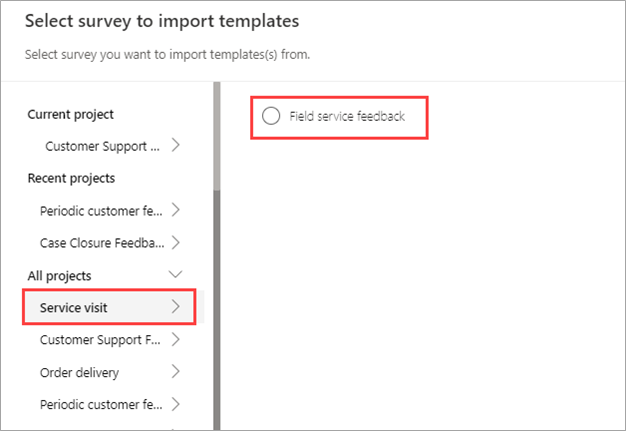
The Service visit template should be visible. Select it from the list and then select Import.
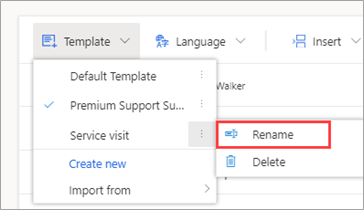
After selecting Import, return to the Template dropdown menu and hover your mouse cursor over the Service visit template from the list. Select Rename.
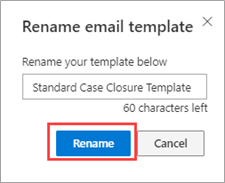
Type Standard Case Closure Template then select Rename.
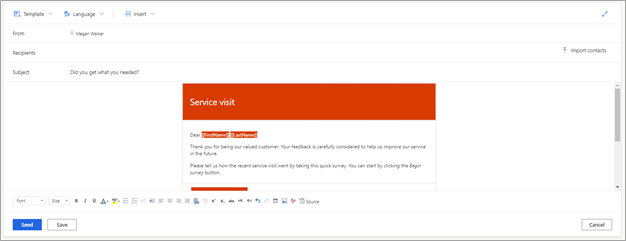
Modify and adjust the template to fit the needs of this specific project.


Task 3: Send an email by using a custom email template
In this task, you'll send an email from Customer Voice by using the email template that you created in Task 1 of this exercise.
From the navigation menu, select All projects.
From the list of projects, double-click Customer Support Feedback.
Select the Send tab from the Case Resolution Survey.
If you haven't sent the survey yet, select the Email option. If you've already sent the survey and the following screen displays, select Resend.
Select Email.
Make sure that the Premium Support Survey template is selected from the Template dropdown menu.
Enter an email address into the Recipients field. Make sure that you have access to this email address so that you can retrieve the email. Select Send.
The email will be sent to the email address that you provided in the Recipients field. Then, you can open the email and select the link to take the survey.