Hi Mastool,
Thank you for your patience and for sharing the detailed information regarding the memory error message that appears during system shutdown on your Windows 11 system. Given that you’ve already reinstalled Windows 11 three times and confirmed that the problem did not exist under Windows 10, this is unlikely to be an OS-level issue.
Based on your hardware configuration and the nature of the error, it’s possible that the issue is related to architectural behavior specific to Intel’s 12th Gen Alder Lake platform. Below are several additional steps I recommend helping isolate or resolve the problem:
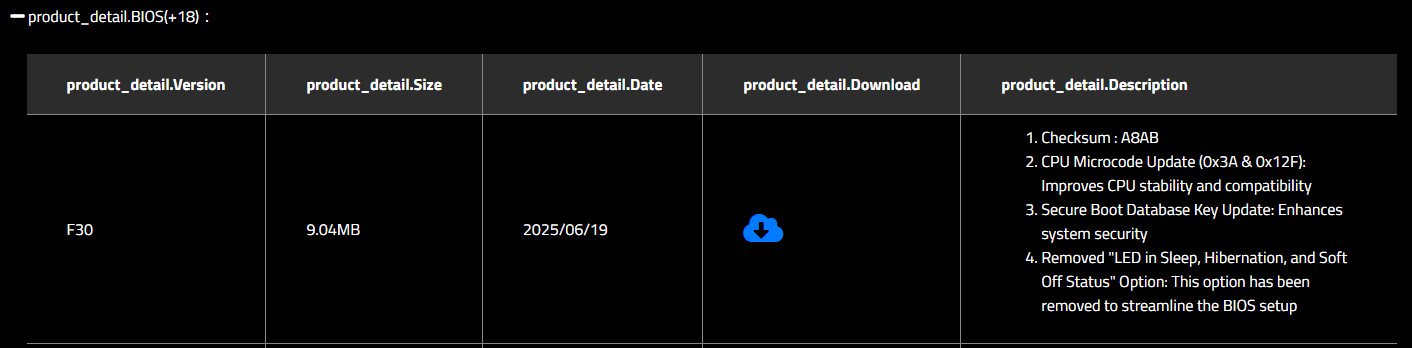
Step 1: Update BIOS
Visit the Gigabyte Z690 AORUS PRO support page to check for the latest BIOS version.
Updating the BIOS can improve system stability and compatibility with Windows 11, especially for hybrid-core CPUs like the i9-12900KF.
Step 2: Update Intel Motherboard Drivers
Download and install the latest chipset, MEI, and storage drivers using the Intel Driver & Support Assistant.
This ensures optimal communication between Windows 11 and your motherboard’s hardware components.
*Disclaimer: Microsoft provides no assurances and/or warranties, implied or otherwise, and is not responsible for the information you receive from the third-party linked sites or any support related to technology.
Step 3: Test Memory Configuration
Temporarily remove two RAM modules and test the system with only two modules installed in the A2 and B2 slots (as per Gigabyte’s recommended configuration).
This helps isolate potential issues related to memory channel population or overclocking instability.
If you are using XMP profiles, consider disabling them in BIOS and running the memory at default JEDEC speeds to rule out instability caused by aggressive timings or voltage.
Although standard memory diagnostics have shown no errors, they may not apply sufficient stress to expose subtle faults. For deeper testing, I recommend using TestMem5, a more advanced memory stress tool that can help detect errors under load.
*Note: For the latest version, you may search for the application's official website.
Step 4: Modify Processor Power Management Settings
In Windows, search for “Edit power plan” > click “Change advanced power settings”.
Expand “Processor power management” > “Minimum processor state”.
Set the value to 5% for both battery and plugged-in modes.
This adjustment can help mitigate hybrid-core scheduling issues that may occur during shutdown or idle states.
Additionally, disable Fast Startup:
- Go to Control Panel > Power Options > Choose what the power buttons do.
- Click “Change settings that are currently unavailable”.
- Uncheck “Turn on fast startup”.
- Save changes and restart the system.
Step 5: Disable E-Cores (Efficiency Cores)
In BIOS, locate the setting to disable E-cores, leaving only P-cores (Performance cores) active.
This is a useful test to determine if the issue is related to Windows 11’s handling of hybrid-core architecture.
If the error disappears with E-cores disabled, it may point to a scheduling or power state conflict involving the efficiency cores.
Please let me know the results after trying these steps. If the issue persists, I’ll be happy to assist further.
If the answer is helpful, please click "Accept Answer" and kindly upvote it. If you have extra questions about this answer, please click "Comment".
Note: Please follow the steps in our documentation to enable e-mail notifications if you want to receive the related email notification for this thread.
Warm regards,
Clary | Microsoft Q&A Support Specialist

' cx='32' cy='32' r='32' /%3E%3Ctext x='50%25' y='55%25' dominant-baseline='middle' text-anchor='middle' fill='%23FFF' %3EHM%3C/text%3E%3C/svg%3E)
' cx='32' cy='32' r='32' /%3E%3Ctext x='50%25' y='55%25' dominant-baseline='middle' text-anchor='middle' fill='%23FFF' %3ECN%3C/text%3E%3C/svg%3E)