Events
17 Mar, 23 - 21 Mar, 23
Join the meetup series to build scalable AI solutions based on real-world use cases with fellow developers and experts.
Register nowThis browser is no longer supported.
Upgrade to Microsoft Edge to take advantage of the latest features, security updates, and technical support.
Azure DevOps Services | Azure DevOps Server 2022 - Azure DevOps Server 2019
Visual Studio 2019 | Visual Studio 2022
Create pull requests (PRs) to change, review, and merge code in a Git repository. You can create PRs from branches in the upstream repository or from branches in your fork of the repository. Your team can review the PRs and give feedback on changes. Reviewers can step through the proposed changes, leave comments, and vote to approve or reject the PRs. Depending on branch policies and other requirements, your PR might need to meet various criteria before you can complete the PR and merge the changes into the target branch.
For PR guidelines and management considerations, see About pull requests.
| Category | Requirements |
|---|---|
| Access levels | - View or review PRs: At least Basic access. For public projects, users Stakeholder access have full access to Azure Repos. |
| Permissions | - Contribute to a PR: Member of the Readers security group or corresponding permissions. - Create and complete a PR: Member of the Contributors security group or corresponding permissions. |
| Services | Repos enabled. |
| Tools | Azure DevOps CLI. |
| Category | Requirements |
|---|---|
| Access levels | - View or review PRs: At least Basic access. |
| Permissions | - Contribute to a PR: Member of the Readers security group or corresponding permissions. - Create and complete a PR: Member of the Contributors security group or corresponding permissions. |
| Services | Repos enabled. |
For more information about permissions and access, see Default Git repository and branch permissions and About access levels.
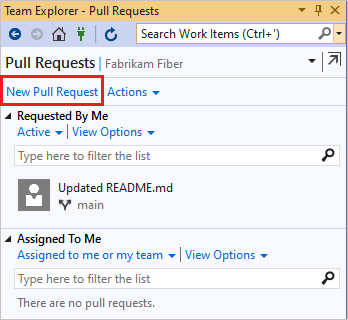
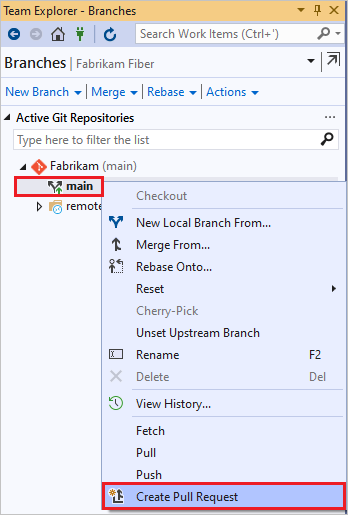
You can create a new PR from the Azure DevOps project website, from Visual Studio, or from the Azure DevOps CLI.
From the Azure DevOps project website, you can create a new PR from:
You can create PRs for any branch from your project's Pull requests page on the web.
On the Repos > Pull requests page, select New pull request at upper right.

Select the branch with the changes and the branch you want to merge the changes into, such as the main branch.
Enter your PR details and create the PR.
After you push or update a feature branch, Azure Repos displays a prompt to create a PR.
On the Pull requests page:

On the Files page:
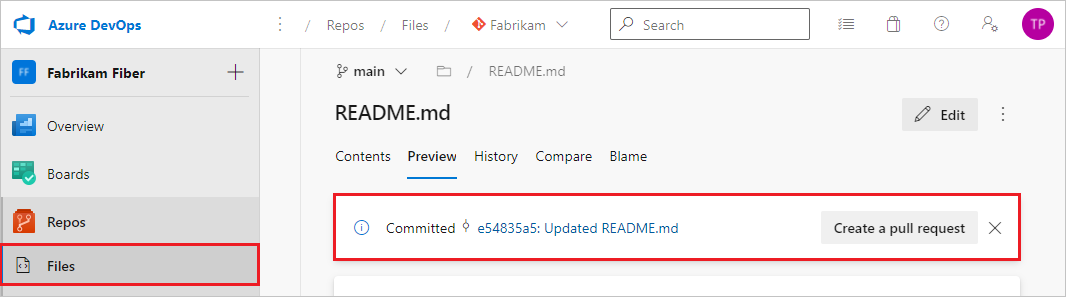
Select Create a pull request to go to a page where you can enter your PR details and create the PR.
You can create a PR directly from an Azure Boards work item linked to the branch.
In Azure Boards, from Backlogs or Queries in the Work view, open a work item linked to the branch.
In the Development area of the work item, select Create a pull request.
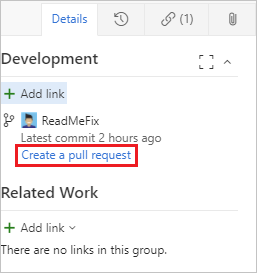
The link takes you to a page where you can enter your PR details and create the PR.
You can copy commits from one branch to another by using cherry-pick. Unlike a merge or rebase, cherry-pick only brings the changes from the commits you select, instead of all the changes in a branch.
To cherry-pick changes from a completed PR, select Cherry-pick on the PR's Overview page. To copy changes from an active PR, select Cherry-pick from the PR's More options menu. This action creates a new branch with the copied changes. You can then create a new PR from the new branch. For detailed instructions, see Copy changes with cherry-pick.
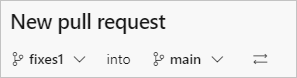
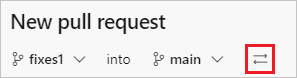
Before the first time you save a PR, you can switch the source and target branches of the PR by selecting the Switch source and target branches icon next to the branch names. Once the PR is active, this icon goes away, but you can still change the target branch of the PR.
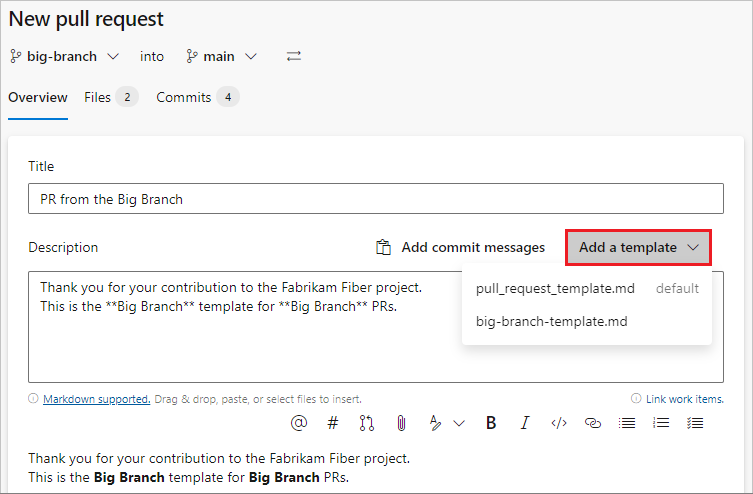
A pull request template is a file containing Markdown text that populates the PR description when you create a PR. Good PR descriptions tell PR reviewers what to expect, and can help track tasks like adding unit tests and updating documentation. Your team can create a default PR template that adds text to all new PR descriptions in the repo. Also, you can select from branch-specific templates or other templates your team defines. For more information about creating and using PR templates, see Improve pull request descriptions using templates.
If your repo has a default template, all PRs in the repo have the default template's description text at creation. To add other templates, select Add a template and then choose a template from the dropdown list. You can edit the template text in your description, remove it, or add other text.
If your PR isn't ready for review, you can create a draft PR to indicate work in progress. When the PR is ready for review, you can publish it, and begin or resume the full review process.
Draft PRs have the following differences from published PRs:
Build validation policies don't run automatically. You can queue build validations manually by selecting the more options menu in the PR.
Voting is disabled while in draft mode.
Required reviewers aren't automatically added. Notifications are sent only to reviewers that you explicitly add to the draft PR.
Draft PRs display in the PR list with a Draft badge.
![]()
Note
Creating draft PRs requires Azure DevOps Server 2019.1 update or later version.
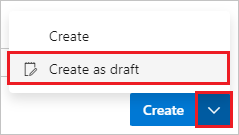
To create a draft PR, select the arrow next to Create and select Create as draft when creating the PR. You don't have to use title prefixes such as WIP or DO NOT MERGE.
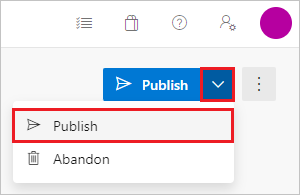
When you're ready to have the PR reviewed and completed, select Publish at upper right in the PR. Publishing a PR assigns required reviewers, evaluates policies, and kicks off voting.
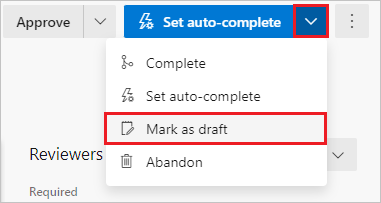
To change an existing published PR to a draft, choose Mark as draft. Marking a PR as draft removes all existing votes.
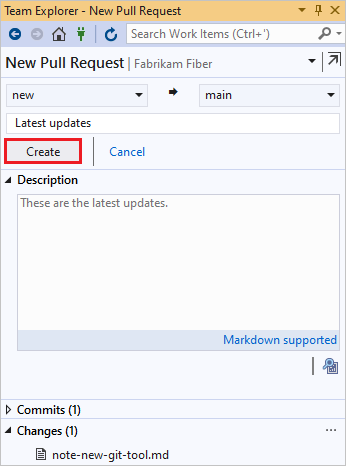
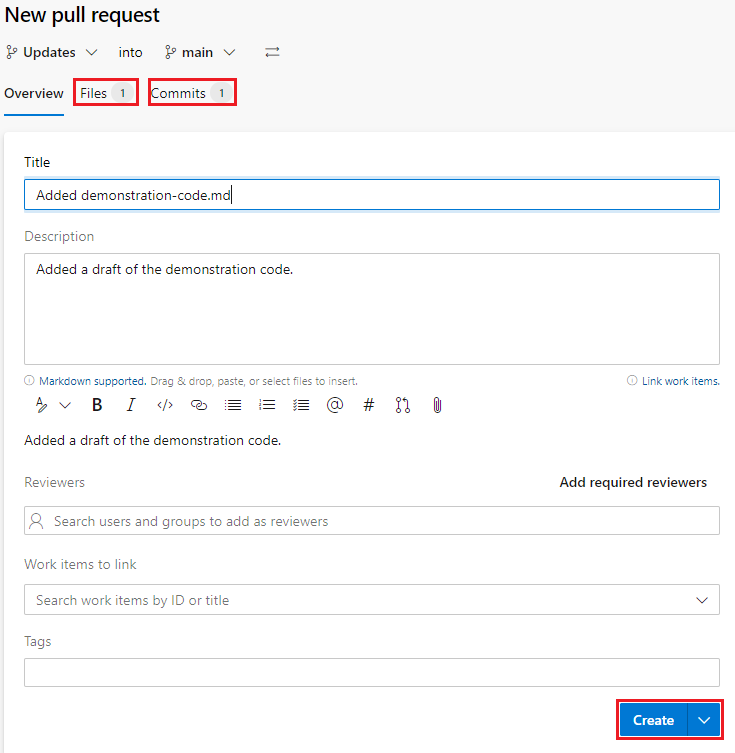
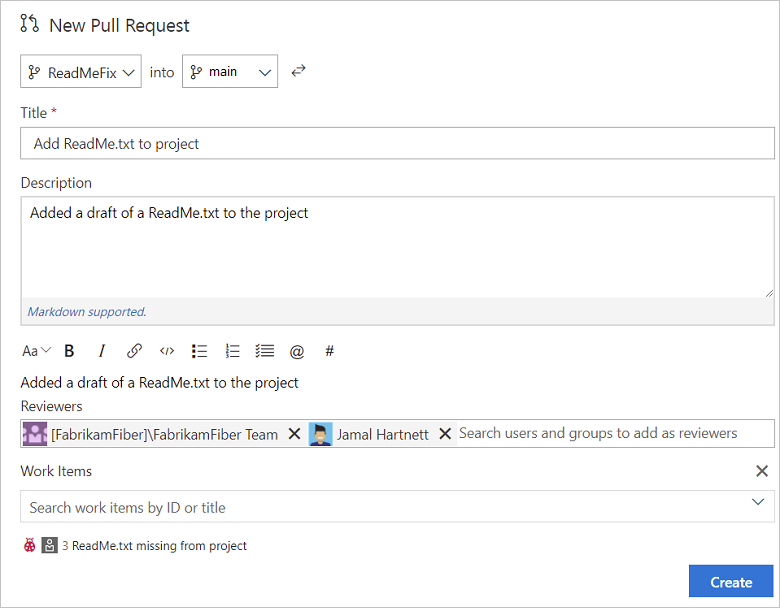
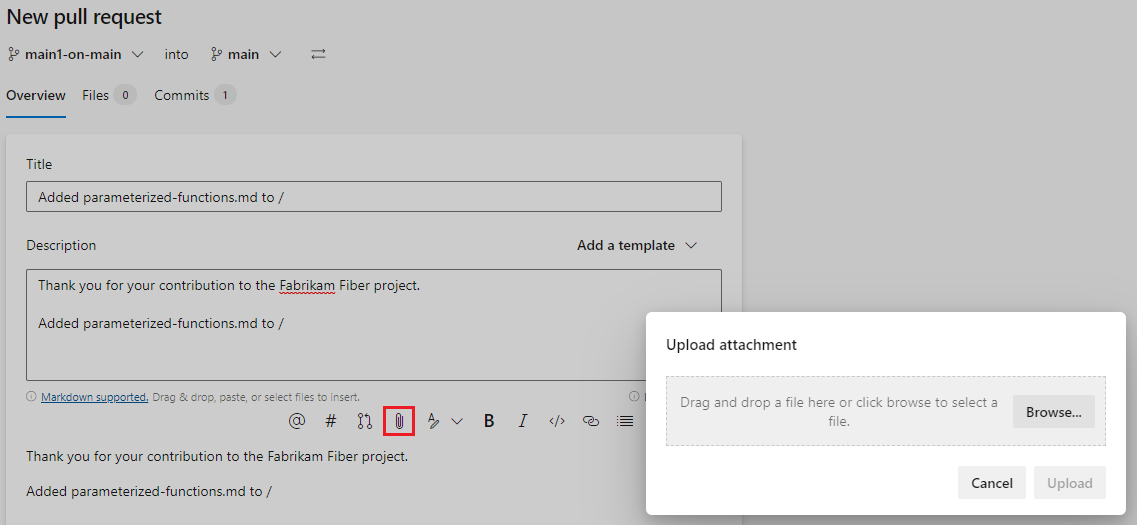
On the New pull request page, enter a Title and detailed Description of your changes, so others can see what problems the changes solve. On a new PR as in existing PRs, you can see the Files and Commits in your PR on separate tabs. You can add reviewers, link work items, and add tags to the PR.
When you're ready to have your changes reviewed, select Create to create the PR.
Don't worry if you don't have all of the work items, reviewers, or details ready when you create your PR. You can add or update these items after you create the PR.
Keep the PR title and description up to date so reviewers can understand the changes in the PR.
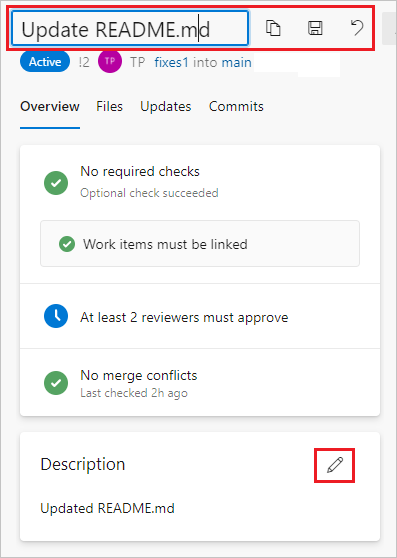
You can update the title of an existing PR by selecting the current title and updating the text. Select the Save icon to save changes, or select the Undo icon to discard the changes.
Edit the PR description by selecting the Edit icon in the Description section.
You can add reviewers in the Reviewers section of a new or existing PR. You can also change optional reviewers to required, change required reviewers to optional, or remove them, unless they're required by policy.
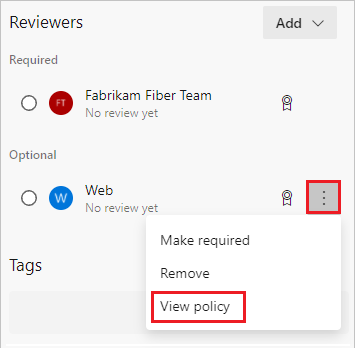
Branch policies can require a minimum number of reviewers or automatically include certain optional or required reviewers in PRs. You can't remove reviewers required by branch policy, but you can change optional reviewers to required or remove them.
To see the branch policy that automatically added a reviewer, right-select More options next to the reviewer in the Reviewers section of the PR Overview page.
If the user or group you want to review your PR isn't a member of your project, add them to the project before you can add them as reviewers.
To add reviewers to a new PR, do the following steps:
To add reviewers to an existing PR, do the following steps:
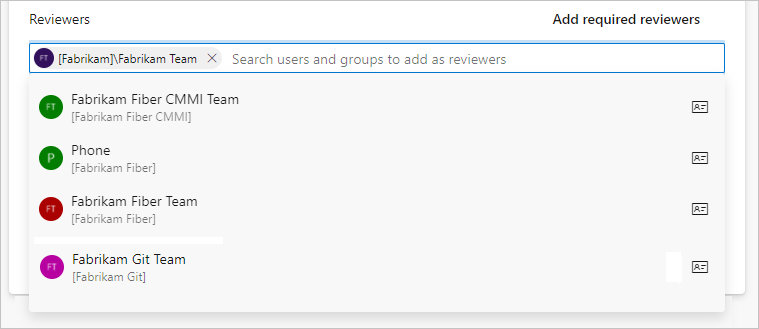
In the Reviewers section of the Overview page, select Add, and then select Required reviewer or Optional reviewer.

As you enter a name or email address, a list of matching users or groups appears. Select the names to add as reviewers.

To change a reviewer between required and optional, or to remove a reviewer, select More options (⋮) to the right of the reviewer's name. To view the membership of a group or team designated as a reviewer, select the group's icon.
To link work items to a new PR, do the following steps:
To link work items to an existing PR, do the following steps:
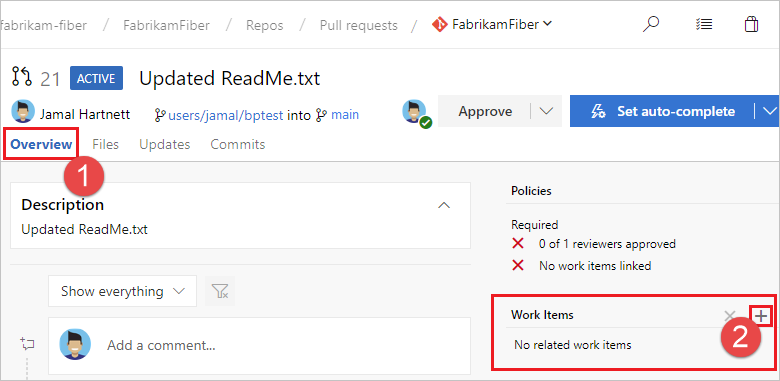
On the PR Overview tab, in the Work items area, select +.

Enter the ID of the work item or search for the work item title. Select the work item from the list that appears.
Remove a work item link by selecting the x icon next to the work item. Removing a link only removes the link between the work item and the PR. Links created in the branch or from commits remain in the work item.
To link work items to your PR, do the following steps:
Select the Overview tab in the PR.
Select the add button in the Work Items area. ![]()
Enter the ID of the work item or search for work items with titles that match your text. Select the work item from the list that appears. When searching by title, work items are filtered by state; all work items with states categorized as Completed and Removed are excluded. Additionally, these work items are filtered by date and user, showing only items created or updated in the last 30 days, and they should get created by, assigned to, or authorized as the current user.
Remove work item links by selecting the remove button that appears when you hover over the work item. ![]() Removing a link only removes the link between a work item to a PR. Links created in the branch or from commits stay in the work item.
Removing a link only removes the link between a work item to a PR. Links created in the branch or from commits stay in the work item.
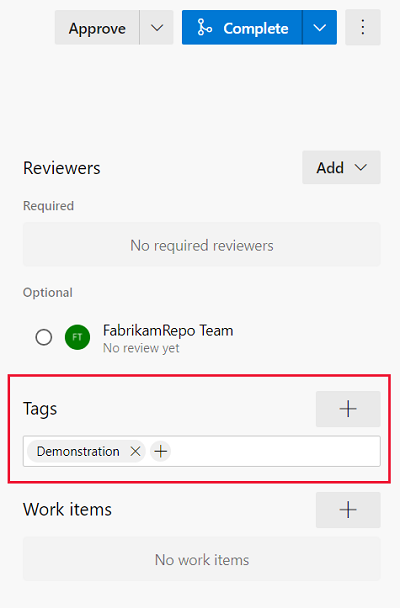
Use tags to show important details and help organize PRs. Tags can communicate extra information to reviewers, such as that the PR is still a work in progress, or is a hotfix for an upcoming release.
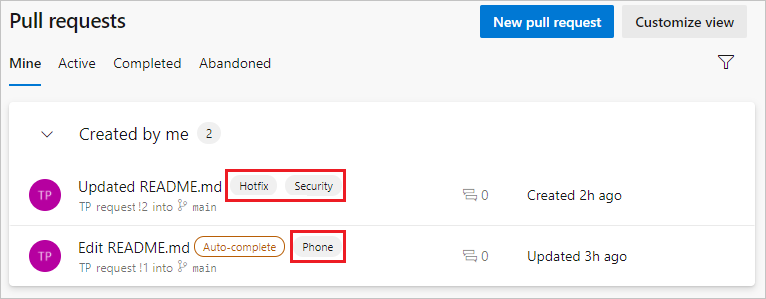
To add a tag when creating a PR, type a tag name in the Tags section. After you create the PR, you can manage tags in the Tags section.
You can attach files, including images, to your PR during or after creation. Select the paper clip icon below the Description field, or drag and drop files directly into the Description field of the PR.
For most teams, nearly all PRs target a default branch, such as main or develop. If you sometimes need to target a different branch, it's easy to forget to change the target branch when you create the PR. If that happens, you can change the target branch of an active PR:
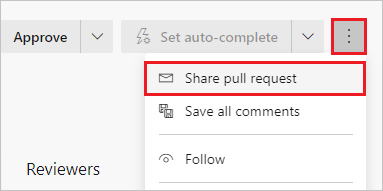
You can share a pull request by email to notify reviewers and communicate with team members. To share a PR:
Select More options on the PR Overview page, and then select Share pull request.
On the Share pull request screen, add recipients by typing their names in the To: field and selecting from the user names that appear. You can also remove recipients.
Add an optional message in the Note (Optional) field, and then select Send. Recipients receive an email requesting their attention and linking to the PR.
Note
When using the built-in email feature, you can only send emails to individual project members' addresses. Adding a team group or security group to the To: line isn't supported. If you add an unrecognized email address, you receive a message indicating that one or more recipients don't have permissions to read the mailed pull request.
For the email feature to work, your administrator must configure an SMTP server.
Events
17 Mar, 23 - 21 Mar, 23
Join the meetup series to build scalable AI solutions based on real-world use cases with fellow developers and experts.
Register nowTraining
Module
Collaborate with pull requests in Azure Repos - Training
Collaborate with pull requests in Azure Repos
Documentation
Review and comment on pull requests - Azure Repos
Learn how to review pull requests using Git in Azure Repos, including making comments, adding suggestions, and voting on changes.
Complete, abandon, or revert pull requests - Azure Repos
Respond to comments and complete pull requests in Azure Repos. Learn about completion options, auto-completion, and abandoning or reverting pull requests.
View, filter, and open pull requests - Azure Repos
Learn about different ways to list, filter, and open Git pull requests in Azure Repos.