Note
Access to this page requires authorization. You can try signing in or changing directories.
Access to this page requires authorization. You can try changing directories.
APPLIES TO: ![]() Power BI Desktop
Power BI Desktop ![]() Power BI service
Power BI service
In Power BI Desktop, you can add a new custom column of data to your model by using Power Query Editor. With Power Query Editor, you can create and rename your custom column to create PowerQuery M formula queries to define your custom column. PowerQuery M formula queries have a comprehensive function reference content set. When you create a custom column in Power Query Editor, Power BI Desktop adds it as an Applied Step in the Query Settings of the query. You can change, move, or modify the column at any time.
Use Power Query Editor to add a custom column
To create a custom column, follow these steps:
Launch Power BI Desktop and load some data.
From the Home tab on the ribbon, select Transform data, and then select Transform data from the menu.
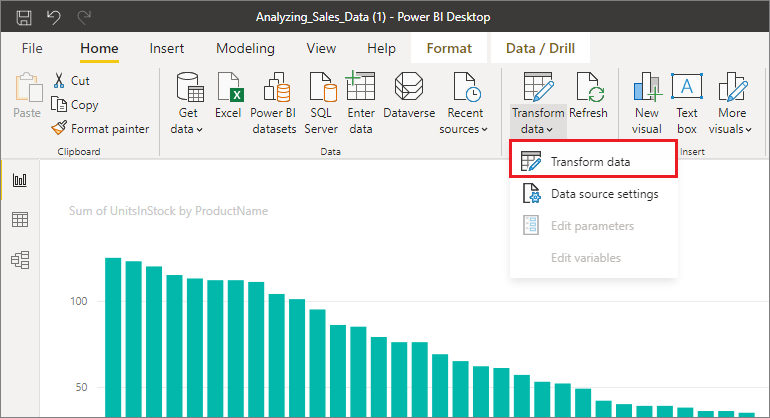
The Power Query Editor window appears.
From the Add Column tab on the ribbon, select Custom Column.
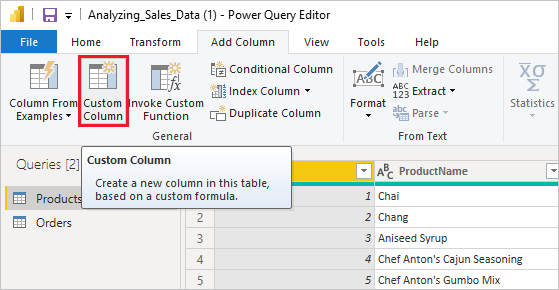
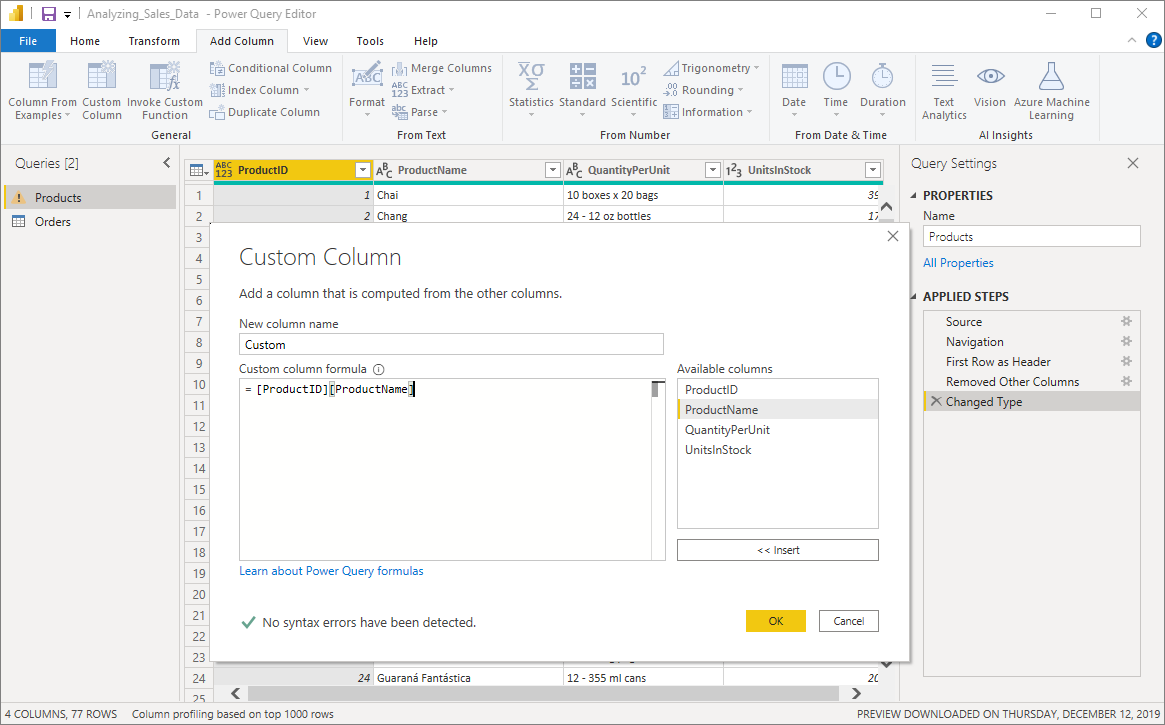
The Custom Column window appears.
The Custom Column window
The Custom Column window has the following features:
An Available columns list on the right.
The initial name of your custom column, in the New column name box. You can rename this column.
PowerQuery M formula queries, in the Custom column formula box. You create these queries by building the formula on which your new custom column is defined.
Create formulas for your custom column
You can create formulas for custom columns, as described in the following steps. For more information on M functions available for formulas, see Power Query M function reference.
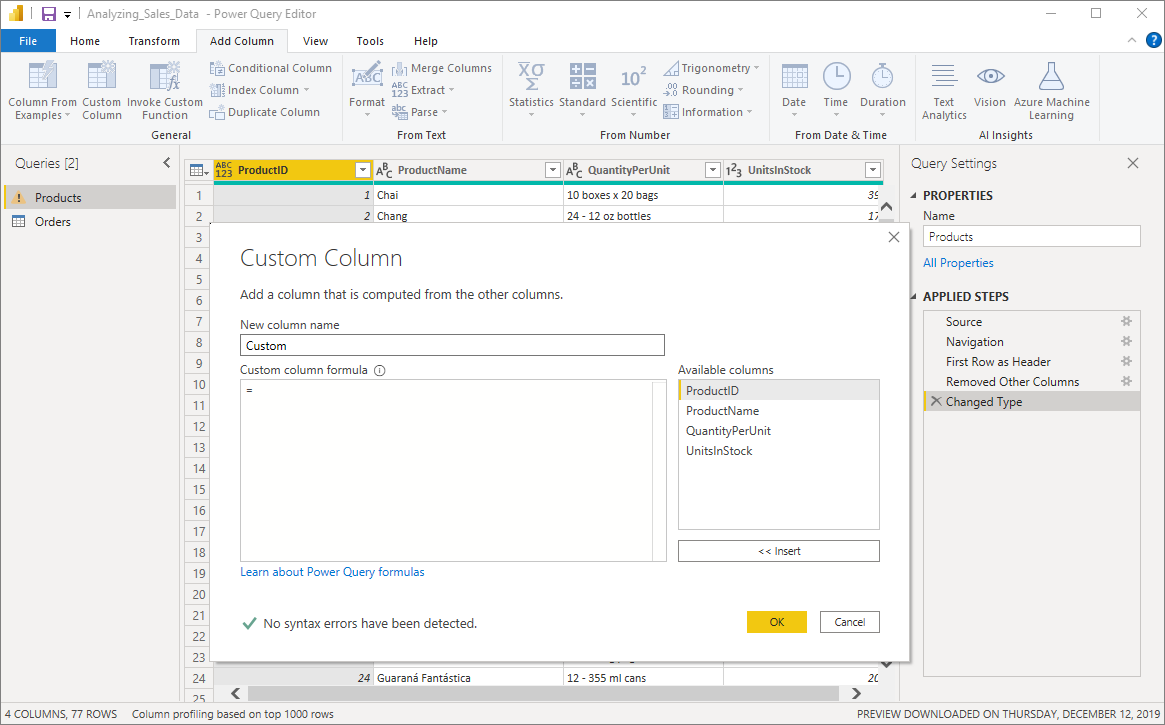
Select columns from the Available columns list on the right, and then select Insert below the list to add them to the custom column formula. You can also add a column by double-clicking it in the list.
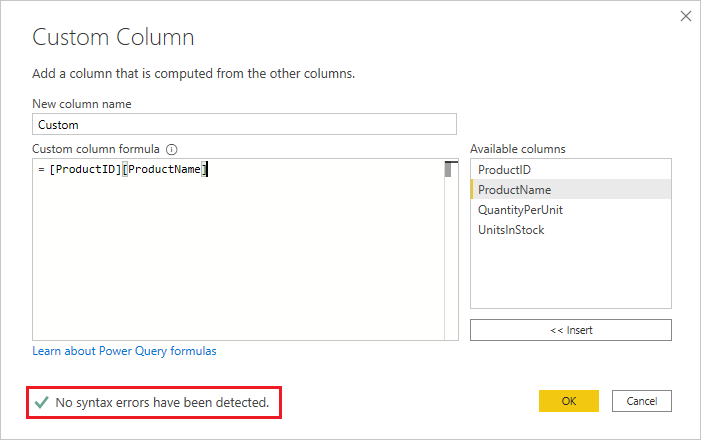
As you enter the formula and build your column, note the indicator in the bottom of the Custom Column window.
If there are no errors, there are a green check mark and the message No syntax errors have been detected.
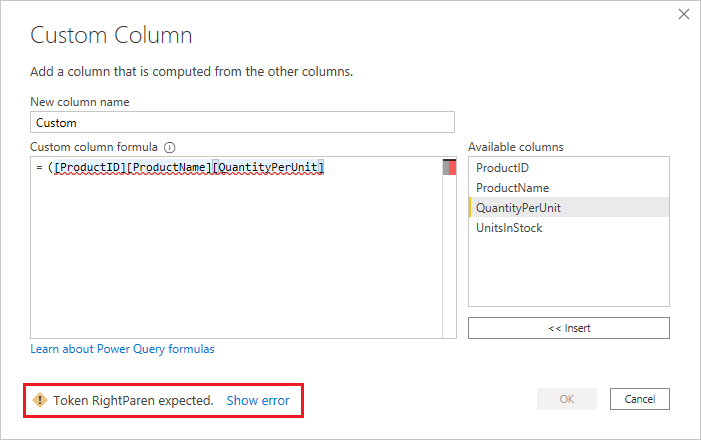
If there's a syntax error, there is a warning, along with a link to where the error occurred in your formula.
Select OK.
Power BI Desktop adds your custom column to the model and adds the Added Custom step to your query's Applied Steps list in Query Settings.
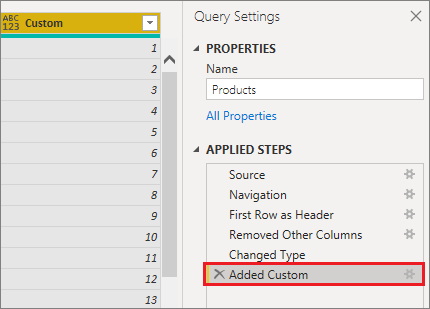
To modify your custom column, double-click the Added Custom step in the Applied Steps list.
The Custom Column window appears with the custom column formula you created.
Use the Advanced Editor for custom columns
After you've created your query, you can also use the Advanced Editor to modify any step of your query. To do so, follow these steps:
In the Power Query Editor window, from the View tab on the ribbon, select Advanced Editor.
The Advanced Editor window appears, which gives you full control over your query.
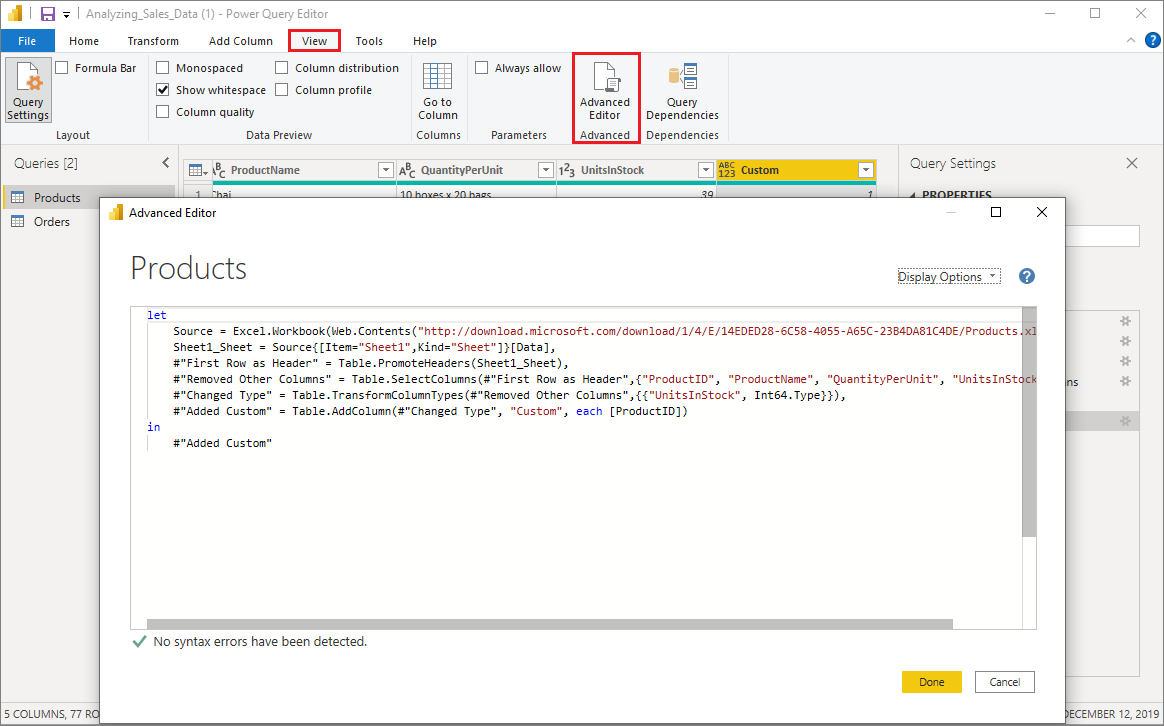
Make any changes and then select Done.
Related content
You can create a custom column in other ways, such as creating a column based on examples you provide to Power Query Editor. For more information, see Add a column from an example in Power BI Desktop.
For Power Query M reference information, see Power Query M function reference.