Titles for accessible content
When creating your content, you'll want to provide an overview and context for the content you share. Headings and titles make text stand out, so people can understand how your document is organized, and screen readers can understand navigational structure.
People using screen readers and other assistive technologies may navigate your content by using keyboard shortcuts to move from heading to heading. A title is usually the first thing a screen reader will read as the highest-level heading, followed by subheadings for other sections or topics.
Here's how to apply headings in Word, PowerPoint, and Outlook.
Exercise – Apply headings in Word
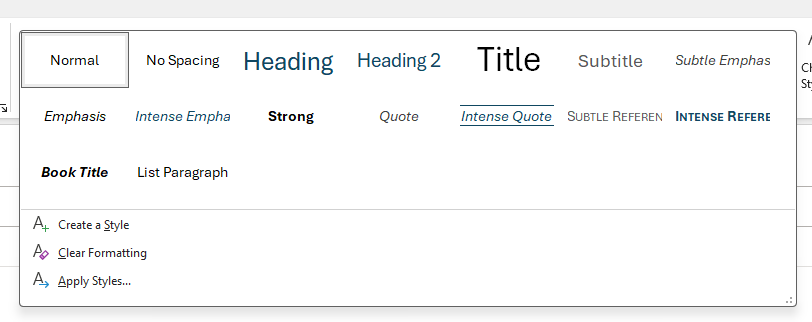
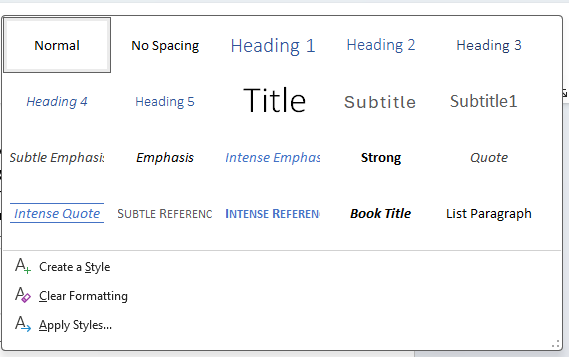
To apply headings in Word, use the built-in Styles available in the Home tab of the ribbon. Depending on the hierarchy of your content, choose Heading 1, Heading 2, or Heading 3. Properly nesting the order of headings in your document is critical to informing screen reader users how to navigate. You can also modify the appearance of any heading by changing the font, size, color, or alignment.
Exercise – Add titles in PowerPoint
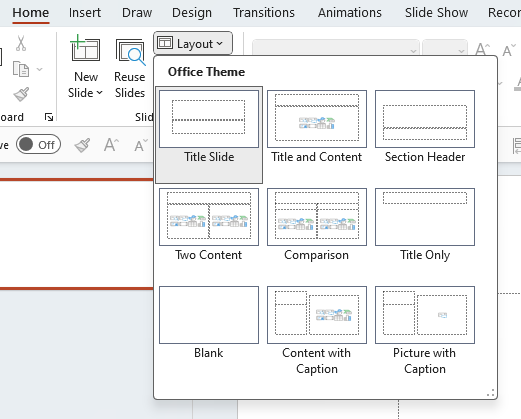
To add titles in PowerPoint, explore the built-in Layouts available in the Home tab of the ribbon. Depending on the design and content of your presentation, you can choose from different types of layouts, such as Title Slide, Title and Content, or Title Only.
Exercise – How to create headings in Outlook
To add headings in Outlook, use the Styles group in the Format Text tab of the ribbon. Select the text you want to format as a Heading and then choose the Heading Style from the gallery.