Note
Access to this page requires authorization. You can try signing in or changing directories.
Access to this page requires authorization. You can try changing directories.
A materialized view is an aggregation query over a source table, or over another materialized view. It represents a single summarize statement. There are two types of materialized views:
- Empty materialized view: it includes records ingested after view creation. Creation of this kind returns immediately, with the view instantly available for query.
- Materialized view based on existing records in the source table: creation might take a long while to complete, depending on the number of records in the source table.
For more information on materialized views, see Materialized view overview.
In this article, you learn how to create materialized views by using the .create materialized-view command.
For more information on the .create materialized-view command, see .create materialized-view.
Prerequisites
- A workspace with a Microsoft Fabric-enabled capacity.
- A KQL database with editing permissions.
Materialized view
Browse to your KQL database, and select + New > Materialized view.
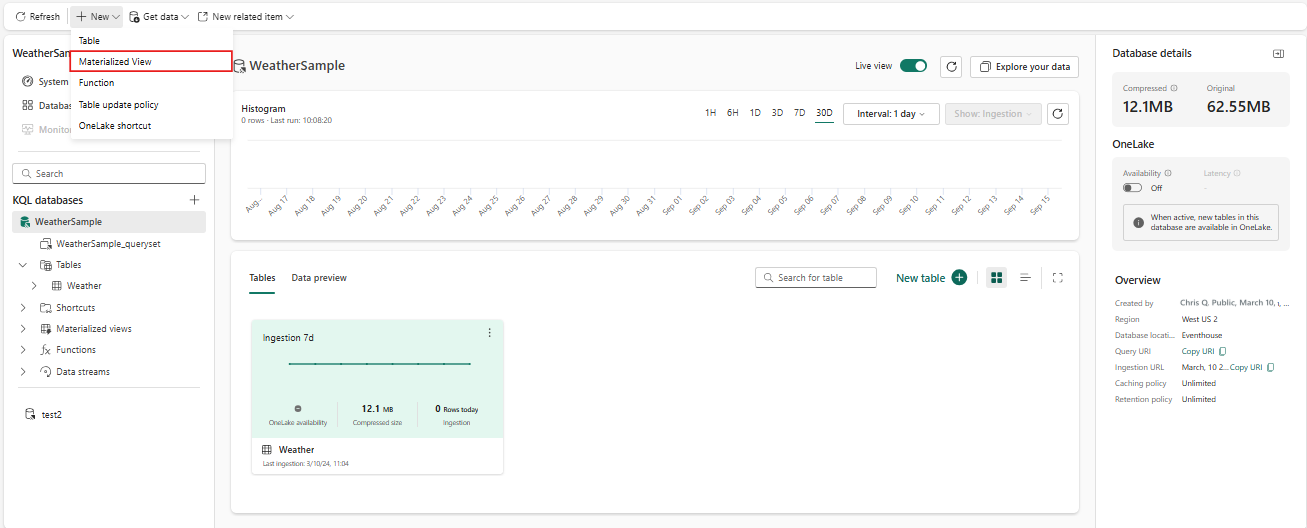
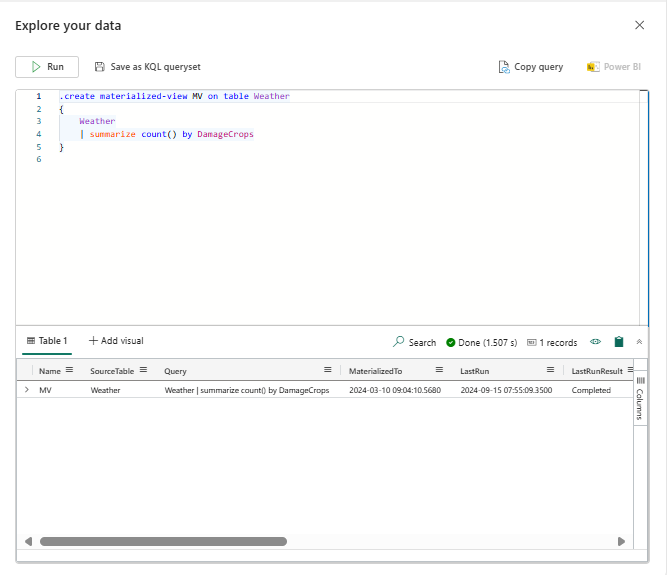
The materialized view command is populated in the Explore your data window.
Enter the table name and query statement of your materialized view instead of the placeholder text, and then select Run.
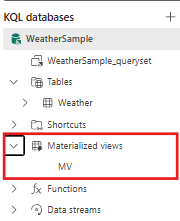
Materialized views appear under Materialized views in the Explorer pane. See how to organize materialized views in folders in the Organize materialized views in folders section below.


View, edit, or delete a materialized view
To view, edit, or delete an existing materialized view, follow these steps:
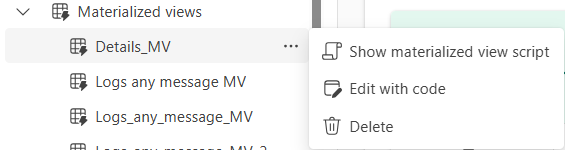
In the Explorer pane, expand the Materialized views section, and select the three dots next to the desired materialized view.
From the dropdown menu, choose either:
- Show materialized view script to view the materialized view script.
- Edit with code to edit the materialized view script in the Explore your data window.
- Delete.
If you modified the materialized view script, select Run to apply the changes.

Organize materialized views in folders
To organize materialized views in folders, follow these steps:
- In the explorer pane, either:
- Right-click on the materialized view and select Move to folder > + New folder.
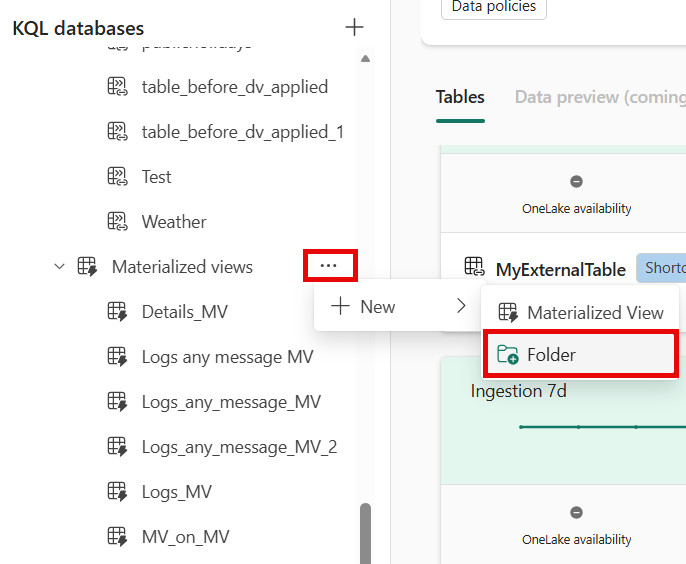
- Or, select the ellipsis (...) next to the specific materialized view and select Move to folder > + New folder or choose an existing folder.
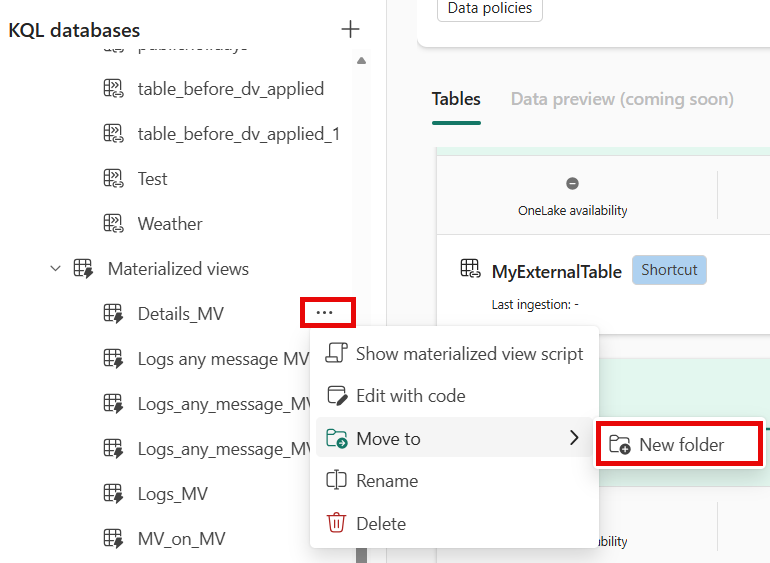
- Right-click on the materialized view and select Move to folder > + New folder.
- To create a folder, enter a name for the folder and select Create. The materialized view is moved to the new folder.
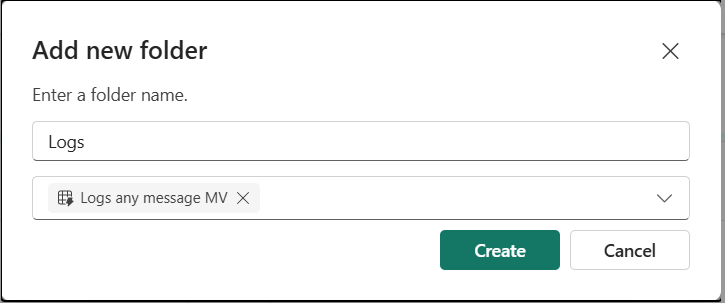
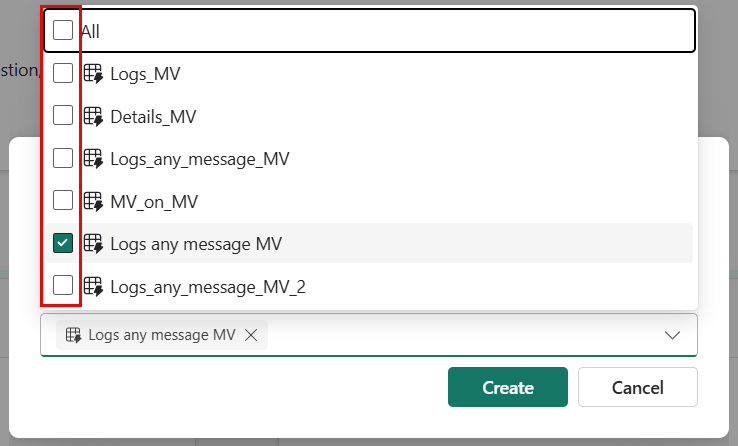
- To move more than one materialized view, either enter another folder name or select the dropdown menu and check the boxes next to the materialized views you want to move to the same folder.
- You can also move materialized views to an existing folder. To do so, select Move to folder and then select the folder you want to move the materialized view to, or drag and drop the materialized view into the folder.
Note
- If you delete a subfolder, the materialized views within the folder aren't deleted but are moved back to the parent folder.
- A subfolder is automatically deleted when there are no materialized views within the folder.
- Folders can be created per asset type and the name must be unique per asset type. For example, you can have a table folder and a materialized view folder with the same name, but you can't have two materialized view folders with the same name.