A Key Vault access policy determines whether a given security principal, namely a user, application or user group, can perform different operations on Key Vault secrets, keys, and certificates. You can assign access policies using the Azure portal, the Azure CLI, or Azure PowerShell.
Key vault supports up to 1024 access policy entries, with each entry granting a distinct set of permissions to a particular security principal. Because of this limitation, we recommend assigning access policies to groups of users, where possible, rather than individual users. Using groups makes it much easier to manage permissions for multiple people in your organization. For more information, see Manage app and resource access using Microsoft Entra groups.
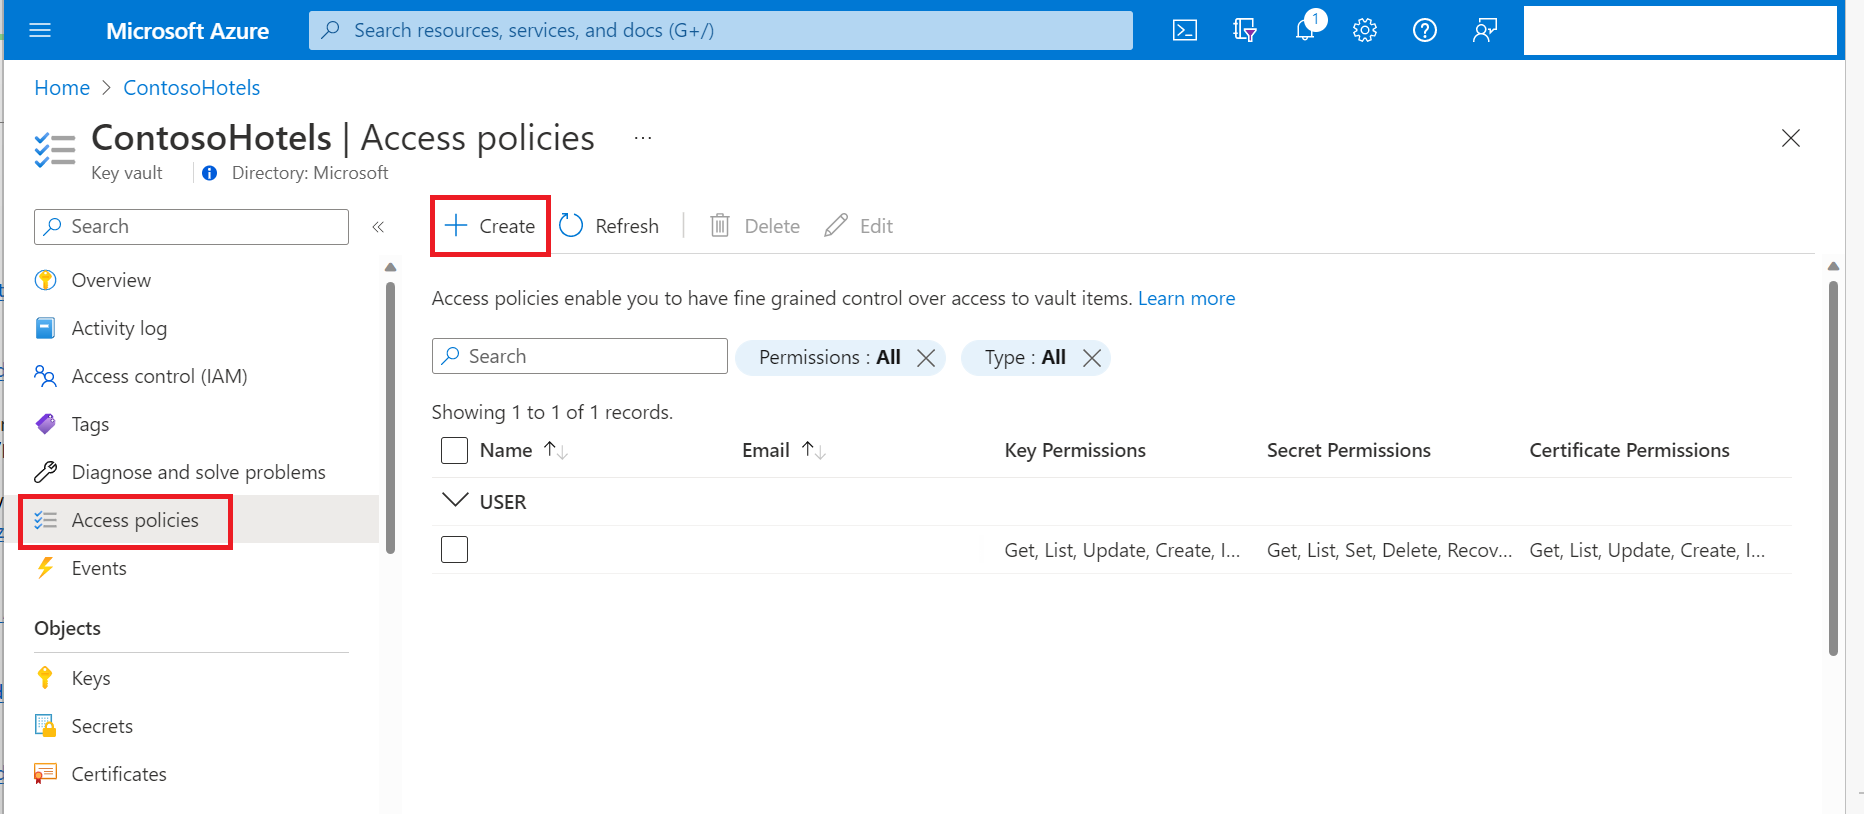
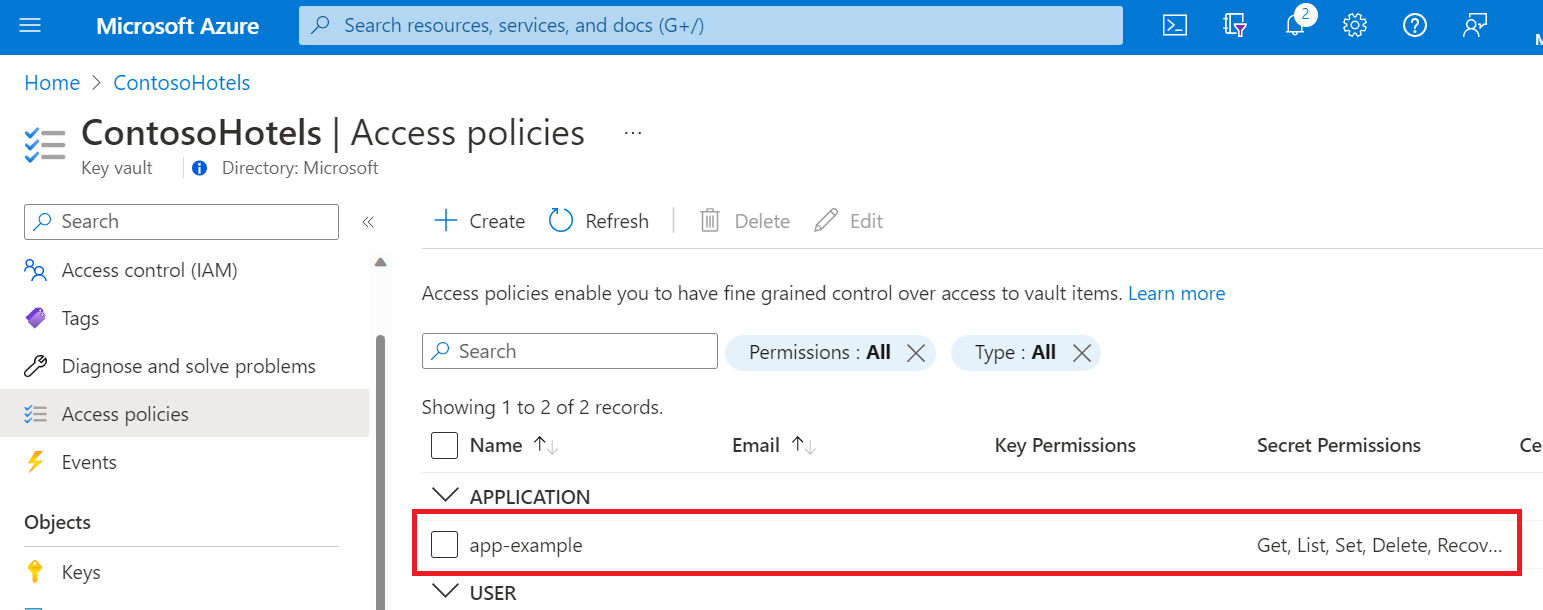
In the Azure portal, navigate to the Key Vault resource.
Select Access policies, then select Create:
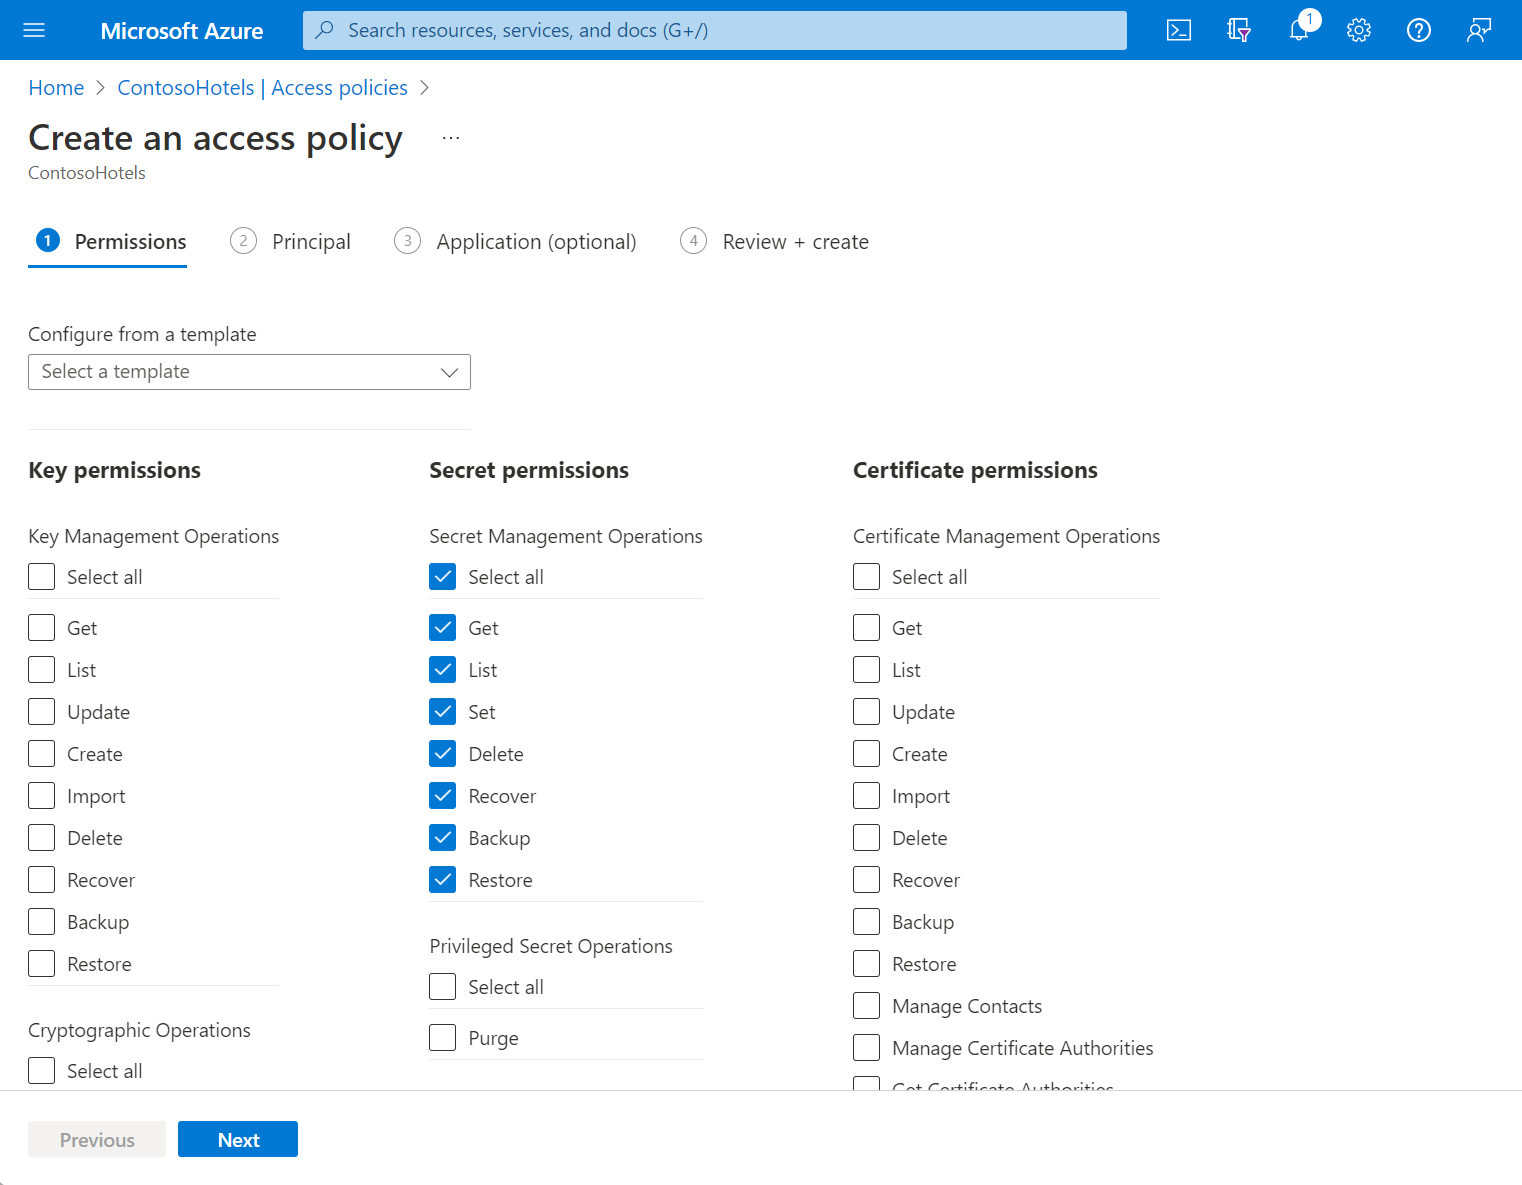
Select the permissions you want under Key permissions, Secret permissions, and Certificate permissions.
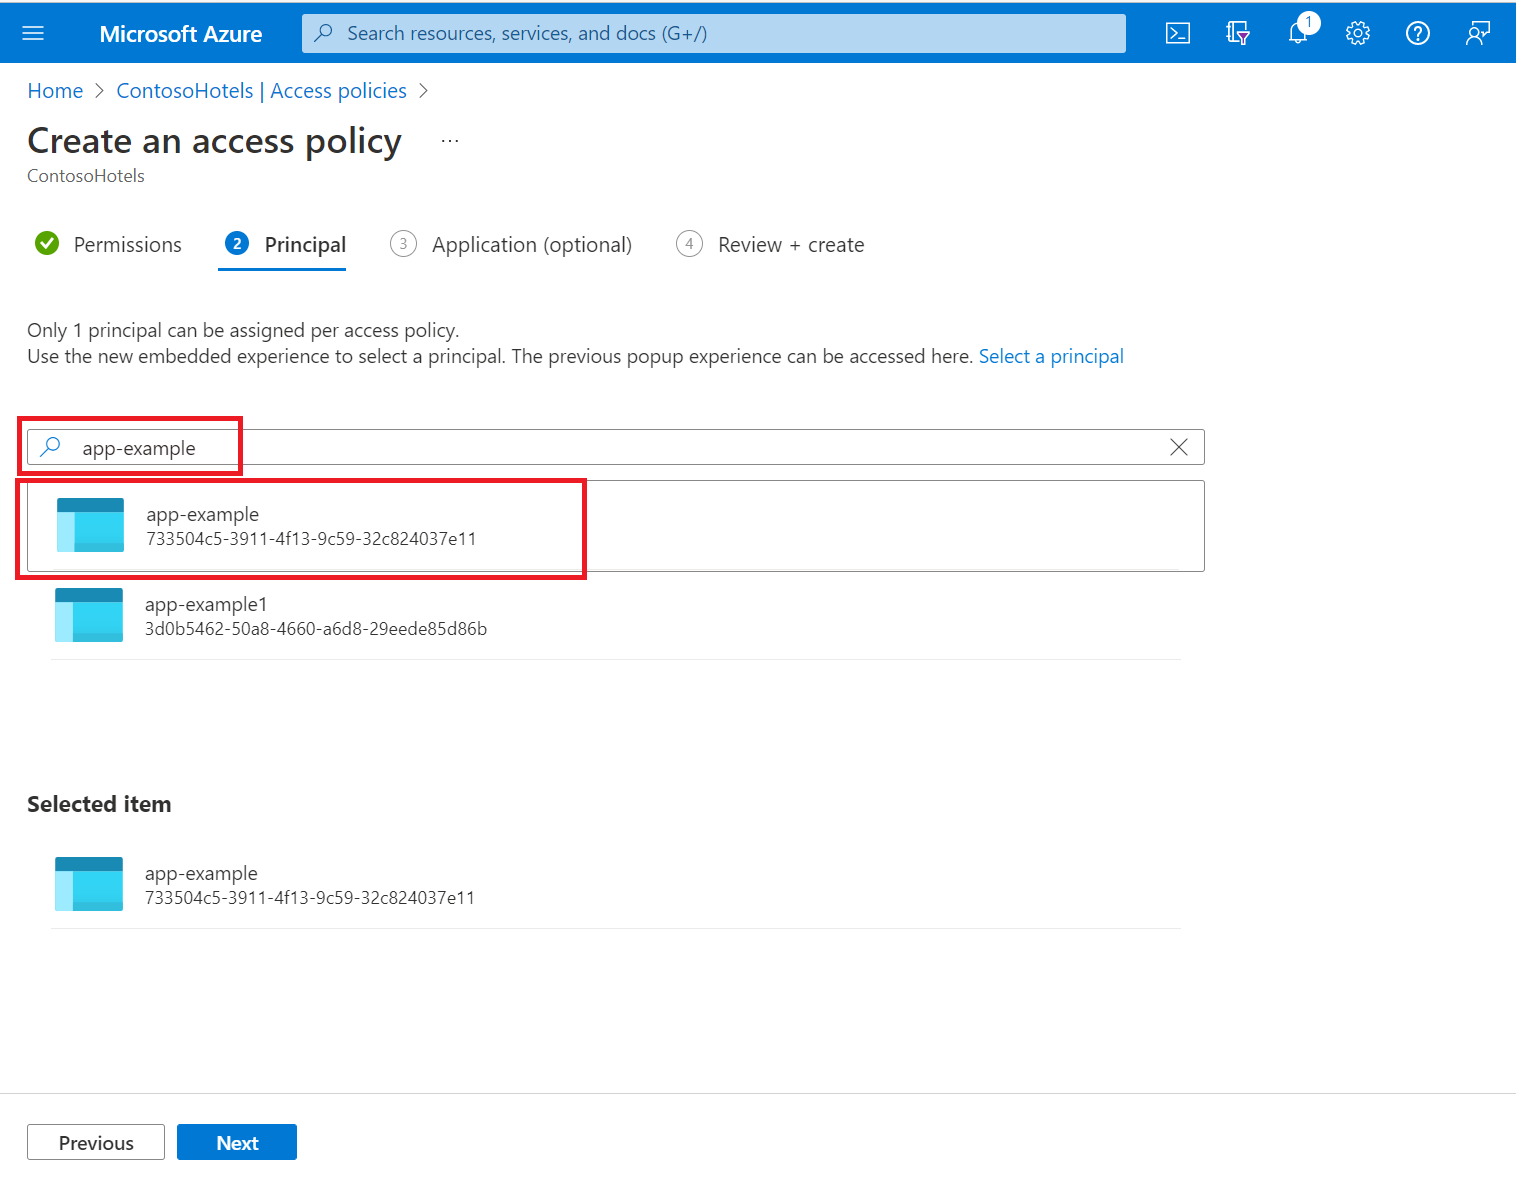
Under the Principal selection pane, enter the name of the user, app or service principal in the search field and select the appropriate result.
If you're using a managed identity for the app, search for and select the name of the app itself. (For more information on security principals, see Key Vault authentication.
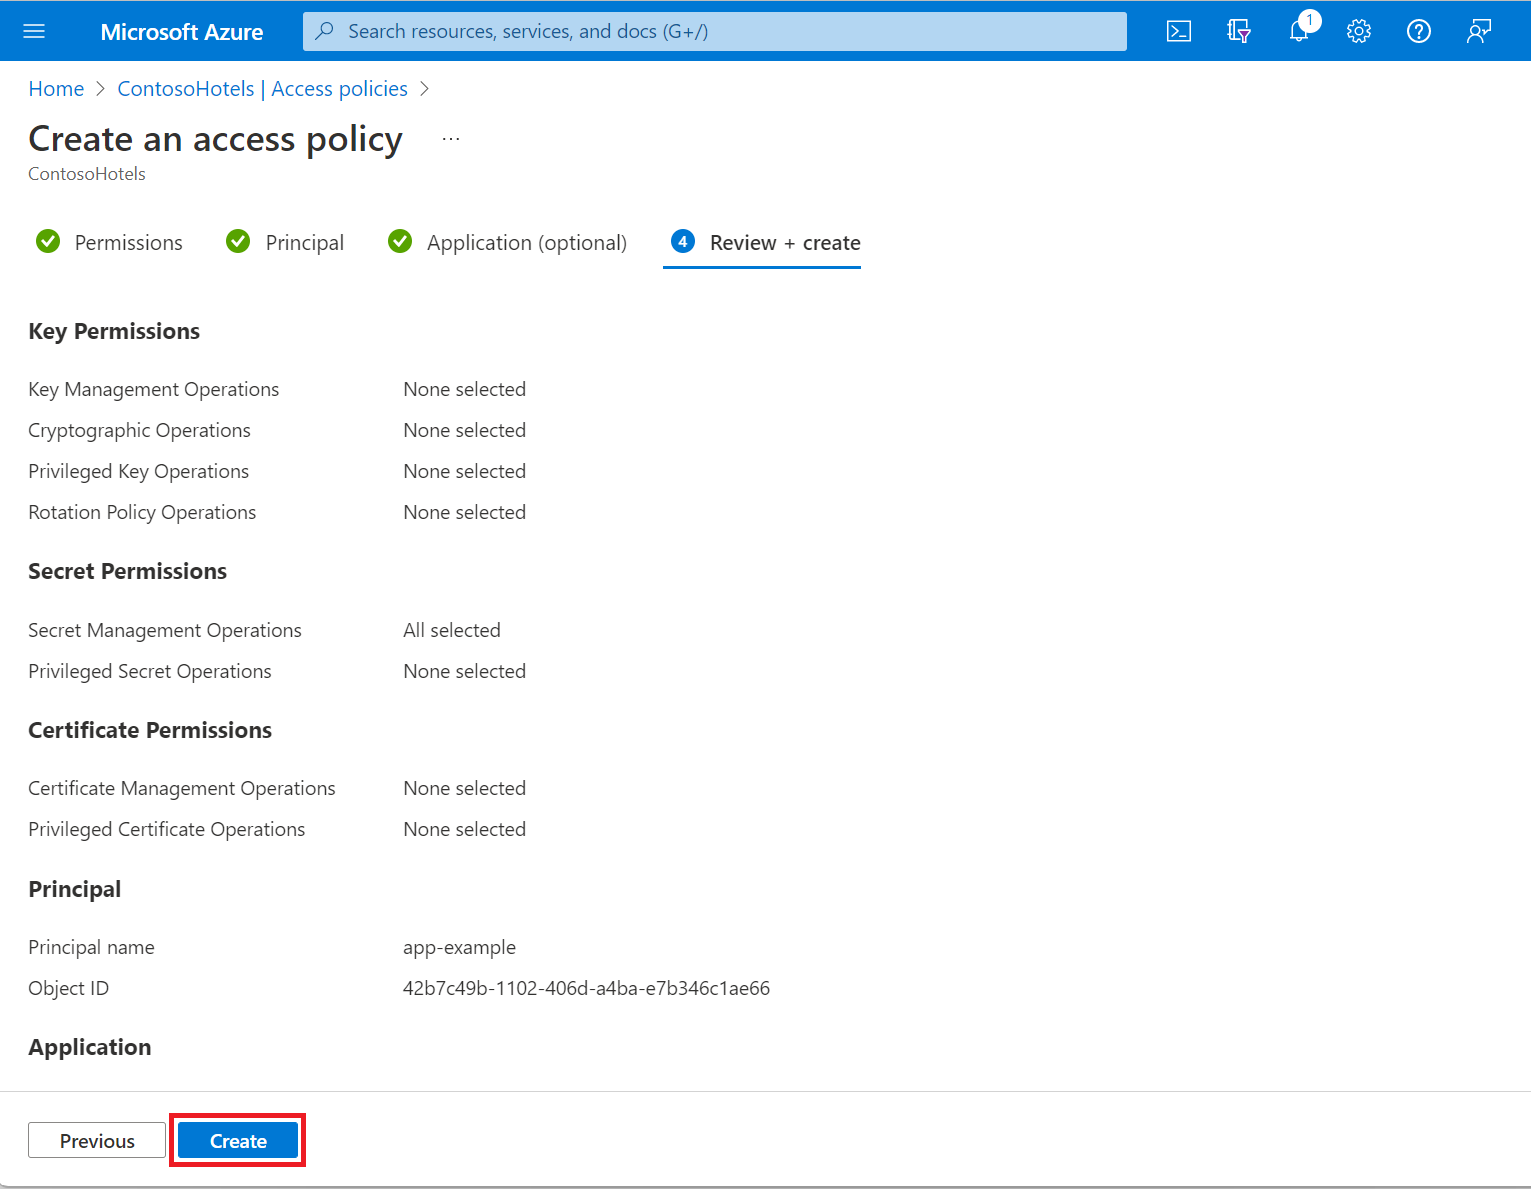
Review the access policy changes and select Create to save the access policy.
Back on the Access policies page, verify that your access policy is listed.
The az login command opens a browser window to gather credentials if needed.
Acquire the object ID
Determine the object ID of the application, group, or user to which you want to assign the access policy:
Applications and other service principals: use the az ad sp list command to retrieve your service principals. Examine the output of the command to determine the object ID of the security principal to which you want to assign the access policy.
az ad sp list --show-mine
Groups: use the az ad group list command, filtering the results with the --display-name parameter:
az ad group list --display-name <search-string>
Users: use the az ad user show command, passing the user's email address in the --id parameter:
Replace <object-id> with the object ID of your security principal.
You need only include --secret-permissions, --key-permissions, and --certificate-permissions when assigning permissions to those particular types. The allowable values for <secret-permissions>, <key-permissions>, and <certificate-permissions> are given in the az keyvault set-policy documentation.
For more information on creating groups in Microsoft Entra ID using Azure PowerShell, see New-AzADGroup and Add-AzADGroupMember.
Configure PowerShell and sign-in
To run commands locally, install Azure PowerShell if you haven't already.
Determine the object ID of the application, group, or user to which you want to assign the access policy:
Applications and other service principals: use the Get-AzADServicePrincipal cmdlet with the -SearchString parameter to filter results to the name of the desired service principal:
You need only include -PermissionsToSecrets, -PermissionsToKeys, and -PermissionsToCertificates when assigning permissions to those particular types. The allowable values for <secret-permissions>, <key-permissions>, and <certificate-permissions> are given in the Set-AzKeyVaultAccessPolicy - Parameters documentation.
Coming soon: Throughout 2024 we will be phasing out GitHub Issues as the feedback mechanism for content and replacing it with a new feedback system. For more information see: https://aka.ms/ContentUserFeedback.