Contribute to the Community hub
Applies to: Configuration Manager (current branch)
Important
Starting in March 2023, this feature of Configuration Manager is being removed. All future versions, starting with 2303 will not have the Community hub node in the admin console. The Community hub node in older versions will be redirected to deprecated features.
Community hub fosters creativity by building on others work and having other people build on yours. GitHub already has industry-wide processes and tools built for sharing. Now, the Community hub can leverage those tools directly in the Configuration Manager console as foundational pieces for driving this new community. You can share the following objects for use by others in the Configuration Manager community:
- CMPivot queries
- Applications
- Task sequences
- Configuration items
- Configuration baselines, including child configuration items
- Baselines with software updates or version-specific references aren't supported
- PowerShell Scripts
- Reports
- Power BI report templates
- For information about sharing and using Power BI report templates with Community hub, see Integrate with Power BI Report Server.
- Console extensions are available for download, but contributions are currently limited
- Content for console extensions isn't hosted by Microsoft. Currently, the source download location displays in the verbose SmsAdminUi.log for the console that initiates the download.
Prerequisites
- All Community hub prerequisites and permissions
- Configuration Manager version 2010 or later
- Install the Microsoft Edge WebView2 extension for the Configuration Manager console.
- A GitHub account
- A GitHub account is only required to contribute and share content from the Your hub page.
- If you don't already have a GitHub account, you can create one before you join.
- If you don't wish to share, you can use contributions from others without having a GitHub account.
Important
Configuration Manager versions 2006 and earlier can’t sign into GitHub but can still download items. Using Community hub on Windows Server requires the WebView2 console extension and Configuration Manager version 2010 or later.
Most built-in security roles will have access to the Community hub node:
| Role name | View the hub | Contribute hub content | Download hub content |
|---|---|---|---|
| Remote Tools Operator | No | N/A | N/A |
| Read Only Analyst | Yes | No | No |
| All other roles | Yes | Yes | Yes |
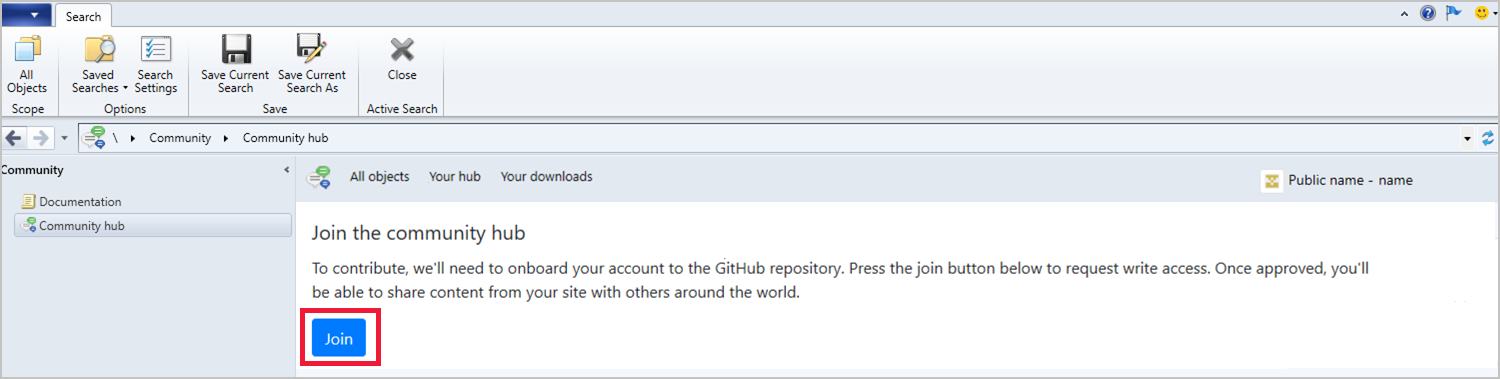
Join the Community hub to contribute content
Go to the Community hub node in the Community workspace.
Select Your hub and you'll be prompted to sign into GitHub. If you don't have an account, you'll be redirected to GitHub where you can create one. A GitHub account is only required to contribute and share content from the Your hub page.
Once you've signed into GitHub, select the Join button to join the Community hub.
After joining, you'll see your membership request is pending. Your account needs approval by the Configuration Manager Content Curation team. Approvals are done once a day, so it may take up to one business day for your approval to be granted.
Once you're granted access, you'll get an email from GitHub. Open the link in the email to accept the invitation.
Important
You must accept the invitation sent in the email otherwise you won't be able to contribute content.
Contribute content
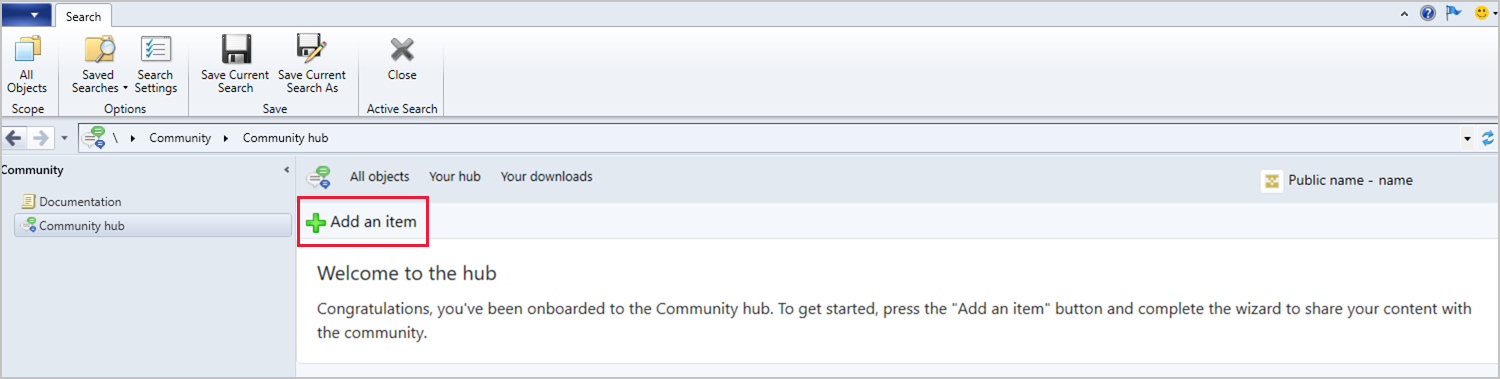
Once you've accepted the invitation, you can contribute content.
Go to Community > Community hub > Your hub.
Select Add an Item to open the Contribute item wizard.
Specify the Type of object you want to share from the drop-down menu. The following object types are available:
- CMPivot queries
- Applications
- Task sequences
- Configuration items
- Configuration baselines, including child configuration items
- Baselines with software updates or version-specific references aren't supported
- PowerShell Scripts
- Reports
- Power BI report templates
- For information about sharing and using Power BI report templates with Community hub, see Integrate with Power BI Report Server.
- Console extensions are available for download, but contributions are currently limited
- Content for console extensions isn't hosted by Microsoft. Currently, the source download location displays in the verbose SmsAdminUi.log for the console that initiates the download.
Select Browse to load your environment's object list for the selected type. The object's Name and Description (if available) will automatically load in the contribution wizard.
Edit the following information to reflect what the community should see for your contribution:
- Name: Name of your object
- Description: The description of the object you're contributing.
On the Organization page, select the GitHub Organization to use for organization branding if needed.
- None is the default.
- If your organization isn't listed, verify that the membership visibility is set to Public in your GitHub profile.
Select Next to submit the contribution.
Once the contribution is complete, you'll see the GitHub pull request (PR) link. The link is also emailed to you. You can paste the link into a browser to view the PR. Your PR will go though the standard GitHub merge process.
- PRs should be submitted through the Configuration Manager console, not directly to the GitHub repository.
Choose Close to exit the contribution wizard.
Once the PR has been completed and merged, the new item will display in the Community hub home page for others to see.
Update contributed content
You can update content you've contributed to the Community hub.
- Select an item that you previously contributed. Currently, you can only edit items that you contributed.
- In the item details, select Push Update to open the contribute item wizard.
- Edit the Description of the item to note what changes were made.
- Select Next to upload the item.
- Once the item is uploaded, you'll be given the pull request URL of the change for monitoring.
- Select Close when you're done to exit the wizard.
Delete a contribution you made
You can delete contributions you've made if you no longer want it to be displayed in the Community hub. There are two ways to delete your contributions.
Method 1:
- Go to Community > Community hub > Your hub.
- From the item you want to delete, select Delete in the far-right column.
Method 2: If the pull request was never completed (merged) into the GitHub repository, then you can just close the pull request. Ensure that you're signed into GitHub with the same GitHub account that you used to create the pull request.
Personalization and organization branding of contributed content
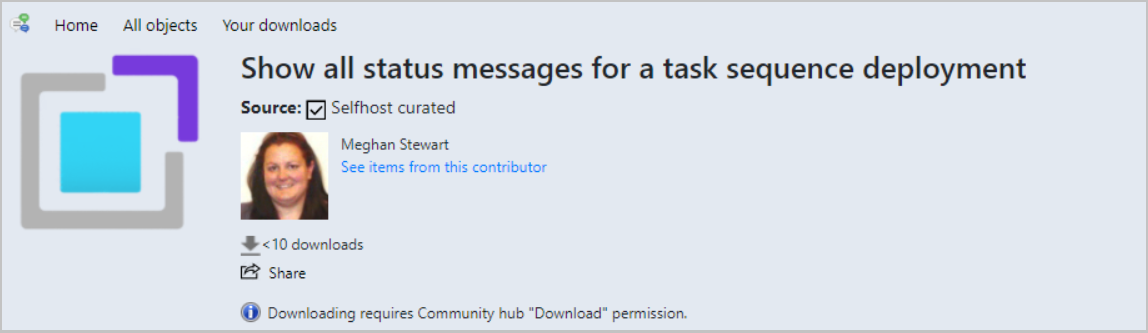
Starting in January 2021, your contributions are personalized. By default, your contributions include your personal GitHub profile picture. The default GitHub Identicon is used if you don't have a profile picture. All contributions you've submitted before January 2021 are automatically personalized using this default.
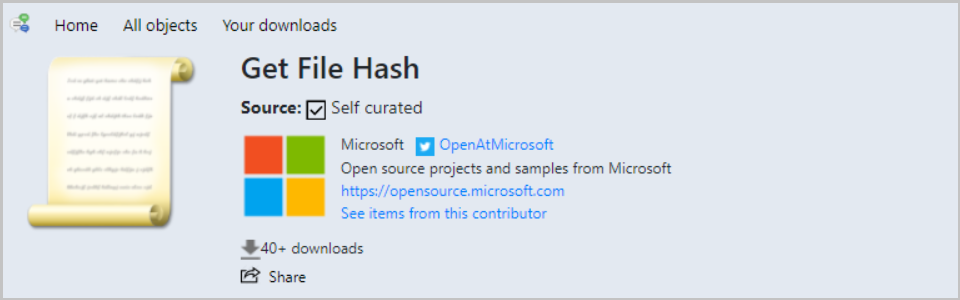
Community hub also allows new contributions to be branded instead of using the default personalization. You can brand a contribution to one of your organization memberships in GitHub that's publicly visible. When you choose to brand your contribution, the organization's profile picture is used rather than your personal profile picture. The organization's web page, Twitter handle, and company bio are included on the contribution. Branding to the organization identity allows for uniformity regardless of which user is submitting the contribution.
To use branding:
- The visibility of the organization membership must be set to Public from the contributor's GitHub profile.
- On the Organization page in the Contribute item wizard, select the GitHub Organization to use for branding. For more information, see the Contribute content section.

Directly link to Community hub items
(Introduced in version 2006)
You can navigate to and reference items in the Configuration Manager console Community hub node with a direct link. Collaborate with your colleagues easily by sharing direct links to Community hub items. These deep links are currently only for items in the Community hub node of the console.
Prerequisites for direct links:
- Configuration Manager console version 2006 or later
Share an item:
- Go the item in the hub and select Share.
- Paste the copied link and share it with others.
Open a shared link:
- Open the link from a machine that has the Configuration Manager console installed.
- Select Launch the Community hub when prompted.
- The console opens directly to the script in the Community hub node.
Publish query to Community hub from CMPivot
(Applies to version 2107 or later)
Starting in version 2107, you can publish a CMPivot query to the Community hub directly from the CMPivot window. Submitting your queries directly through CMPivot makes contributing to the Community hub easier.
You'll need the following requirements for CMPivot and for contributing to the Community hub:
- Meet all of the CMPivot prerequisites and permissions
- Enable Community hub.
- If needed, install the Microsoft Edge WebView2 extension from the Configuration Manager console notification.
- A GitHub account that's joined to Community hub
- You must accept the invitation sent in the email otherwise you won't be able to contribute content.
Go to the Assets and Compliance workspace then select the Device Collections node.
Select a target collection, target device, or group of devices then select Start CMPivot in the ribbon to launch the tool.
From the CMPivot window, select the Community hub icon on the menu.

Select Sign in, then sign into GitHub.
Create a CMPivot query, then select Run Query to verify it functions as expected.
- Optionally, select the folder icon to access your favorites list to use a query you've already created.
Select the Publish link at top of CMPivot's Community hub window when you're ready to submit your query.
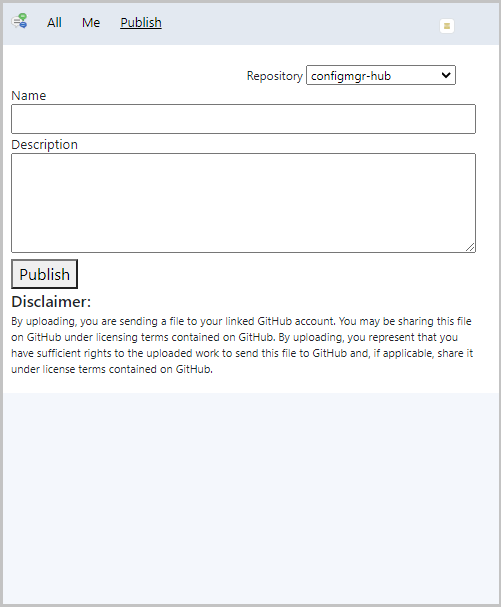
Give your query a Name and Description, then select the Publish button to send your query to the Community hub.
Once the contribution is complete, you can access your query anytime from the Me tab.
To view the GitHub pull request (PR), go to https://github.com/Microsoft/configmgr-hub/pulls. You can also access the PR link from the Your hub page in the Community hub node.
- PRs shouldn't be submitted directly to the GitHub repository.
Note
- Currently, when you publish a query through CMPivot, you can't edit or delete it after publishing.
- Community hub is only available in CMPivot when you run it from the Configuration Manager console. Community hub isn't available from standalone CMPivot.
Object type information
Configuration baselines
When you contribute a configuration baseline, each of the child configuration items is verified. The verification starts at the lowest nested level. This means that configuration items that are grandchildren are verified before direct child configuration items are. You can have up to 50 child configuration items and up to 4 nested levels. The following process occurs to ensure the configuration baseline is usable and complete:
- Check if the child configuration item is already in the Community hub. If the configuration item doesn't exist, it's created.
- A configuration item with software updates or version-specific references will cause an error and the contribution will fail.
- If the configuration item already exists in the Community hub, verify the contributor is the author. If the contributor isn't the author, a new configuration item is created in Community hub.
- If the contributor is the author, check for local updates to the configuration item. If the configuration item changed, update the item in the Community hub.
Console extensions
You contribute extensions the same way you would any other community hub object. However, for there are additional requirements and additional information you need to supply for an extension. When you contribute a console extension to Community hub, the content must be signed. Content for console extensions isn't hosted by Microsoft. When you contribute your item, you'll be asked to provide a location to the signed .cab file along with other information for the extension. The following items are required for contributing extensions:
- Content URL: Location for the downloadable
.cabfile - SHA-256 hash of the content: SHA-256 hash of the
.cabfile - License URL: URL of the license for the extension, such as https://mit-license.org/
- Privacy statement URL: URL of your privacy statement
Next steps
Learn more about creating and using the following objects:
Feedback
Coming soon: Throughout 2024 we will be phasing out GitHub Issues as the feedback mechanism for content and replacing it with a new feedback system. For more information see: https://aka.ms/ContentUserFeedback.
Submit and view feedback for