View and manage event registrations
Event managers can use registration records to evaluate, in advance, how many resources that they'll need to have available, which sessions require larger rooms, or whether a session should be canceled. Advance registration also helps attendees be confident that their place is reserved for all sessions that they want to attend.
View event registrations
To view registrations for all events, open the Events work area and go to Event > Event Registrations.
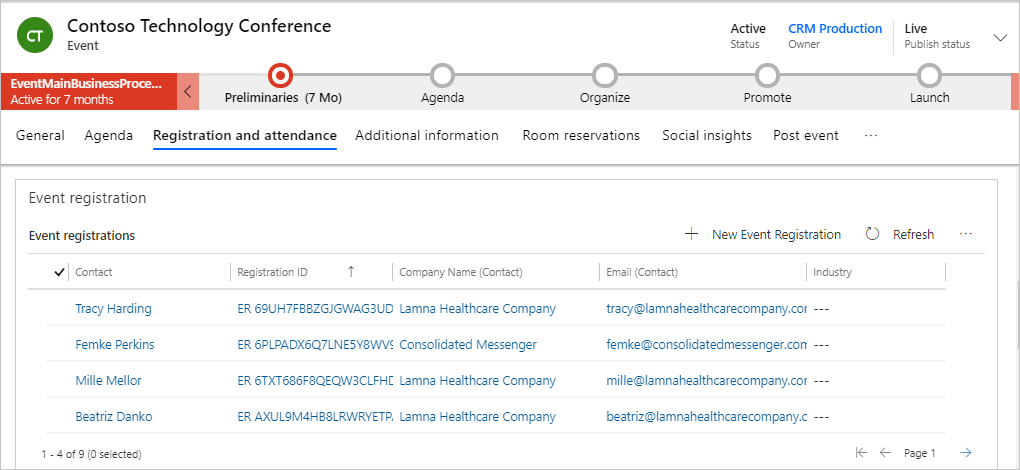
To view current registrations for a specific event, go to Event planning > Event > Events, open the event record, and then go to the Registration and attendance tab.
For more information, see Register attendees for events, sessions, and passes.
Add registrants automatically
The event website enables contacts to register themselves for any event that you are managing in Dynamics 365 Customer Insights - Journeys. Depending on the registration options you've chosen, attendees may be able to choose their schedule by selecting among available passes (each of which grants access to a different collection of sessions), or by selecting each session individually to assemble their own custom schedule. A simple event might just have one registration option that applies to all attendees. You can even implement online payment. Waitlists are available for sold out events or sessions.
Each registration results in an event-registration record, which pulls together a registrant's profile, their passes, the sessions they'll attend, and, eventually, the sessions they did attend. Each registration record has a unique ID, which the system encodes into a QR code that you can embed in a registration-confirmation email sent to each registrant. You'll also find the QR code embedded in each registration record so you can use it in other contexts, such as to print badges to be handed out at the event.
Add registrants manually
Dynamics 365 Customer Insights - Journeys users can manually register attendees by creating event registrations, session registrations, and pass assignments directly in the app. This feature lets you provide options such as phone-based registration.
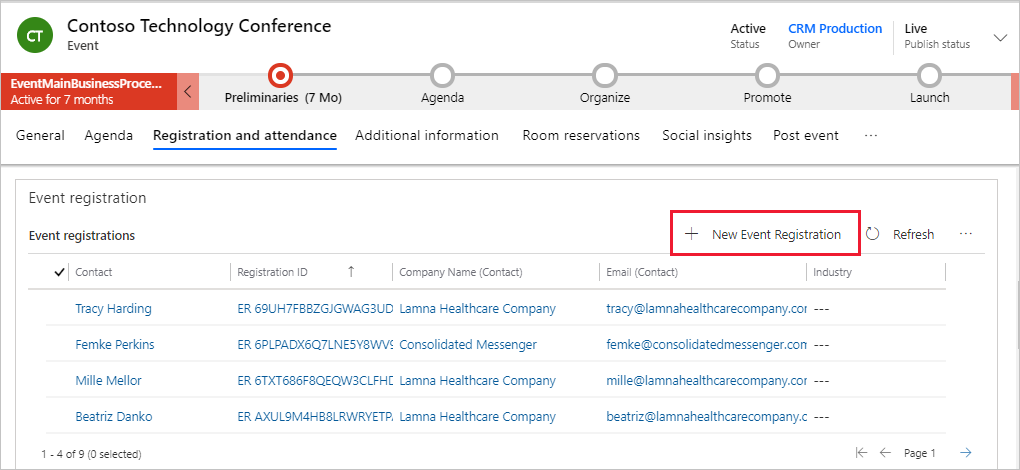
To manually add registrants, open an event and go to the Registration and attendance tab. Select + New Event Registration. Select the Primary role and a Contact, and then select Save and Close.
Each registration results in an event registration record. It pulls together a registrant's profile, their passes, the sessions that they plan to attend, and eventually, the sessions that they did attend. Each registration record has a unique ID that the system encodes into a QR code that you can print onto attendee badges and passes for quick scanning during the event. You'll find the QR code embedded in the registration record. For webinar registration, the registration includes a unique webinar URL that is provided by your external webinar provider through bi-directional syncing or through Teams integration if you choose Teams Live Events or Teams Meetings as your webinar streaming option.
