Events
17 Mar, 9 pm - 21 Mar, 10 am
Join the meetup series to build scalable AI solutions based on real-world use cases with fellow developers and experts.
Register nowThis browser is no longer supported.
Upgrade to Microsoft Edge to take advantage of the latest features, security updates, and technical support.
APPLIES TO: ![]() NoSQL
NoSQL
In this quickstart, you create a new Azure Cosmos DB for NoSQL account in the Azure portal. You then use the Data Explorer experience within the Azure portal to create a database and container configuring all required settings. Finally, you add sample data to the container and issue a basic query.
Start by creating a new Azure Cosmos DB for NoSQL account
Sign in to the Azure portal (https://portal.azure.com).
Enter Azure Cosmos DB in the global search bar.

Within Services, select Azure Cosmos DB.

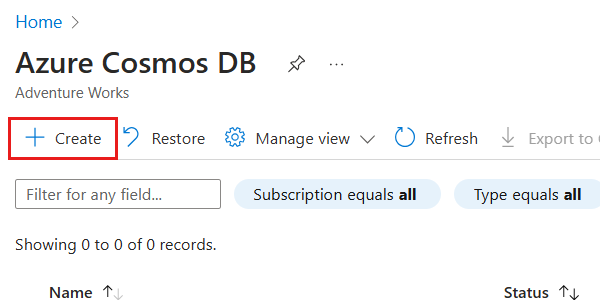
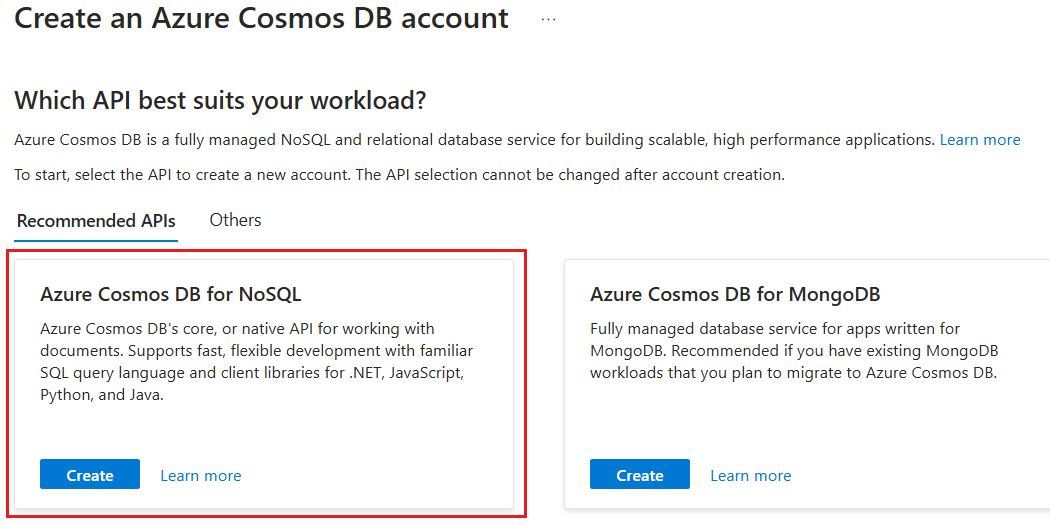
In the Azure Cosmos DB pane, select Create, and then Azure Cosmos DB for NoSQL.
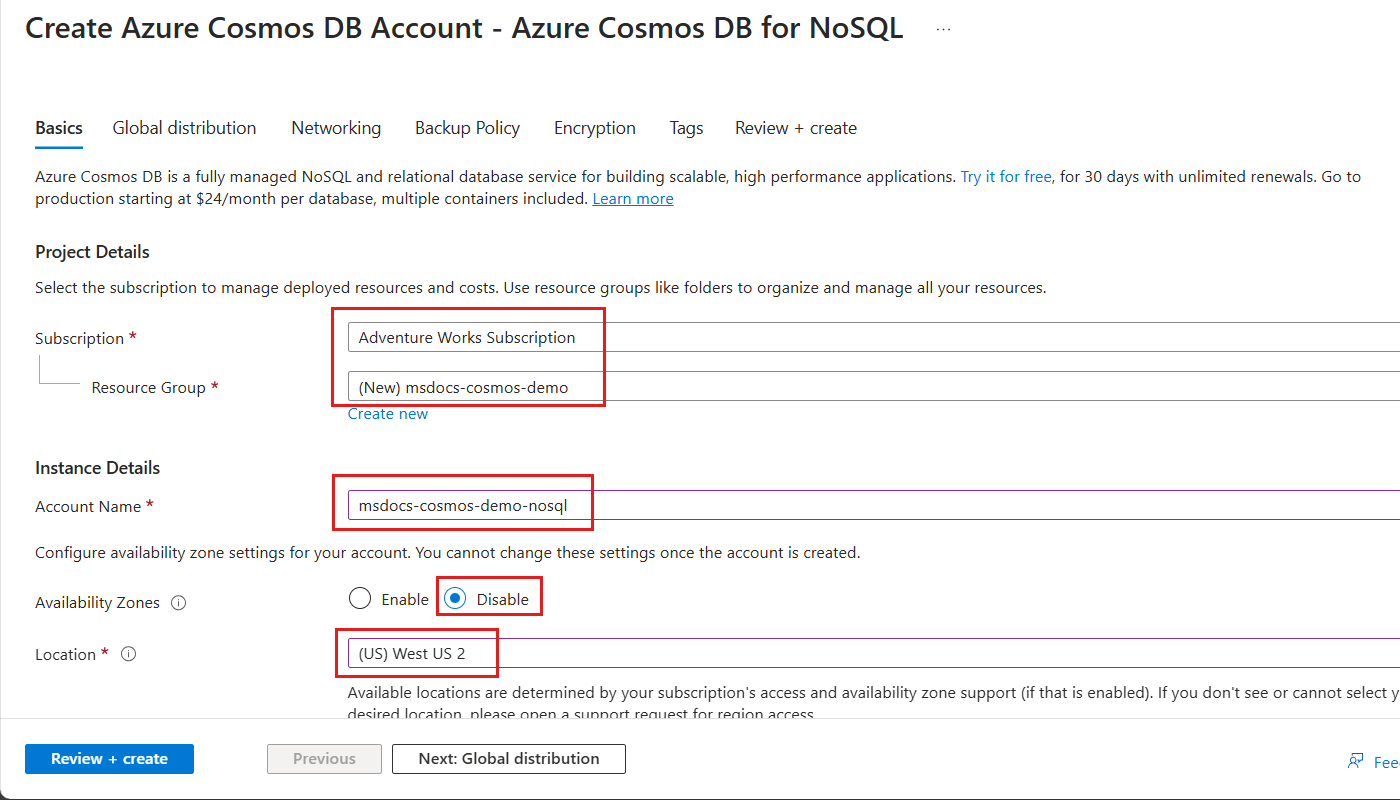
Within the Basics pane, configure the following options, and then select Review + create:
| Value | |
|---|---|
| Subscription | Select your Azure subscription |
| Resource Group | Create a new resource group or select an existing resource group |
| Account Name | Provide a globally unique name |
| Availability Zones | Disable |
| Location | Select a supported Azure region for your subscription |
Tip
You can leave any unspecified options to their default values. You can also configure the account to limit total account throughput to 1,000 request units per second (RU/s) and enable free tier to minimize your costs.
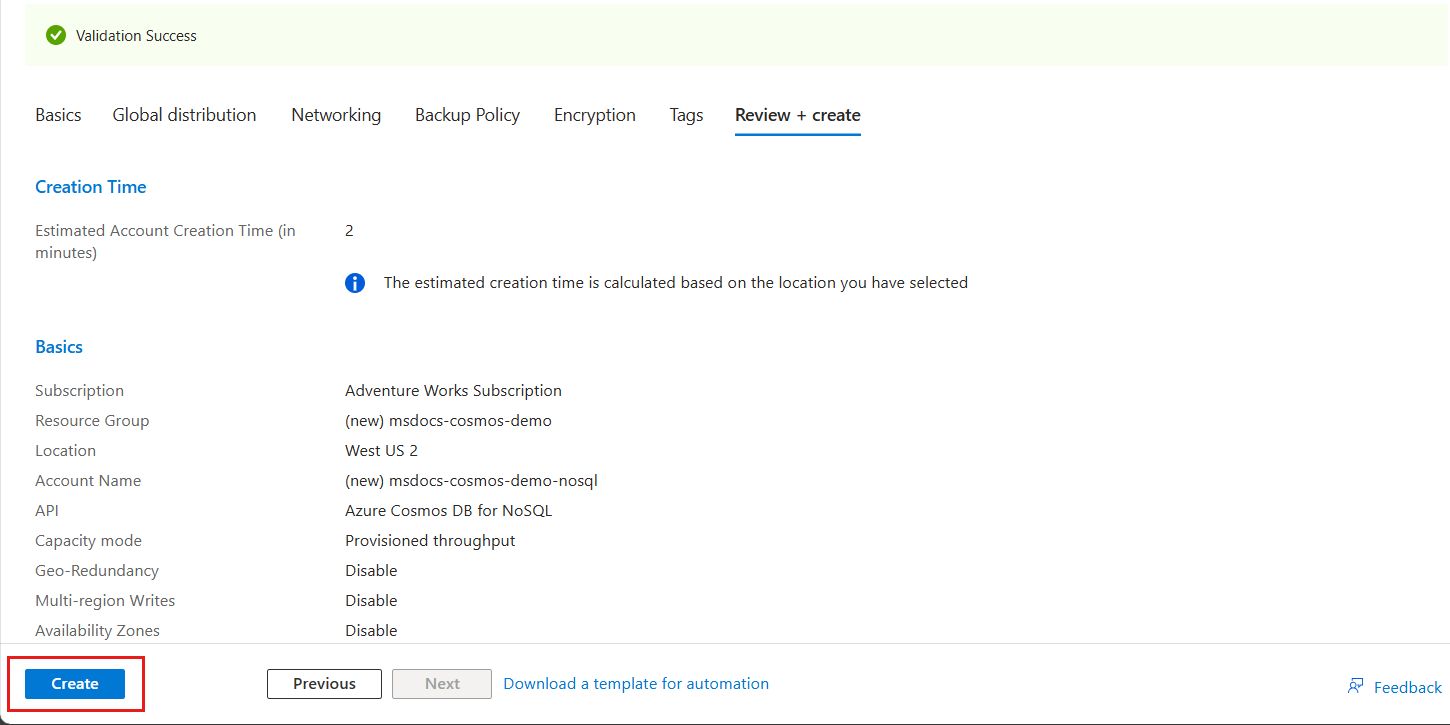
On the Review + create pane, wait for validation of your account to finish successfully, and then select Create.
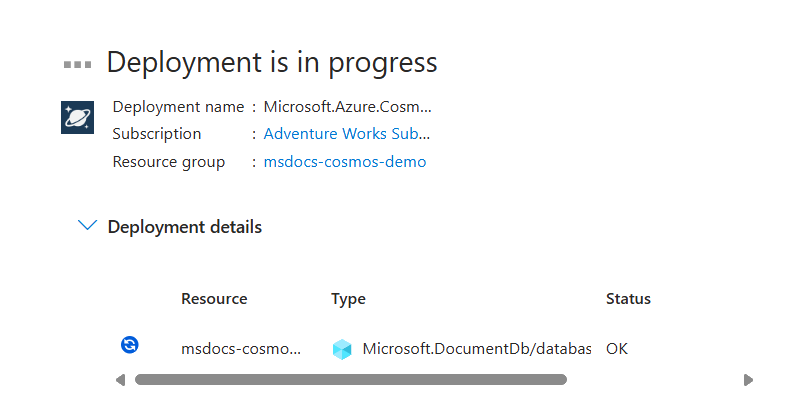
The portal automatically navigates to the Deployment pane. Wait for the deployment to complete.
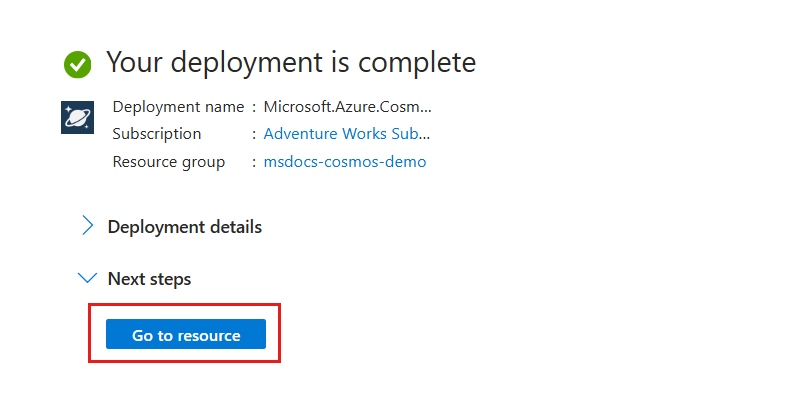
Once the deployment is complete, select Go to resource to navigate to the new Azure Cosmos DB for NoSQL account.
Next, use the Data Explorer to create a database and container in-portal.
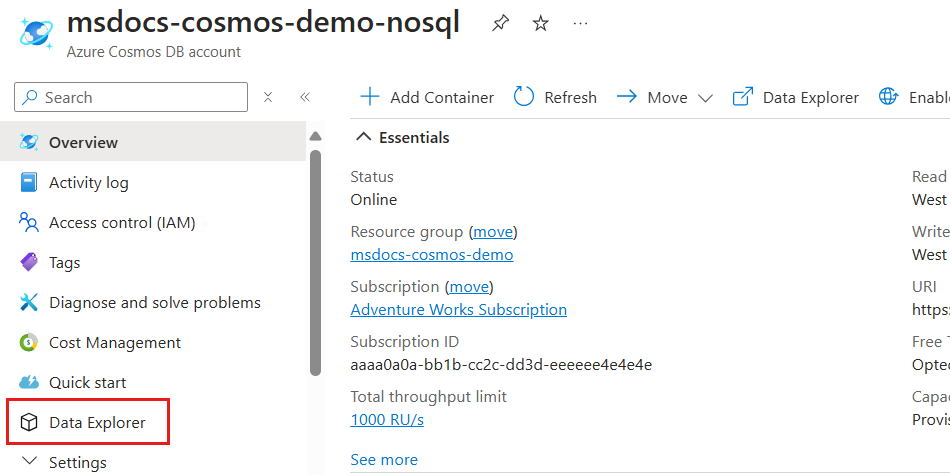
In the account resource pane, select Data Explorer in the service menu.
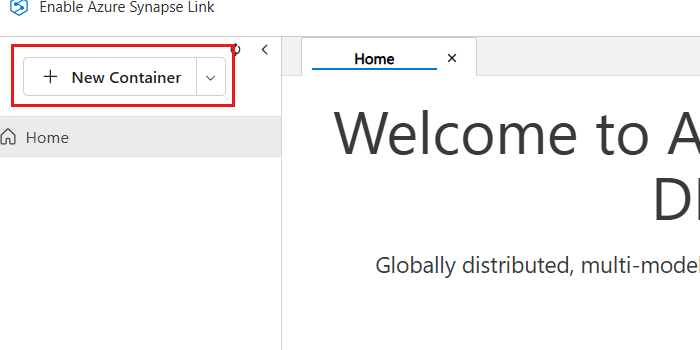
In the Data Explorer pane, select the New Container option.
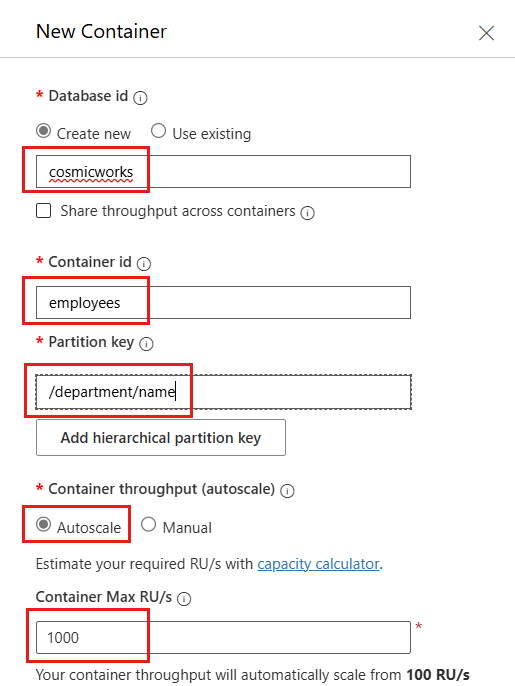
In the New Container dialog, configure the following values and then select OK:
| Value | |
|---|---|
| Database | Create new |
| Database id | cosmicworks |
| Share throughput across containers | Don't select |
| Container id | employees |
| Partition key | department/name |
| Container throughput (autoscale) | Autoscale |
| Container Max RU/s | 1000 |
Create a new file named demo.bicepparam or (demo.bicepparam).
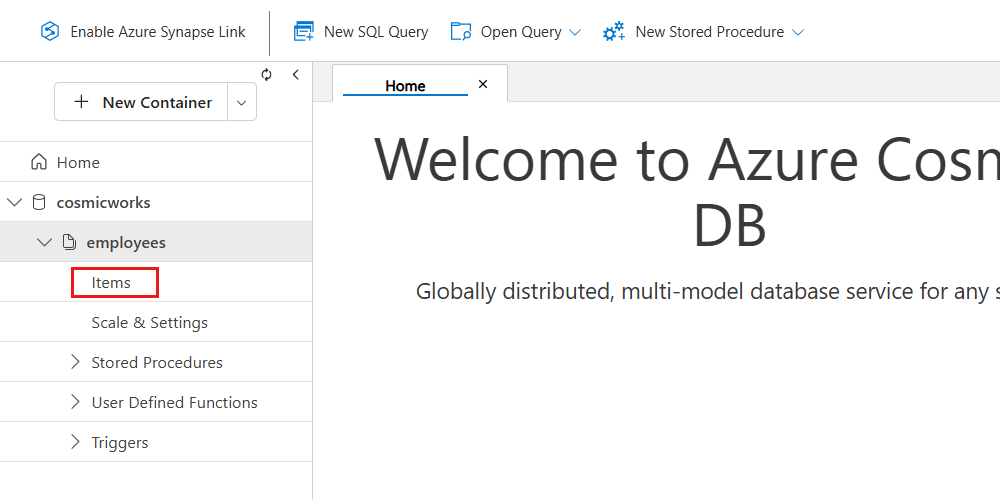
Observe the newly created database and container in the Data Explorer's hierarchy.

Tip
Optionally, you can expand the container node to observe additional properties and configuration settings.
Finally, use the Data Explorer to create a sample item and then issue a basic query to the container.
Expand the node for the employees container in the tree of the Data Explorer. Then, select the Items option.
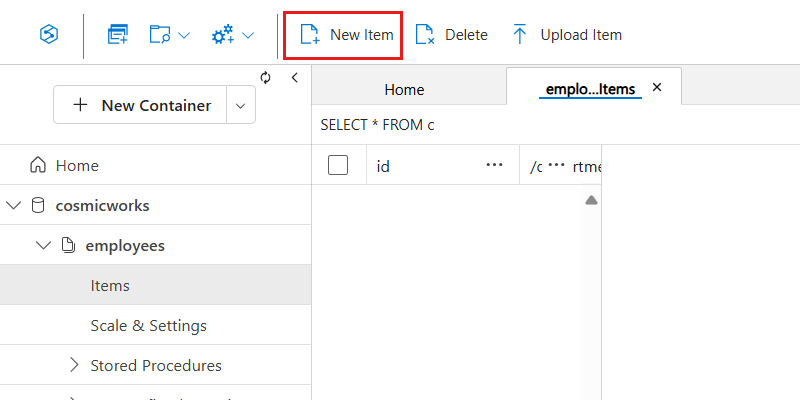
In the Data Explorer's menu, select New Item.
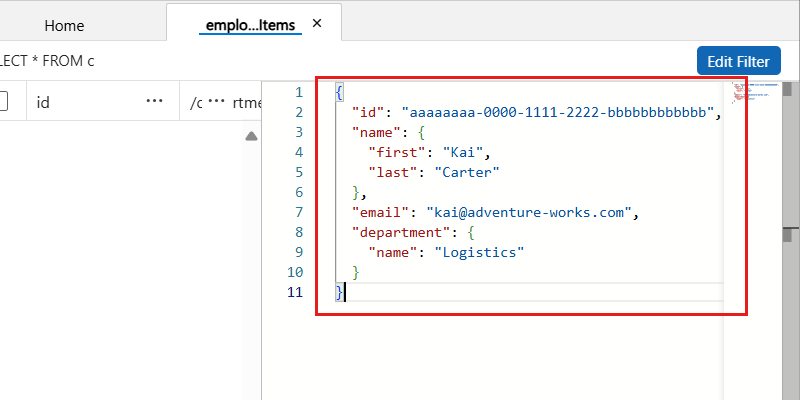
Now, insert the following JSON for a new item in the employees container and then select Save:
{
  "id": "aaaaaaaa-0000-1111-2222-bbbbbbbbbbbb",
  "name": {
    "first": "Kai",
    "last": "Carter"
  },
  "email": "<kai@adventure-works.com>",
  "department": {
    "name": "Logistics"
  }
}
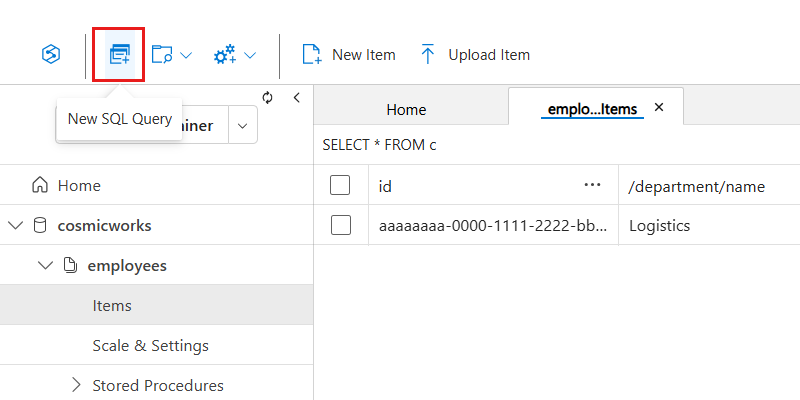
In the Data Explorer's menu, select New SQL Query.
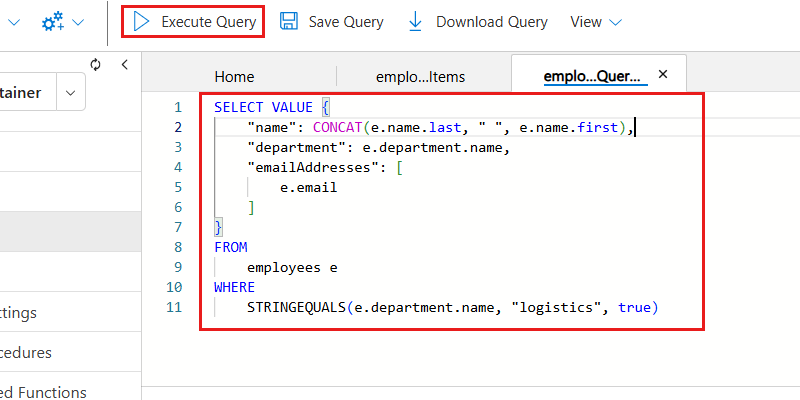
Now, insert the following NoSQL query to get all items for the logistics department using a case-insensitive search. The query then formats the output as a structured JSON object. Run the query by selecting Execute Query:
SELECT VALUE {
    "name": CONCAT(e.name.last, " ", e.name.first),
    "department": e.department.name,
    "emailAddresses": [
        e.email
    ]
}
FROM
    employees e
WHERE
    STRINGEQUALS(e.department.name, "logistics", true)
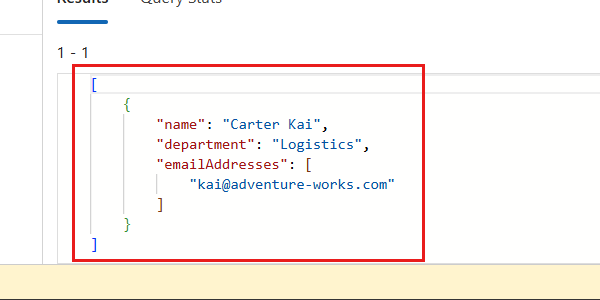
Observe the JSON array output from the query.
[
  {
    "name": "Carter Kai",
    "department": "Logistics",
    "emailAddresses": [
      "kai@adventure-works.com"
    ]
  }
]
Events
17 Mar, 9 pm - 21 Mar, 10 am
Join the meetup series to build scalable AI solutions based on real-world use cases with fellow developers and experts.
Register nowTraining
Certification
Microsoft Certified: Azure Cosmos DB Developer Specialty - Certifications
Write efficient queries, create indexing policies, manage, and provision resources in the SQL API and SDK with Microsoft Azure Cosmos DB.
Documentation
Try Azure Cosmos DB free. No credit card required. Test your apps, deploy, and run small workloads free for 30 days. Upgrade your account at any time.
Choose an API in Azure Cosmos DB
Learn how to choose between APIs for NoSQL, MongoDB, Cassandra, Gremlin, and Table in Azure Cosmos DB based on your workload requirements.
Quickstart - Azure SDK for .NET - Azure Cosmos DB for NoSQL
Deploy a .NET web application that uses the Azure SDK for .NET to interact with Azure Cosmos DB for NoSQL data in this quickstart.