Configure master data in the admin app
This article provides information about how you can use the admin app (a model-driven app) to add and manage master data for your solution. These tasks are typically performed by business admins in your organization.
See the overview video about how to configure master data, or follow the steps in this article. Estimated time to complete these steps: 35–40 minutes
Demo: Quick overview of how to configure master data
Watch a quick overview about how to configure master data.
Step 1: Configure and manage setup data for your organization
Use the admin app to create and manage master setup data for your organization. This data is required for the Higher Education Crisis Financial Impact Tracker app to work.
Important
Ensure that your IT admin has deployed the solution into your organization and has granted appropriate permissions for business admins to use the admin app. More information: Deploy the Higher Education Crisis Financial Impact Tracker app
You must add master setup data to these entities in the following sequence:
Master data is managed from the Administration area on the left pane in the admin app.
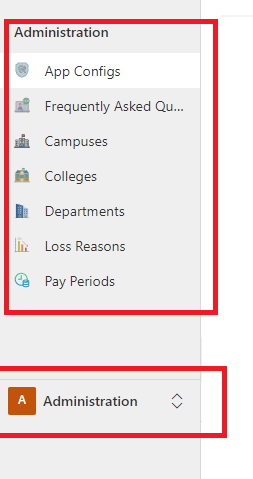
App Configs
Use the App Configs entity to manage key configurations of the apps.
To update the App Configs entity record:
Sign in to the admin app by using the URL provided by your IT admin.
On the left pane, select Administration > App Configs.
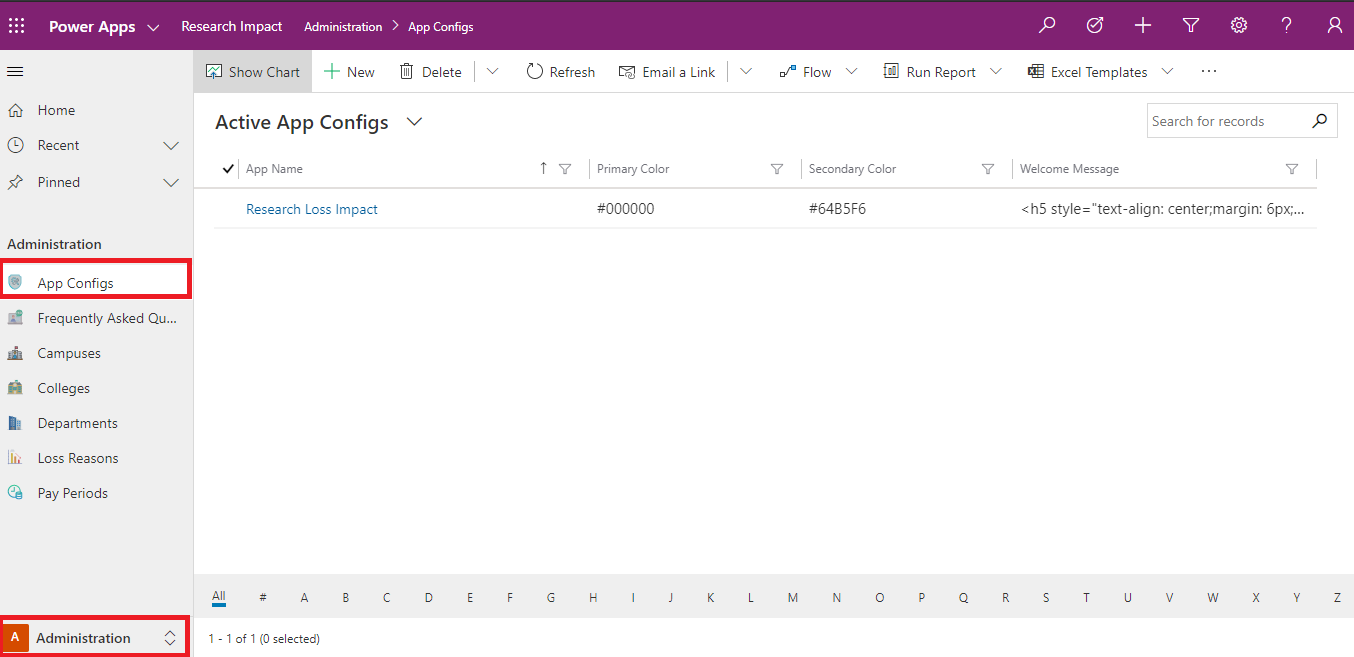
Select the record you want to update.
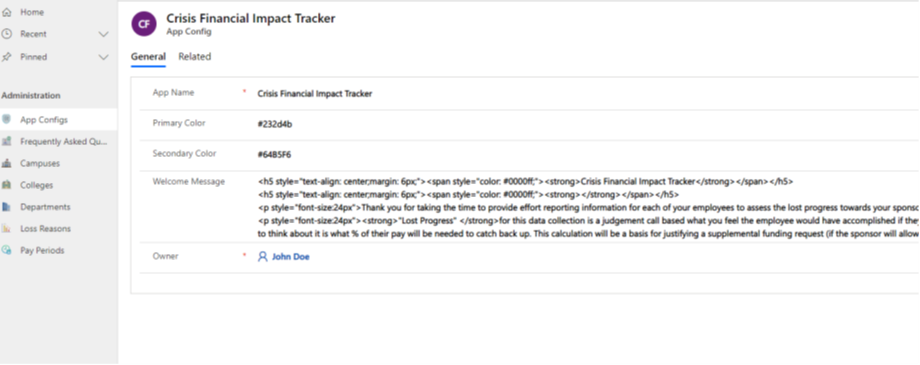
Enter or update the fields by using appropriate values.
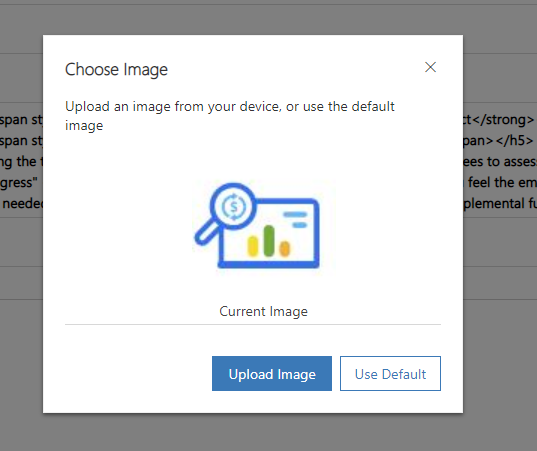
Field Description App Name Enter the name of the app. Primary Color Enter the primary color for the app. Secondary Color Enter the secondary color for the app. Welcome Message Enter the HTML-based welcome message that you want to display on the app. Owner The owner field automatically defaults to your user. Double-click to select the image on the form to update it with a new one.
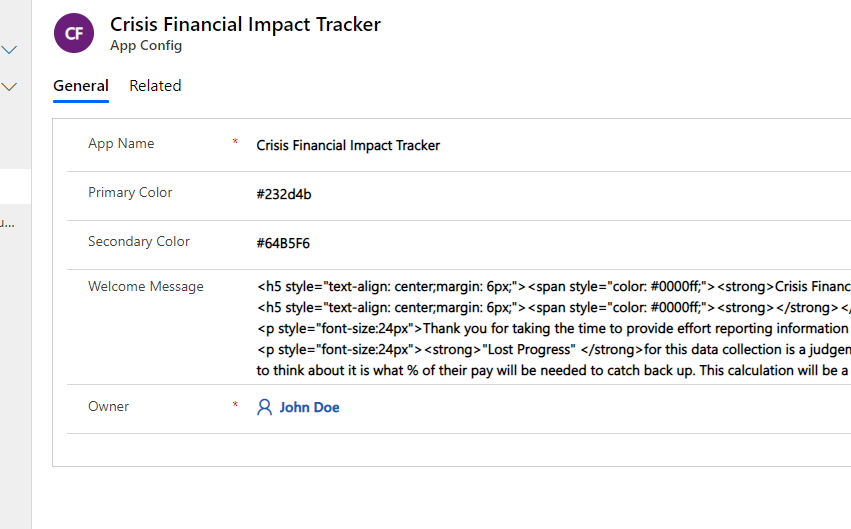
Select Upload Image, to display a new icon for your app.
Frequently Asked Questions
Use the Frequently Asked Questions entity to manage and maintain a list of answers to questions that your users might have as they create records.
To create a new record in Frequently Asked Questions:
Sign in to the admin app by using the URL provided by your IT admin.
On the left pane, select Administration > Frequently Asked Questions, and then select New.
Enter values for the fields as described in the following table.
Field Description Question Enter a question that app users might commonly ask. Answer Enter an answer to the question that will be helpful for app users. Owner The owner field automatically defaults to the user. 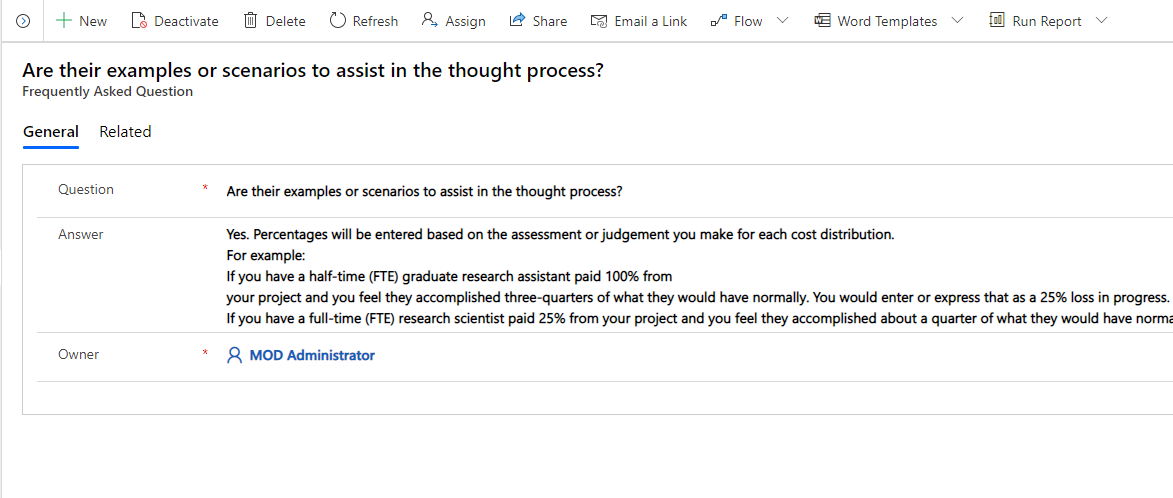
Select Save & Close. The newly created record will be available in the Frequently asked questions list.
To edit the record, select it, update the values as required, and then select Save & Close.
Campuses
Use the Campuses entity to manage and maintain a list of university campuses that will participate in this program.
To create a record in Campuses:
Sign in to the admin app by using the URL provided by your IT admin.
On the left pane, select Administration > Campuses, and then select New.
Enter the following field values to create a new record.
Field Description Campus Name Enter the name of the campus. Campus Description Enter the description of the campus. Owner The owner field automatically defaults to your user. 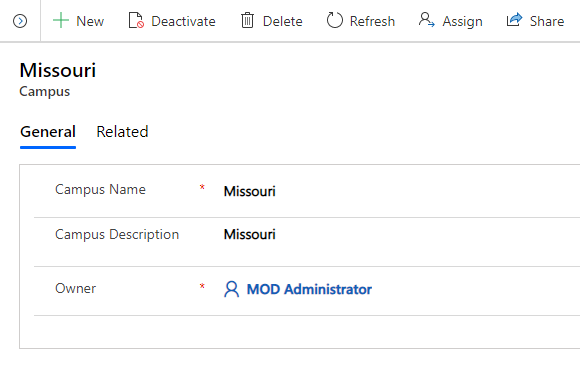
Select Save & Close. The newly created record will be available in the Campuses list.
To edit the record, select it, update the values as required, and then select Save & Close.
Colleges
Use the Colleges entity to manage and maintain a list of the colleges at university campuses that will participate in this program.
To create a record in Colleges:
Sign in to the admin app using the URL your IT admin provided.
On the left pane, select Administration > Colleges, and then select New.
Enter the following field values to create a new record.
Field Description College Name Enter the name of the college or school. College Description Enter the description of the college or school. Campus Select a campus this college or school is associated with. This list is populated based on the Campus data you created earlier. Owner The owner field automatically defaults to your user. 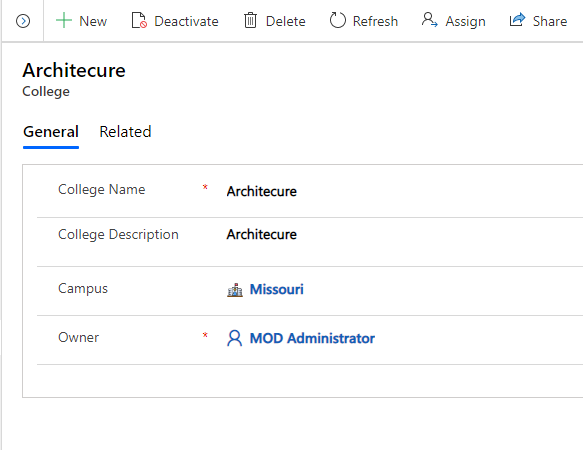
Select Save & Close. The newly created record will be available in the Colleges list.
To edit the record, select it, update the values as required, and then select Save & Close.
Departments
Use the Departments entity to manage and maintain a list of the departments for each college that will participate in this program.
To create a record in Departments:
Sign in to the admin app by using the URL provided by your IT admin.
On the left pane, select Administration > Departments, and then select New.
Enter the following field values to create a new record.
Field Description Department Enter the name of the department. Department Description Enter a description of the department. College Select the college that this department is associated with. This list is populated based on the Colleges data you created earlier. Owner The owner will automatically default to your user. 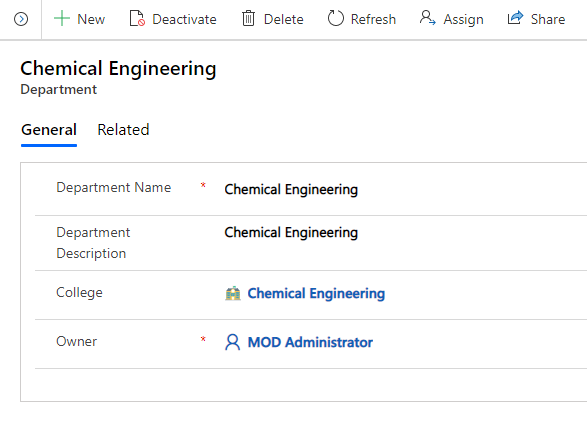
Select Save & Close. The newly created record will be available in the Departments list.
To edit the record, select it, update the values as required, and then select Save & Close.
Loss Reasons
Use the Loss Reasons entity to manage and maintain a list of loss reasons associated with the effort impact.
To create a record in Loss Reasons:
Sign in to the admin app by using the URL provided by your IT admin.
On the left pane, select Administration > Loss Reasons, and then select New.
Enter the following field values to create a new record.
Field Description Loss Reason Code Enter the code for the loss reason. Loss Reason Description Enter the description of the loss reason. Owner The owner field automatically defaults to your user. 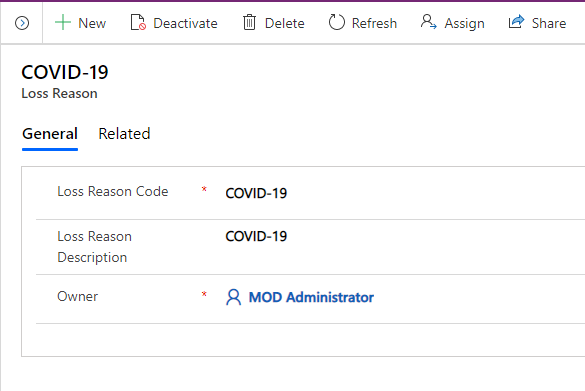
Select Save & Close. The newly created record will be available in the Loss Reasons list.
To edit the record, select it, update the values as required, and then select Save & Close.
Pay Periods
Use the Pay Periods entity to manage and maintain a list of reporting periods associated with the effort impact.
To create a record in Pay Periods:
Sign in to the admin app by using the URL provided by your IT admin.
On the left pane, select Administration > Pay Period, and then select New.
Enter the following field values to create a new record.
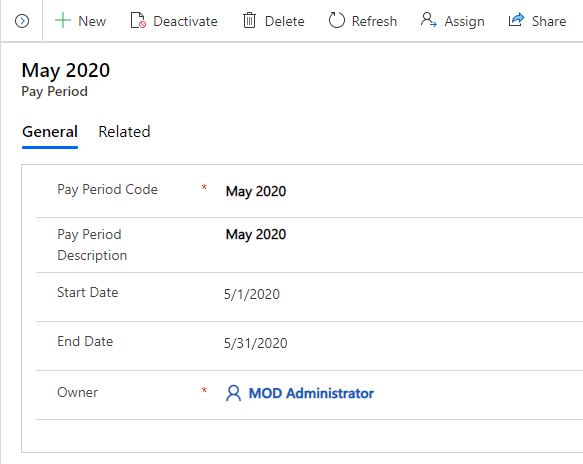
Field Description Pay Period Code Enter the code for the pay period. Pay Period Description Enter a description of the pay period. Owner The owner field automatically defaults to your user. Select Save & Close. The newly created record will be available in the Pay Periods list.
To edit the record, select it, update the values as required, and then select Save & Close.
Step 2: Configure and manage master data for your organization
Use the admin app to create and manage master data for your organization. This data is required for the Higher Education Crisis Financial Impact Tracker app to work.
You must add master data to these entities in the following sequence:
Master data is managed from the Higher Education Crisis Financial Impact Tracker area on the left pane in the admin app.

Employees
Use the Employees entity to manage and maintain the list of employees who are associated with the sponsored program in different roles, such as Principal Investigator, Co-Principal Investigator, and Researcher.
To create a record in Employees:
Sign in to the admin app by using the URL provided by your IT admin.
On the left pane, select Higher Education Crisis Financial Impact Tracker > Employees, and then select New.
Enter the following field values to create a new record.
Field Description Contact Type Enter the type of contact. Employee ID Enter the employee ID or number for the contact for reference in orders, service cases, or other communications with the contact's organization. User ID Enter the user ID. Email Enter the primary email address for the contact. First Name Enter the employee's first name, to make sure the contact is addressed correctly in sales calls, emails, and marketing campaigns. Last Name Enter the employee's last name, to make sure the contact is addressed correctly in sales calls, emails, and marketing campaigns. Middle Name Enter the employee's middle name or initial, to make sure the contact is addressed correctly. Employment Class Enter the classification of the employee. Department Enter the department where the employee works. Annual Base Salary Enter the annual base salary of the employee. Annual Tuition Reimbursement Enter the annual tuition reimbursement of the employee. Note
The email address of the employee must match the employee email ID of the user accessing the app.
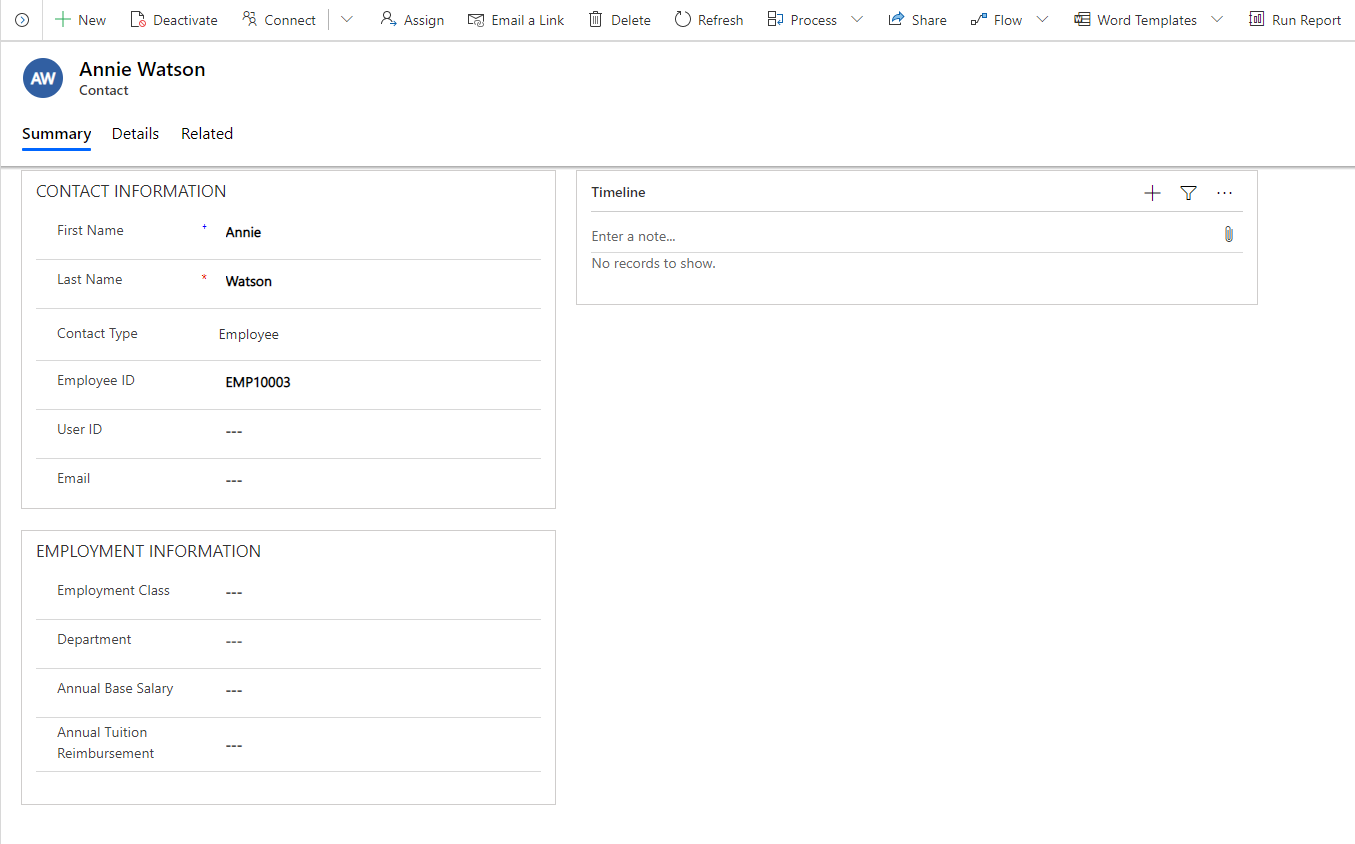
Select Save & Close. The newly created record will be available in the Employees list.
To edit the record, select it, update the values as required, and then select Save & Close.
Sponsors
Use the Sponsors entity to manage and maintain a list of the sponsors that are associated with the sponsored program.
To create a record in Sponsors:
Sign in to the admin app using the URL your IT admin provided.
On the left pane, select Higher Education Crisis Financial Impact Tracker > Sponsors, and then select New.
Enter the following field values to create a new record.
Field Description Account Name Enter the name of the sponsor. Phone Enter the primary phone number of the sponsor. Fax Enter the fax number of the sponsor. Website Enter the website of the sponsor. Parent Account Select the parent account associated with this sponsor. 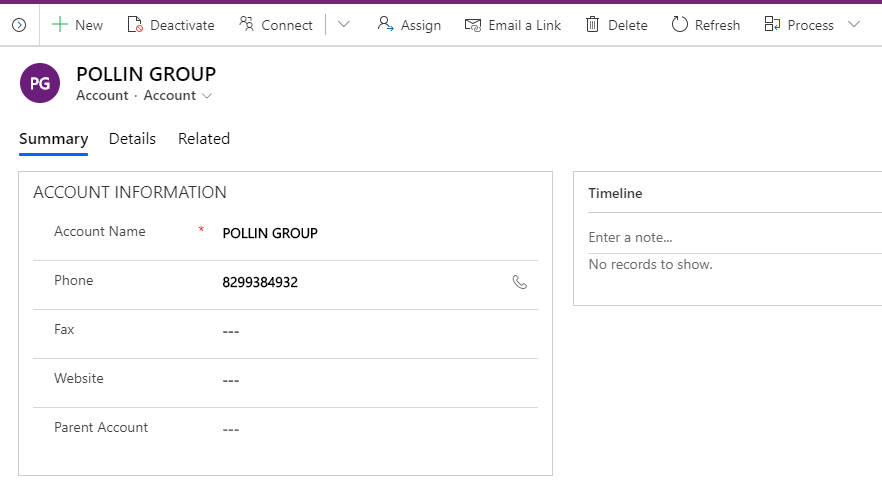
Select Save & Close. The newly created record will be available in the Sponsors list.
To edit the record, select it, update the values as required, and then select Save & Close.
Grants
Use the Grants entity to manage and maintain a list of the grants that are associated with the sponsored program.
To create a record in Grants:
Sign in to the admin app by using the URL provided by your IT admin.
On the left pane, select Higher Education Crisis Financial Impact Tracker > Grants, and then select New.
Enter the following values to create a new record.
Field Description Grant Number Enter the grant number. Grant Title Enter the title of the grant. Grant Description Enter the description of the grant. Grant Status Select the status of the grant. Principal Investigator Select the principal investigator. Start Date Enter the start date of the grant. End Date Enter the end date of the grant Owner The owner field automatically defaults to your user. 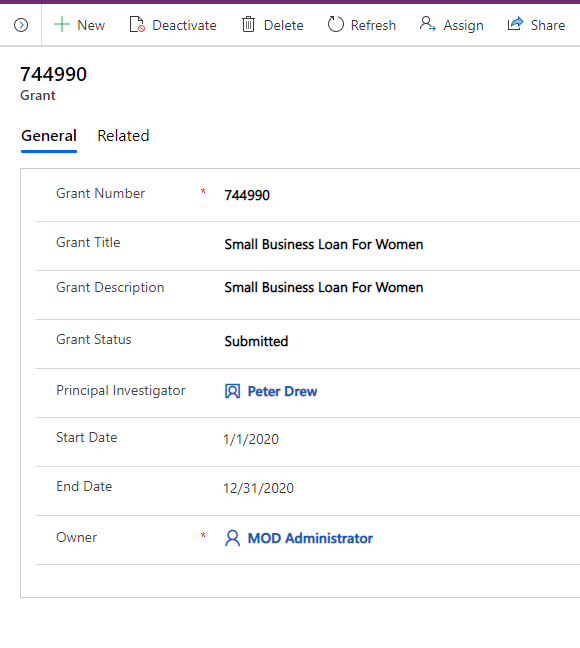
Select Save & Close. The newly created record will be available in the Grants list.
To edit the record, select it, update the values as required, and then select Save & Close.
Sponsored Programs
Use the Sponsored Programs entity to manage and maintain the list of sponsored programs that are associated with the Grants entity.
To create a record in Sponsored Programs:
Sign in to the admin app by using the URL provided by your IT admin.
On the left pane, select Higher Education Crisis Financial Impact Tracker > Sponsored Program, and then select New.
Enter the following values to create a new record.
Field Description Sponsored Program Number Enter the number of the sponsored program. Sponsored Program Description Enter the description of the sponsored program. Award Amount Enter of the award amount for the sponsored program. Available Balance Enter the balance for the sponsored program. Effort Loss Impact Percentage Enter the percentage of total loss impact. Effort Loss Impact Amount Enter the total loss impact amount for the sponsored program. Grant Select the grant this sponsored program is associated with. Department Select the department of the sponsored program. Sponsor Name Select the sponsor name for the sponsored program. Prime Sponsor Name Select the prime sponsor name for the sponsored program. Co-Principal Investigator Select the co-principal investigator name of the sponsored program. Owner The owner field automatically defaults to your user. 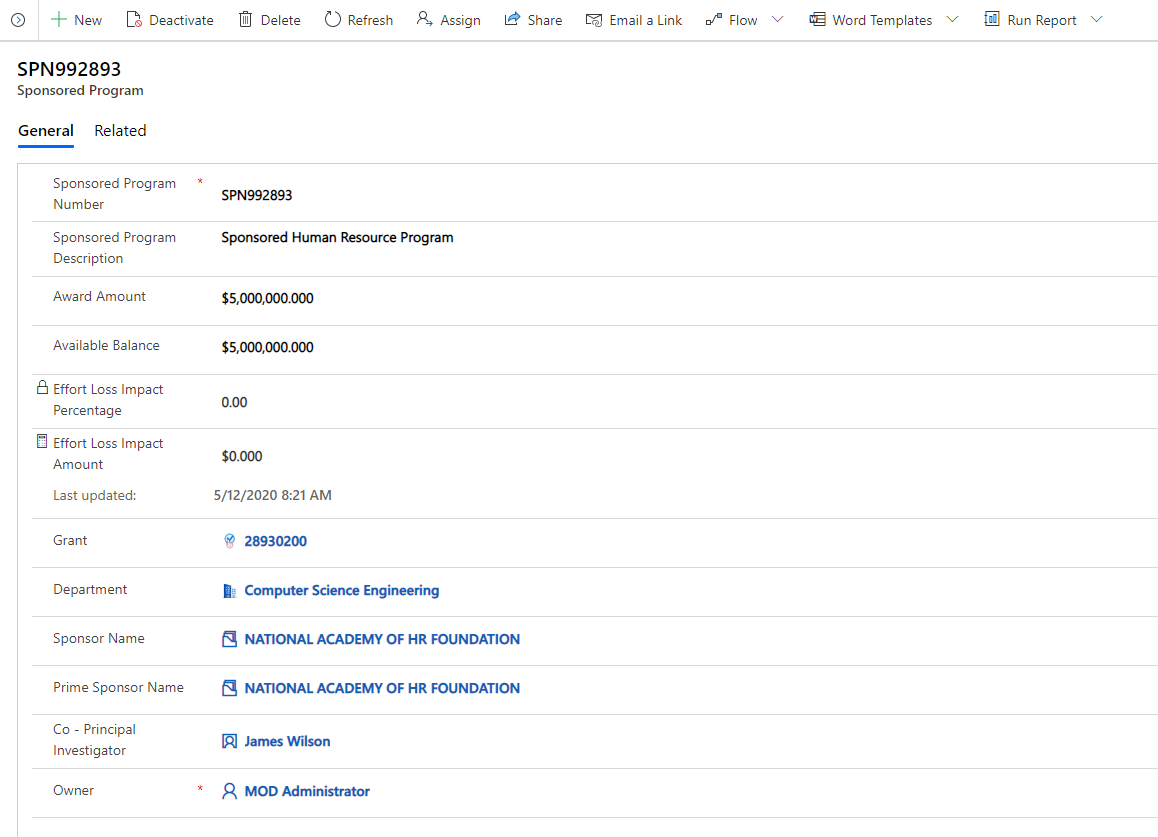
Select Save & Close. The newly created record will be available in the Sponsored Programs list.
To edit the record, select it, update the values as required, and then select Save & Close.
Employee Compensations
Use the Employee Compensation entity to manage and maintain the employee effort amount, effort loss, and loss reason by pay period for each sponsored program.
To create a record in Employee Compensation:
Sign in to the admin app by using the URL provided by your IT admin.
On the left pane, select Higher Education Crisis Financial Impact Tracker > Employee Compensation, and then select New.
Enter the following values to create a new record.
Field Description Employee Select the employee. Sponsored Program Select the sponsored program. FTE Enter the full-time equivalent. Pay Period Select the pay period. Pay Group Select the pay group. Pay Rate Enter the pay rate. Effort Percentage Enter the effort percentage. Effort Amount Enter the effort amount. Loss Percentage Enter the loss percentage. Loss Amount Enter the loss amount. Loss Reason Select the loss reason. Owner The owner field automatically defaults to your user. 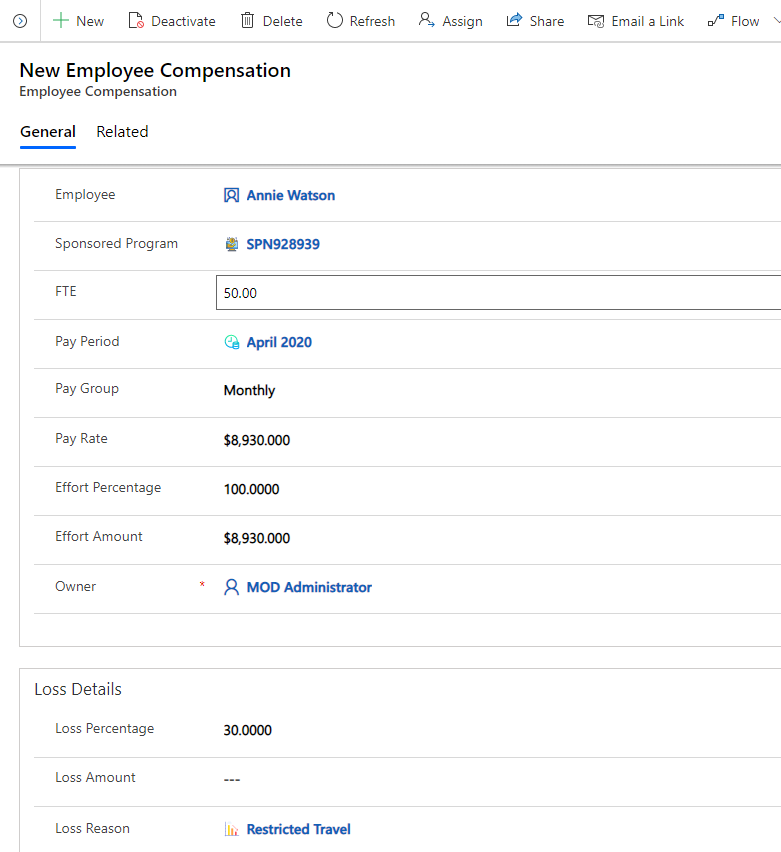
Select Save & Close. The newly created record will be available in the Sponsored Programs list.
To edit the record, select it, update the values as required, and then select Save & Close.
Issues and feedback
- To report an issue with the Higher Education Crisis Financial Impact Tracker app, visit https://aka.ms/crisis-financial-impact-tracker-issues.
- For feedback about Higher Education Crisis Financial Impact Tracker app, visit https://aka.ms/crisis-financial-impact-tracker-feedback.