Note
Access to this page requires authorization. You can try signing in or changing directories.
Access to this page requires authorization. You can try changing directories.
This article explains how to create a table app using PowerTable by entering the data manually from scratch. You'll enter data to create a table in a database, then write back any subsequent changes to the same database using the PowerTable sheet.
Important
This feature is in preview.
Prerequisites
Before you begin, make sure that you have the following prerequisites in place:
- Connections established to the Fabric SQL database and the semantic model that contain the data for your PowerTable.
- A plan item created in your Fabric workspace.
Create a PowerTable sheet
In your plan, select New PowerTable Sheet or select the PowerTable icon on the landing page. Enter a name for the sheet and select Create.
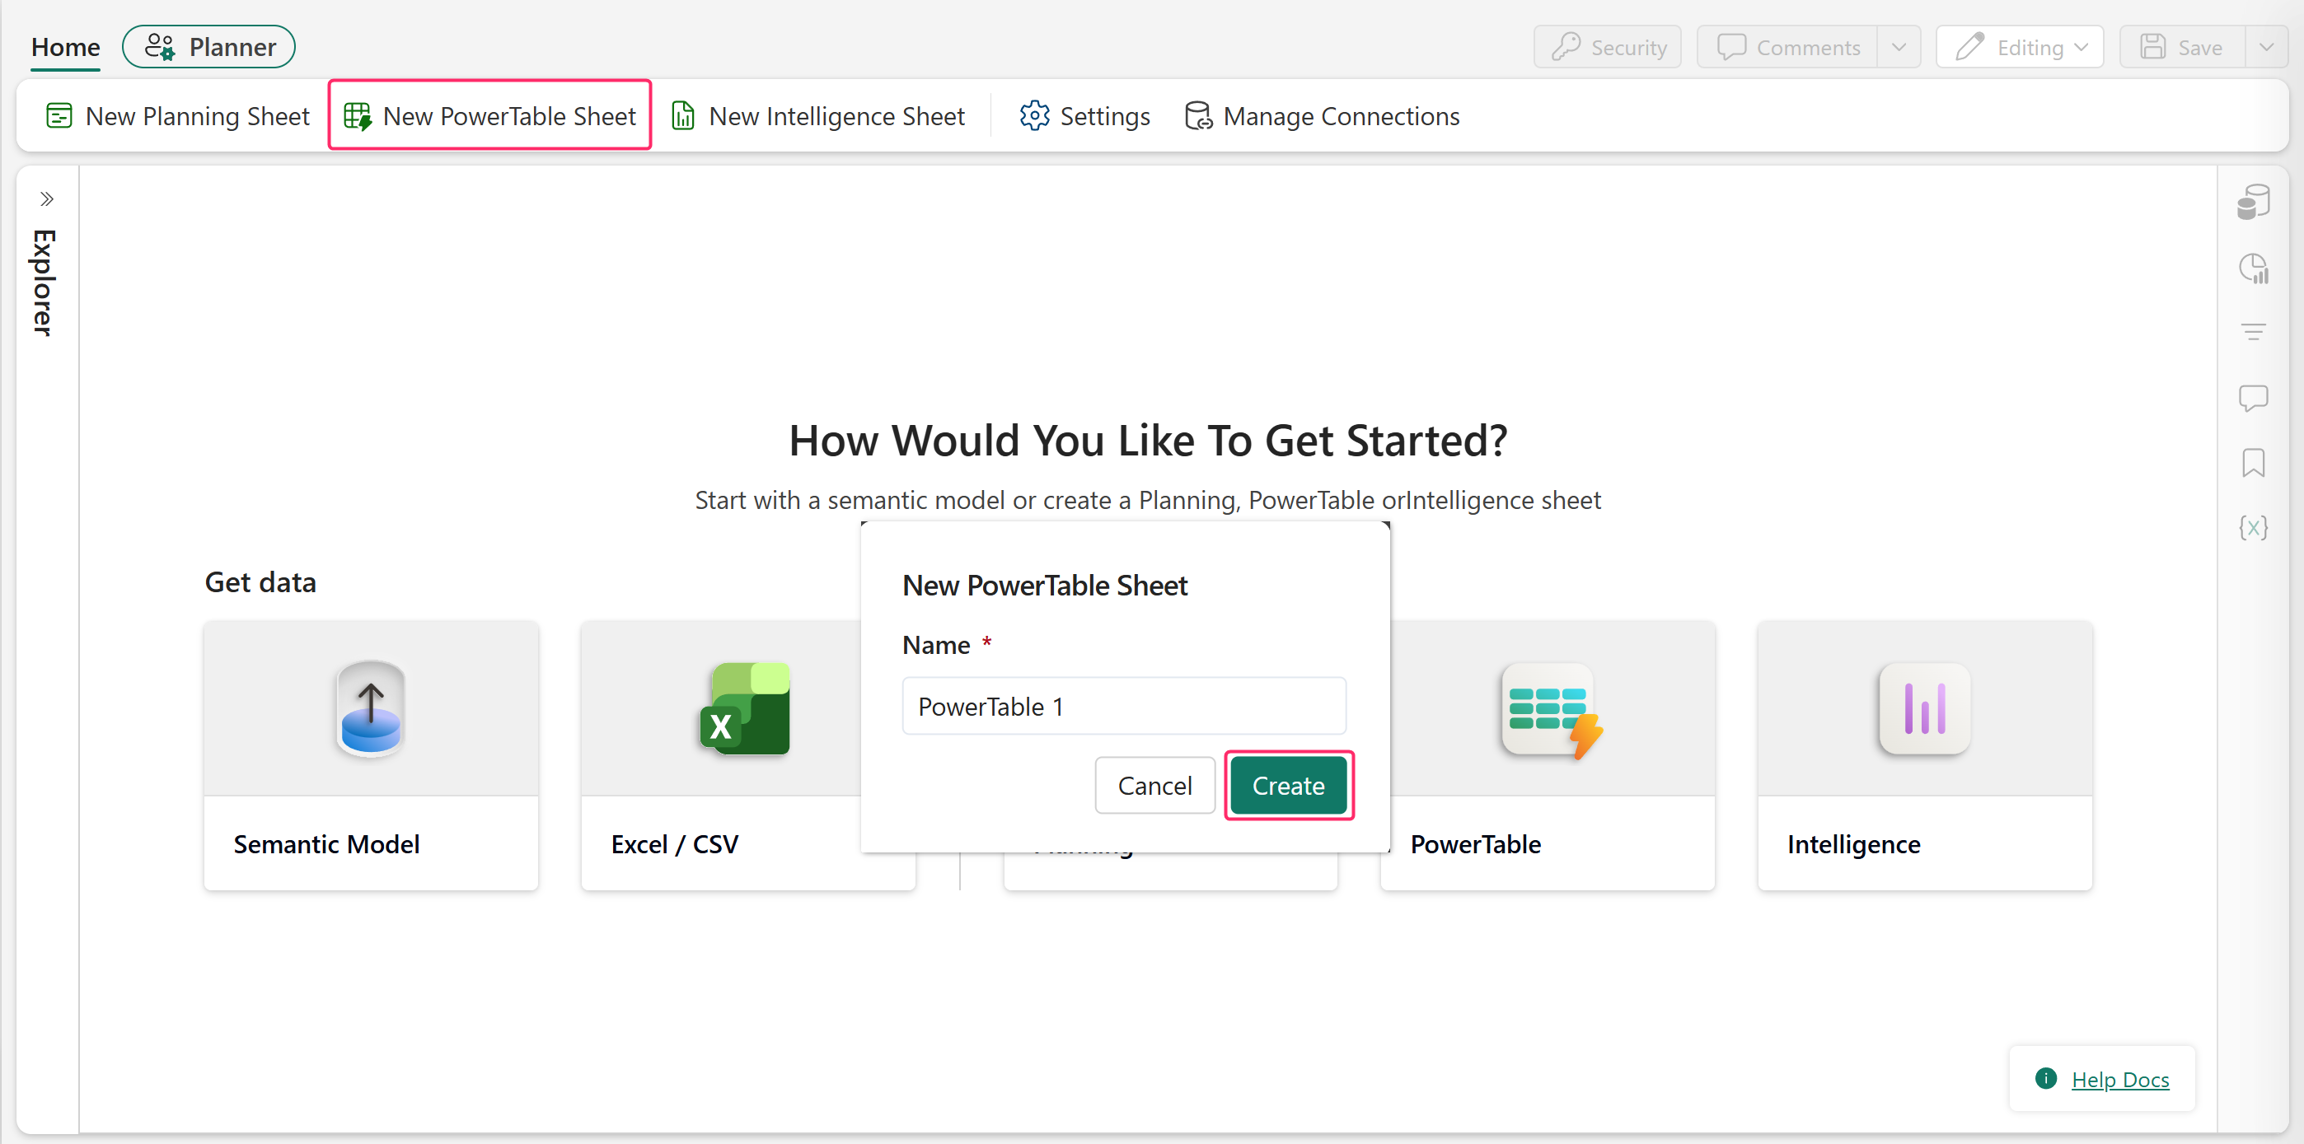
Select Create a New App to create your app. You can also select Explore PowerTable to experience a sample PowerTable app.
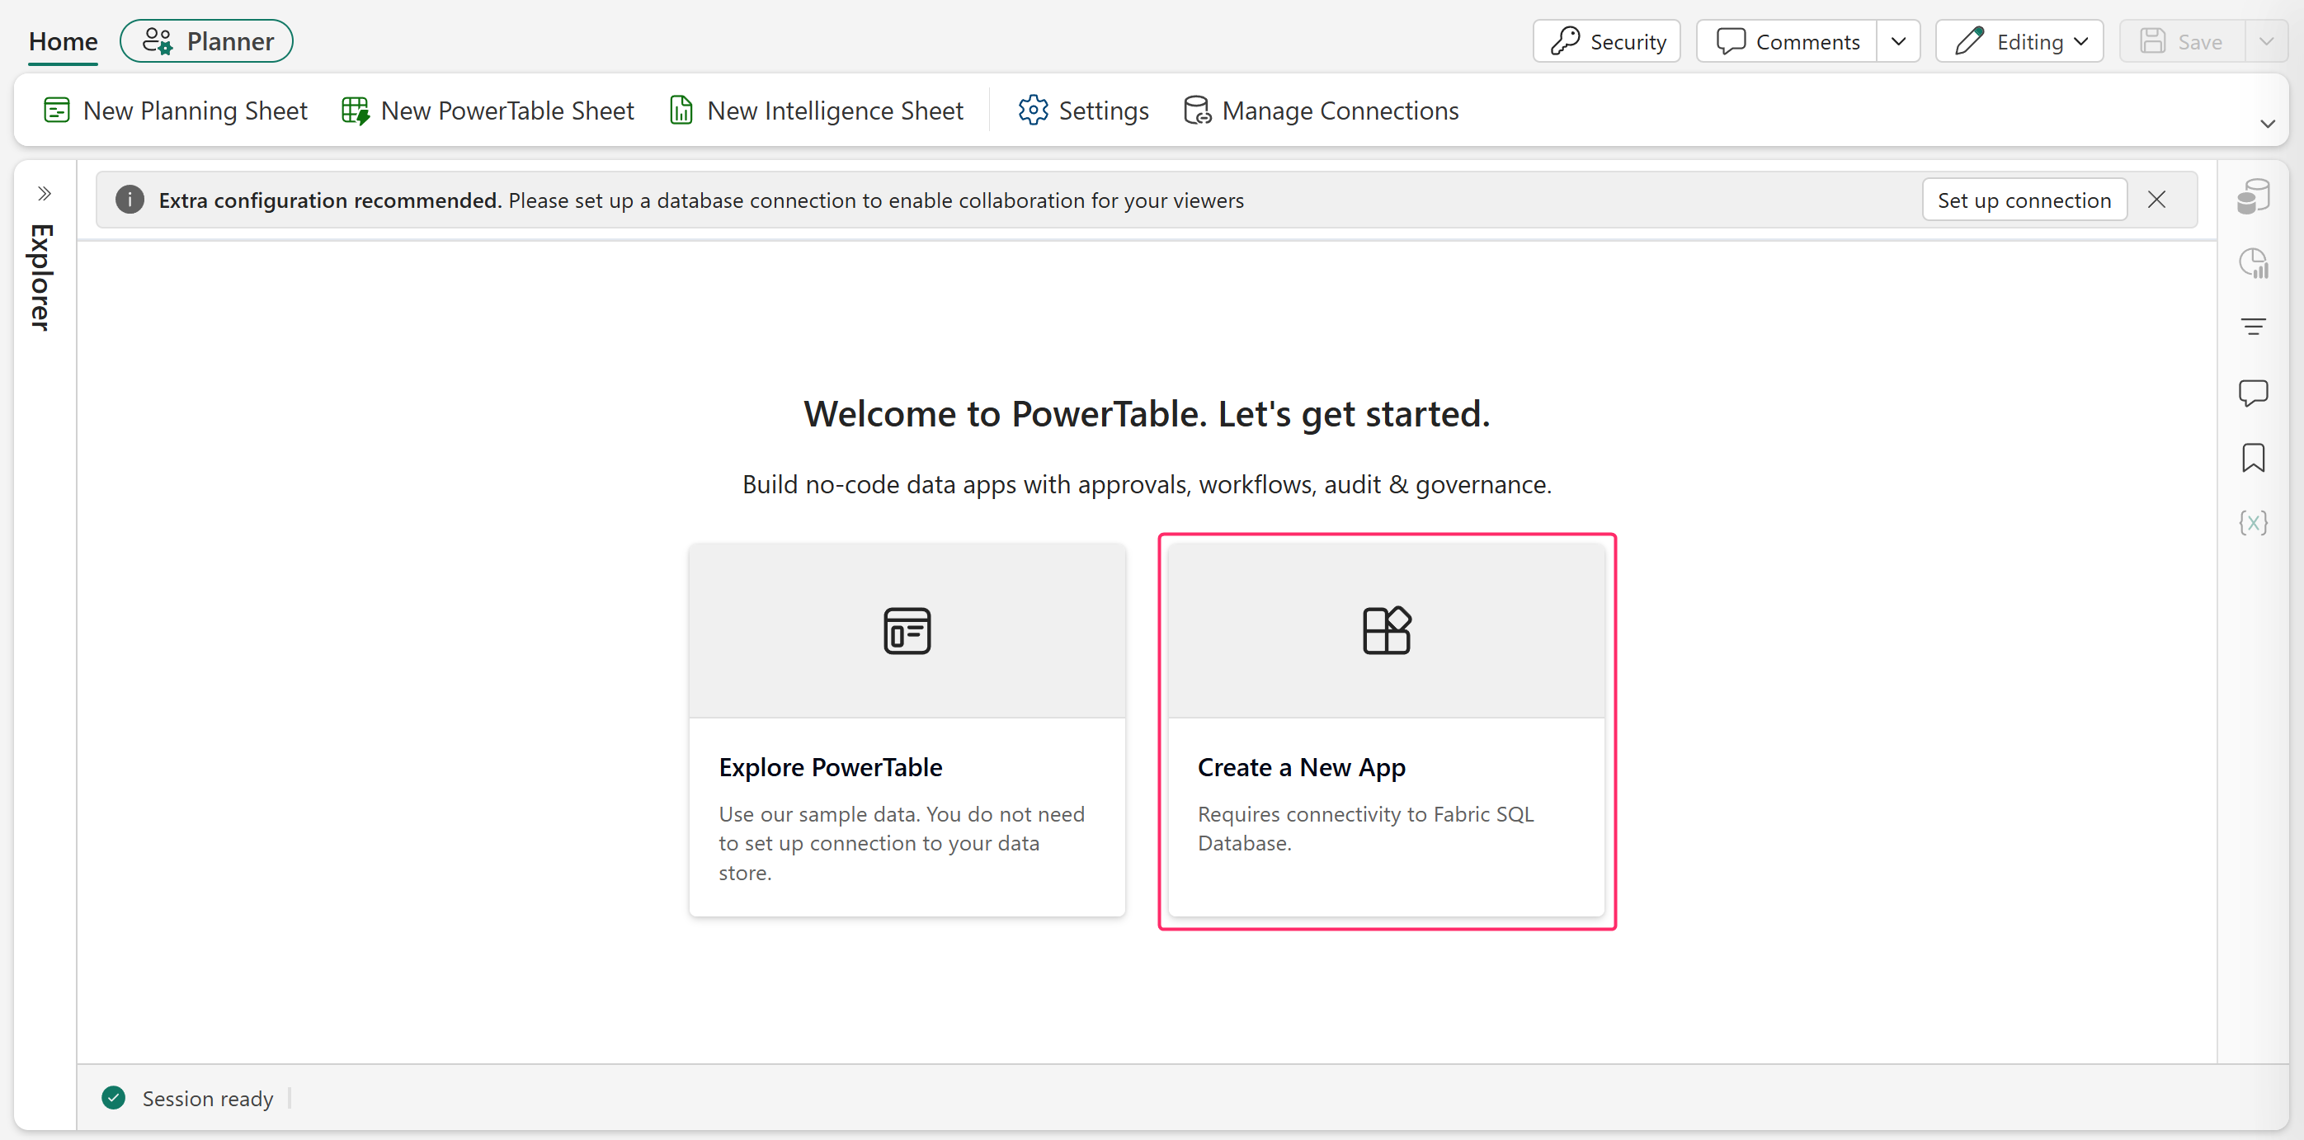
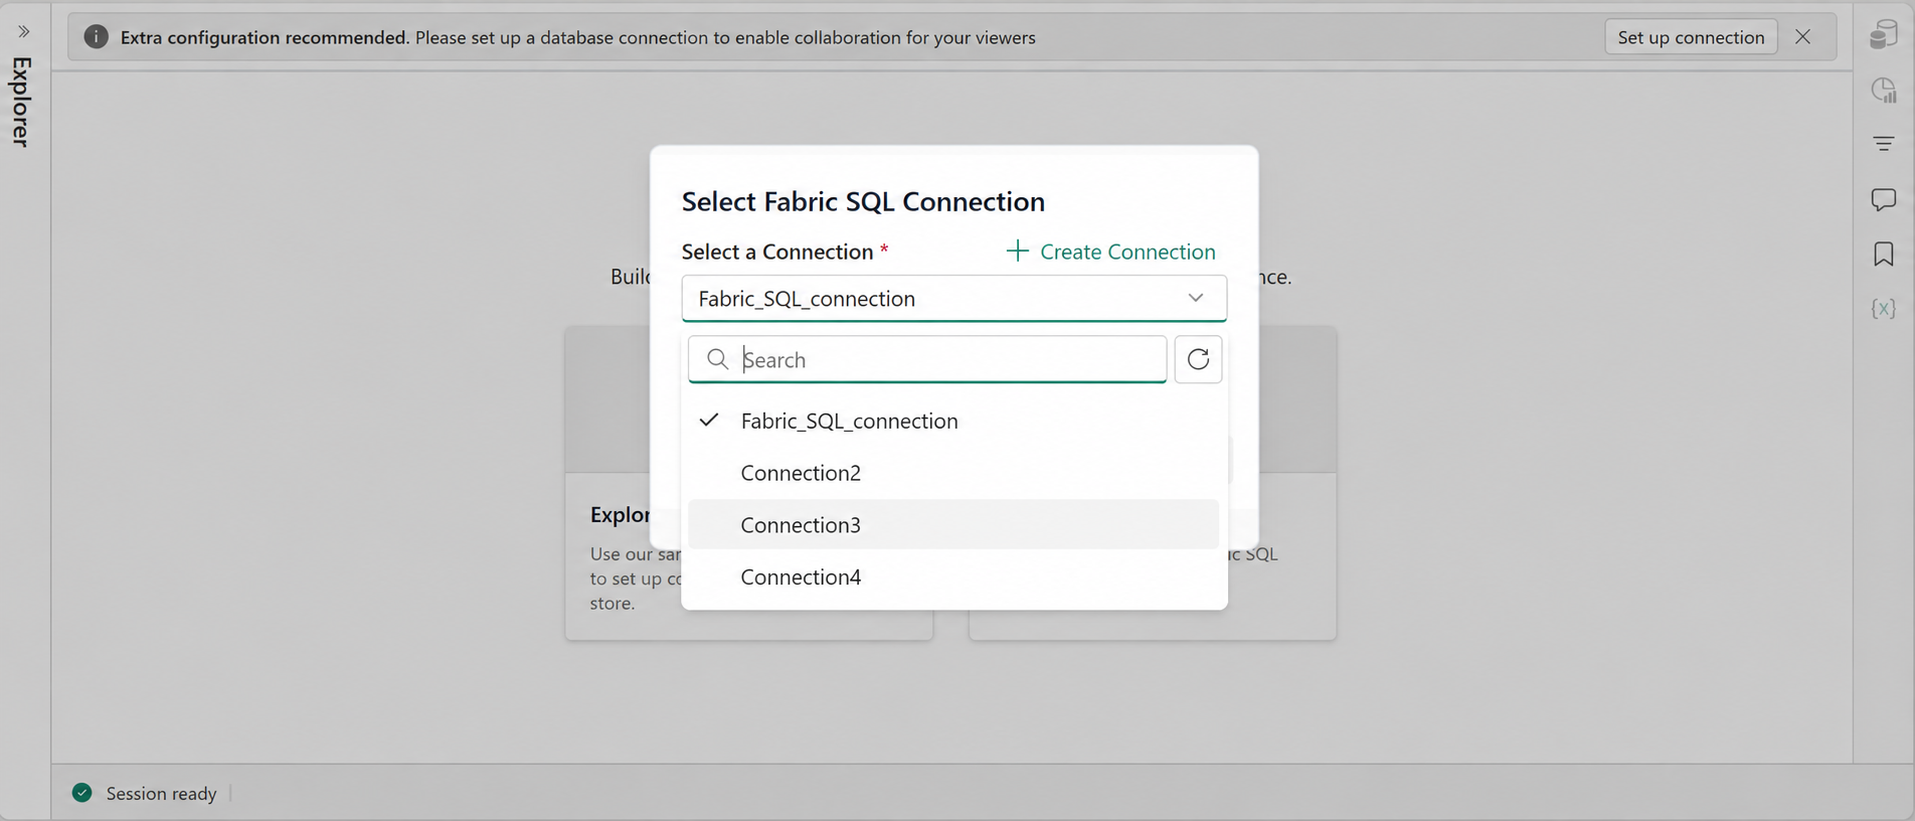
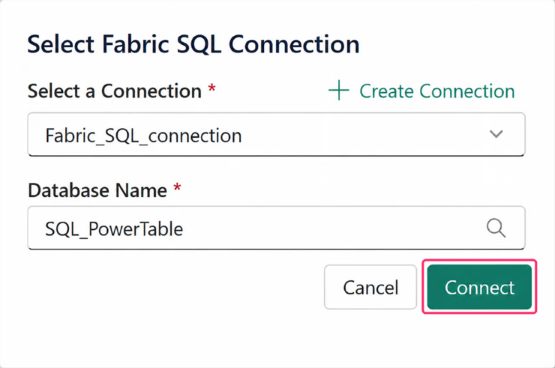
Select a Connection: Choose a Fabric SQL connection if available. If there are no connections, create one by selecting Create Connection.
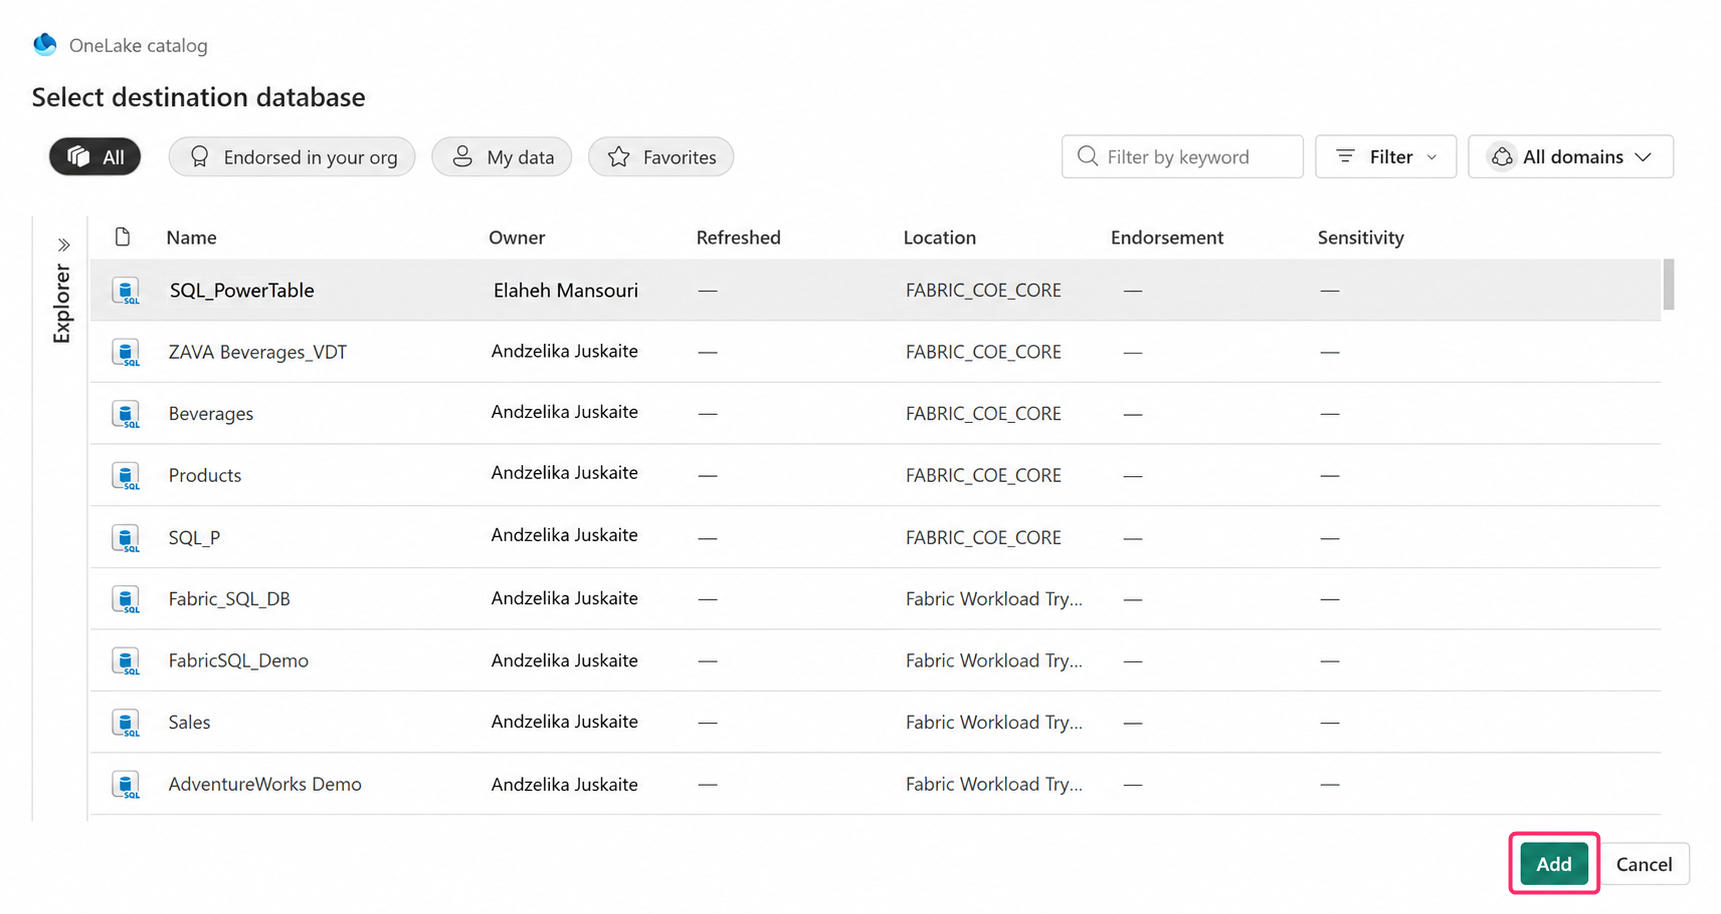
Database Name: Select the destination Fabric SQL database to store the table data. Select Add.
Select Connect.
Create a table
To create a new table in the database and enter the data manually, follow these steps:
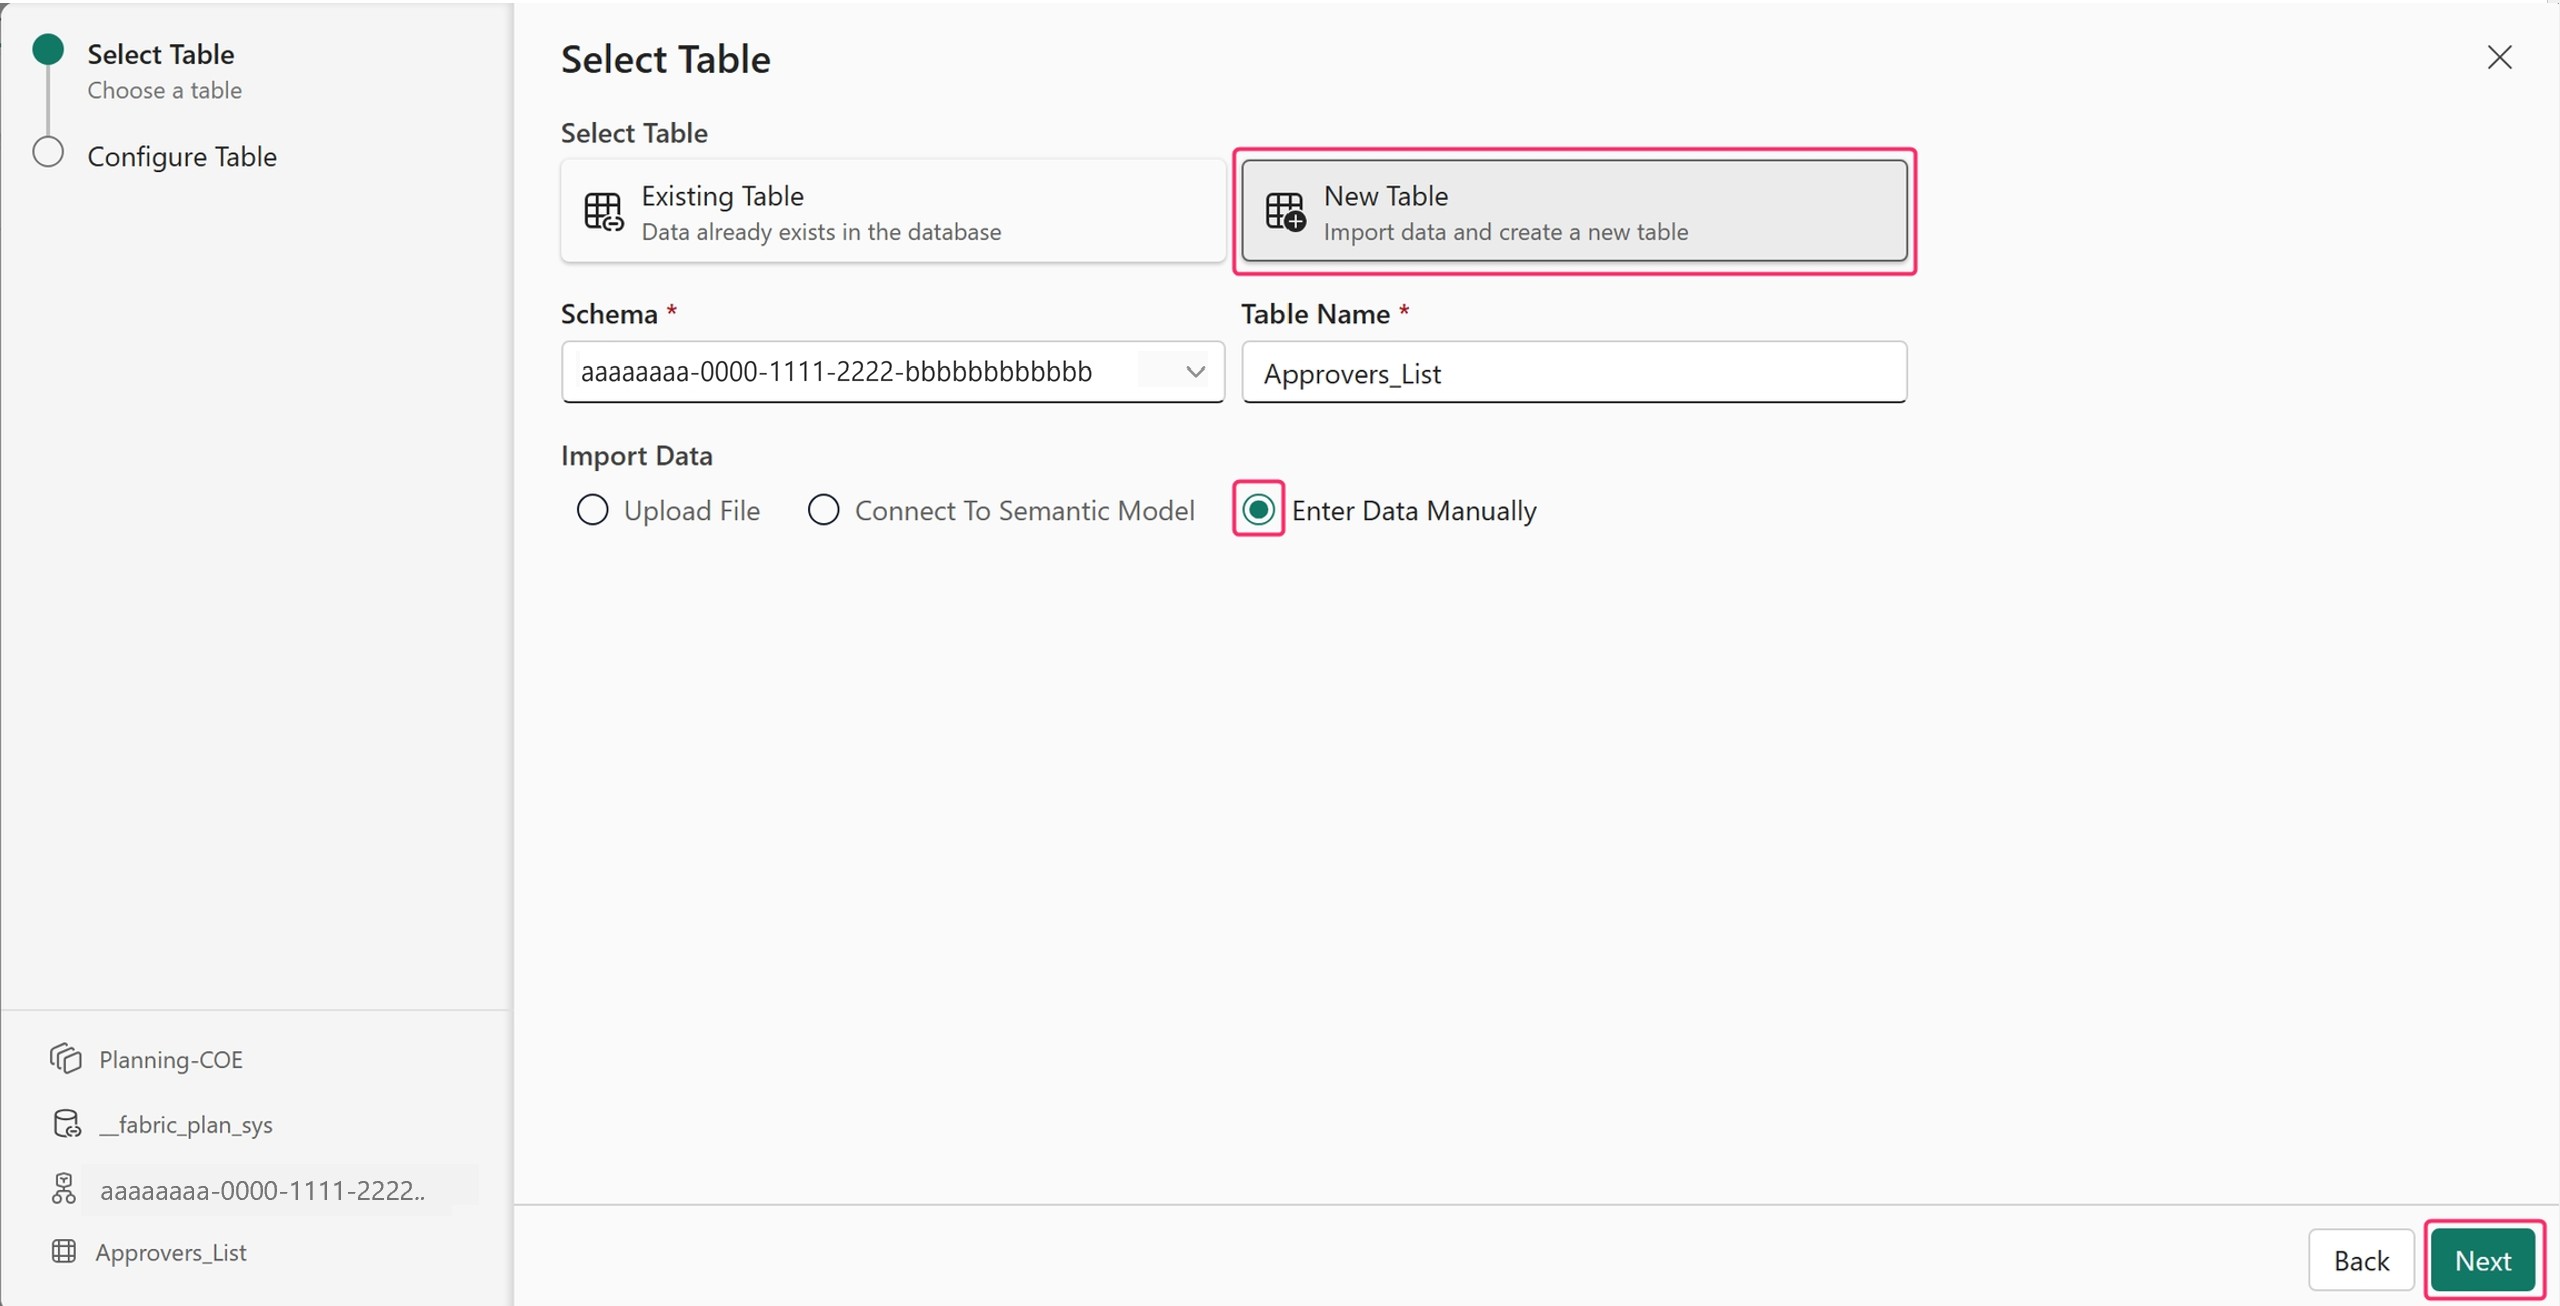
Select New Table.
Choose the database schema and enter a name for the table.
Select Enter Data Manually in the Import Data section.
Select Next.
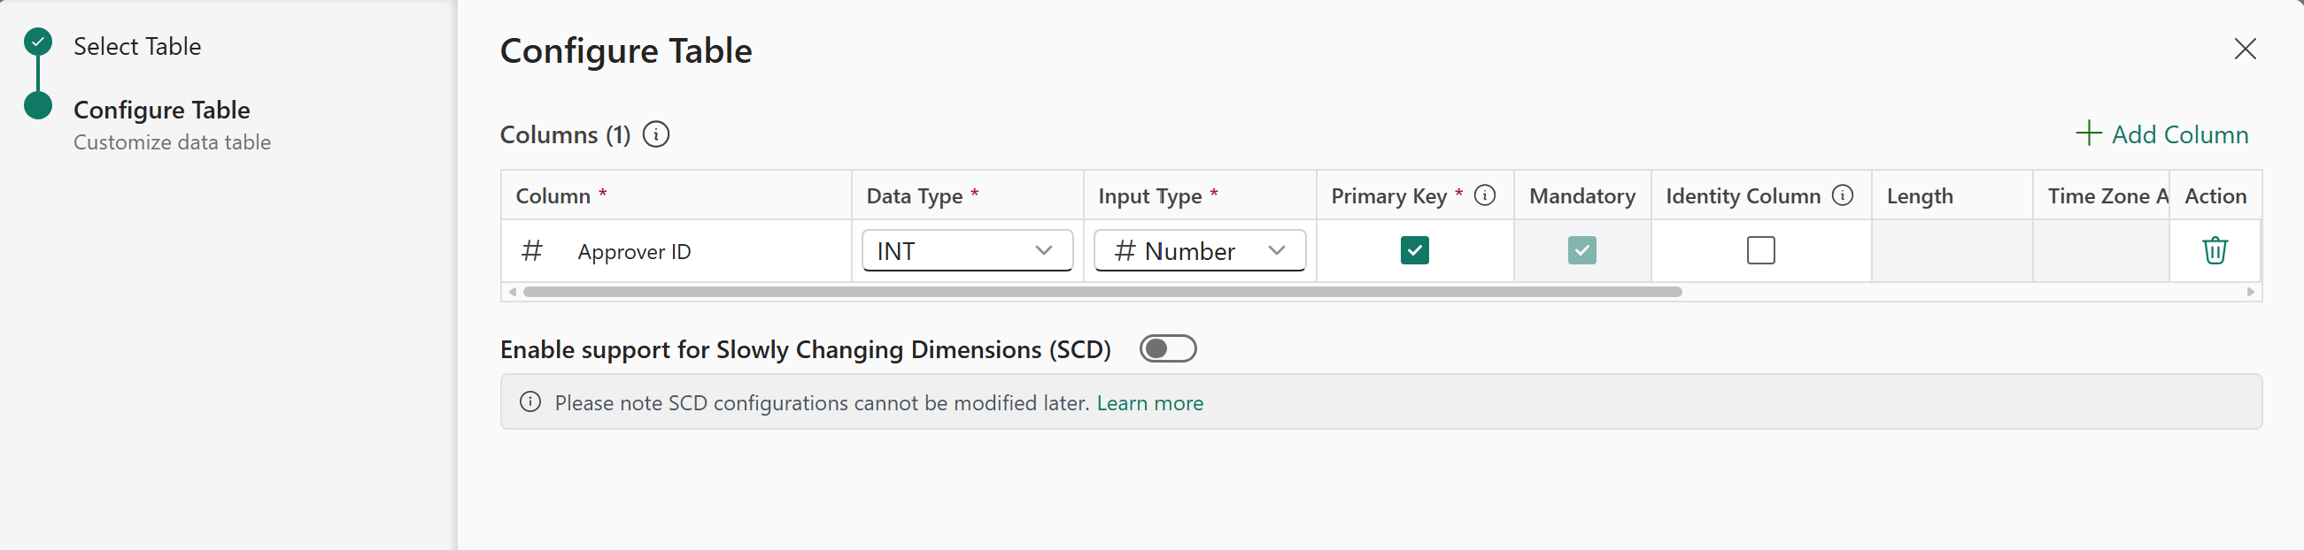
Configure your table by adding the column name, primary key, and other relevant details like length, precision, scale, and so on, wherever applicable.
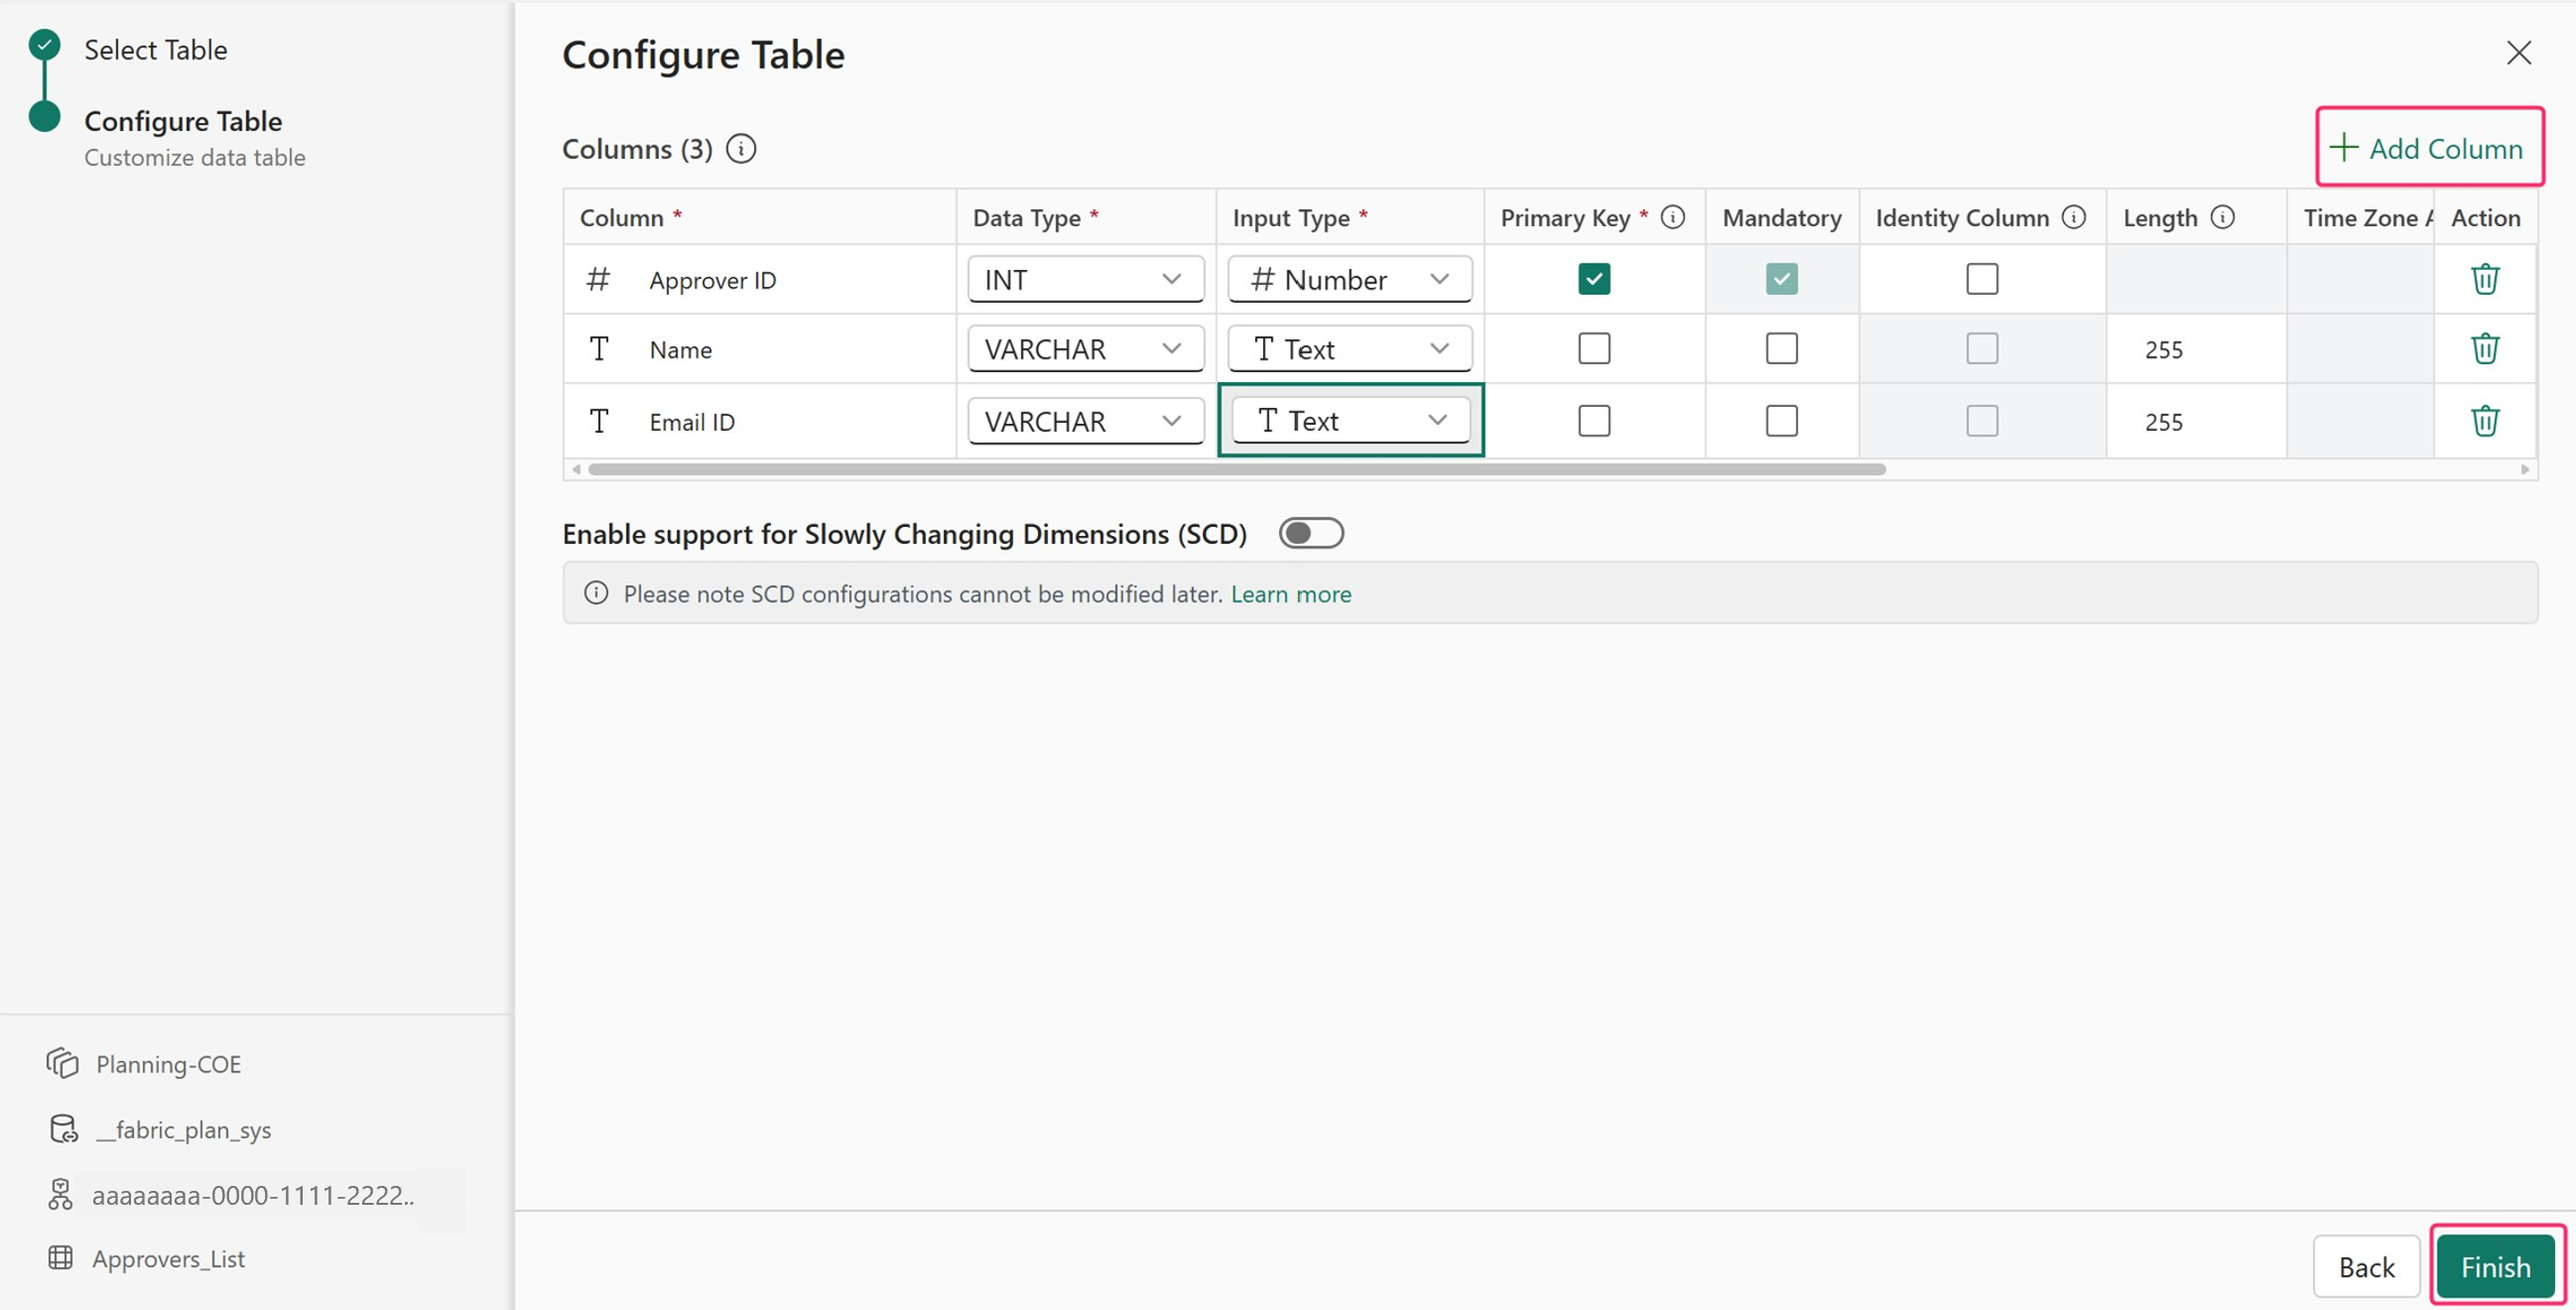
Select Add Column to add a new column. Use the bin icon to delete a column.
Select Finish after entering all the column details.
An empty table is successfully created using PowerTable, with the configured columns.
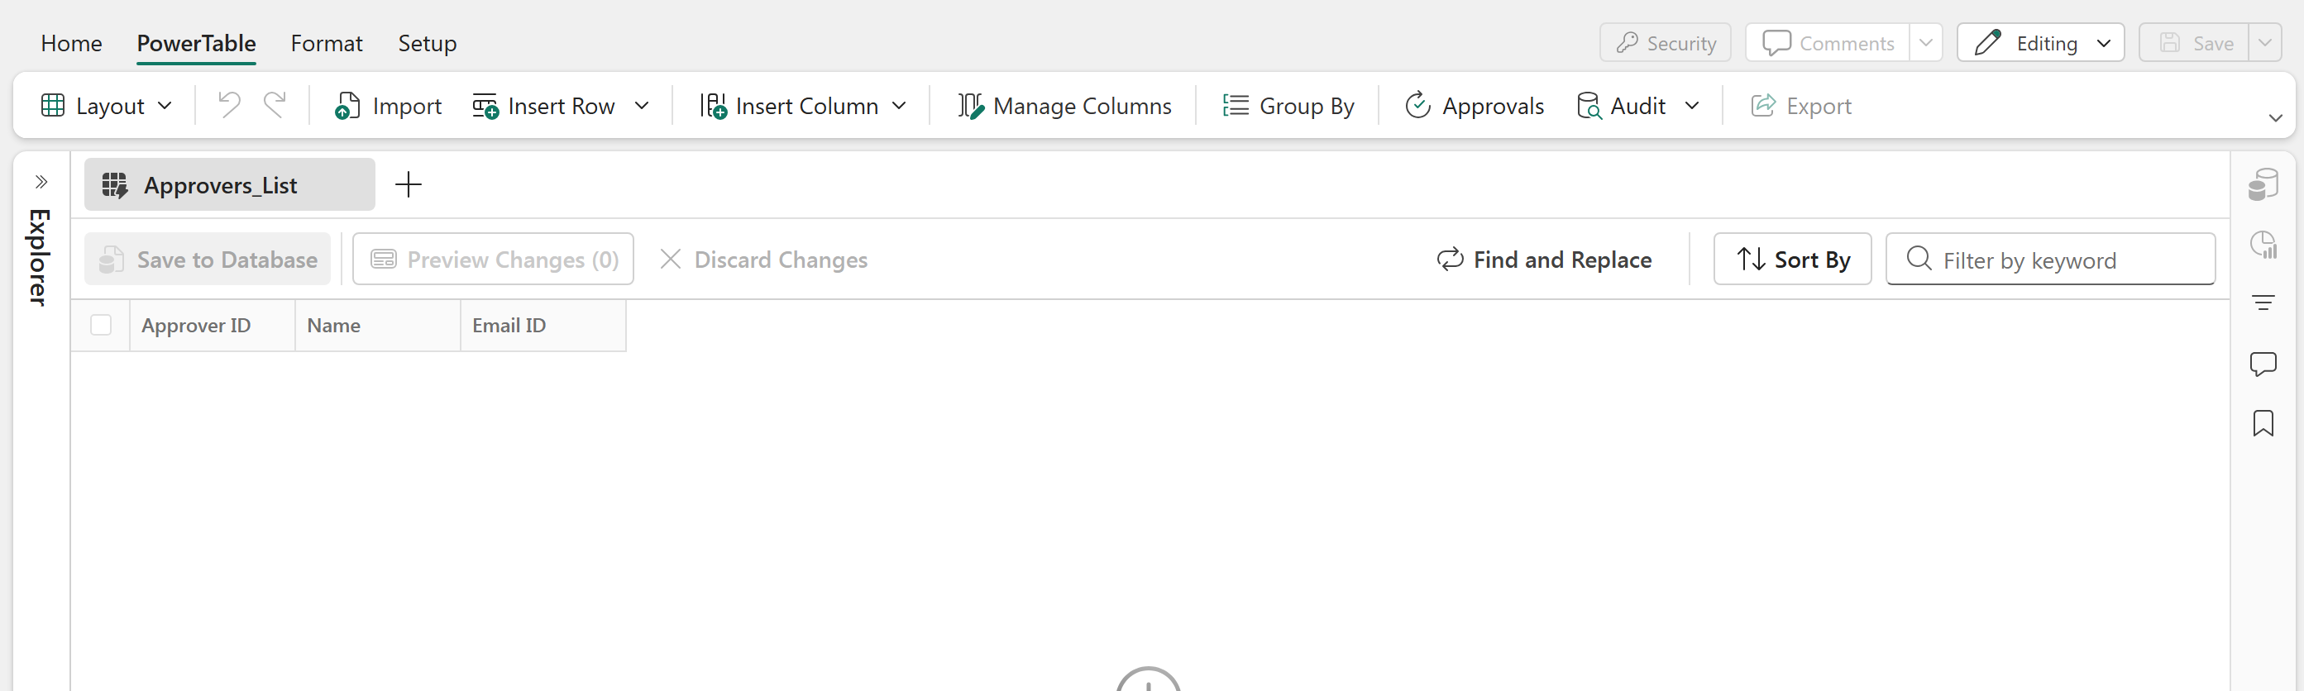
You can now insert rows into this table using the Insert Row option.
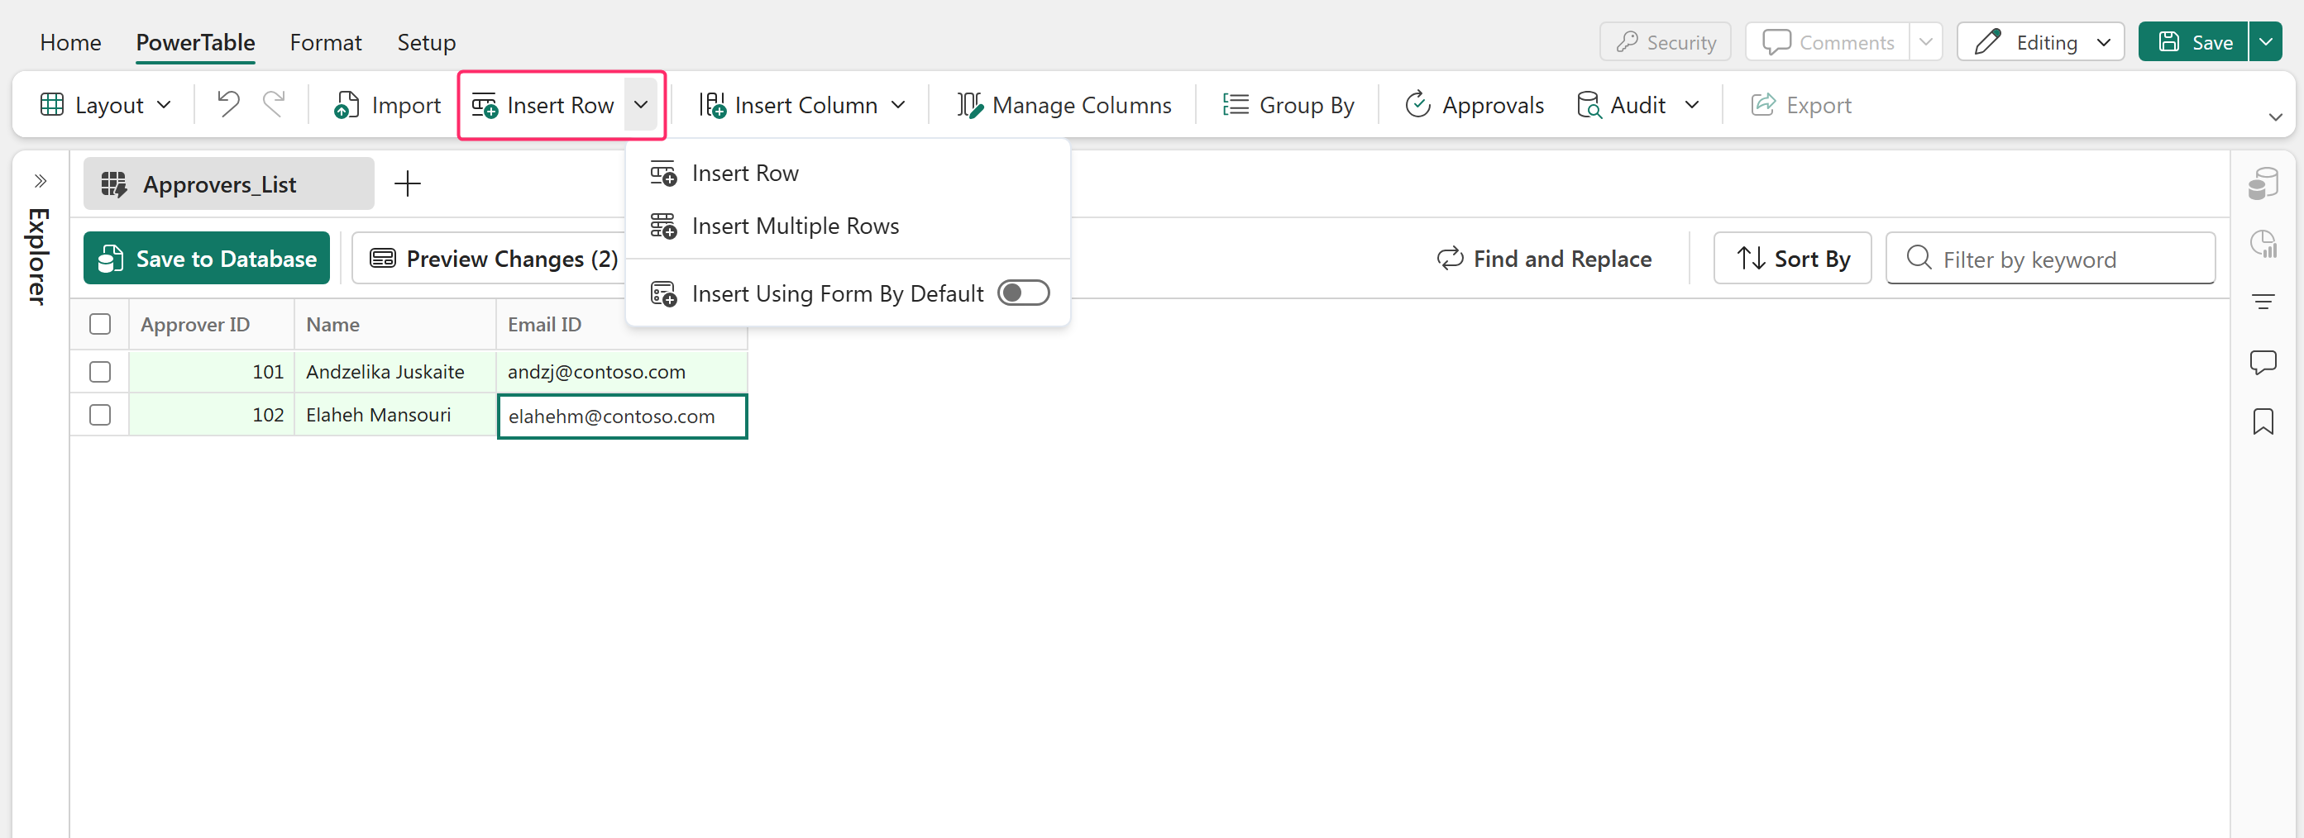
Select Preview Changes to preview the added rows and changes.

To discard the changes, select Discard Changes.
After previewing, select Save to Database and Proceed to save the rows to the table in the database.
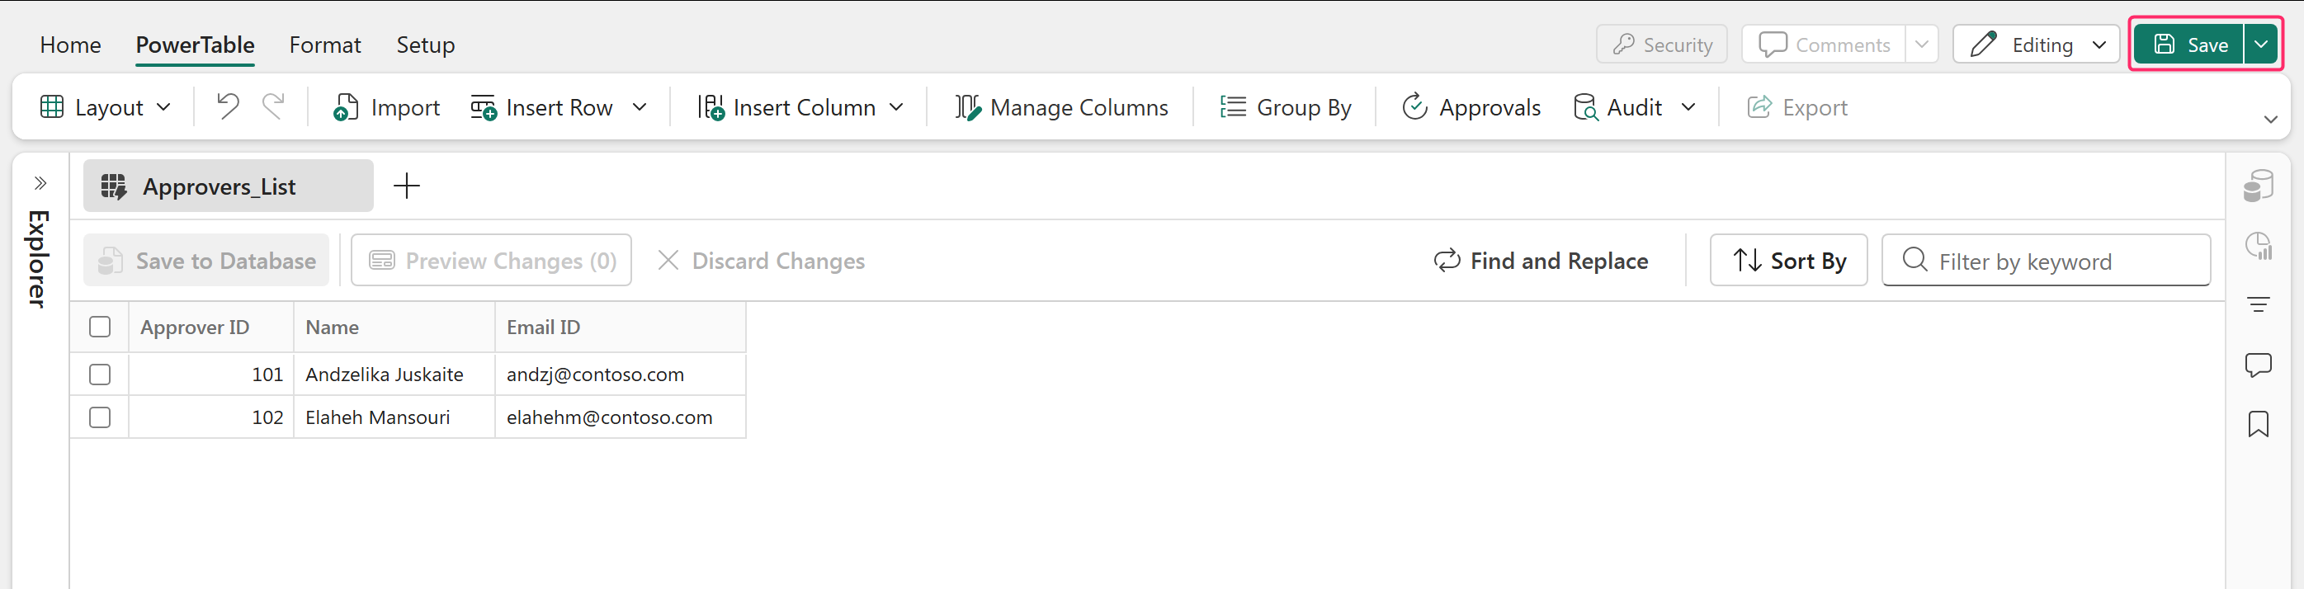
Finally, select Save at the top right corner to save the PowerTable sheet.
Related content
- Create a table app with PowerTable by importing an Excel or a CSV file
- Connect PowerTable sheet to a semantic model
- Connect to an existing database
Next steps
Configure access control and automated workflows and approvals for your new app.