Events
17 Mar, 9 pm - 21 Mar, 10 am
Join the meetup series to build scalable AI solutions based on real-world use cases with fellow developers and experts.
Register nowThis browser is no longer supported.
Upgrade to Microsoft Edge to take advantage of the latest features, security updates, and technical support.
Azure DevOps Services | Azure DevOps Server 2022 - Azure DevOps Server 2019
Each project provides a summary or home page to share information and showcase the latest project activity. This page serves as a central hub for team members to stay informed and up-to-date on the project's progress. Use this page for the following tasks:
Use the project summary page to also perform more specific tasks:
Project Administrator tasks
Project member tasks
Note
You can designate hosted projects as Private or Public. For public projects, anonymous users can view the project Summary, except for the Members section. Also the Like and Favorite icons aren't visible to anonymous users. For more information, see What is a public project?
| Category | Requirements |
|---|---|
| Permissions | Member of the Project Administrators group or Edit project-level information permission set to Allow to do the following tasks: - Edit information on the project page. - Change the repository that you use to share project information. - Manage project membership. Specific tasks: - To edit a project page: Contributor to the repository or branch or Contribute permissions set to Allow. - To view the project summary: Valid member of the project. - To add or edit project tags: Project-level Manage properties permission set to Allow. This permission controls the project properties REST API. |
Tip
If you don't have the necessary permissions to edit a page or use a feature, the corresponding icons and links aren't visible to you.
From your web browser, select Overview > Summary. If you don't have a project yet, create a project.
If your project summary isn't set up yet, a welcome page displays:
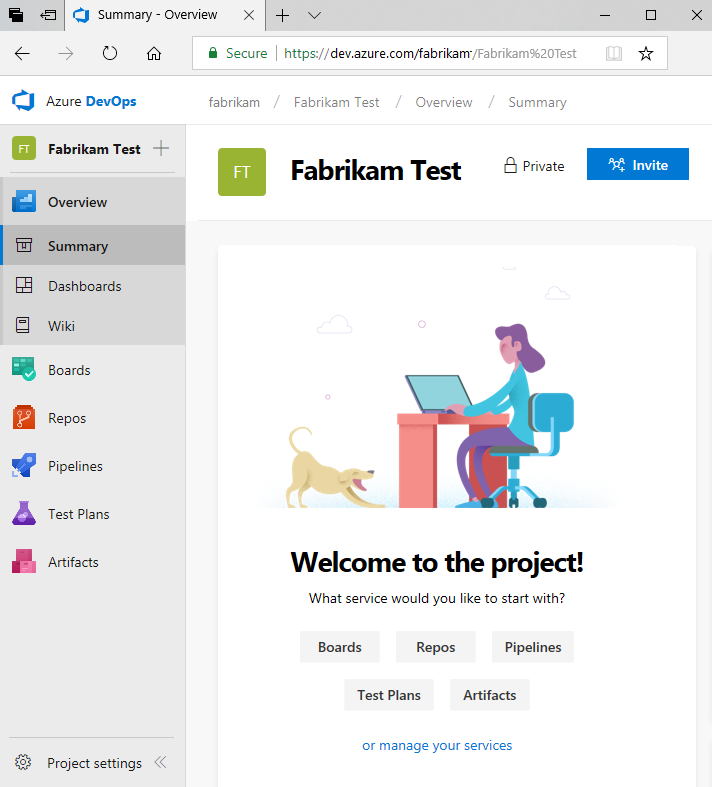
Select one of the following tasks to get started:
The summary page displays either the README file defined in a project repository or the home page of a project wiki. To use the project wiki home page, create a wiki for your project and then you can change the project summary page to point to the wiki.
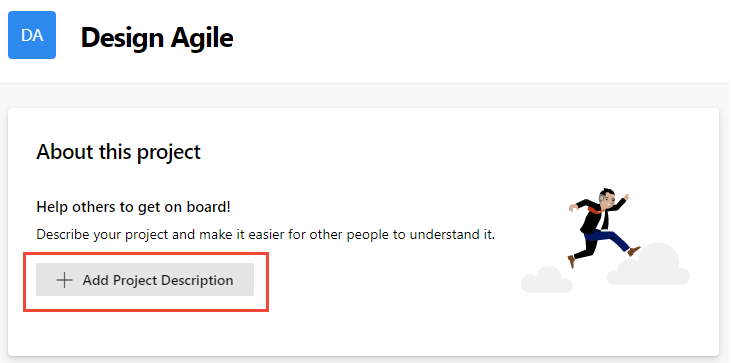
Edit the page:
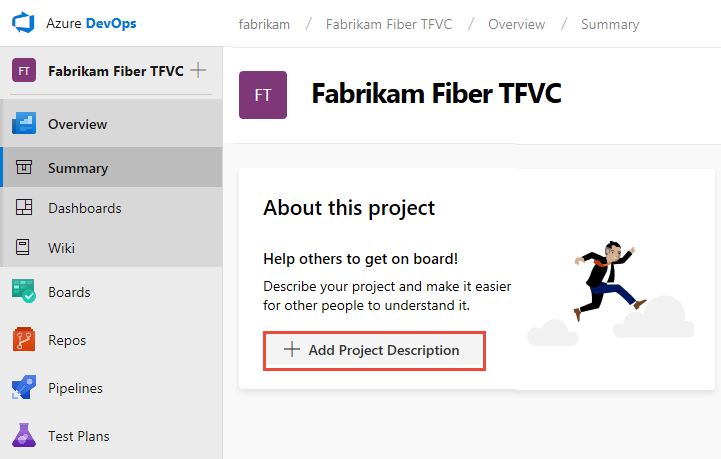
If it's your first time editing the page, select Add Project Description.
If it's not your first time editing the page, select the ![]() Edit project information. This icon is only visible to members with permissions to edit the project Summary page.
Edit project information. This icon is only visible to members with permissions to edit the project Summary page.
Provide a brief description of the project purpose in the Description box.
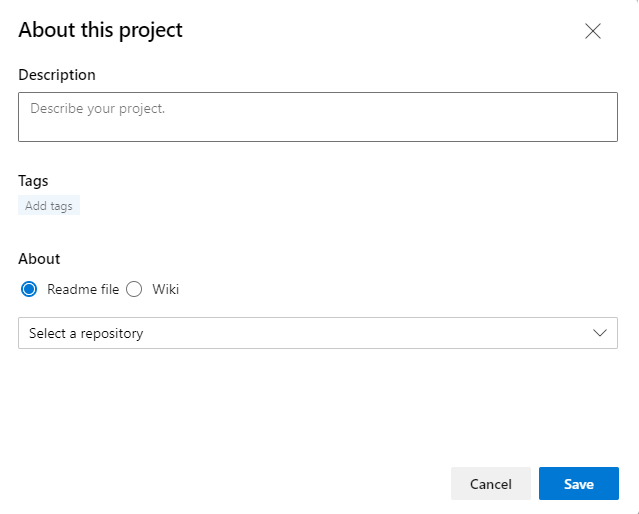
(Optional) Add one or more Tags for your project. These tags are similar to work item tags. You can add several tags at a time by using the comma or semicolon delimiters. Tags must conform to the following rules:
Note
The search and filter functions can't be used to search or filter on project tags.
Choose whether to reference a README file or the project wiki home page for the rest of the Summary page contents.
Tip
A default README is created within the repository added when you created your project. You can choose this README or create another repository and README file for this purpose.
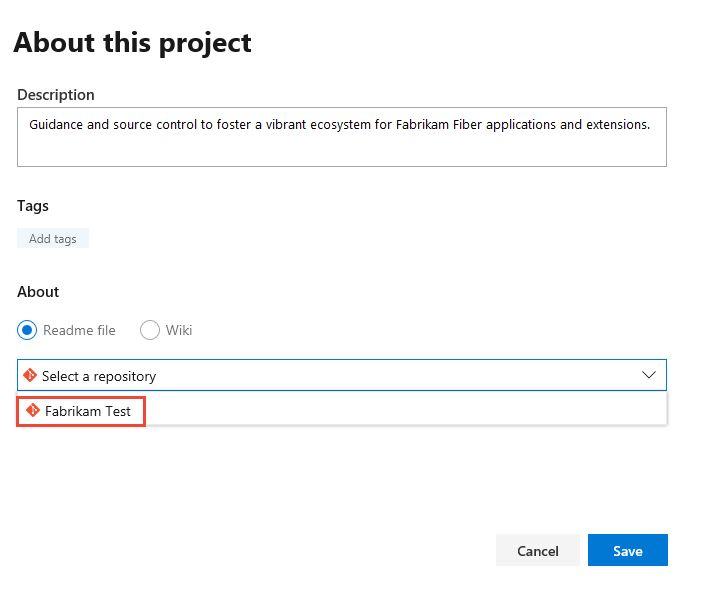
If you choose a Readme file, select the repository for the README. A preview of the current text for the README file is shown.
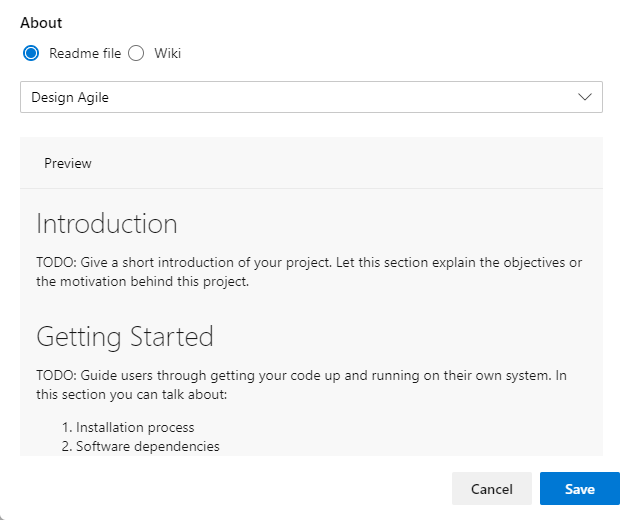
If you choose a Wiki, the Wiki home page is referenced and must be the first file within the Wiki TOC. You can't change that reference.
To update the contents of the referenced README file or wiki, edit the corresponding file. For more information, see Create a README for your repo or Add and edit wiki pages.
Consider including the following types of information in your Summary page:
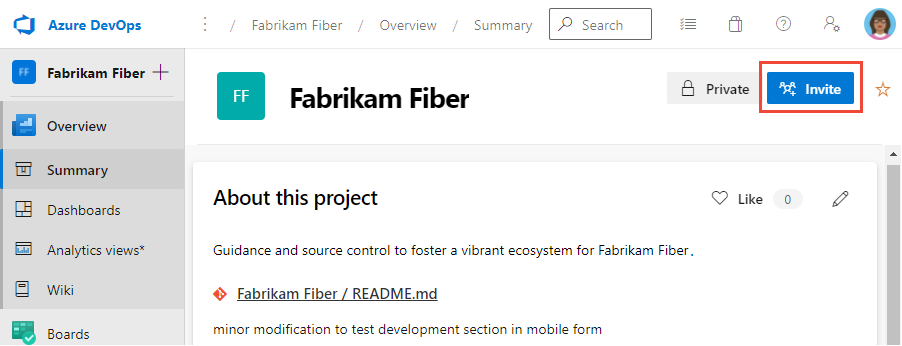
Send an email to invite users to contribute to your project by choosing Invite. For more information, see Add users or groups to a team or project, Invite users from the Summary page.
Note
For Azure DevOps Server, all email actions require an SMTP server to be configured.
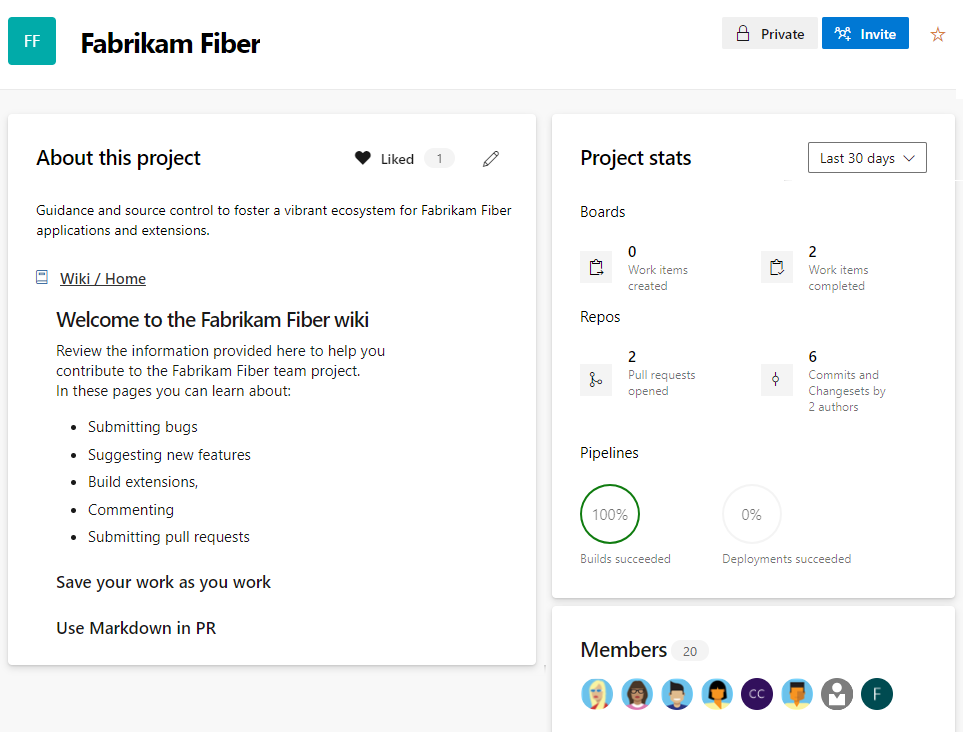
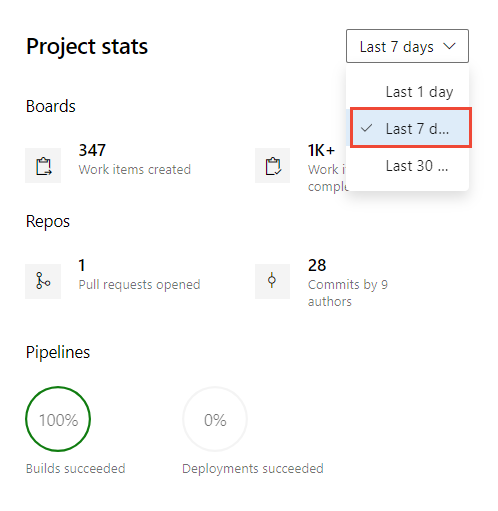
From the Project stats or Activity section, you can view updates made to the project in the last 1, 7, or 30 days. Choose the view option as shown in the following image.
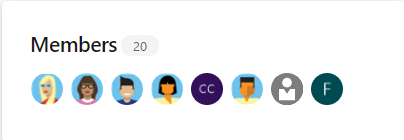
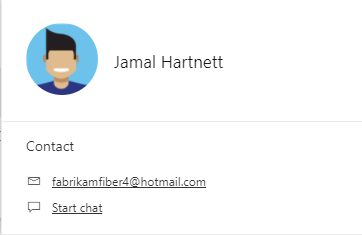
From the Members section, you can see some of the members added to the project, and connect to them via email or chat with a member.
Note
100+ indicates that 100 or more members are added to the project.
To email or initiate a chat session, choose the team member shown and select your option.
Note
For on-premises Azure DevOps, all email actions require an SMTP server to be configured.
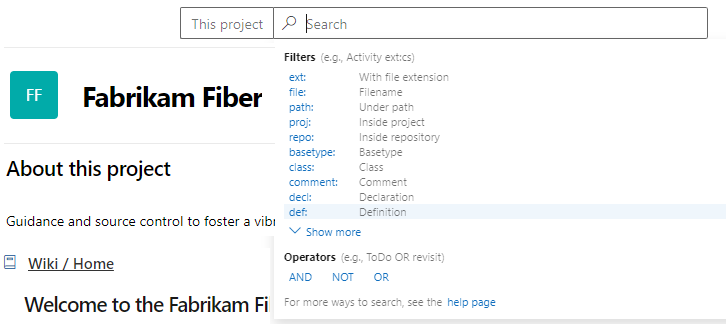
From the Summary page, you can initiate a search of your code, work items, and wiki. For more information, see Get started with search.
You can share your project and objective, and ways for team members to contribute to the project through a project README file. For Git projects, the README.md file needs to be at the root of each repository in the default branch. For Git based projects, the left pane supports navigation to other repositories. A separate Welcome page/README.md file can be created for each repository.
Open Repos>Files. This page guides you to get started quickly by adding code to your repository when you choose one of the options to clone, push, import, or initialize a repo.
With the Add a README check box checked, choose Initialize.
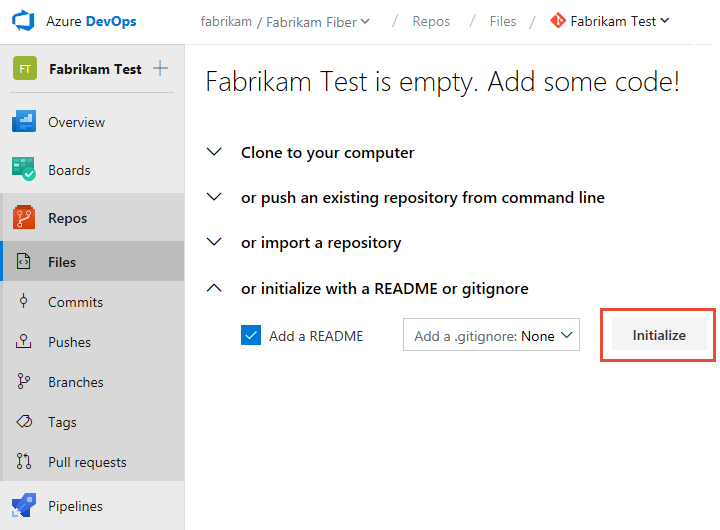
A default README file is added to the project repository, in this case, the Fabrikam Test repo.
Return to Overview > Summary and choose the README file for the project page. Select ![]() Edit.
Edit.
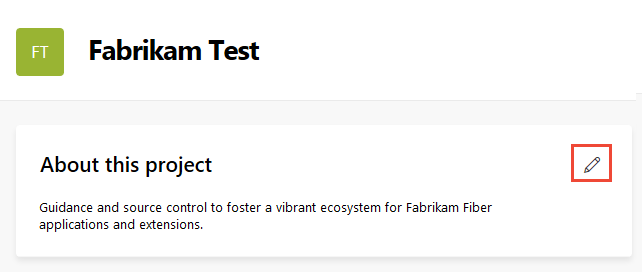
Select the project repository where you initialized the README file.
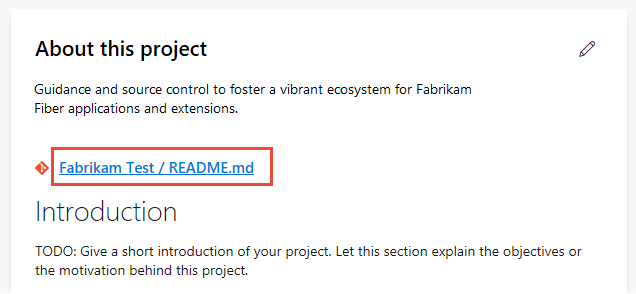
To edit the README file, choose the README file link.
You're directed to the Repos>Files page for the README file. You can edit and modify the README Markdown file like you would any other file in a Git repository. You can use Markdown language to format the README file and add images. For more information, see Create a README for your repo and Markdown guidance.
For projects that selected TFVC for version control, the README.md file needs to be at the root of your team project folder, for example, $/TeamProject/README.md.
Open Repos > Files.
Select Add Project Description.
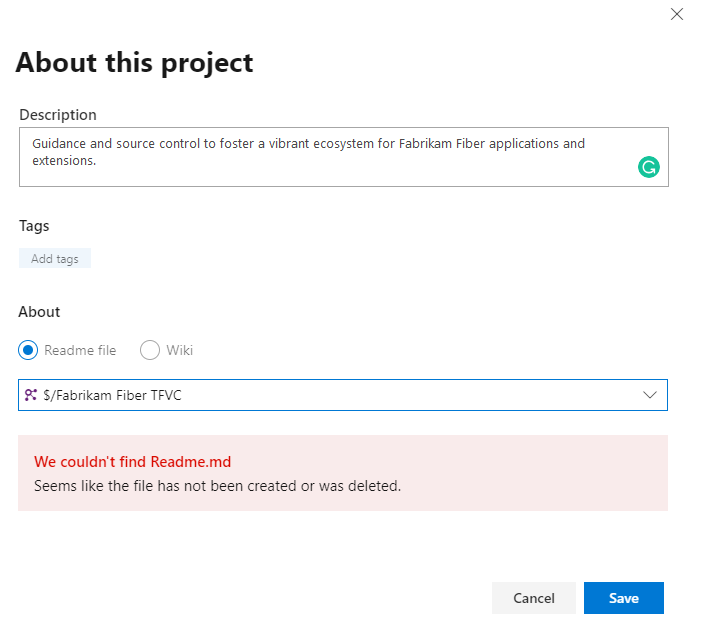
Select the TFVC repository and choose Save. If no README file is in the repo, you see the following message.
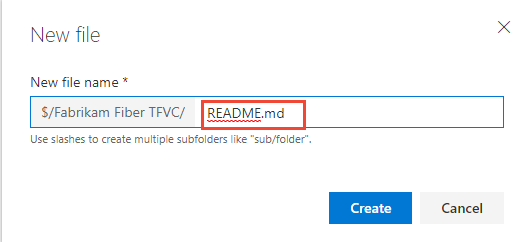
To create a README file, choose Repos>Files and choose new file to add a file to the project repository.
Name the file as README.md.
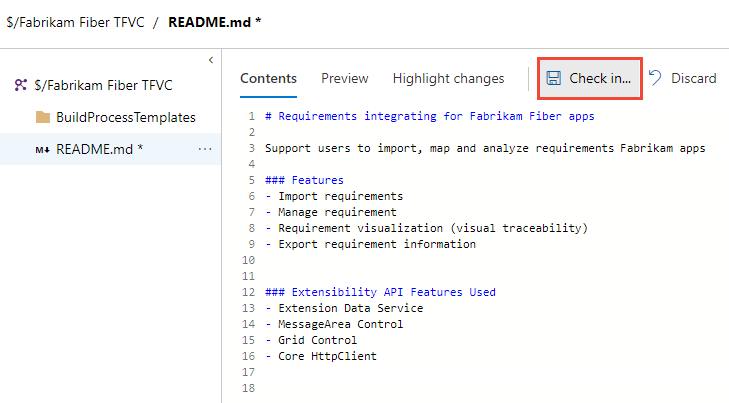
Add the contents of your README file in Markdown format, and then choose Check in....
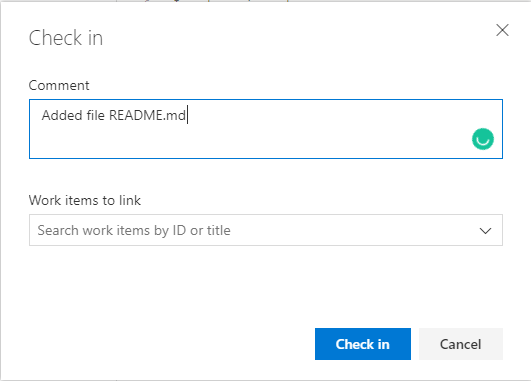
Select Check in to complete the check-in process of the README file.
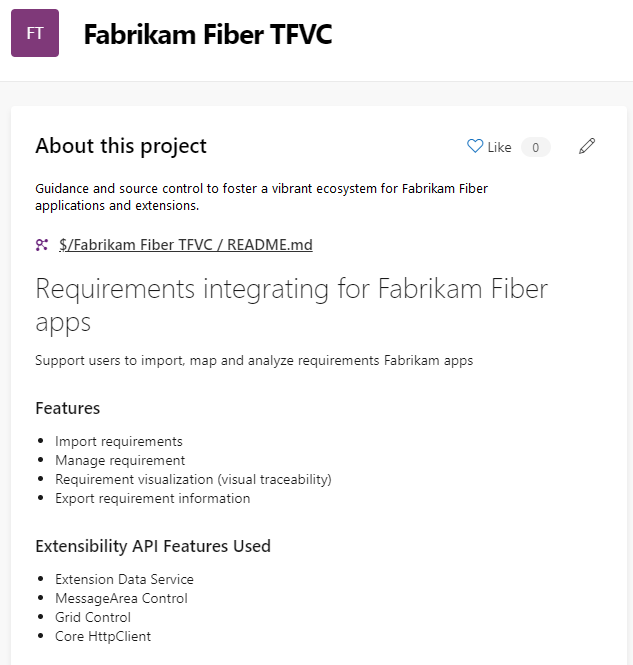
Select Overview>Summary to review your project summary page with the README file displayed.
REST APIs
Events
17 Mar, 9 pm - 21 Mar, 10 am
Join the meetup series to build scalable AI solutions based on real-world use cases with fellow developers and experts.
Register nowTraining
Module
Plan Agile with GitHub Projects and Azure Boards - Training
Plan Agile with GitHub Projects and Azure Boards
Documentation
About projects and scaling your organization - Azure DevOps
Learn about projects and how to structure them to support collaboration on building software solutions.
Settings & Usage documentation - Azure DevOps
Configure resources and manage settings for an organization, project, team, or user.
Settings overview for Azure DevOps - Azure DevOps
Overview of settings available to administrators for your team, project, collection, and organization in Azure DevOps.