Clang/LLVM support in Visual Studio CMake projects
Clang support is available starting in Visual Studio 2019.
You can use Visual Studio with Clang to edit and debug C++ CMake projects that target Windows or Linux.
Windows: Starting in Visual Studio 2019 version 16.1, Visual Studio includes support for editing, building, and debugging with Clang/LLVM in CMake projects targeting Windows.
Linux: For Linux CMake projects, no special Visual Studio support is required. You can install Clang using your distro's package manager, and add the appropriate commands in the CMakeLists.txt file.
Install
For the best IDE support in Visual Studio, we recommend using the latest Clang compiler tools for Windows. If you don't already have those, you can install them by opening the Visual Studio Installer and choosing C++ Clang compiler for Windows under Desktop development with C++ optional components. You may prefer to use an existing Clang installation on your machine; if so, choose the C++ Clang-cl for v142 build tools or C++ Clang-cl for v143 build tools component.

For the best IDE support in Visual Studio, we recommend using the latest Clang compiler tools for Windows. If you don't already have those, you can install them by opening the Visual Studio Installer and choosing C++ Clang compiler for Windows under Desktop development with C++ optional components. You may prefer to use an existing Clang installation on your machine; if so, choose the MSBuild support for LLVM (clang-cl) toolset component.

Create a new configuration
To add a new Clang configuration to a CMake project:
Right-click on CMakeLists.txt in Solution Explorer and choose CMake settings for project.
Under Configurations, press the Add Configuration button:

Choose the desired Clang configuration (note that separate Clang configurations are provided for Windows and Linux), then press Select:

To make modifications to this configuration, use the CMake Settings Editor. For more information, see Customize CMake build settings in Visual Studio.
Modify an existing configuration to use Clang
To modify an existing configuration to use Clang, follow these steps:
Right-click on CMakeLists.txt in Solution Explorer and choose CMake settings for project.
Under General select the Toolset dropdown and choose the desired Clang toolset:

Custom Clang locations
By default, Visual Studio looks for Clang in two places:
- (Windows) The internally installed copy of Clang/LLVM that comes with the Visual Studio installer.
- (Windows and Linux) The PATH environment variable.
You can specify another location by setting the CMAKE_C_COMPILER and CMAKE_CXX_COMPILER CMake variables in CMake Settings:

Clang compatibility modes
For Windows configurations, CMake by default invokes Clang in clang-cl mode and links with the Microsoft implementation of the Standard Library. By default, clang-cl.exe is located in C:\Program Files (x86)\Microsoft Visual Studio\2019\Common7\IDE\CommonExtensions\Microsoft\Llvm\bin.
You can modify these values in CMake Settings under CMake variables and cache. Click Show advanced variables. Scroll down to find CMAKE_CXX_COMPILER, then click the Browse button to specify a different compiler path.
Edit, build, and debug
After you have set up a Clang configuration, you can build and debug the project. Visual Studio detects that you're using the Clang compiler and provides IntelliSense, highlighting, navigation, and other editing features. Errors and warnings are displayed in the Output Window.
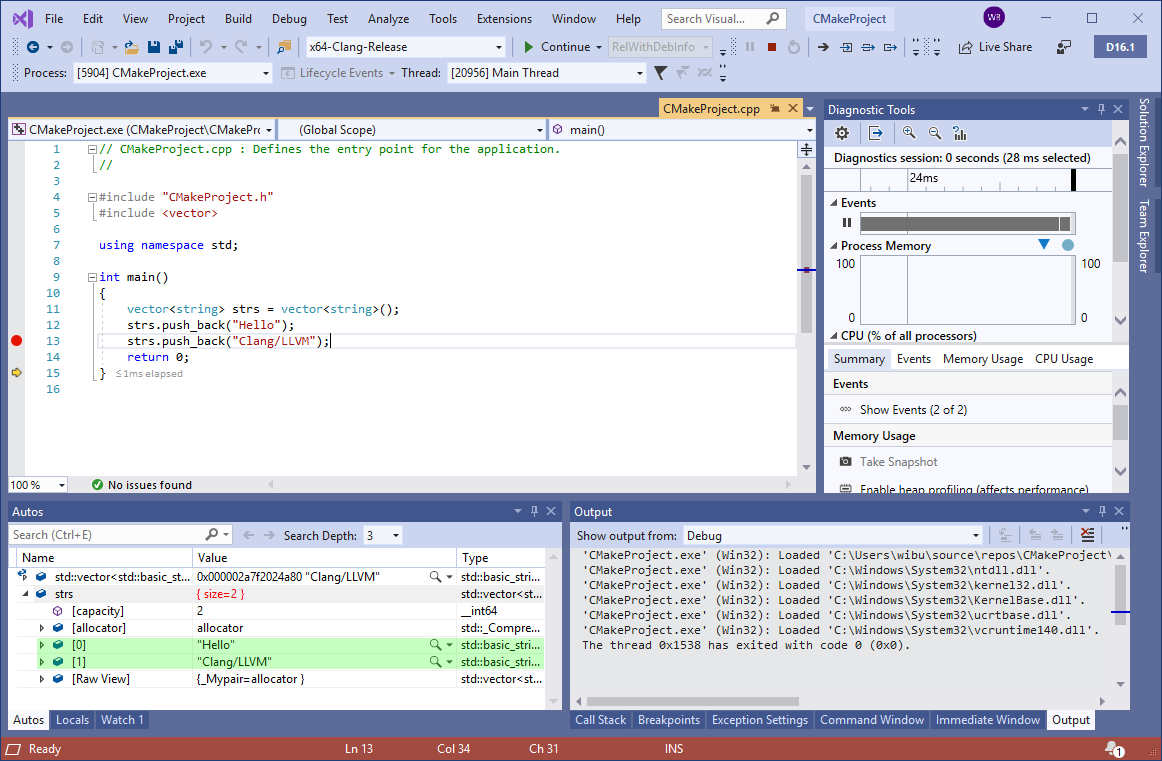
When debugging, you can use breakpoints, memory and data visualization, and most other debugging features. Some compiler-dependent features such as Edit and Continue aren't available for Clang configurations.
