Note
Access to this page requires authorization. You can try signing in or changing directories.
Access to this page requires authorization. You can try changing directories.
Transport Layer Security (TLS) inspection in Microsoft Entra Internet Access lets you decrypt and inspect encrypted traffic at service edge locations. This feature lets Global Secure Access (GSA) apply advanced security controls like threat detection, more granular web content filtering, and other content controls. TLS inspection also enables GSA to provide a custom, user-friendly error message, such as when a user is blocked because of web content filtering.
In this tutorial, you learn how to:
- Create the TLS termination certificate for TLS inspection.
- Create and configure a TLS inspection policy.
- Link the TLS inspection policy to a security profile.
- Assign the security profile via Microsoft Entra Conditional Access.
- Verify TLS inspection on the client.
Key concepts
Why is TLS inspection necessary?
Over 95% of web traffic today is encrypted with HTTPS/TLS. Without TLS inspection, security tools can only see the:
- Destination IP address.
- Server name indication (SNI), which is the fully qualified domain name (FQDN) from the TLS handshake.
With TLS inspection enabled, security tools can see the:
- Full URL paths (for example,
/imagesand/downloads/malware.exe). - Request and response content.
- File uploads and downloads.
- Web page content for categorization.
How does TLS inspection work?
Here's the flow of traffic:
- The client establishes TLS connection to security service edge (SSE).
- SSE establishes separate TLS connection to destination.
- SSE decrypts, inspects, and reencrypts traffic.
- The client sees a certificate signed by your enterprise certificate authority (CA).
- If allowed by policy, SSE forwards the traffic to the original destination server.
User → GSA Client → SSE Proxy → Destination Server
                         │
                   [TLS Terminated]
                   [Content Inspected]
                   [Re-encrypted with Enterprise CA cert]
                   [Forwarded to destination]
Objective
In this tutorial, you create and enable a TLS inspection policy. You keep the system-generated bypass rules at their default values. You then verify that TLS inspection is occurring as expected.
Sample walkthrough videos
The following video demonstrates how to configure TLS inspection.
The following video demonstrates more TLS inspection configuration.
The following video demonstrates how to verify TLS inspection.
Step 1: Create a TLS termination CA certificate
Creating a TLS termination CA certificate involves generating a certificate signing request (CSR), signing it, and uploading the signed certificate. The TLS termination CA certificate is used to issue short-lived leaf certificates for the website being accessed.
Step 1.1: Generate a CSR
To create a CSR and upload the signed certificate for TLS termination:
Sign in to the Microsoft Entra admin center as a Global Secure Access Administrator.
Browse to Global Secure Access > Secure > TLS inspection policies.
Switch to the TLS inspection settings tab.
Select + Create certificate. This step starts with generating a CSR.
In the Create certificate pane, fill in the following fields:
- Certificate name: The certificate name appears in the certificate hierarchy when you view it in a browser. It must be unique, contain no spaces, and be no more than 12 characters long. You can't reuse previous names.
- Common name: The common name, for example,
Contoso TLS ICA, that identifies the intermediate certificate. - Organization name: The organization name, for example,
Contoso IT.
Select Create CSR. This step creates a
.csrfile and saves it to your default download folder.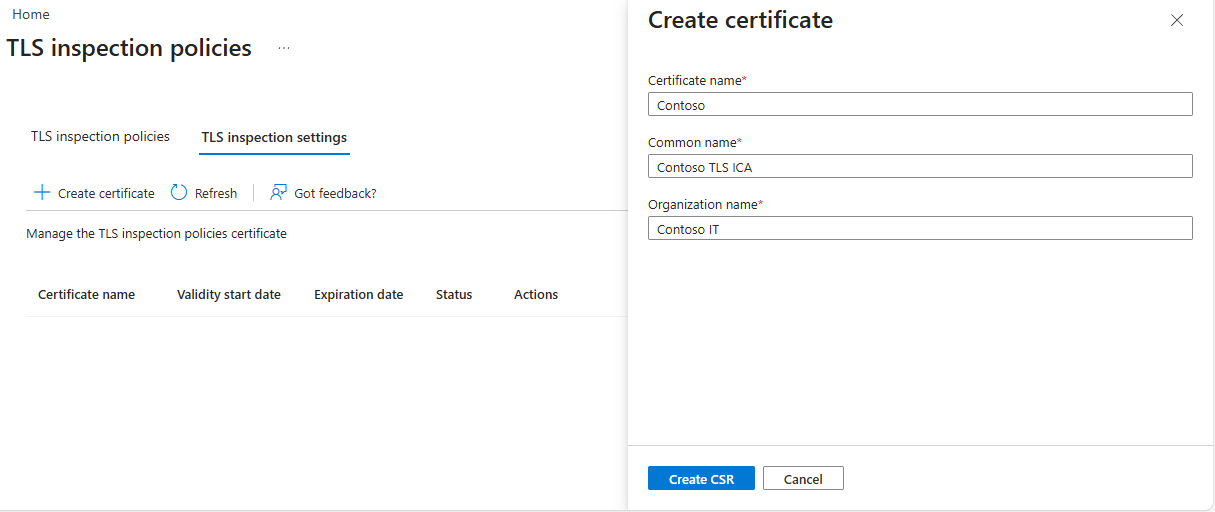
Step 1.2: Sign the CSR
Sign the CSR by using your self-signed certificate or private key infrastructure (PKI) service.
Option 1: Public documentation steps by using OpenSSL
If you're unfamiliar with how to use OpenSSL, reference the sample walkthrough videos if you get stuck.
You can download OpenSSL for Windows from a non-Microsoft site. Verify the integrity of downloaded binaries before use.
Option 2: Sample PowerShell script by using Active Directory Certificate Services
If you create your own certificate without using the provided samples, make sure that Server Auth is in Extended Key Usage and certificate authority (CA)=true, keyCertSign, cRLSign, and basicConstraints=critical,CA:TRUE are in Basic Extension. Save the signed certificate in .pem format.
Step 1.3: Upload the signed certificate for TLS termination
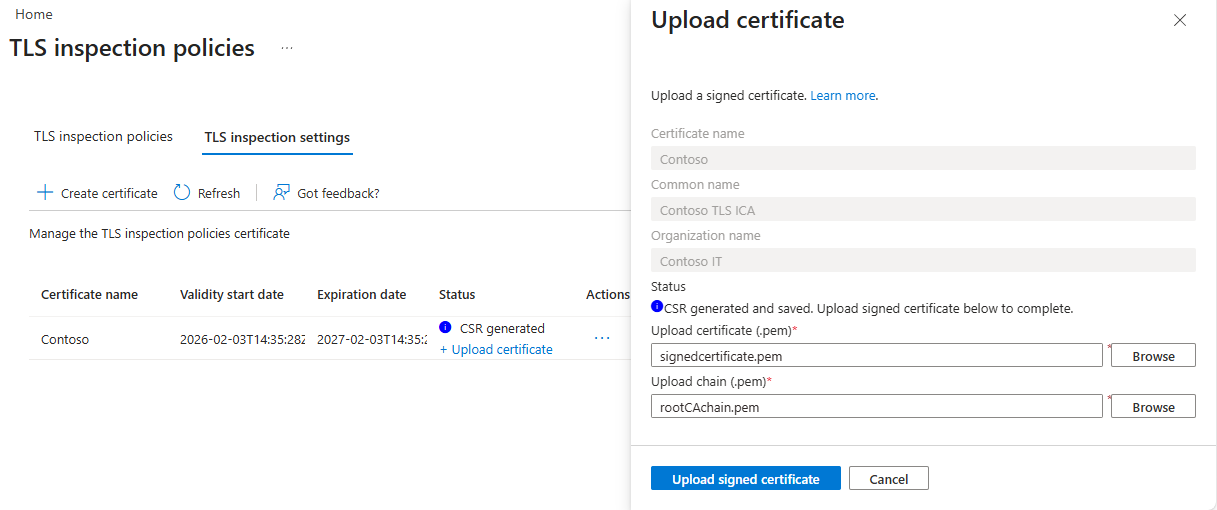
After you have your certificate and chain .pem files, upload the signed certificate for TLS termination.
Select + Upload certificate.
On the Upload certificate form, upload the
signedcertificate.pemandrootCAchain.pemfiles.Select Upload signed certificate.
Next to the certificate, select the ellipsis (three dots) under the Actions column, and then select Enable.
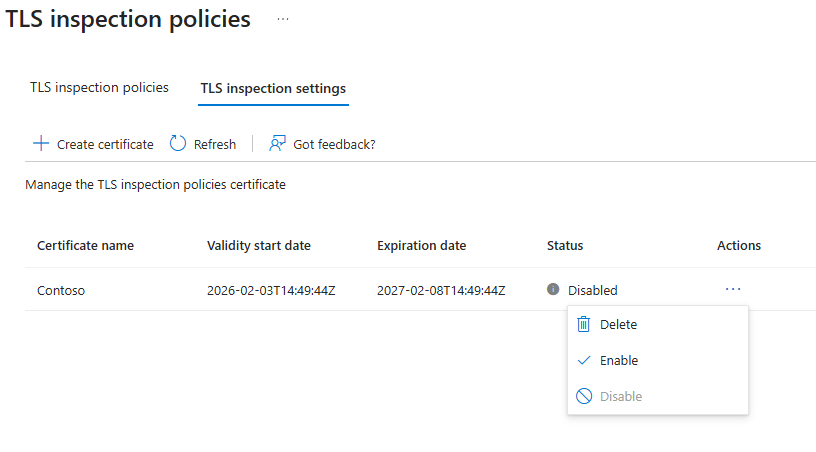
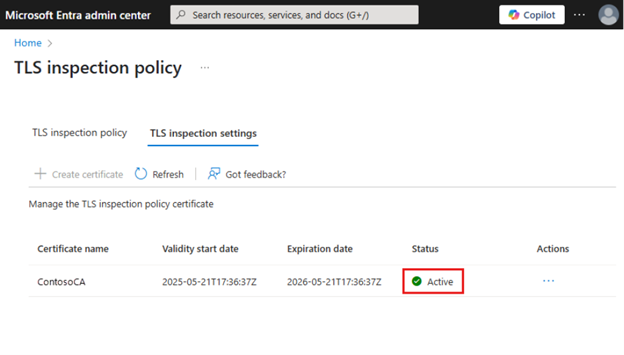
After you enable the certificate, the status changes from Enrolling to Active. This step might take a few minutes.
Step 2: Create a TLS inspection policy
To create a TLS inspection policy:
In the Microsoft Entra admin center, browse to Secure > TLS inspection policies.
Select Create policy.
Enter a name and a description (optional), and then set Action to Inspect.
Select Next.
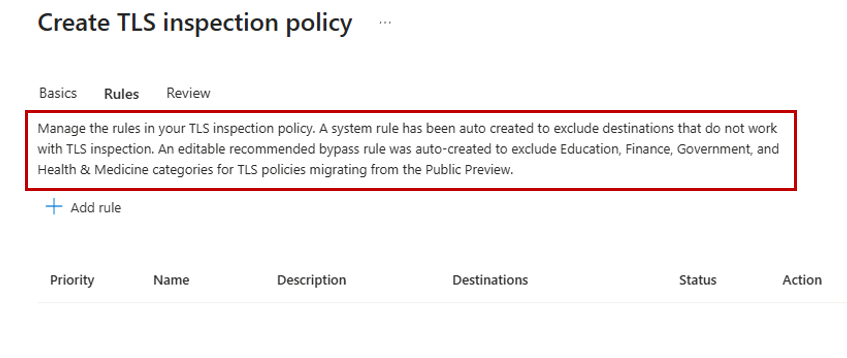
By setting the default action to Inspect, all traffic is TLS inspected unless it matches a bypass rule that you or the system generates. When you create a TLS inspection policy, the system automatically generates two rules. The first rule is a system rule that automatically bypasses destinations that Microsoft knows are incompatible with TLS inspection. The second rule is a recommended bypass list that bypasses TLS inspection for specific categories that users might consider sensitive or private. You can edit this rule later.
You can view the system-generated rules after you create the TLS inspection policy by selecting Edit on the policy.
Select Next.
Select Submit.
Step 3: Link the TLS inspection policy to a security profile
- Browse to Global Secure Access > Secure > Security profiles.
- Select Create profile.
- Enter a name and description for the policy and select Next.
- Select Link a policy and then select Existing TLS inspection policies.
- Select the TLS inspection policy that you created and select Add.
- Select Next.
- Select Create a profile.
Step 4: Assign the security profile via Conditional Access
- Browse to Entra ID > Conditional Access.
- Select Create new policy.
- Enter a name and assign a user or group.
- Select Target resources, and then select All internet resources with Global Secure Access.
- Select Session > Use Global Secure Access security profile and choose the security profile that you created in step 3.
- Select Select.
- In the Enable policy section, ensure that On is selected.
- Select Create.
It might take up to an hour for the security profile to take effect after Conditional Access assigns it.
Step 5: Verify TLS inspection on the client
To verify that TLS inspection is occurring properly:
Make sure the user device has the
rootCAchain.pemfile installed in the Trusted Root Certification Authorities folder.- On Windows 11, open Manage user certificates.
- Select Trusted Root Certification Authorities, and then right-click Certificates.
- Select Import (it might be located under All Tasks).
- Follow the import wizard to select and import the
rootCAchain.pemfile.
Open a browser on a client device and test various websites, such as
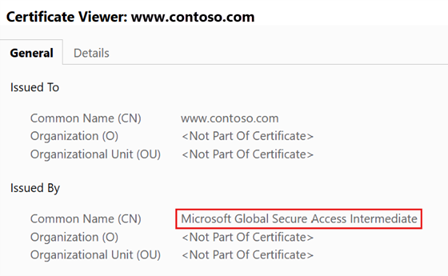
www.google.com. Inspect the certificate information and confirm the GSA certificate.Note
Microsoft traffic bypasses the Internet Access tunnel, which means that TLS inspection isn't applied to most Microsoft applications. Be sure to browse to a non-Microsoft website before you verify that TLS inspection is configured properly.
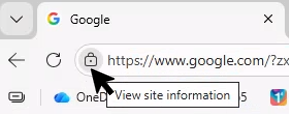
To check the certificate on the Microsoft Edge browser:
Select the lock icon next to the web URL.
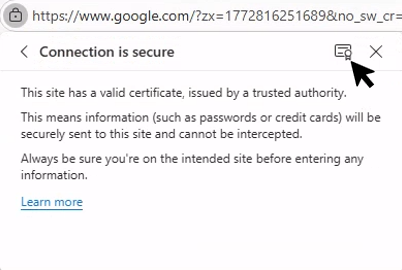
Select Connection is secure.
Select the certificate icon.
Verify that the common name says Microsoft Global Secure Access Intermediate.
What you learned
In this exercise, you accomplished the following tasks:
- Created a certificate hierarchy: You generated a CSR, signed it with a root CA, and uploaded both certificates to GSA. You established the trust chain that you need for TLS inspection.
- Understood bypass rules: You learned that some destinations are incompatible with TLS inspection, such as certificate pinning or mutual TLS, or are privacy sensitive, such as banking or healthcare. The system automatically bypasses some destinations by default.
- Created a security profile with Conditional Access: You learned that unlike the baseline profile (which applies to everyone), this security profile uses Conditional Access to target specific users to allow for phased rollouts.
- Distributed the root CA certificate: You learned that for clients to trust the re-encrypted traffic, they need the root CA certificate in their trusted store.
Deep dive: The certificate chain
 ┌─────────────────────────────┐
 │     Your root CA            │  ← Deployed to client trusted store
 │   (rootCAchain.pem)         │
 └─────────────┬───────────────┘
               │
               ▼ Signs
 ┌─────────────────────────────┐
 │  GSA intermediate CA        │  ← Uploaded to GSA (signed certificate)
 │  (signedcertificate.pem)    │
 └─────────────┬───────────────┘
               │
               ▼ Signs (dynamically)
 ┌─────────────────────────────┐
 │   Leaf certificates         │  ← Generated on-the-fly for each site
 │   (www.google.com, etc.)    │
 └─────────────────────────────┘
Security considerations
- Protect your root CA private key because attackers could forge certificates if it's compromised.
- Consider using a dedicated CA for TLS inspection, not your production PKI (common industry guidance).
- Audit bypass rules regularly to ensure that sensitive sites remain protected.
What's next
With TLS inspection enabled, you can now create URL-based filtering rules (not just fully qualified domain names). You can also provide custom block messages to users.