Note
Access to this page requires authorization. You can try signing in or changing directories.
Access to this page requires authorization. You can try changing directories.
Use LinkedIn-related activities that are defined for sequences in the sales accelerator to display steps in the work list and Up next widget.
What are LinkedIn activities?
As a seller, use the LinkedIn network, which contains millions of users and offers a unique depth and quality of information that can help you research and connect with your customers. This functionality allows you to use LinkedIn Sales Navigator in your sequence to recommend the next best action.
When a sequence contains steps that are related to LinkedIn activities, you can perform the following actions to interact with customers:
- Research a customer to learn more about their preferences. For more information, see Research activity.
- Get introduced to a customer. For more information, see Get introduced activity.
- Send personal messages to connect with a customer. For more information, see Connect activity.
- Send an InMail to a customer. For more information, see Send InMail activity.
Research activity
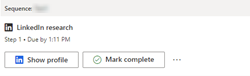
Use the Research activity to view LinkedIn profiles, including customer contact and account information. This information helps you better understand customers before you start working with them.
You can perform the actions described in the following table.
| Up next widget | Work list item | |
|---|---|---|
| Sample image |
|
|
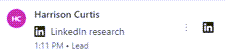
| Action | Select Show profile. | Hover over the item, and then select the LinkedIn icon. |
| Close the step | Select Mark complete to close the step and move to the next step. or Select More options (...), and then choose an appropriate option:
|
Select More options (⋮), and then choose an appropriate option:
|
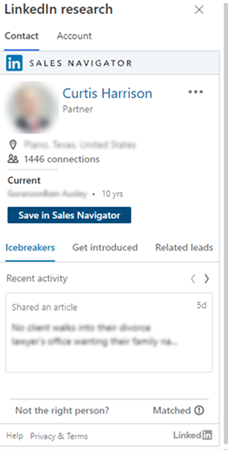
When you select an action, the LinkedIn research pane opens on the right side with information about the customer profile and account.
The following image is an example of the LinkedIn research side pane:
For more information on contacts and accounts, see Leads Module References and Accounts Module References, respectively.
Get introduced activity
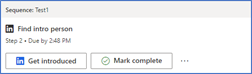
Use the Get introduced activity to ask for an introduction to a customer from anyone within your network who's already connected to the customer. If the Sales Navigator instance has licensed TeamLink, you can see anyone in your organization who's connected to the customer and can make the introduction.
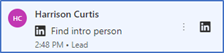
You can perform the actions described in the following table.
| Up next widget | Work list item | |
|---|---|---|
| Sample image |
|
|
| Action | Select Get introduced. | Hover over the item, and then select the LinkedIn icon. |
| Close the step | Select Mark as complete to close the step and move to the next step. or Select More options (...), and then choose an appropriate option:
|
Select More options (⋮), and then choose an appropriate option:
|
When you select the action, the Find intro person pane opens on the right side. On the Contact tab, select the Get introduced tab. The list of contacts who might be able to introduce the customer is displayed.
The following image is an example of the Get introduced tab on the Find intro person side pane:
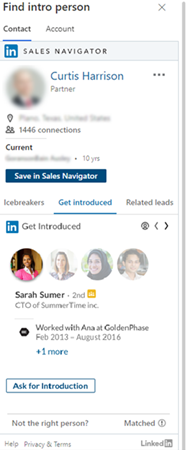
For more information on customer introductions, see Get Introduced.
Connect activity
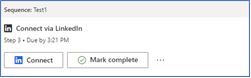
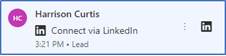
Use the Connect activity to send connection invites along with personal messages, to help solidify relationships with customers and add them to your network.
You can perform the actions described in the following table.
| Up next widget | Work list item | |
|---|---|---|
| Sample image |
|
|
| Action | Select Connect. | Hover over the item, and then select the LinkedIn icon. |
| Close the step | Select Mark complete to close the step and move to the next step. or Select More options (...), and then choose an appropriate option:
|
Select More options (⋮), and then choose an appropriate option:
|
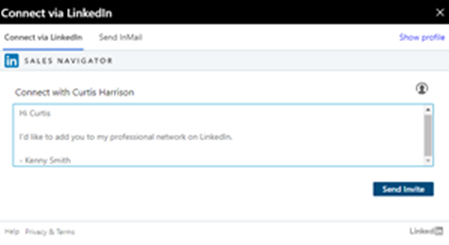
When you select the action, the Connect via LinkedIn pane opens in the lower-right corner. On the Connect via LinkedIn tab, you can see the default message used to connect with the customer.
The following image is an example of the Connect message side pane:
For more information on connecting with a customer, see Connect.
Send InMail activity
Use the Send InMail activity to directly message customers who you're not already connected to on LinkedIn.
You can perform the actions described in the following table.
| Up next widget | Work list item | |
|---|---|---|
| Sample image |
|
|
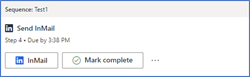
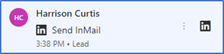
| Action | Select InMail. | Hover over the item and then select the LinkedIn icon. |
| Close the step | Select Mark complete to close the step and move to the next step. or Select More options (...), and then choose an appropriate option:
|
Select More options (⋮), and then choose an appropriate option:
|
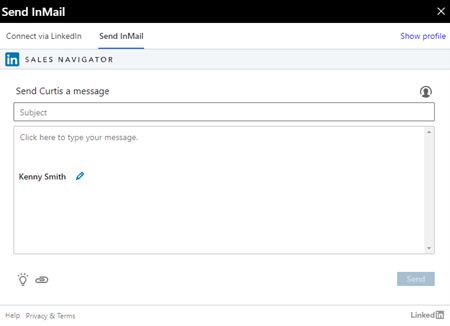
When you select the action, the Send InMail pane opens in the lower-right corner. Go to the Send InMail tab, enter a subject and message, add any attachments if necessary, and then select Send. The InMail message is sent to the customer.
Note
To view the profile of the customer, select Show profile.
The following image is an example of the Send InMail side pane:
For more information on sending InMail, see Send an InMail Message.