Note
Access to this page requires authorization. You can try signing in or changing directories.
Access to this page requires authorization. You can try changing directories.
This article describes how to add a Solace PubSub+ queue or topic as an event source in Fabric Real-Time hub.
Solace PubSub+ is a fully managed enterprise message broker that provides message queues and publish-subscribe topics. Microsoft Fabric event streams allow you to connect to Solace PubSub+, enabling messages from Solace PubSub+ to be ingested into Fabric eventstream and routed to various destinations within Fabric.
Prerequisites
Before you start, you must complete the following prerequisites:
- Access to the Fabric premium workspace with Contributor or higher permissions.
- You need to have appropriate permissions on the Solace Pub Sub+ event broker services.
- Ensure that the Solace Message Format service is enabled to support TCP-based messaging.
- Confirm that the event broker is publicly accessible and not behind a firewall or secured in a virtual network. If it resides in a protected network, connect to it by using Eventstream connector virtual network injection.
Data sources page
Sign in to Microsoft Fabric.
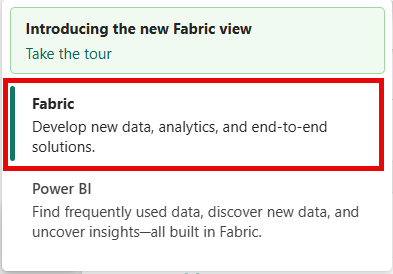
If you see Power BI at the bottom-left of the page, switch to the Fabric workload by selecting Power BI and then by selecting Fabric.
Select Real-Time on the left navigation bar.
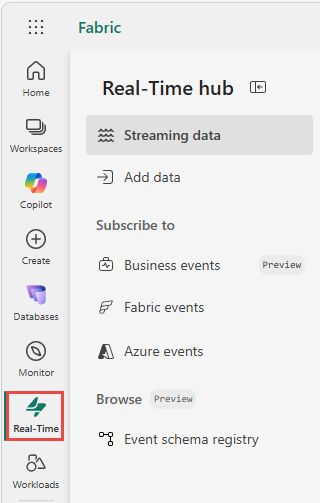
The Streaming data page opens by default. Click on the Add data button to get to the Add data page.
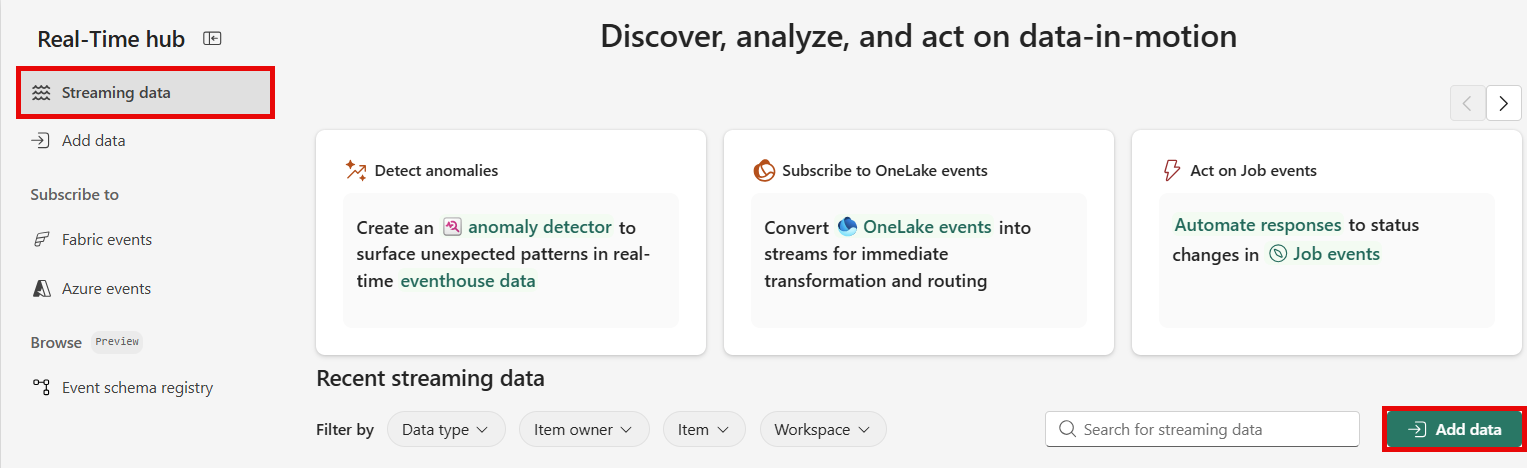
You can also get to the Add data page directly by selecting the Add data option in the left navigation bar.
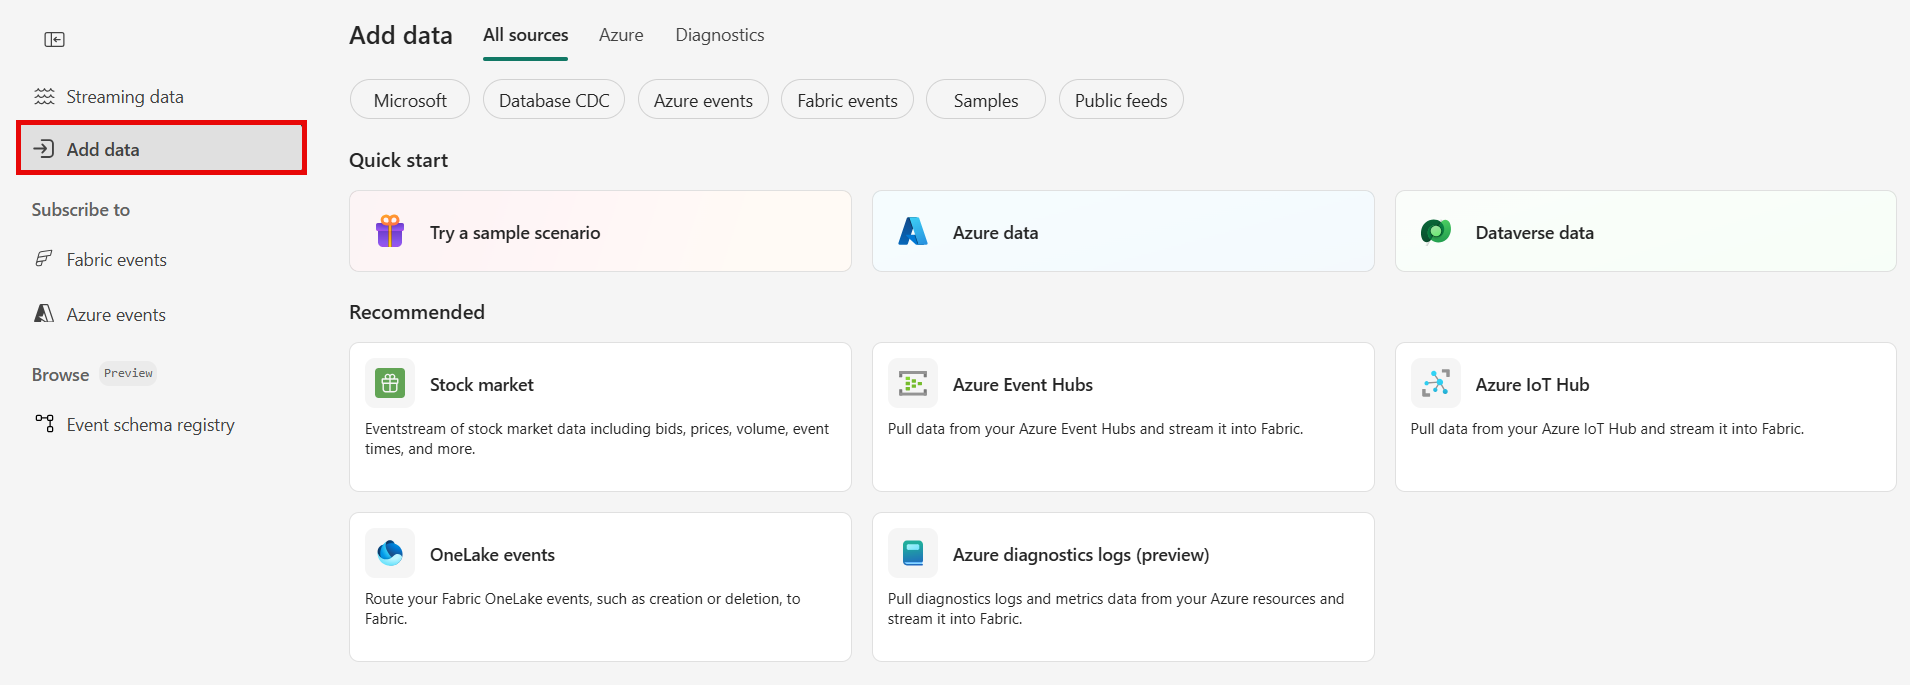


Select Solace PubSub+ as data source type
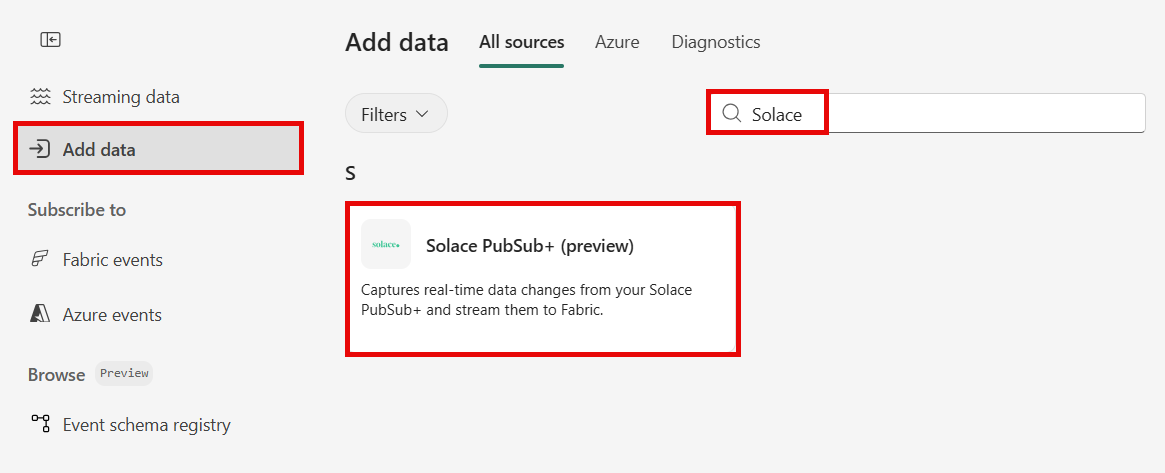
On the Data sources page, search for Solace PubSub+, and select Connect on the Solace PubSub+ tile.
Add Solace PubSub queue or topic as a source
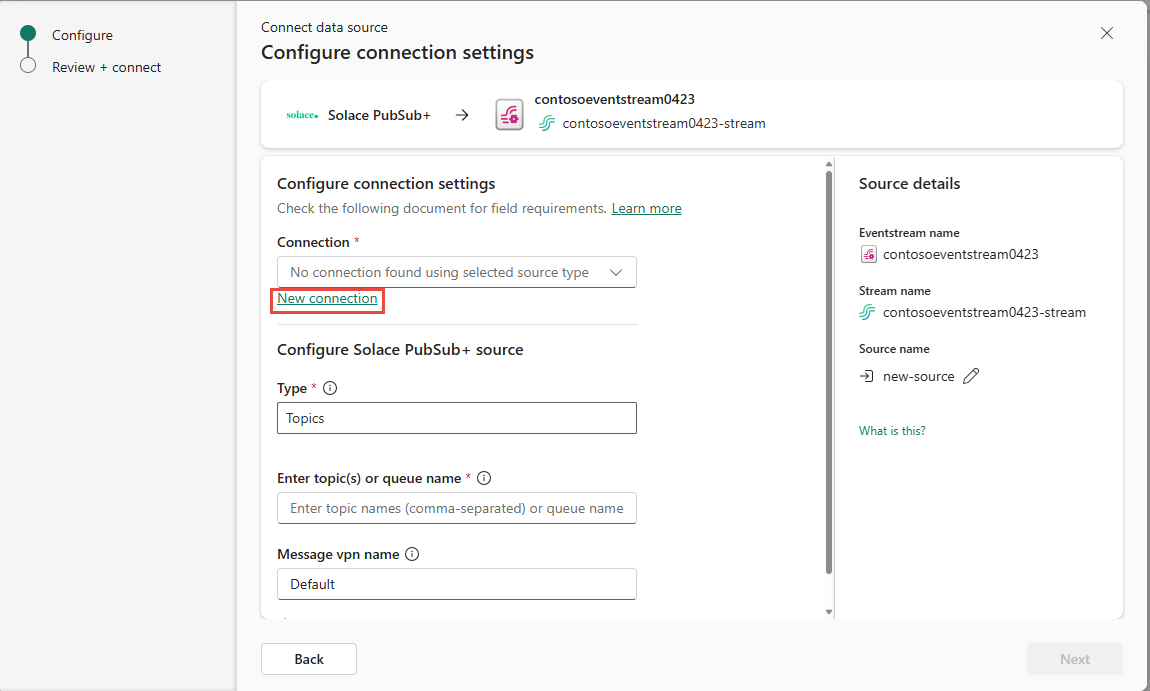
On the Connect page, select New connection.
If there's an existing connection to your Solace PubSub+ source, select that existing connection.
In the Connection settings section, follow these steps:
For Solace PubSub+ broker URL, enter the Solace Message Format (SMF) URI, starting with
tcps://.Note
The Solace PubSub+ source supports TLS/SSL-secured SMF connections between your Solace broker and Eventstream. TLS/SSL connections are only supported if the server certificate is signed by a Certificate Authority (CA) included in the trusted CA list.
For Connection name, enter a name for the connection to the Solace PubSub+.
Enter the Username and Password for the Solace PubSub+ client.
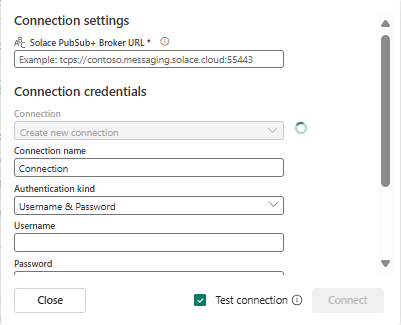
Select Connect.
Now, on the Connect page of the wizard, select a Solace PubSub+ Type: Queue or Topic.
If you selected Queue as the Solace PubSub+ type, make sure the queue exists, and enter the Queue name.
Note
If you aren't the owner of the queue, ensure you have the appropriate permission, specifically Consume, Modify Topic and Delete are valid, while No Access and Read Only don't work.
If you selected Topic, enter the Topic name. You can enter multiple topic names separated by commas.
Enter the Message vpn name. Ensure you have appropriate permissions on the Message VPN.

Stream or source details
On the Connect page, follow one of these steps based on whether you're using Eventstream or Real-Time hub.
Eventstream:
In the Source details pane to the right, follow these steps:
For Source name, select the Pencil button to change the name.
Notice that Eventstream name and Stream name are read-only.
Real-Time hub:
In the Stream details section to the right, follow these steps:
Select the Fabric workspace where you want to create the eventstream.
For Eventstream name, select the Pencil button, and enter a name for the eventstream.
The Stream name value is automatically generated for you by appending -stream to the name of the eventstream. This stream appears on the real-time hub's All data streams page when the wizard finishes.
Select Next at the bottom of the Configure page.
Review and connect
On the Review + connect screen, review the summary, and select Add (Eventstream) or Connect (Real-Time hub).
View data stream details
- On the Review + connect page, if you select Open eventstream, the wizard opens the eventstream that it created for you with the selected Solace PubSub+ source. To close the wizard, select Close at the bottom of the page.
- You should see the stream in the Recent streaming data section of the Real-Time hub home page. For detailed steps, see View details of data streams in Fabric Real-Time hub.
Related content
To learn about consuming data streams, see the following articles: