Install ATA - Step 2
Applies to: Advanced Threat Analytics version 1.9
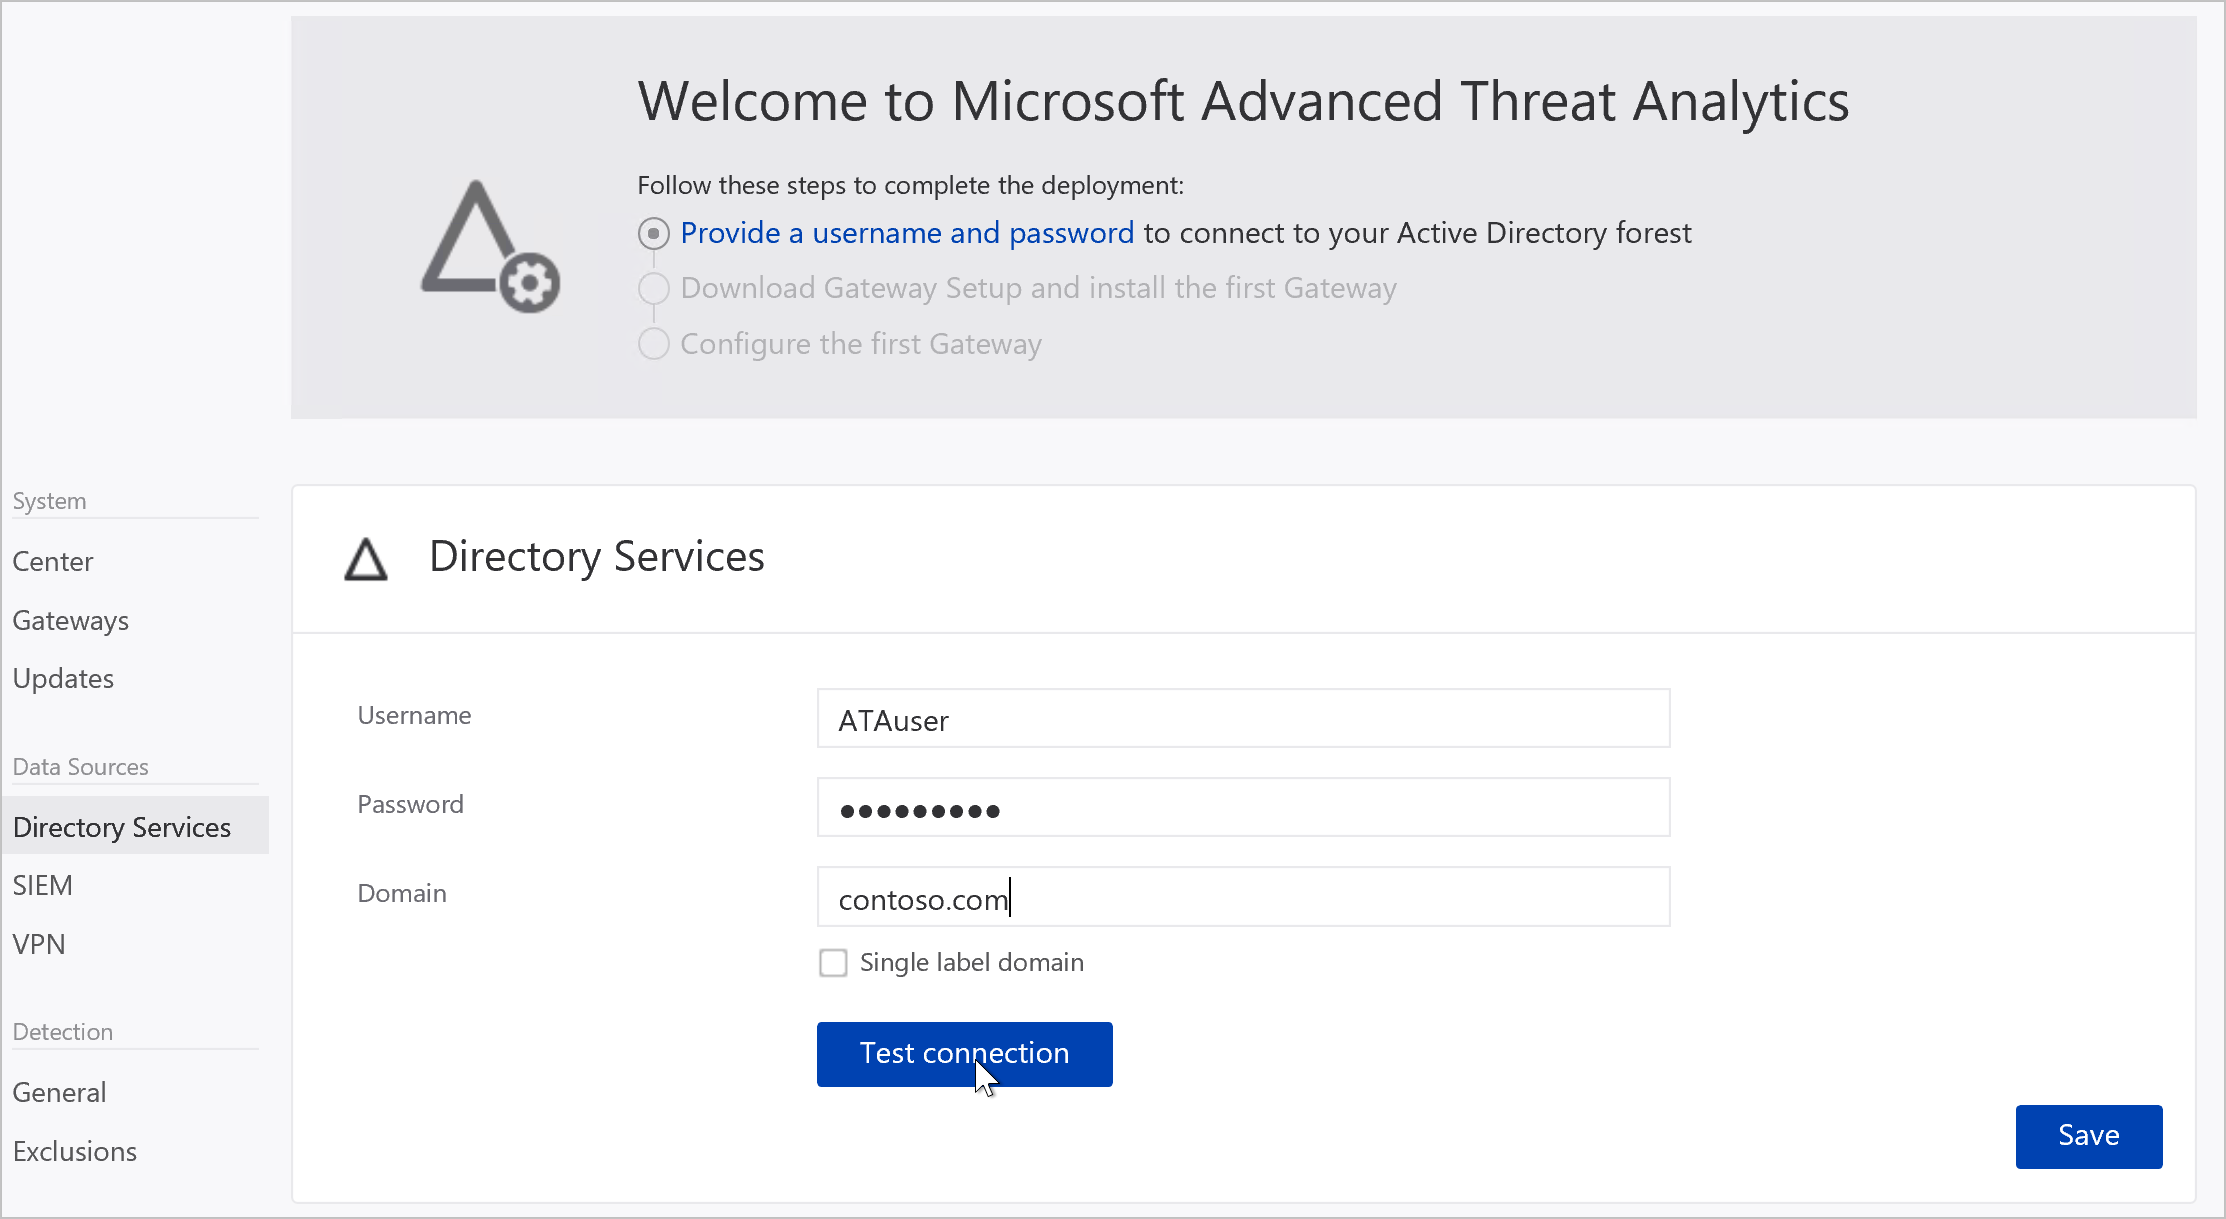
Step 2: Provide a Username and Password to connect to your Active Directory Forest
The first time you open the ATA Console, the following screen appears:
Enter the following information and click Save:
Field Comments Username (required) Enter the read-only user name, for example: ATAuser. Note: Do not use the UPN format for your username. Password (required) Enter the password for the read-only user, for example: Pencil1. Domain (required) Enter the domain for the read-only user, for example, contoso.com. Note: It is important that you enter the complete FQDN of the domain where the user is located. For example, if the user's account is in domain corp.contoso.com, you need to enter corp.contoso.comnot contoso.comYou can click Test connection to test connectivity to the domain and check that the credentials supplied provide access. This works if the ATA Center has connectivity to the domain.
After it is saved, the welcome message in the Console will change to the following message:

In the Console, click Download Gateway setup and install the first Gateway to continue.