Manage SDN Multisite for Azure Stack HCI
Applies to: Azure Stack HCI, version 23H2
This article describes how to deploy and manage the Software Defined Networking (SDN) Multisite solution for Azure Stack HCI using Windows Admin Center.
For an overview of SDN Multisite, it's current capabilities and limitations, see Overview of SDN Multisite.
Prerequisites
Before you can enable SDN Multisite, ensure the following prerequisites are met:
You must have access to Azure Stack HCI, version 23H2 clusters deployed at two separate physical sites.
There must be an underlying physical network connectivity between the sites. Additionally, the provider network name must be the same on both sites.
Your firewall configuration must permit TCP port 49001 for cross-cluster communication.
You must have Windows Admin Center version 2311 or later installed on your management PC or server. See Install Windows Admin Center.
SDN must be installed on both sites separately, using Windows Admin Center or SDN Express scripts. This is required so that SDN components, such as Network Controller VMs, Software Load Balancer Multiplexor VMs, and SDN Gateway VMs are unique to each site.
One of the two sites must not have virtual networks, NSGs, and user defined routes configured.
The SDN MAC pool must not overlap between the two sites.
The IP pools for the logical networks, including Hyper-V Network Virtualization Provider Address (HNV PA), Public VIP, Private VIP, Generic Routing Encapsulation (GRE) VIP, and L3 must not overlap between the two sites.
Enable SDN Multisite
Here's a high-level workflow for enabling SDN Multisite:
- Meet prerequisites. See Prerequisites.
- Establish peering. See Establish peering.
- Check peering status. See Check peering status.
Establish peering
Follow these steps to establish peering across multiple sites using Windows Admin Center:
In Windows Admin Center, connect to your cluster in the primary site to begin peering across sites. Under Tools, scroll down to the Networking section, and select Network controllers.
On the Network Controllers page, select New to add a secondary site.
On the Connect clusters pane on the right, provide the necessary REST information:
Enter the Name of the secondary site. For example, Secondary site.
Enter the Network Controller REST Uri of the secondary site.
Enter the Cluster name for new site or secondary site.
Enter the Network Controller VM name for new site or secondary site. This can be any Network Controller VM name of the secondary site.
Enter the Network Controller VM name for your primary location. This can be any Network Controller VM name of your primary location.
Select Submit.

Once peering is initiated, resources such as virtual networks or policy configurations that were once local to the primary site become global resources synced across sites.

Check peering status
After you enable SDN Multisite, review the current configuration to determine which site is designated as the primary and which one as the secondary.
Follow these steps to review SDN Multisite peering status:
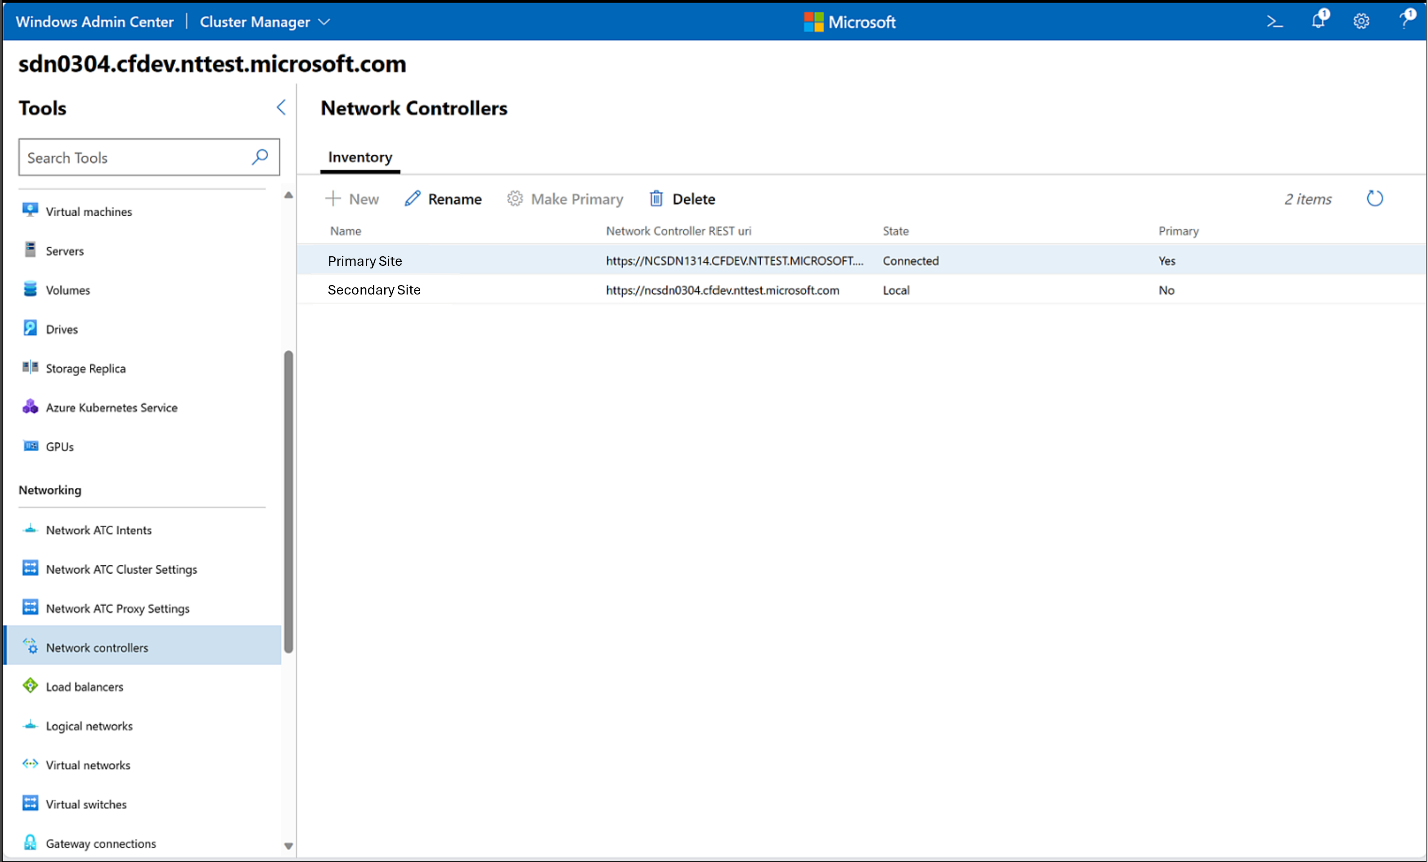
In Windows Admin Center, connect to your cluster in any site. Under Tools, scroll down to the Networking section, and select Network controllers.
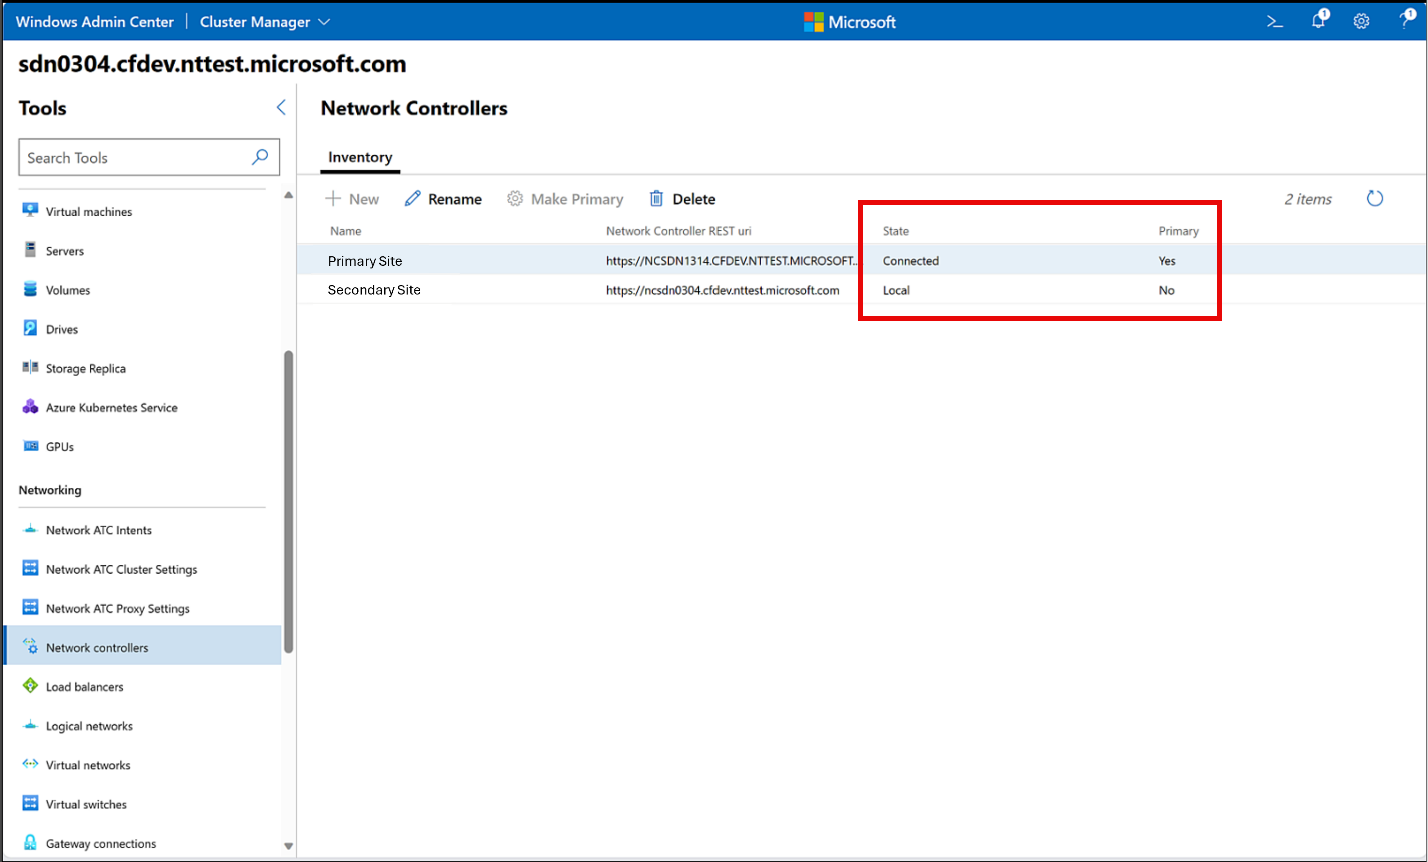
On the Network Controllers page, under the Inventory tab, review the status of the following two columns:
State: This column can have one of the following values:
Localindicates the site through which you are accessing SDN Multisite.Initiated,Connected, orFailedindicates the status of peering.
Primary: This column can have one of the following values:
Yesindicates the site is a primary site.Noindicates the site is a secondary site.

Manage SDN Multisite
This section describes the tasks that you can perform to manage your SDN Multisite solution using Windows Admin Center.
Change primary site
You can have only one primary site at a time. If your scenario requires more than one primary site, reach out to sdn_feedback@microsoft.com.
In certain scenarios, you might need to change your primary site. For example, if your primary site has gone down and becomes unreachable, but there are global policies and resources to be changed and synced. In such cases, you can change the primary site to help prevent data loss and ensure continuity of information. However, if there are pending changes in your old primary site, there's a potential risk of data loss when transitioning to the new primary sites.
Follow these steps to change the primary site:
Make sure SDN Multisite is enabled. See Check peering status.
Connect to your cluster in any site. Under Tools, scroll down to the Networking section, and select Network controllers.
On the Network Controllers page, under the Inventory tab, select the row for the secondary site that you want to convert into primary.
Select Make Primary to change the secondary site into primary.


Rename sites
There might be scenarios where you need to rename your sites for improved relevance or to conform with the naming convention followed in your organization.
Follow these steps to rename sites:
Make sure SDN Multisite is enabled. See Check peering status.
Connect to your cluster in any site. Under Tools, scroll down to the Networking section, and select Network controllers.
On the Network Controllers page, under the Inventory tab, select the site to rename.
Select Rename to change the site name.

Remove SDN Multisite
In some cases, you might need to remove peering to stop resource synchronization across sites. For example, to isolate resources due to a security concern or due to a change in the infrastructure strategy of your organization.
When you remove peering, resource synchronization is aborted, and each site keeps its own copy of resources. For example, you have a virtual network with two VMs, one on each site. When peering is removed, each site still has the same virtual network resource and the local site VM still functions with the same network settings. But it can't communicate with the VM on the remote site.
Follow these steps to remove peering:
In Windows Admin Center, connect to your cluster in any site. Under Tools, scroll down to the Networking section, and select Network controllers.
On the Network Controllers page, select Delete.
On the confirmation window, select Yes.
After remove peering, it takes a moment for your sites to update. If it doesn't update, refresh your browser.
Re-establish peering after SDN Multisite removal
If you intend to re-establish your multisite connection after its removal, your secondary site will need to be set up as a new SDN environment. This means there can't be any pre-existing virtual networks or network security groups. However, your secondary location will have a local cache of the once global resources from SDN Multisite. Even though SDN Multisite has been removed, your secondary location will still have a copy of those resources. Without SDN Multisite, those resources are now out of sync.
For redeployment after SDN Multisite removal, ensure the following are removed:
- Virtual networks. See Delete a virtual network
- Network Security Groups. See Delete a network security group
Next steps
Feedback
Coming soon: Throughout 2024 we will be phasing out GitHub Issues as the feedback mechanism for content and replacing it with a new feedback system. For more information see: https://aka.ms/ContentUserFeedback.
Submit and view feedback for