Tip
Steps in this article might vary slightly based on the portal you start from.
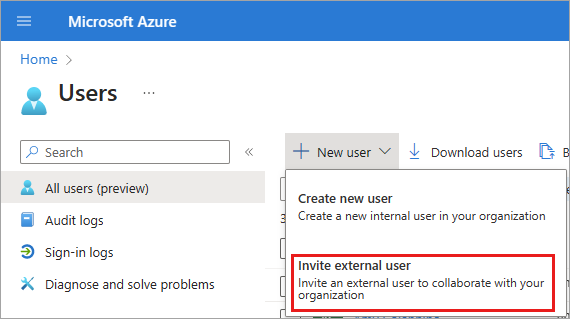
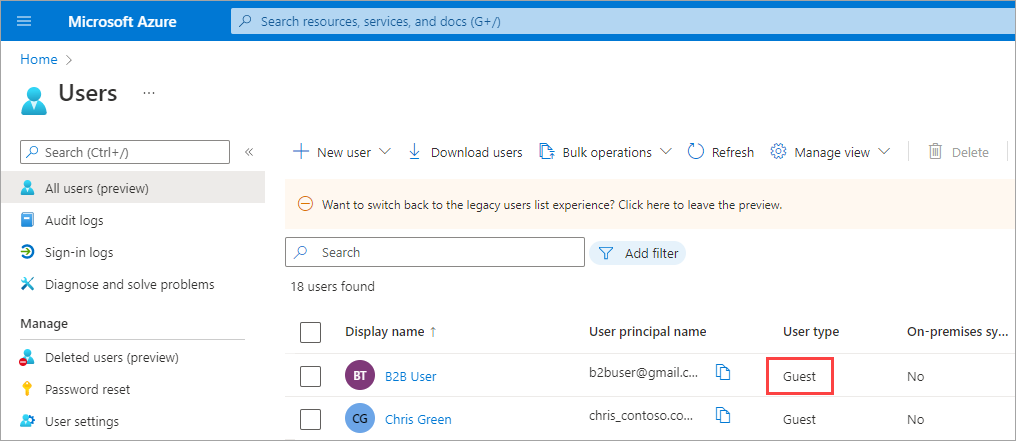
To add B2B collaboration users to the directory, follow these steps:
Sign in to the Microsoft Entra admin center as at least a User Administrator.
Browse to Identity > Users > All users.

- Select New user > Invite external user from the menu.
Basics
In this section, you're inviting the guest to your tenant using their email address. If you need to create a guest user with a domain account, use the create new user process but change the User type to Guest.
Email: Enter the email address for the guest user you're inviting.
Display name: Provide the display name.
Invitation message: Select the Send invite message checkbox to customize a brief message to the guest. Provide a Cc recipient, if necessary.
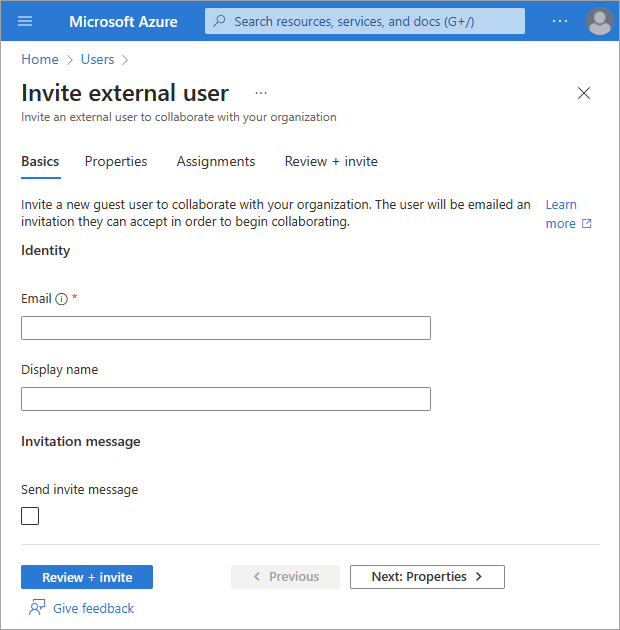
Either select the Review + invite button to create the new user or Next: Properties to complete the next section.
Properties
There are six categories of user properties you can provide. These properties can be added or updated after the user is created. To manage these details, go to Identity > Users > All users and select a user to update.
Identity: Enter the user's first and last name. Set the User type as either Member or Guest. For more information about the difference between external guests and members, see B2B collaboration user properties
Job information: Add any job-related information, such as the user's job title, department, or manager.
Contact information: Add any relevant contact information for the user.
Parental controls: For organizations like K-12 school districts, the user's age group may need to be provided. Minors are 12 and under, Not adult are 13-18 years old, and Adults are 18 and over. The combination of age group and consent provided by parent options determine the Legal age group classification. The Legal age group classification may limit the user's access and authority.
Settings: Specify the user's global location.
Either select the Review + invite button to create the new user or Next: Assignments to complete the next section.
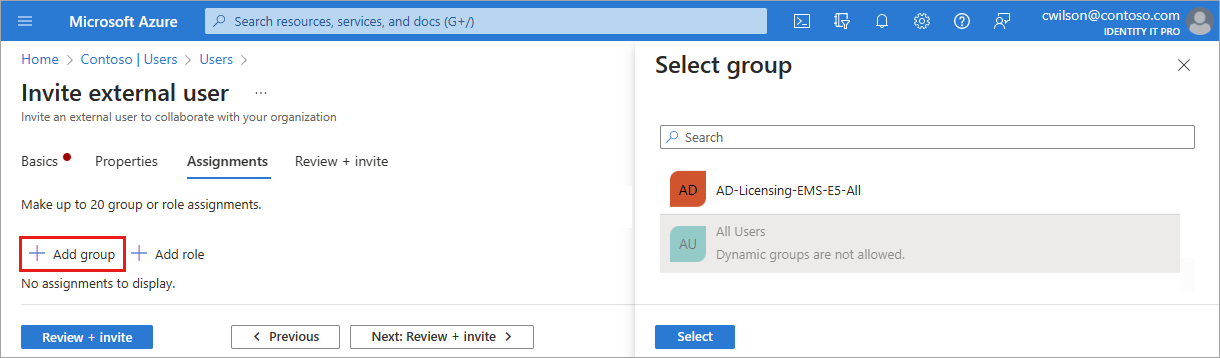
Assignments
You can assign external users to a group, or Microsoft Entra role when the account is created. You can assign the user to up to 20 groups or roles. Group and role assignments can be added after the user is created. The Privileged Role Administrator role is required to assign Microsoft Entra roles.
To assign a group to the new user:
- Select + Add group.
- From the menu that appears, choose up to 20 groups from the list and select the Select button.
- Select the Review + create button.
To assign a role to the new user:
- Select + Add role.
- From the menu that appears, choose up to 20 roles from the list and select the Select button.
- Select the Review + invite button.
Review and create
The final tab captures several key details from the user creation process. Review the details and select the Invite button if everything looks good. An email invitation is automatically sent to the user. After you send the invitation, the user account is automatically added to the directory as a guest.
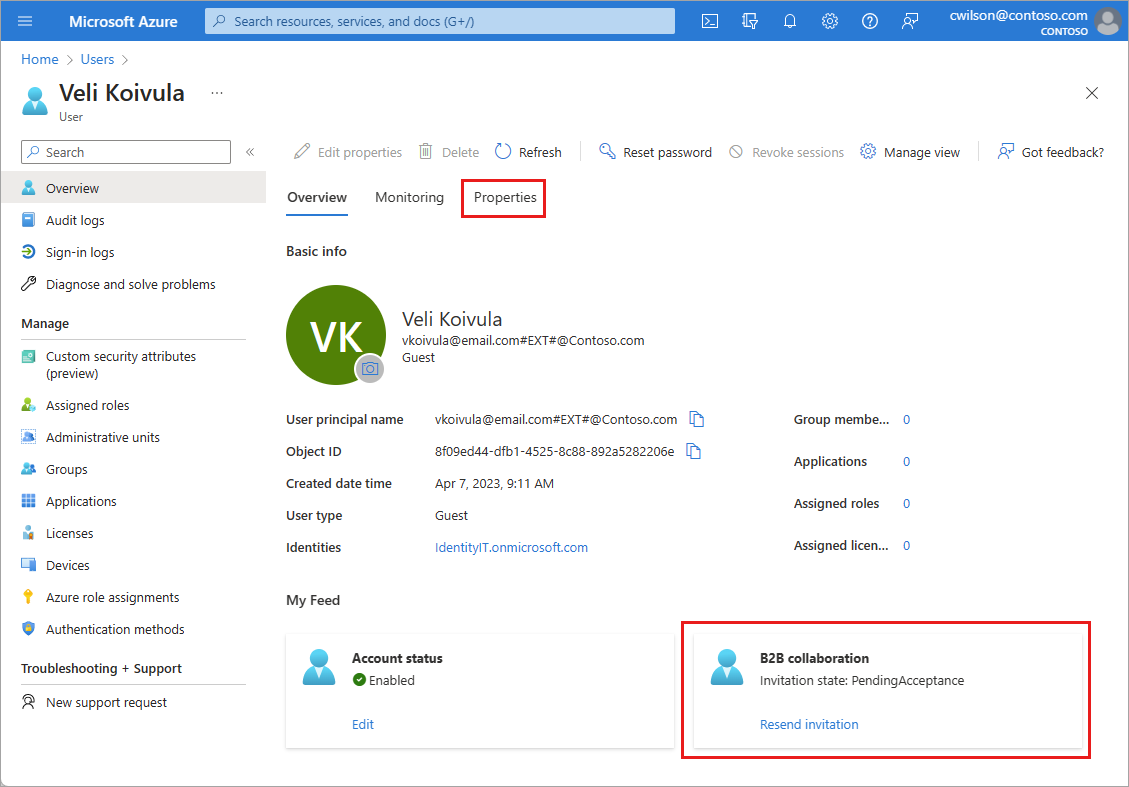
External user invitations
When you invite an external guest user by sending an email invitation, you can check the status of the invitation from the user's details. If they haven't redeemed their invitation, you can resend the invitation email.