Manage workflow properties
Managing workflows can be accomplished in one of two ways:
- Updating the basic properties of a workflow without creating a new version of it
- Creating a new version of the updated workflow
You can update the following basic information without creating a new workflow.
- display name
- description
- whether or not it's enabled
- Whether or not workflow schedule is enabled
- task name
- task description
If you change any other parameters, a new version is required to be created as outlined in the Managing workflow versions article.
If done via the Microsoft Entra admin center, the new version is created automatically. If done using Microsoft Graph, you must manually create a new version of the workflow. For more information, see Edit the properties of a workflow using Microsoft Graph.
Edit the properties of a workflow using the Microsoft Entra admin center
To edit the properties of a workflow using the Microsoft Entra admin center, you do the following steps:
Sign in to the Microsoft Entra admin center as at least a Lifecycle Workflows Administrator.
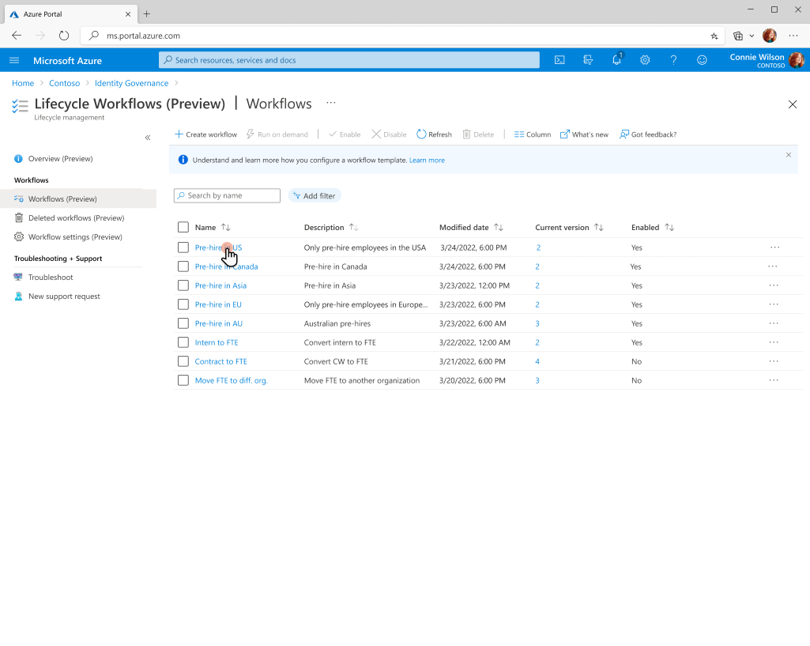
Browse to Identity governance > Lifecycle workflows > workflows.
Here you see a list of all of your current workflows. Select the workflow that you want to edit.
To change the display name or description, select Properties.
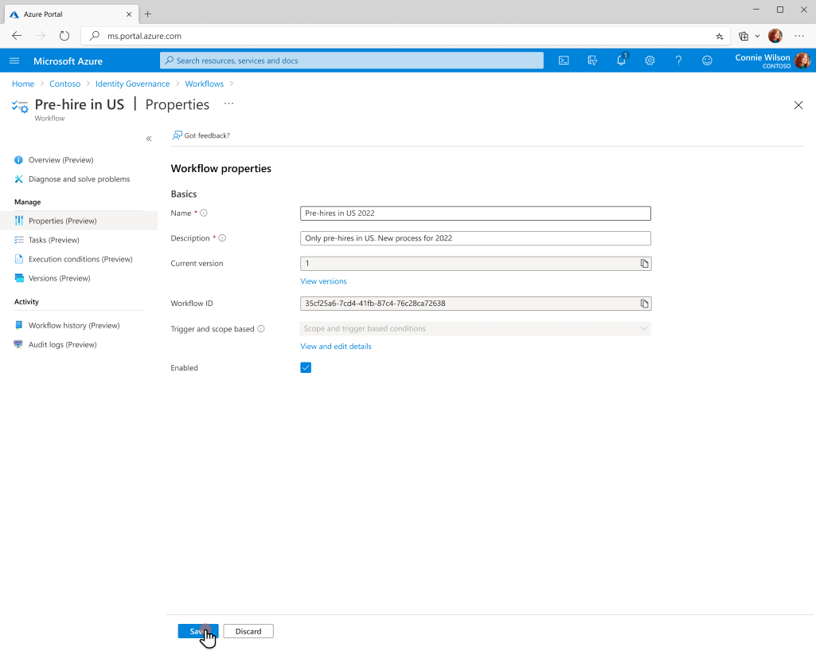
Update the display name or description how you want.
Note
Display names can not be the same as other existing workflows. They must have their own unique name.
- Select save.
Edit the properties of a workflow using Microsoft Graph
To update a workflow via API using Microsoft Graph, see: Update workflow
Next steps
Feedback
Coming soon: Throughout 2024 we will be phasing out GitHub Issues as the feedback mechanism for content and replacing it with a new feedback system. For more information see: https://aka.ms/ContentUserFeedback.
Submit and view feedback for