Quick Microsoft Entra Verified ID setup (Preview)
Quick Verified ID setup, available in preview, removes several configuration steps an admin needs to complete with a single click on a Get started button. The quick setup takes care of signing keys, registering your decentralized ID and verify your domain ownership. It also creates a Verified Workplace Credential for you.
In this tutorial, you learn how to use the quick setup to configure your Microsoft Entra tenant to use the verifiable credentials service.
Specifically, you learn how to:
- Configure your the Verified ID service using the quick setup.
- Controlling how issuances of Verified Workplace Credentials in MyAccount
Prerequisites
- Ensure that you have the global administrator or the authentication policy administrator permission for the directory you want to configure. If you're not the global administrator, you need the application administrator permission to complete the app registration including granting admin consent.
- Ensure that you have a custom domain registered for the Microsoft Entra tenant. If you don't have one registered, the setup defaults to the advanced setup experience.
How Quick Verified ID setup works
- A shared signing key, managed by Microsoft, is used across multiple tenants within a given region, sharing the RPS. It's no longer required to deploy Azure Key Vault.
- Since it's a shared key, the validityInterval of issued credentials is limited to a maximum of six months.
- The custom domain registered for your Microsoft Entra tenant is used for domain verification. It's no longer required to upload your DID configuration JSON to verify your domain. If you don't have a custom domain registered for your tenant, you can't set up Verified ID using the quick setup method.
- If you have customized your tenant's branding, the VerifiedEmployee default credential will pick up logo and background color from there. If you haven't or prefer other values, you can edit this after setup is complete.
- The Decentralized identifier (DID) gets a name like
did:web:verifiedid.entra.microsoft.com:tenantid:authority-idand the DID document is discoverable following did:web specification.
Note
If how the quick setup works doesn't meet your requirements, use the Advanced setup.
Set up Verified ID
If you have a custom domain registered for your Microsoft Entra tenant, you see this Get started option. If you don't have a custom domain registered, either register it before setting up Verified ID or continue using the advanced setup.
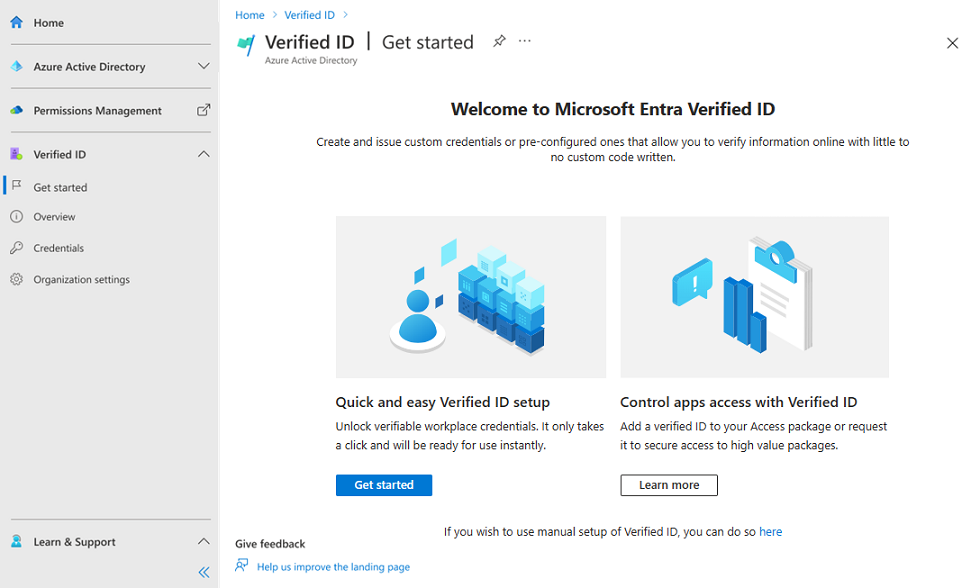
To set up Verified ID, follow these steps:
Sign in to the Microsoft Entra admin center as at least a Global Administrator.
Select Verified ID.
From the left menu, select Setup.
Click the Get started button.
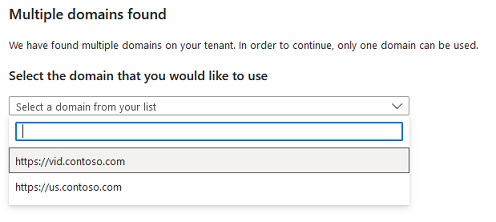
If you have multiple domains registered for your Microsoft Entra tenant, select the one you would like to use for Verified ID.
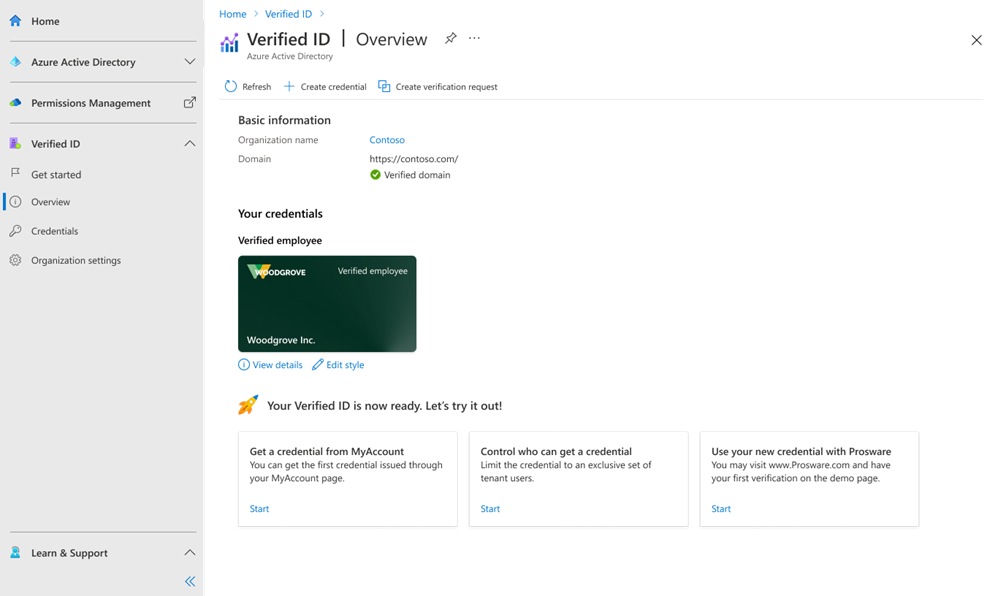
When the setup process is complete, you see a default workplace credential available to edit and offer to employees of your tenant on their MyAccount page.
MyAccount available now to simplify issuance of Workplace Credentials
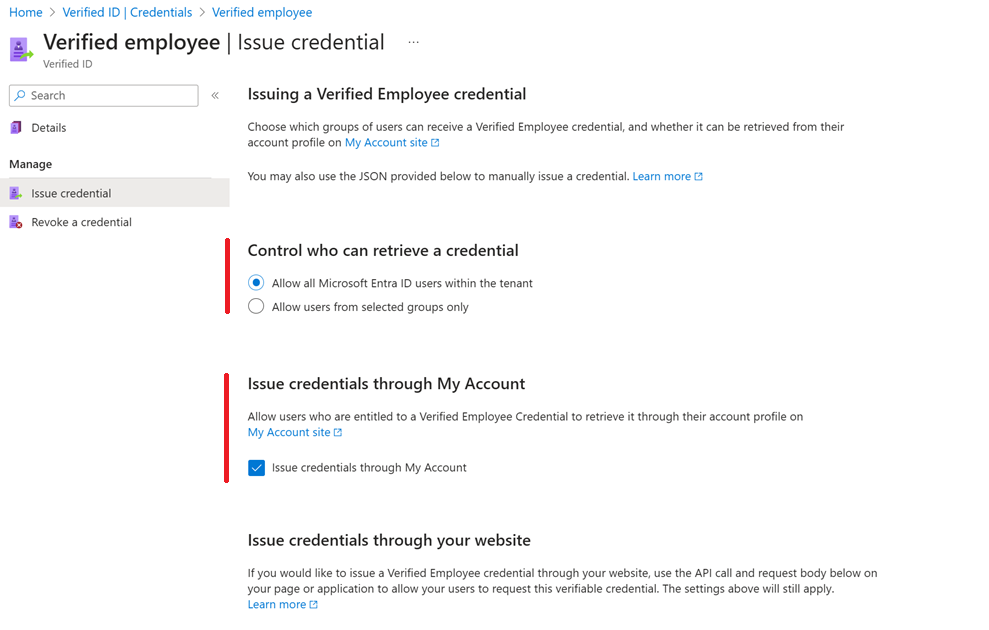
Issuing Verified Workplace Credentials is now available via myaccount.microsoft.com. Users can sign in to myaccount using their Microsoft Entra credentials and issue themselves a Verified Workplace Credential via the Get my Verified ID option.
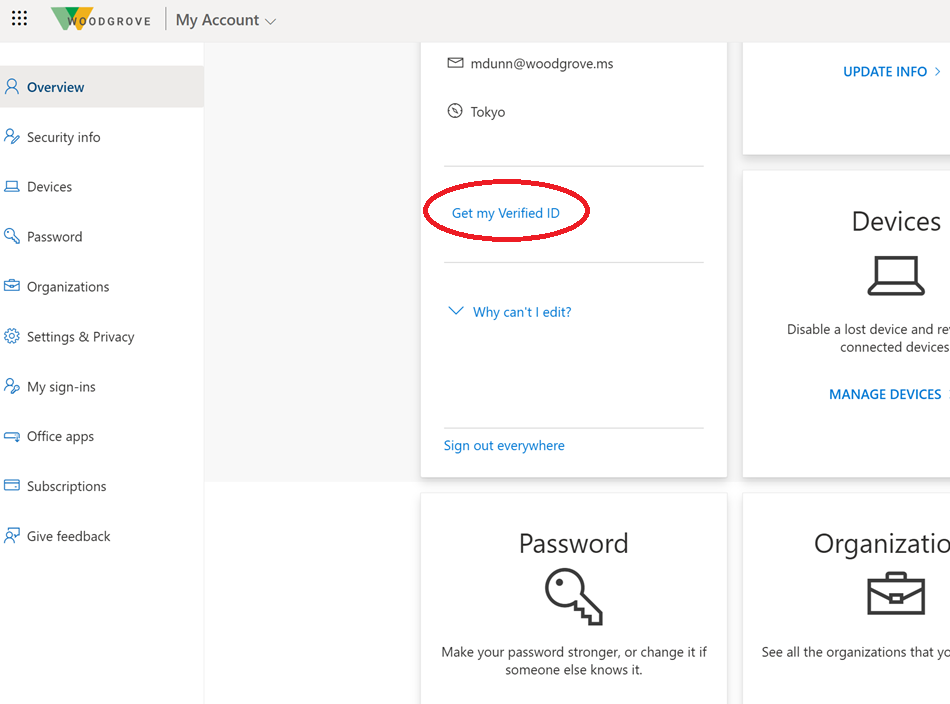
As an admin, you can either remove the option in MyAccount and create your custom application for issuing Verified Workplace Credentials. You can also select specific groups of users that are allowed to be issued credentials from MyAccount.
Note
When you have made a configuration change for issuing credentials through My Account, expect some minutes of delay before the change takes effect.
Register an application in Microsoft Entra ID
If you're planning to use custom credentials or set up your own application for issuing or verification Verified ID, you need to register an application and grant the appropriate permissions for it. Follow this section in the advanced setup to register an application
Next steps
Feedback
Coming soon: Throughout 2024 we will be phasing out GitHub Issues as the feedback mechanism for content and replacing it with a new feedback system. For more information see: https://aka.ms/ContentUserFeedback.
Submit and view feedback for