Note
Access to this page requires authorization. You can try signing in or changing directories.
Access to this page requires authorization. You can try changing directories.
Integrate your agents with the Microsoft SharePoint to chat with your private documents securely. You can connect to your SharePoint site, such as contoso.sharepoint.com/sites/policies to ground your Agents with that data. When a user sends a query, the agent will determine if SharePoint should be leveraged or not. If so, it will send a query using the SharePoint tool, which checks if the user has a Microsoft 365 Copilot license and use managed identity to retrieve relevant documents they have access to. The scope of retrieval includes all supported documents in this SharePoint site. Lastly, the agent will generate responses based on retrieved information. With identity passthrough (On-Behalf-Of) authorization, this integration simplifies access to enterprise data in SharePoint while maintaining robust security, ensuring proper access control and enterprise-grade protection.
How it works
The SharePoint tool makes it possible by enabling seamless integrations between AI agents and business documents stored in SharePoint empowered by Microsoft 365 Copilot API. To ground your SharePoint documents, you can simply enter the sites or folders to connect with, and SharePoint tool will leverage built-in indexing capabilities to enhance search and retrieval experience, including intelligent indexing, query processing, and content chunking.
Instead of requiring developers to export SharePoint content, build a custom semantic index, manage governance controls, and configure refresh logic, this capability automates the entire retrieval pipeline. It dynamically indexes documents, breaks content into meaningful chunks, and applies advanced query processing to surface the most relevant information. By leveraging the same enterprise-grade retrieval stack that powers Microsoft 365 Copilot, it ensures AI agent responses are grounded in the most up-to-date and contextually relevant content.
Customers rely on data security in SharePoint to access, create, and share documents with flexible document-level access control. Enterprise features such as Identity Passthrough/On-Behalf-Of (OBO) authentication ensure proper access control, allowing end users to receive responses generated from SharePoint documents they have permission to access. With OBO authentication, the Foundry Agent service uses the end user’s identity to authorize and retrieve relevant SharePoint documents, generating responses tailored towards specific end users.
Usage support
| Azure AI foundry support | Python SDK | C# SDK | JavaScript SDK | REST API | Basic agent setup | Standard agent setup |
|---|---|---|---|---|---|---|
| ✔️ | - | - | - | ✔️ | ✔️ | ✔️ |
Prerequisites
- Developers and end users have Microsoft 365 Copilot license, as required by Microsoft 365 Copilot API.
- Developers and end users have at least
Azure AI UserRBAC role. - Developers and end users have at least
READaccess to the SharePoint site.
Setup
Note
- Supported document types: text data in the following format:
.pdf,.docx,.ppt,.txt,.aspx - We recommend you start with SharePoint sites that have: a simple folder structure and a small number of short documents.
Create an agent by following the steps in the quickstart.
You can add the SharePoint tool to an agent programatically using the code examples listed at the top of this article, or the Azure AI Foundry portal. If you want to use the portal, in either the Create and debug or Agent playground screen for your agent, scroll down the setup pane on the right to knowledge. Then select Add.
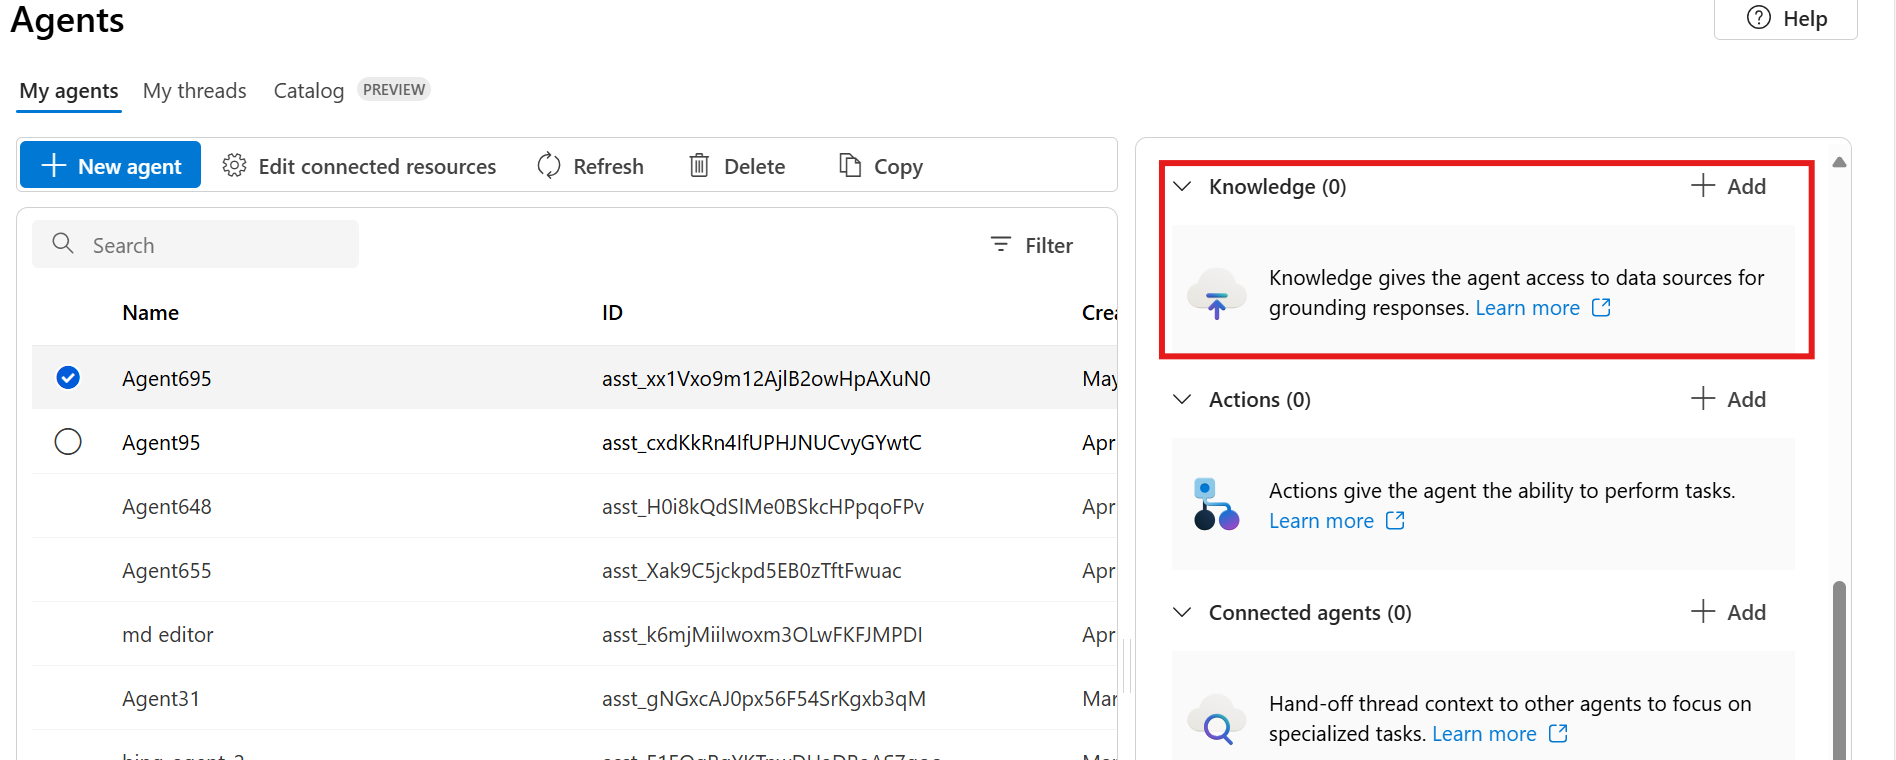
Select SharePoint and follow the prompts to add the tool. You can only add one per agent.
Click to add a new connection. Once you have added a connection, you can directly select from existing list.
To create a new connection, you need to find
site_urlin your SharePoint site. You can add either a SharePoint site or a SharePoint folder. For a SharePoint site, it will look likehttps://microsoft.sharepoint.com/teams/<site_name>. For a SharePoint folder, it will look likehttps://microsoft.sharepoint.com/teams/<site_name>/Shared%20documents/<folder_name>Note
- Your
site_urlneeds to follow the format above. If you copy the entire value from the address bar of your SharePoint, it won't work.
- Your
Then, you can add it to your connection. Make sure you have selected the is secret option.

Next steps
- How to use the SharePoint tool
- Reference articles for content retrieval used by the tool: