Tutorial: Use Multivariate Anomaly Detector in Azure Synapse Analytics
Important
Starting on the 20th of September, 2023 you won’t be able to create new Anomaly Detector resources. The Anomaly Detector service is being retired on the 1st of October, 2026.
Use this tutorial to detect anomalies among multiple variables in Azure Synapse Analytics in very large datasets and databases. This solution is perfect for scenarios like equipment predictive maintenance. The underlying power comes from the integration with SynapseML, an open-source library that aims to simplify the creation of massively scalable machine learning pipelines. It can be installed and used on any Spark 3 infrastructure including your local machine, Databricks, Synapse Analytics, and others.
In this tutorial, you'll learn how to:
- Use Azure Synapse Analytics to detect anomalies among multiple variables in Synapse Analytics.
- Train a multivariate anomaly detector model and inference in separate notebooks in Synapse Analytics.
- Get anomaly detection result and root cause analysis for each anomaly.
Prerequisites
In this section, you'll create the following resources in the Azure portal:
- An Anomaly Detector resource to get access to the capability of Multivariate Anomaly Detector.
- An Azure Synapse Analytics resource to use the Synapse Studio.
- A Storage account to upload your data for model training and anomaly detection.
- A Key Vault resource to hold the key of Anomaly Detector and the connection string of the Storage Account.
Create Anomaly Detector and Azure Synapse Analytics resources
Create a resource for Azure Synapse Analytics in the Azure portal, fill in all the required items.
Create an Anomaly Detector resource in the Azure portal.
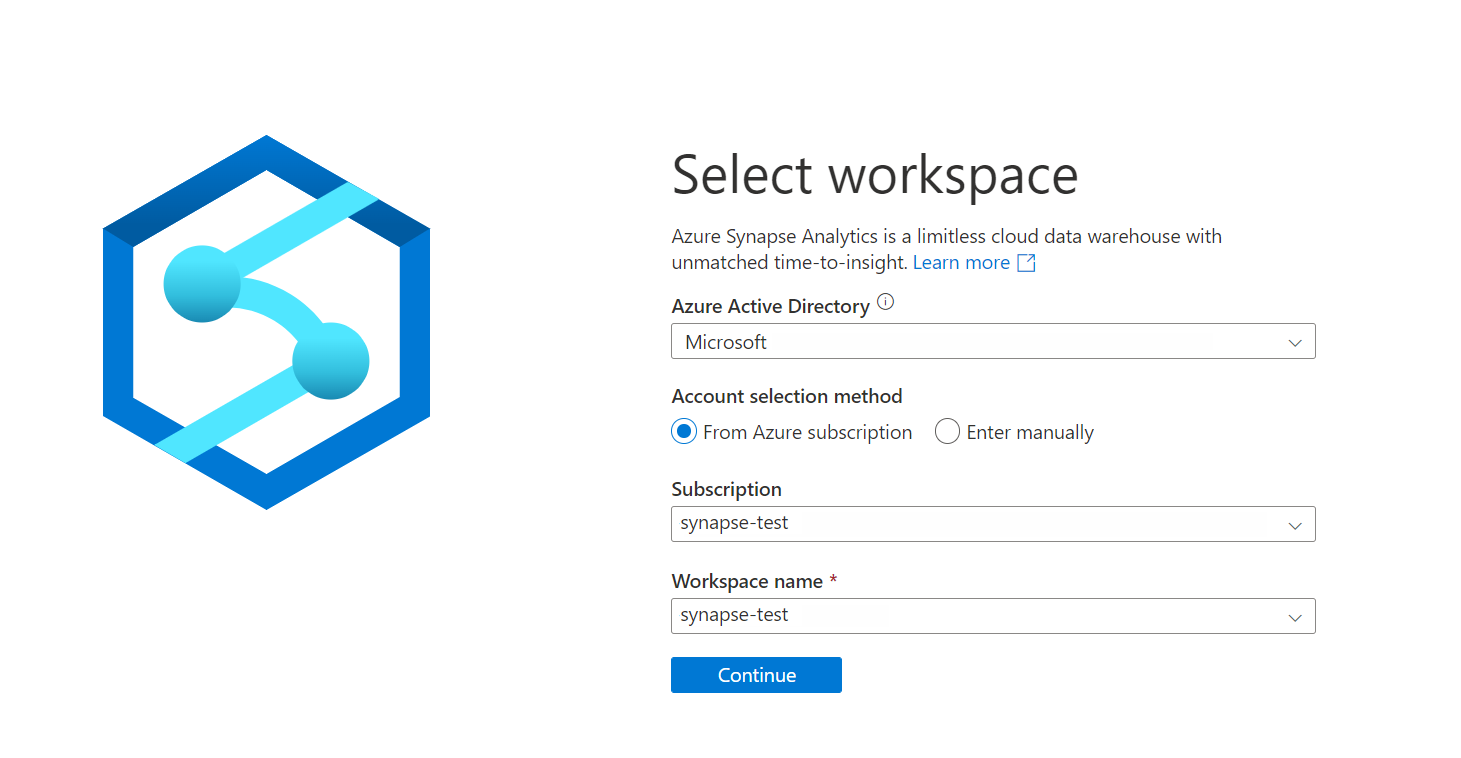
Sign in to Azure Synapse Analytics using your subscription and Workspace name.
Create a storage account resource
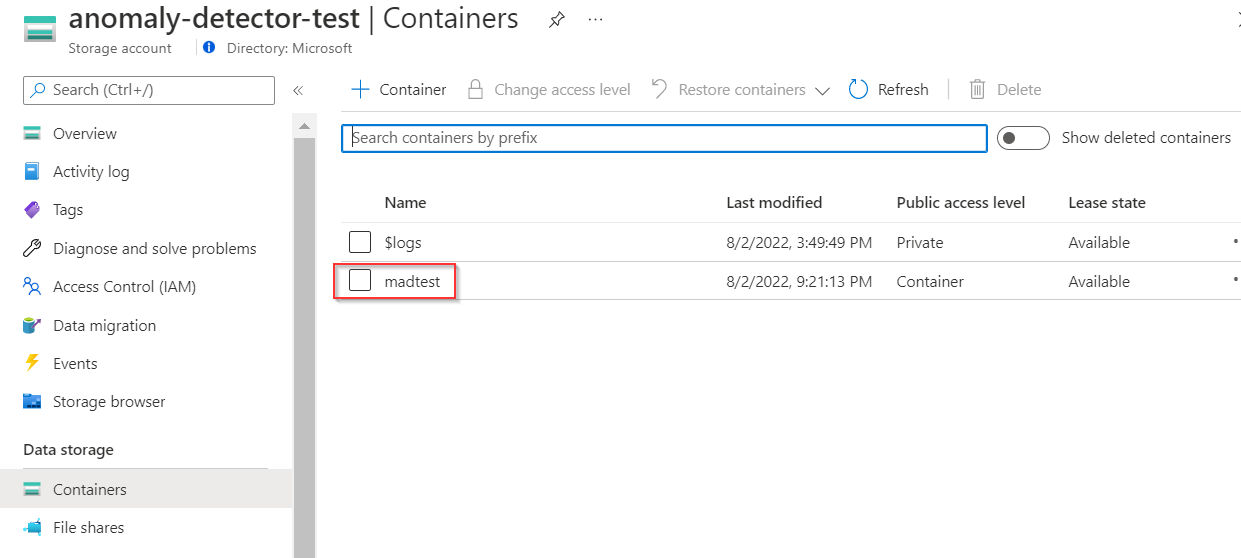
Create a storage account resource in the Azure portal. After your storage account is built, create a container to store intermediate data, since SynapseML will transform your original data to a schema that Multivariate Anomaly Detector supports. (Refer to Multivariate Anomaly Detector input schema)
Note
For the purposes of this example only we are setting the security on the container to allow anonymous read access for containers and blobs since it will only contain our example .csv data. For anything other than demo purposes this is not recommended.
Create a Key Vault to hold Anomaly Detector Key and storage account connection string
Create a key vault and configure secrets and access
Create a key vault in the Azure portal.
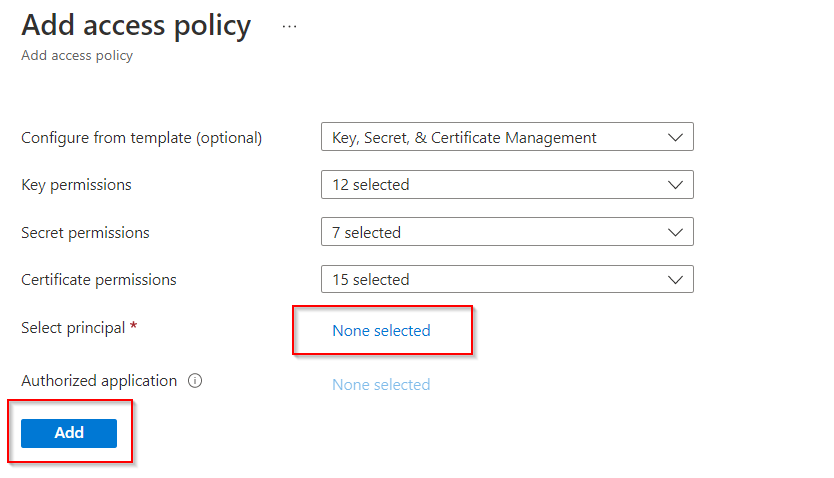
Go to Key Vault > Access policies, and grant the Azure Synapse workspace permission to read secrets from Azure Key Vault.
Create a secret in Key Vault to hold the Anomaly Detector key
Go to your Anomaly Detector resource, Anomaly Detector > Keys and Endpoint. Then copy either of the two keys to the clipboard.
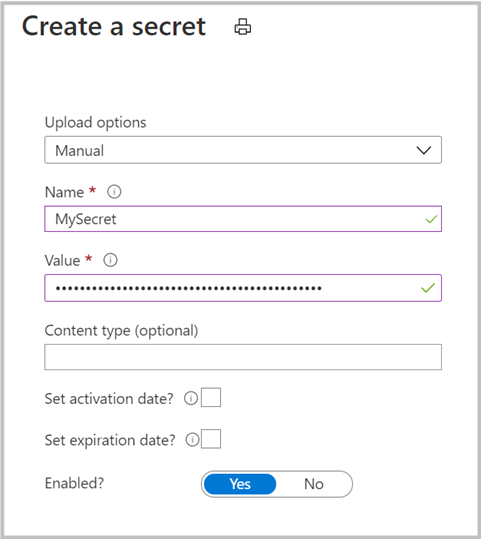
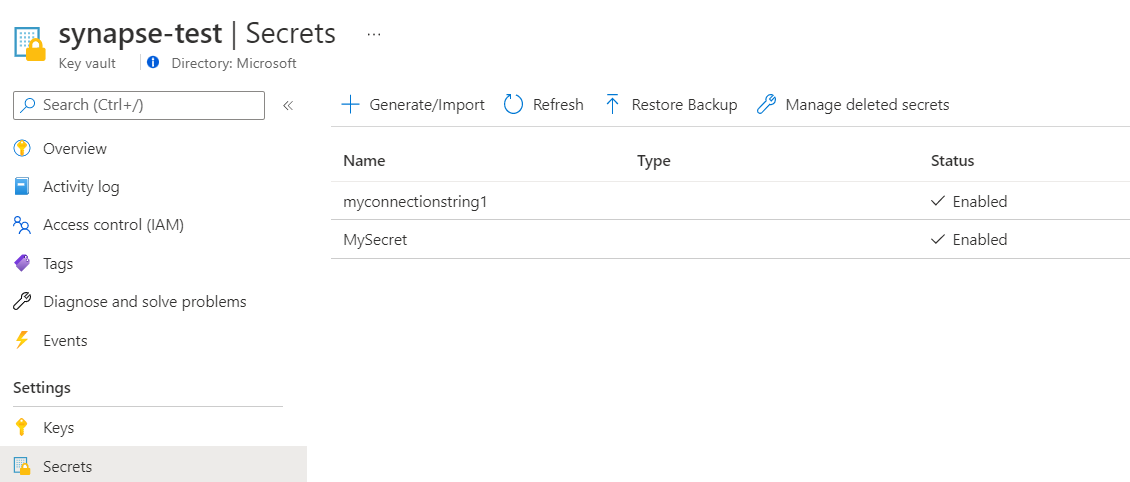
Go to Key Vault > Secret to create a new secret. Specify the name of the secret, and then paste the key from the previous step into the Value field. Finally, select Create.
Create a secret in Key Vault to hold Connection String of Storage account
Go to your Storage account resource, select Access keys to copy one of your Connection strings.
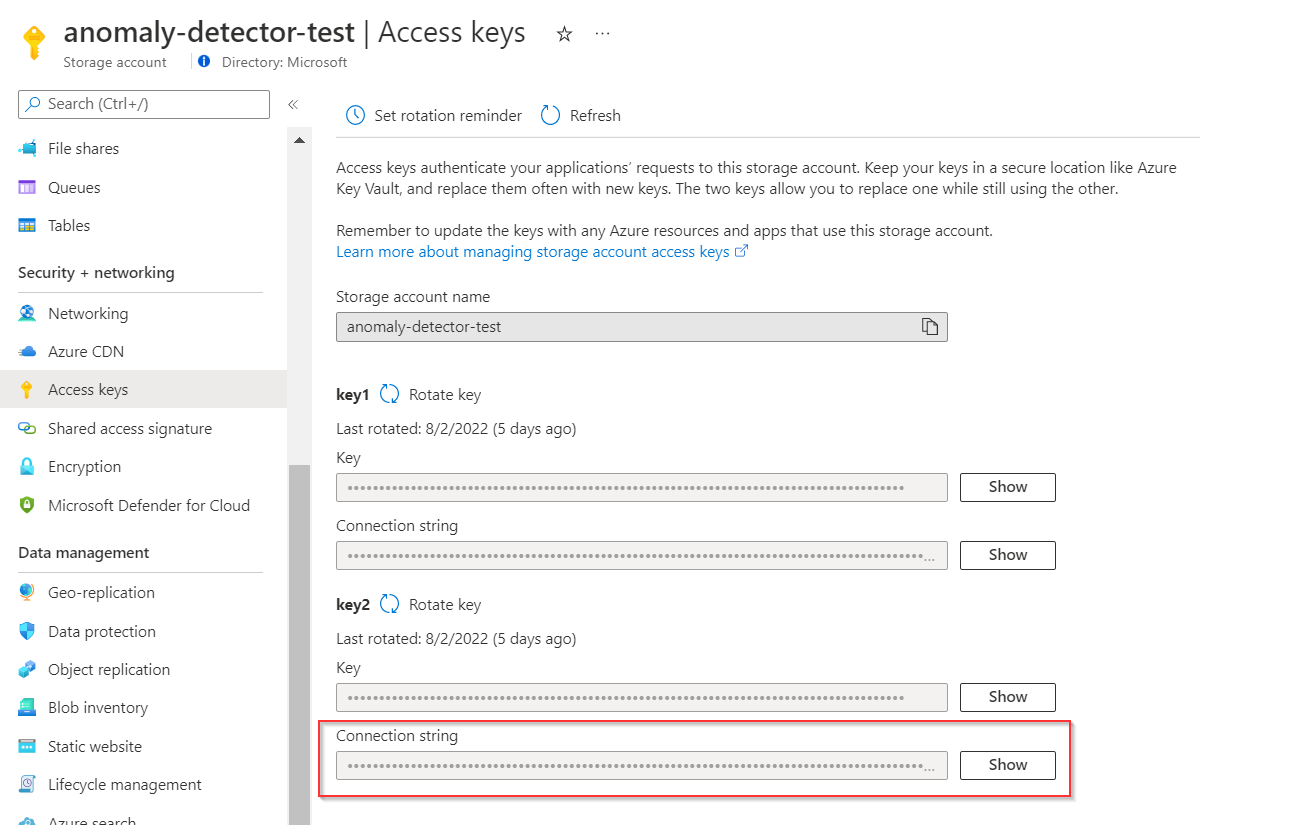
Then go to Key Vault > Secret to create a new secret. Specify the name of the secret (like myconnectionstring), and then paste the Connection string from the previous step into the Value field. Finally, select Create.
Using a notebook to conduct Multivariate Anomaly Detection in Synapse Analytics
Create a notebook and a Spark pool
Sign in Azure Synapse Analytics and create a new Notebook for coding.
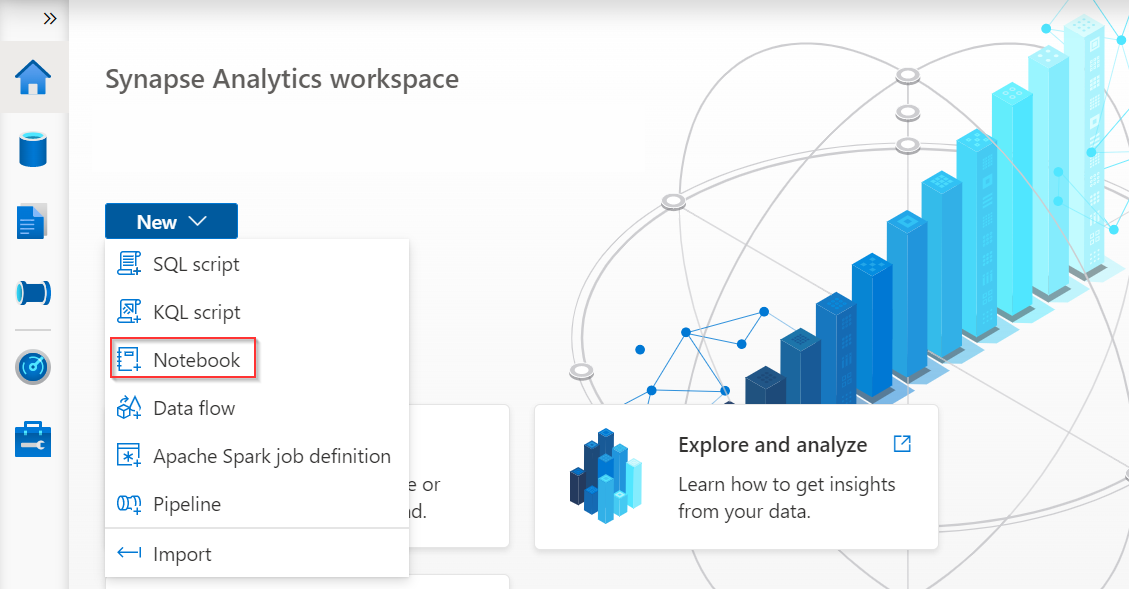
Select Manage pools in the page of notebook to create a new Apache Spark pool if you don’t have one.

Writing code in notebook
Install the latest version of SynapseML with the Anomaly Detection Spark models. You can also install SynapseML in Spark Packages, Databricks, Docker, etc. Please refer to SynapseML homepage.
If you're using Spark 3.1, please use the following code:
%%configure -f
{
  "name": "synapseml",
  "conf": {
      "spark.jars.packages": "com.microsoft.azure:synapseml_2.12:0.9.5-13-d1b51517-SNAPSHOT",
      "spark.jars.repositories": "https://mmlspark.azureedge.net/maven",
      "spark.jars.excludes": "org.scala-lang:scala-reflect,org.apache.spark:spark-tags_2.12,org.scalactic:scalactic_2.12,org.scalatest:scalatest_2.12",
      "spark.yarn.user.classpath.first": "true"
  }
}
If you're using Spark 3.2, please use the following code:
%%configure -f
{
  "name": "synapseml",
  "conf": {
      "spark.jars.packages": " com.microsoft.azure:synapseml_2.12:0.9.5 ",
      "spark.jars.repositories": "https://mmlspark.azureedge.net/maven",
      "spark.jars.excludes": "org.scala-lang:scala-reflect,org.apache.spark:spark-tags_2.12,org.scalactic:scalactic_2.12,org.scalatest:scalatest_2.12,io.netty:netty-tcnative-boringssl-static",
      "spark.yarn.user.classpath.first": "true"
  }
}
Import the necessary modules and libraries.
from synapse.ml.cognitive import *
from notebookutils import mssparkutils
import numpy as np
import pandas as pd
import pyspark
from pyspark.sql.functions import col
from pyspark.sql.functions import lit
from pyspark.sql.types import DoubleType
import synapse.ml
Load your data. Compose your data in the following format, and upload it to a cloud storage that Spark supports like an Azure Storage Account. The timestamp column should be in
ISO8601format, and the feature columns should bestringtype.df = spark.read.format("csv").option("header", True).load("wasbs://[container_name]@[storage_account_name].blob.core.windows.net/[csv_file_name].csv") df = df.withColumn("sensor_1", col("sensor_1").cast(DoubleType())) \ .withColumn("sensor_2", col("sensor_2").cast(DoubleType())) \ .withColumn("sensor_3", col("sensor_3").cast(DoubleType())) df.show(10)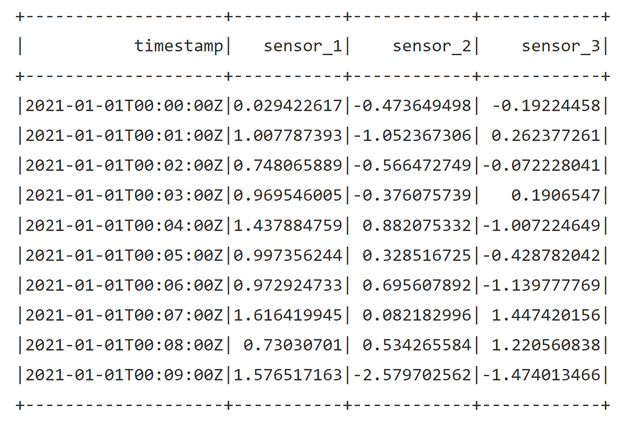
Train a multivariate anomaly detection model.
    #Input your key vault name and anomaly key name in key vault.
    anomalyKey = mssparkutils.credentials.getSecret("[key_vault_name]","[anomaly_key_secret_name]")
    #Input your key vault name and connection string name in key vault.
    connectionString = mssparkutils.credentials.getSecret("[key_vault_name]", "[connection_string_secret_name]")

    #Specify information about your data.
    startTime = "2021-01-01T00:00:00Z"
    endTime = "2021-01-02T09:18:00Z"
    timestampColumn = "timestamp"
    inputColumns = ["sensor_1", "sensor_2", "sensor_3"]
    #Specify the container you created in Storage account, you could also initialize a new name here, and Synapse will help you create that container automatically.
    containerName = "[container_name]"
    #Set a folder name in Storage account to store the intermediate data.
    intermediateSaveDir = "intermediateData"

    simpleMultiAnomalyEstimator = (FitMultivariateAnomaly()
        .setSubscriptionKey(anomalyKey)
    #In .setLocation, specify the region of your Anomaly Detector resource, use lowercase letter like: eastus.
        .setLocation("[anomaly_detector_region]")
        .setStartTime(startTime)
        .setEndTime(endTime)
        .setContainerName(containerName)
        .setIntermediateSaveDir(intermediateSaveDir)
        .setTimestampCol(timestampColumn)
        .setInputCols(inputColumns)
        .setSlidingWindow(200)
        .setConnectionString(connectionString))
Trigger training process through these codes.
model = simpleMultiAnomalyEstimator.fit(df)
type(model)
Trigger inference process.
startInferenceTime = "2021-01-02T09:19:00Z"
endInferenceTime = "2021-01-03T01:59:00Z"
result = (model
      .setStartTime(startInferenceTime)
      .setEndTime(endInferenceTime)
      .setOutputCol("results")
      .setErrorCol("errors")
      .setTimestampCol(timestampColumn)
      .setInputCols(inputColumns)
      .transform(df))
Get inference results.
rdf = (result.select("timestamp",*inputColumns, "results.contributors", "results.isAnomaly", "results.severity").orderBy('timestamp', ascending=True).filter(col('timestamp') >= lit(startInferenceTime)).toPandas())

def parse(x):
    if type(x) is list:
        return dict([item[::-1] for item in x])
    else:
        return {'series_0': 0, 'series_1': 0, 'series_2': 0}

rdf['contributors'] = rdf['contributors'].apply(parse)
rdf = pd.concat([rdf.drop(['contributors'], axis=1), pd.json_normalize(rdf['contributors'])], axis=1)
rdf
The inference results will look as followed. The
severityis a number between 0 and 1, showing the severe degree of an anomaly. The last three columns indicate thecontribution scoreof each sensor, the higher the number is, the more anomalous the sensor is.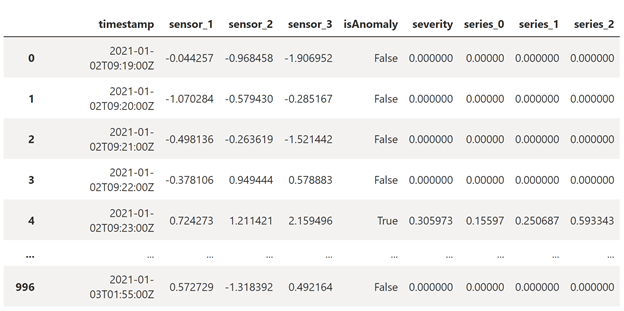
Clean up intermediate data (optional)
By default, the anomaly detector will automatically upload data to a storage account so that the service can process the data. To clean up the intermediate data, you could run the following codes.
simpleMultiAnomalyEstimator.cleanUpIntermediateData()
model.cleanUpIntermediateData()
Use trained model in another notebook with model ID (optional)
If you have the need to run training code and inference code in separate notebooks in Synapse, you could first get the model ID and use that ID to load the model in another notebook by creating a new object.
Get the model ID in the training notebook.
model.getModelId()Load the model in inference notebook.
retrievedModel = (DetectMultivariateAnomaly()
    .setSubscriptionKey(anomalyKey)
    .setLocation("eastus")
    .setOutputCol("result")
    .setStartTime(startTime)
    .setEndTime(endTime)
    .setContainerName(containerName)
    .setIntermediateSaveDir(intermediateSaveDir)
    .setTimestampCol(timestampColumn)
    .setInputCols(inputColumns)
    .setConnectionString(connectionString)
    .setModelId('5bXXXXXX-XXXX-XXXX-XXXX-XXXXXXXXXXe9'))
Learn more
About Anomaly Detector
- Learn about what is Multivariate Anomaly Detector.
- Need support? Join the Anomaly Detector Community.
About Synapse
- Quick start: Configure prerequisites for using Azure AI services in Azure Synapse Analytics.
- Visit SynpaseML new website for the latest docs, demos, and examples.
- Learn more about Synapse Analytics.
- Read about the SynapseML v0.9.5 release on GitHub.