Events
Take the Microsoft Learn AI Skills Challenge
Sep 24, 11 PM - Nov 1, 11 PM
Elevate your skills in Microsoft Azure AI Document Intelligence and earn a digital badge by November 1.
Register nowThis browser is no longer supported.
Upgrade to Microsoft Edge to take advantage of the latest features, security updates, and technical support.
Important
Some of the features described in this article might only be available in preview. This preview is provided without a service-level agreement, and we don't recommend it for production workloads. Certain features might not be supported or might have constrained capabilities. For more information, see Supplemental Terms of Use for Microsoft Azure Previews.
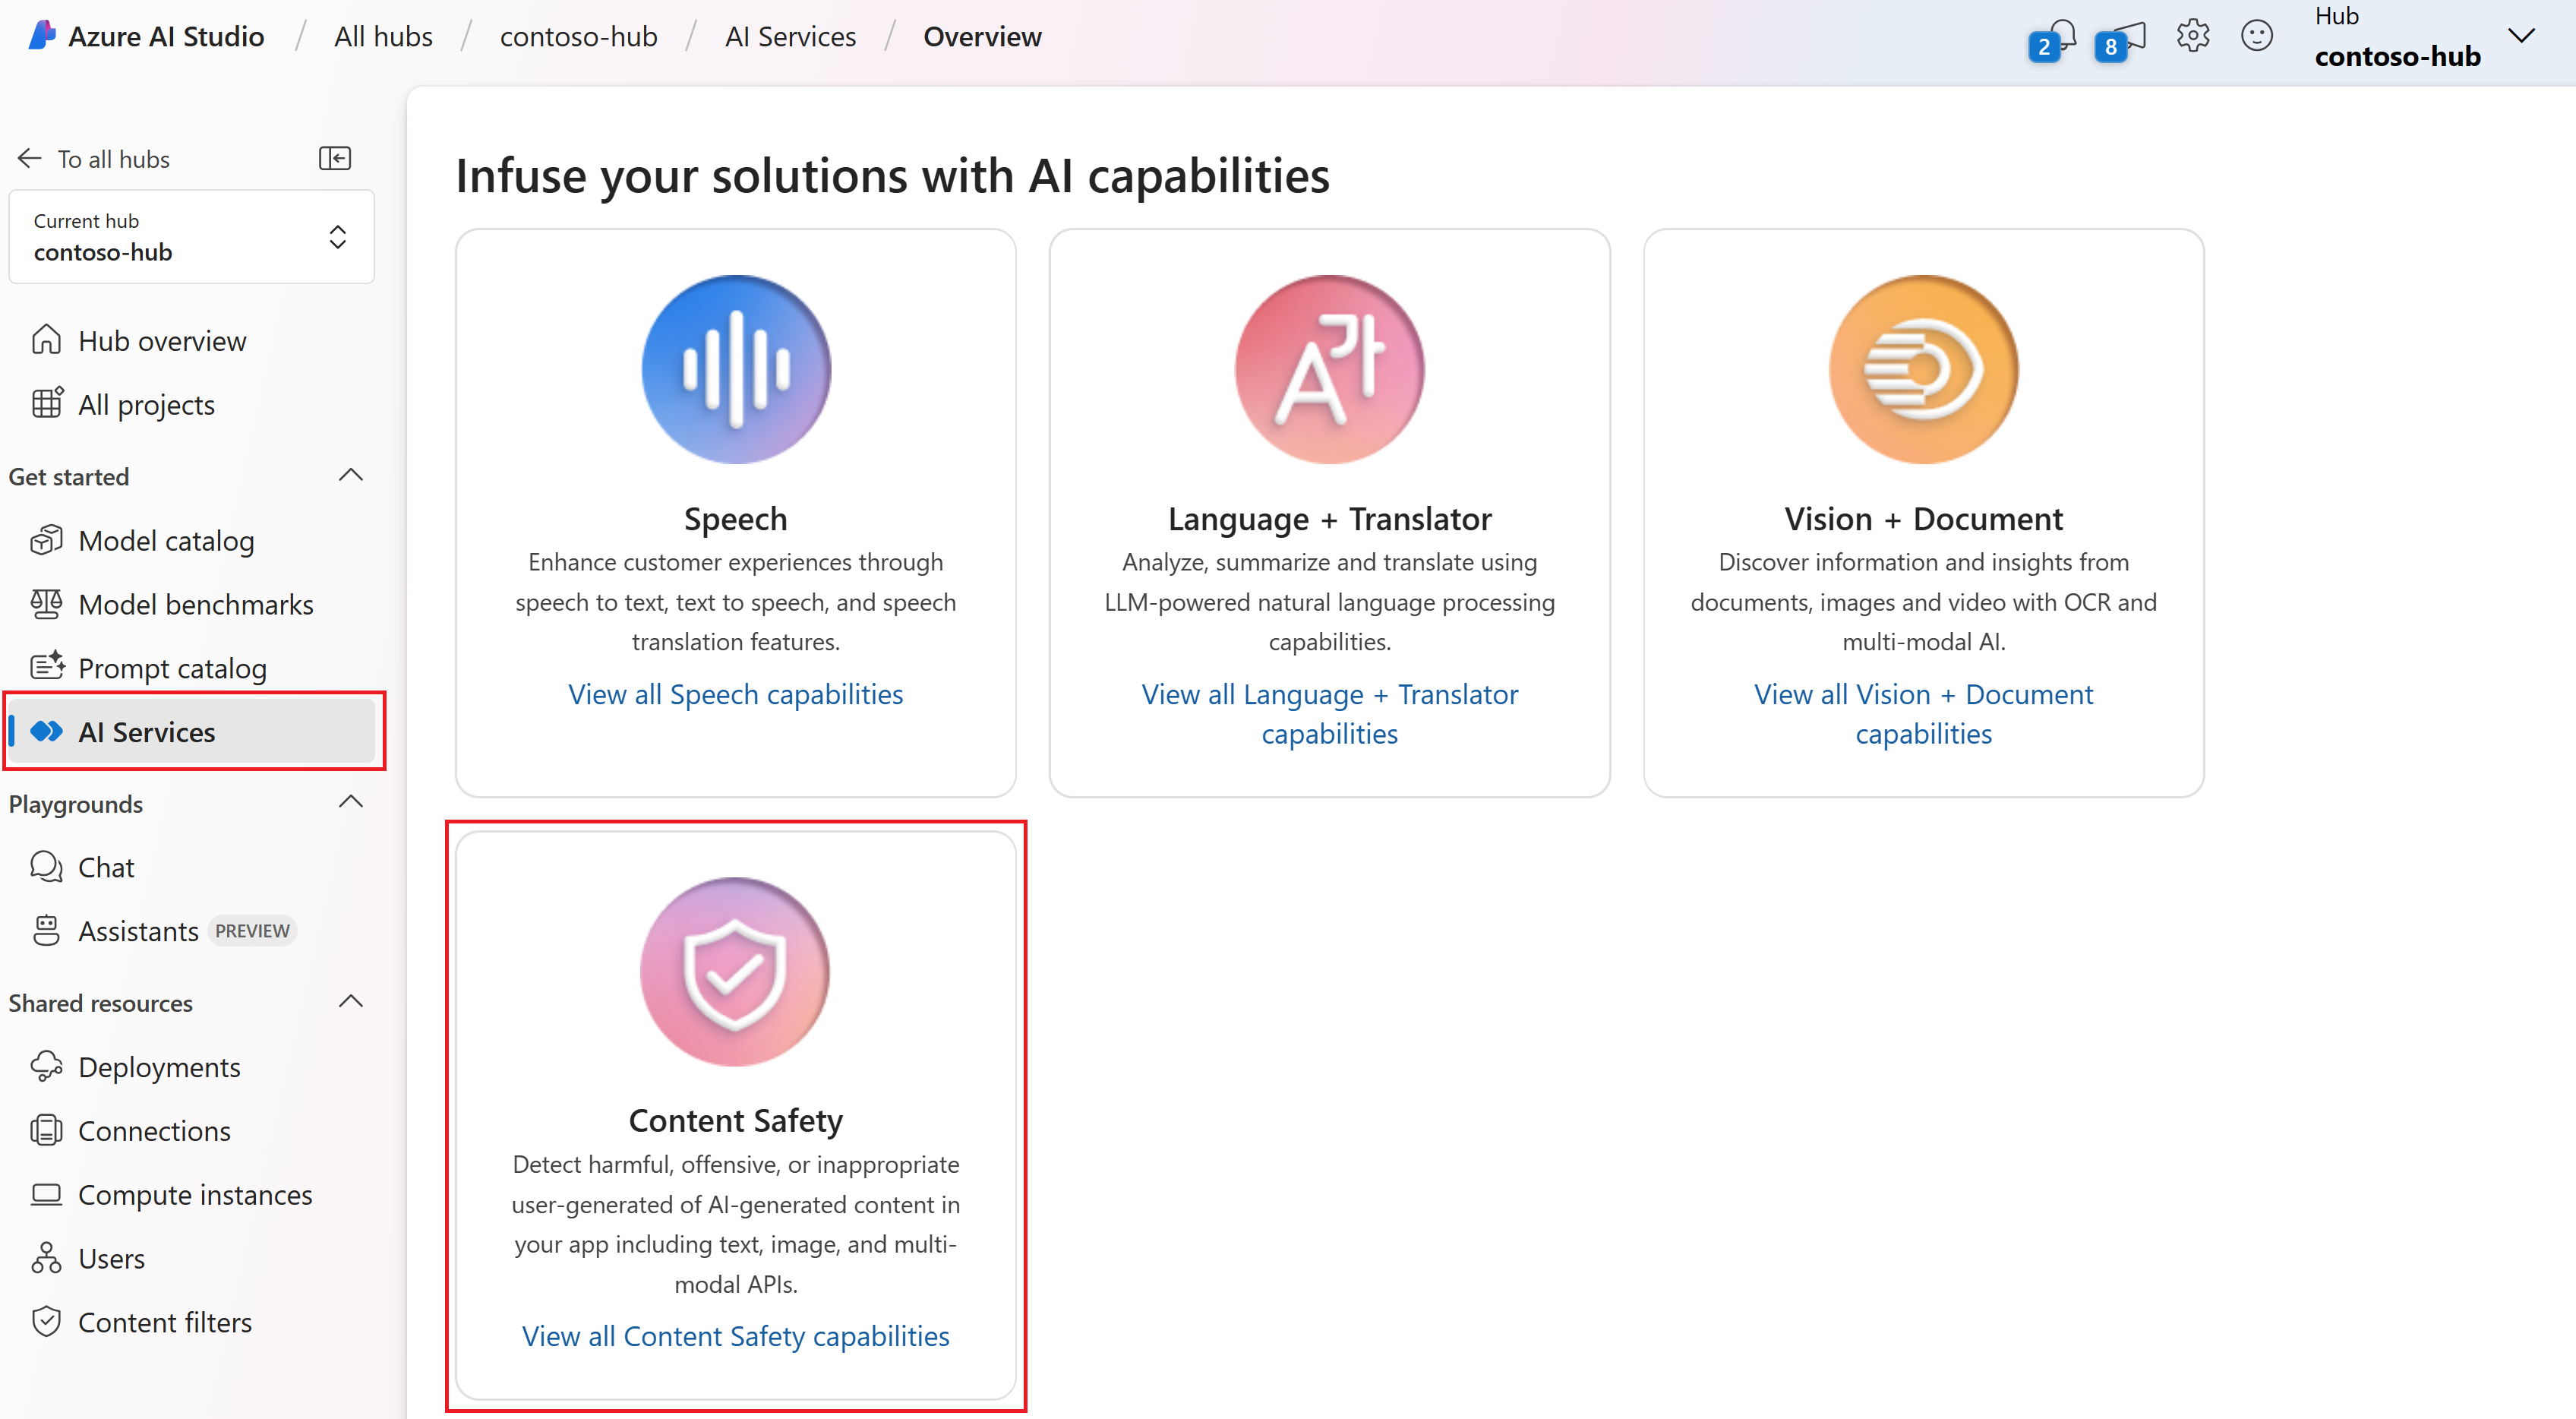
In this quickstart, you use the Azure AI Content Safety service in Azure AI Studio to moderate text and images. Content Safety detects harmful user-generated and AI-generated content in applications and services.
Caution
Some of the sample content provided by Azure AI Studio might be offensive. Sample images are blurred by default. User discretion is advised.

Select one of the following tabs to get started with Content Safety in Azure AI Studio.
Azure AI Studio provides a capability for you to quickly try out text moderation. The moderate text content feature takes into account various factors such as the type of content, the platform's policies, and the potential effect on users. Run moderation tests on sample content. Then configure the filters to further fine-tune the test results. You can also use a blocklist to add specific terms that you want detect and act on.
You can use the View code button at the top of the page in both the moderate text content and moderate image content scenarios to view and copy the sample code, which includes your configuration for severity filtering, blocklists, and moderation functions. You can then deploy the code in your own app.
To avoid incurring unnecessary Azure costs, you should delete the resources you created in this quickstart if they're no longer needed. To manage resources, you can use the Azure portal.
Events
Take the Microsoft Learn AI Skills Challenge
Sep 24, 11 PM - Nov 1, 11 PM
Elevate your skills in Microsoft Azure AI Document Intelligence and earn a digital badge by November 1.
Register nowTraining
Module
Moderate content and detect harm in Azure AI Studio with Content Safety - Training
Learn how to choose and build a content moderation system in Azure AI Studio.
Certification
Microsoft Certified: Azure AI Engineer Associate - Certifications
Design and implement an Azure AI solution using Azure AI services, Azure AI Search, and Azure Open AI.