Quickstart: Deploy an ASP.NET web app
In this quickstart, you learn how to create and deploy your first ASP.NET web app to Azure App Service. App Service supports various versions of .NET apps, and provides a highly scalable, self-patching web hosting service. ASP.NET web apps are cross-platform and can be hosted on Linux or Windows. When you're finished, you have an Azure resource group consisting of an App Service hosting plan and an App Service with a deployed web application.
Alternatively, you can deploy an ASP.NET web app as part of a Windows or Linux container in App Service.
This video shows you how to deploy an ASP.NET web app.
The steps in the video are also described in the following sections.
Prerequisites
- An Azure account with an active subscription. Create an account for free.
- Visual Studio 2022 with the ASP.NET and web development workload.
If you have already installed Visual Studio 2022:
- Install the latest updates in Visual Studio by selecting Help > Check for Updates.
- Add the workload by selecting Tools > Get Tools and Features.
- An Azure account with an active subscription. Create an account for free.
- Visual Studio Code.
- The Azure Tools extension.
- The latest .NET 7.0 SDK.
- An Azure account with an active subscription. Create an account for free.
- The Azure CLI.
- The latest .NET 7.0 SDK.
- An Azure account with an active subscription. Create an account for free.
- The Azure PowerShell.
- The latest .NET 7.0 SDK.
- An Azure account with an active subscription. Create an account for free.
- A GitHub account Create an account for free.
- An Azure account with an active subscription. Create an account for free.
- The Azure Developer CLI
- The latest .NET 7.0 SDK.
1. Create an ASP.NET web app
1. Initialize the ASP.NET web app template
Open Visual Studio and then select Create a new project.
In Create a new project, find, and select ASP.NET Core Web App, then select Next.
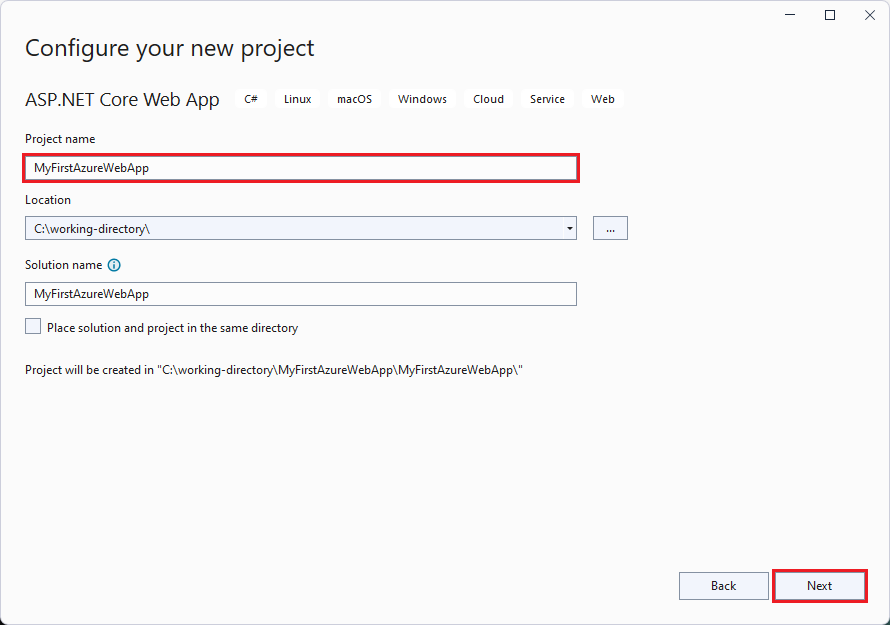
In Configure your new project, name the application MyFirstAzureWebApp, and then select Next.
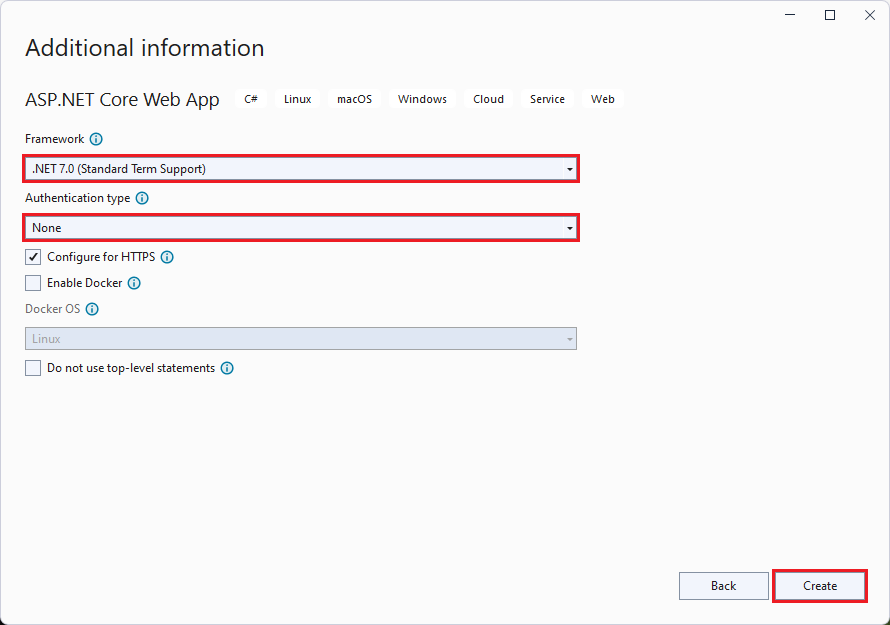
Select .NET 7.0 (Standard-term support).
Ensure Authentication Type is set to None. Select Create.
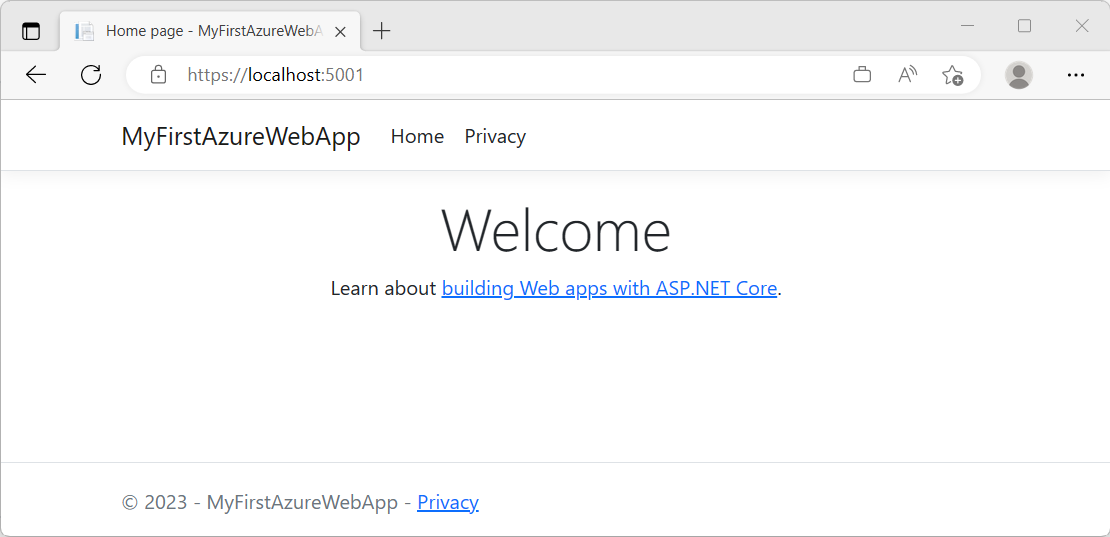
From the Visual Studio menu, select Debug > Start Without Debugging to run the web app locally. If you see a message asking you to trust a self-signed certificate, select Yes.


Open a terminal window on your machine to a working directory. Create a new .NET web app using the
dotnet new webappcommand, and then change directories into the newly created app.dotnet new webapp -n MyFirstAzureWebApp --framework net7.0 cd MyFirstAzureWebAppFrom the same terminal session, run the application locally using the
dotnet runcommand.dotnet run --urls=https://localhost:5001/Open a web browser, and navigate to the app at
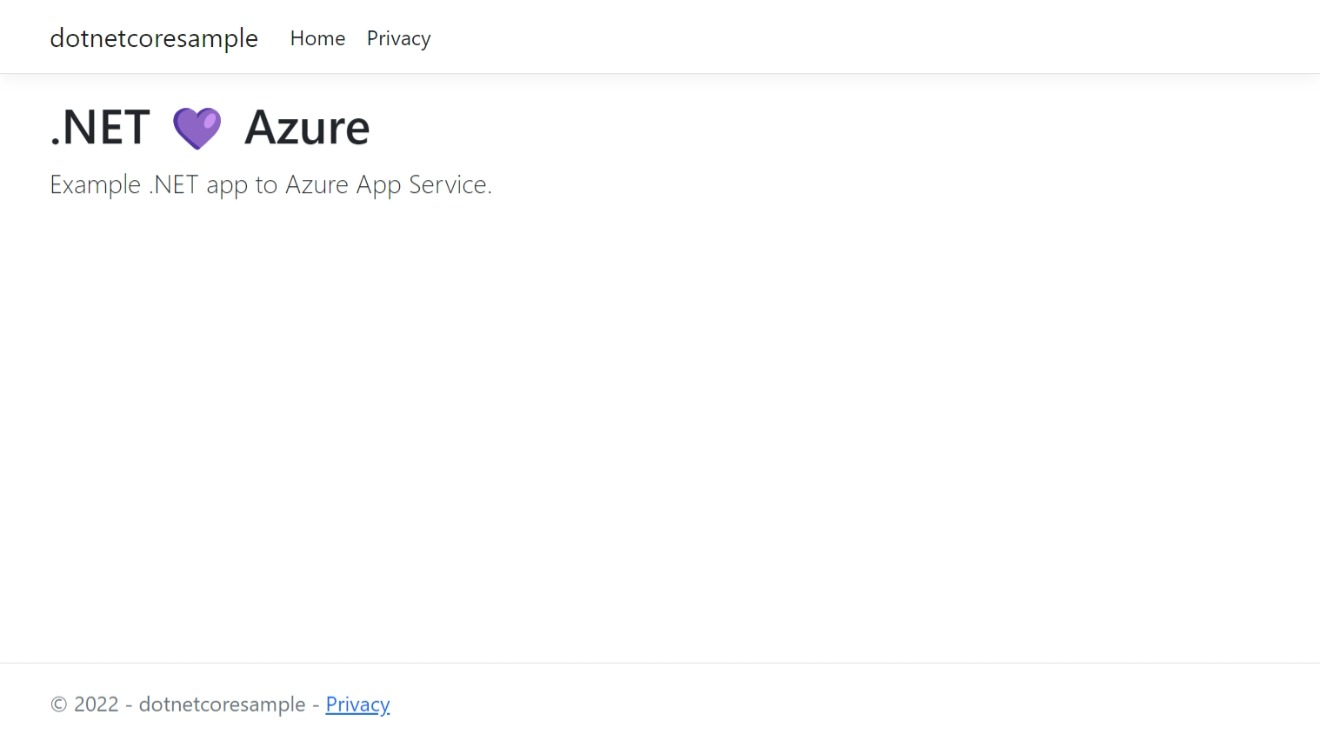
https://localhost:5001.You see the template ASP.NET Core 7.0 web app displayed in the page.
In this step, you fork a demo project to deploy.
- Go to the .NET 7.0 sample app.
- Select the Fork button in the upper right on the GitHub page.
- Select the Owner and leave the default Repository name.
- Select Create fork.
This quickstart uses the Azure Developer CLI (azd) both to create Azure resources and deploy code to it. For more information about Azure Developer CLI, visit the documentation or training path.
Retrieve and initialize the ASP.NET Core web app template for this quickstart using the following steps:
Open a terminal window on your machine to an empty working directory. Initialize the
azdtemplate using theazd initcommand.azd init --template https://github.com/Azure-Samples/quickstart-deploy-aspnet-core-app-service.gitWhen prompted for an environment name, enter
dev.From the same terminal session, run the application locally using the
dotnet runcommand. Use the--projectparameter to specify thesrcdirectory of theazdtemplate, which is where the application code lives.dotnet run --project src --urls=https://localhost:5001/Open a web browser and navigate to the app at
https://localhost:5001. The ASP.NET Core 7.0 web app template is displayed on the page.
2. Publish your web app
The AZD template contains files that will generate the following required resources for your application to run in App service:
- A new resource group to contain all of the Azure resources for the service.
- A new App Service plan that specifies the location, size, and features of the web server farm that hosts your app.
- A new App Service app instance to run the deployed application.
Follow these steps to create your App Service resources and publish your project:
In Solution Explorer, right-click the MyFirstAzureWebApp project and select Publish.
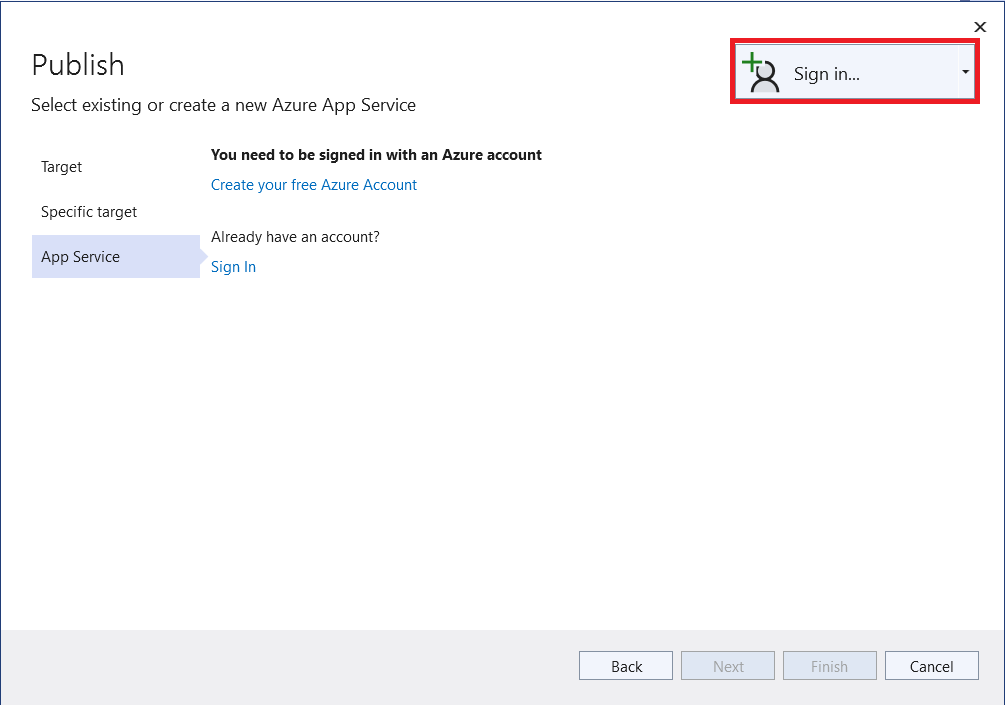
In Publish, select Azure and then Next.

Choose the Specific target, either Azure App Service (Linux) or Azure App Service (Windows). Then, select Next.
Important
When targeting ASP.NET Framework 4.8, use Azure App Service (Windows).
Your options depend on whether you're signed in to Azure already and whether you have a Visual Studio account linked to an Azure account. Select either Add an account or Sign in to sign in to your Azure subscription. If you're already signed in, select the account you want.
To the right of App Service instances, select +.
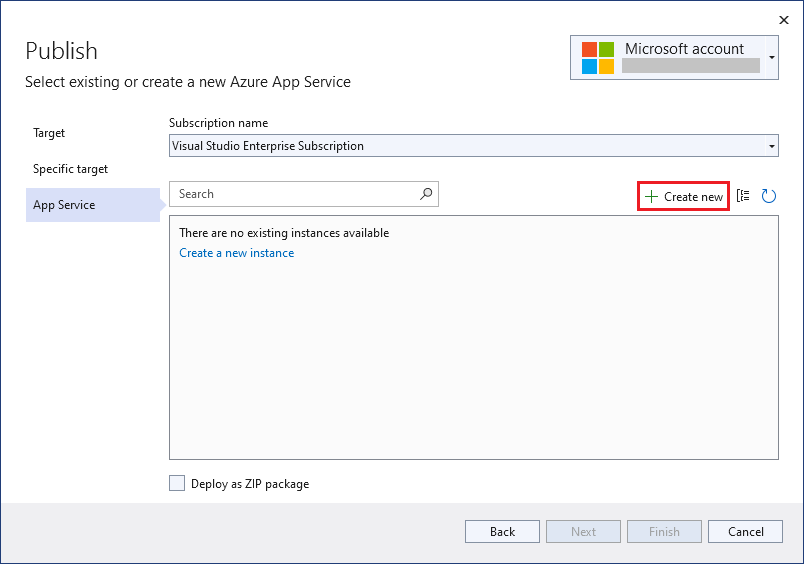
For Subscription, accept the subscription that is listed or select a new one from the drop-down list.
For Resource group, select New. In New resource group name, enter myResourceGroup and select OK.
For Hosting Plan, select New.
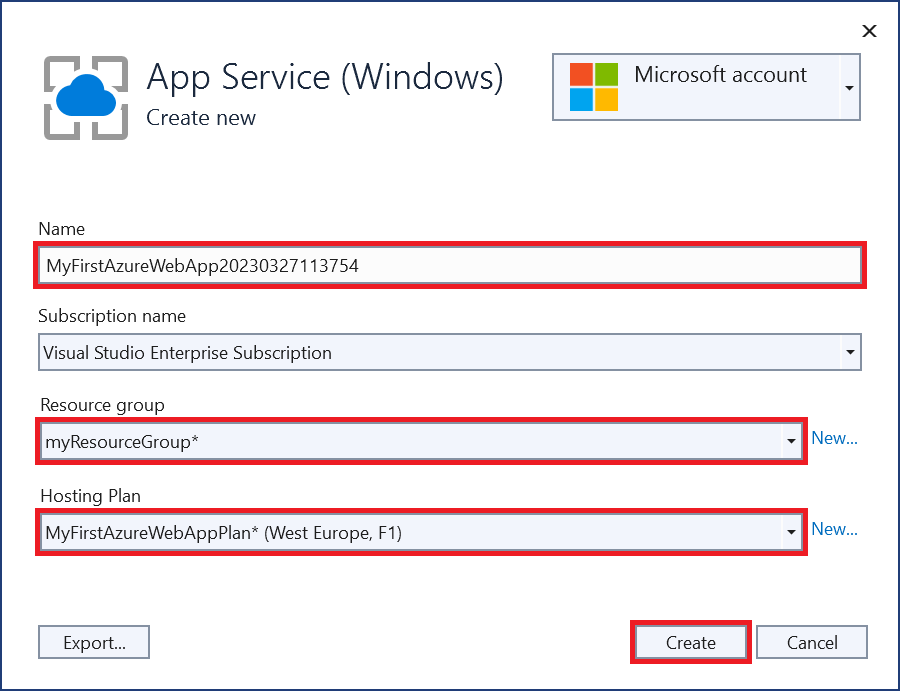
In the Hosting Plan: Create new dialog, enter the values specified in the following table:
Setting Suggested value Description Hosting Plan MyFirstAzureWebAppPlan Name of the App Service plan. Location West Europe The datacenter where the web app is hosted. Size Free Pricing tier determines hosting features. In Name, enter a unique app name that includes only the valid characters are
a-z,A-Z,0-9, and-. You can accept the automatically generated unique name. The URL of the web app ishttp://<app-name>.azurewebsites.net, where<app-name>is your app name.Select Create to create the Azure resources.
Once the wizard completes, the Azure resources are created for you, and you're ready to publish your ASP.NET Core project.
In the Publish dialog, ensure your new App Service app is selected, then select Finish, then select Close. Visual Studio creates a publish profile for you for the selected App Service app.
In the Publish page, select Publish. If you see a warning message, select Continue.
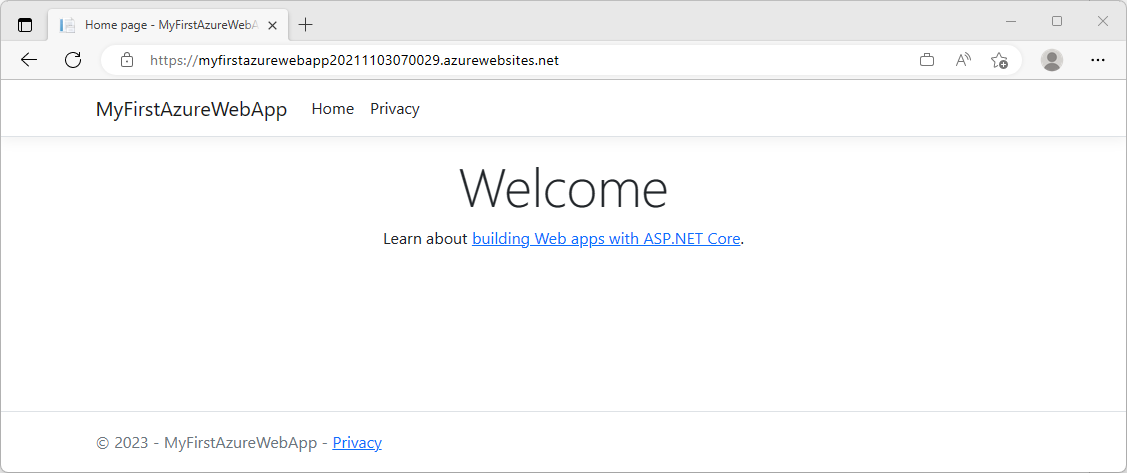
Visual Studio builds, packages, and publishes the app to Azure, and then launches the app in the default browser.
You see the ASP.NET Core 7.0 web app displayed in the page.


In Visual Studio Code, open the Command Palette by selecting View > Command Palette.
Search for and select "Azure App Service: Create New Web App (Advanced)".
Respond to the prompts as follows:
- If prompted, sign in to your Azure account.
- Select your Subscription.
- Select Create new Web App... Advanced.
- For Enter a globally unique name, use a name that's unique across all of Azure (valid characters are
a-z,0-9, and-). A good pattern is to use a combination of your company name and an app identifier. - Select Create new resource group and provide a name like
myResourceGroup. - When prompted to Select a runtime stack, select .NET 7 (STS).
- Select an operating system (Windows or Linux).
- Select a location near you.
- Select Create a new App Service plan, provide a name, and select the F1 Free pricing tier.
- Select Skip for now for the Application Insights resource.
- When prompted, click Deploy.
- Select MyFirstAzureWebApp as the folder to deploy.
- Select Add Config when prompted.
In the popup Always deploy the workspace "MyFirstAzureWebApp" to <app-name>", select Yes so that Visual Studio Code deploys to the same App Service app every time you're in that workspace.
When publishing completes, select Browse Website in the notification and select Open when prompted.
You see the ASP.NET Core 7.0 web app displayed in the page.
Sign into your Azure account by using the
az logincommand and following the prompt:az login- If the
azcommand isn't recognized, ensure you have the Azure CLI installed as described in Prerequisites.
- If the
Deploy the code in your local MyFirstAzureWebApp directory using the
az webapp upcommand:az webapp up --sku F1 --name <app-name> --os-type <os>- Replace
<app-name>with a name that's unique across all of Azure (valid characters area-z,0-9, and-). A good pattern is to use a combination of your company name and an app identifier. - The
--sku F1argument creates the web app on the Free pricing tier. Omit this argument to use a faster premium tier, which incurs an hourly cost. - Replace
<os>with eitherlinuxorwindows. - You can optionally include the argument
--location <location-name>where<location-name>is an available Azure region. You can retrieve a list of allowable regions for your Azure account by running theaz account list-locationscommand.
The command might take a few minutes to complete. While it's running, the command provides messages about creating the resource group, the App Service plan, and hosting app, configuring logging, then performing ZIP deployment. Then it shows a message with the app's URL:
You can launch the app at http://<app-name>.azurewebsites.net- Replace
Open a web browser and navigate to the URL:
You see the ASP.NET Core 7.0 web app displayed in the page.
Note
Azure PowerShell is recommended for creating apps on the Windows hosting platform. To create apps on Linux, use a different tool, such as Azure CLI.
Sign into your Azure account by using the
Connect-AzAccountcommand and following the prompt:Connect-AzAccount
Create a new app by using the New-AzWebApp command:
New-AzWebApp -Name <app-name> -Location westeurope- Replace
<app-name>with a name that's unique across all of Azure (valid characters area-z,0-9, and-). A combination of your company name and an app identifier is a good pattern. - You can optionally include the parameter
-Location <location-name>where<location-name>is an available Azure region. You can retrieve a list of allowable regions for your Azure account by running theGet-AzLocationcommand.
The command might take a few minutes to complete. While it's running, the command creates a resource group, an App Service plan, and the App Service resource.
- Replace
From the application root folder, prepare your local MyFirstAzureWebApp application for deployment using the
dotnet publishcommand:dotnet publish --configuration ReleaseChange to the release directory and create a zip file from the contents:
cd bin\Release\net7.0\publish
Compress-Archive -Path * -DestinationPath deploy.zip
Publish the zip file to the Azure app using the Publish-AzWebApp command:
Publish-AzWebApp -ResourceGroupName myResourceGroup -Name <app-name> -ArchivePath (Get-Item .\deploy.zip).FullName -ForceNote
-ArchivePathneeds the full path of the zip file.Open a web browser and navigate to the URL:
You see the ASP.NET Core 7.0 web app displayed in the page.
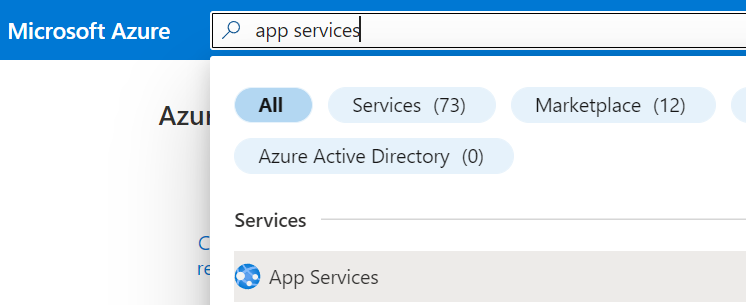
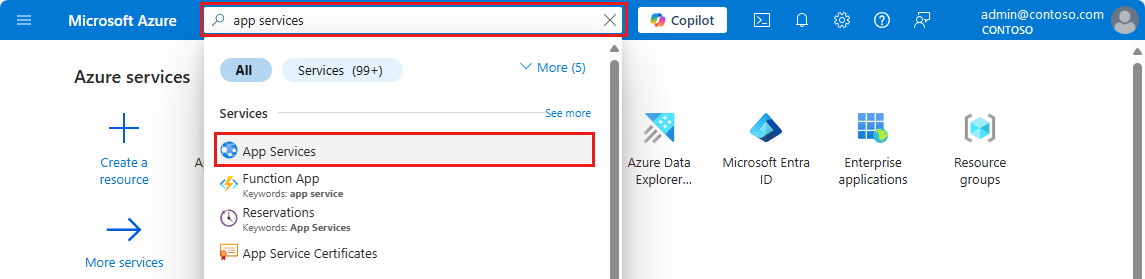
Type app services in the search. Under Services, select App Services.
In the App Services page, select + Create.
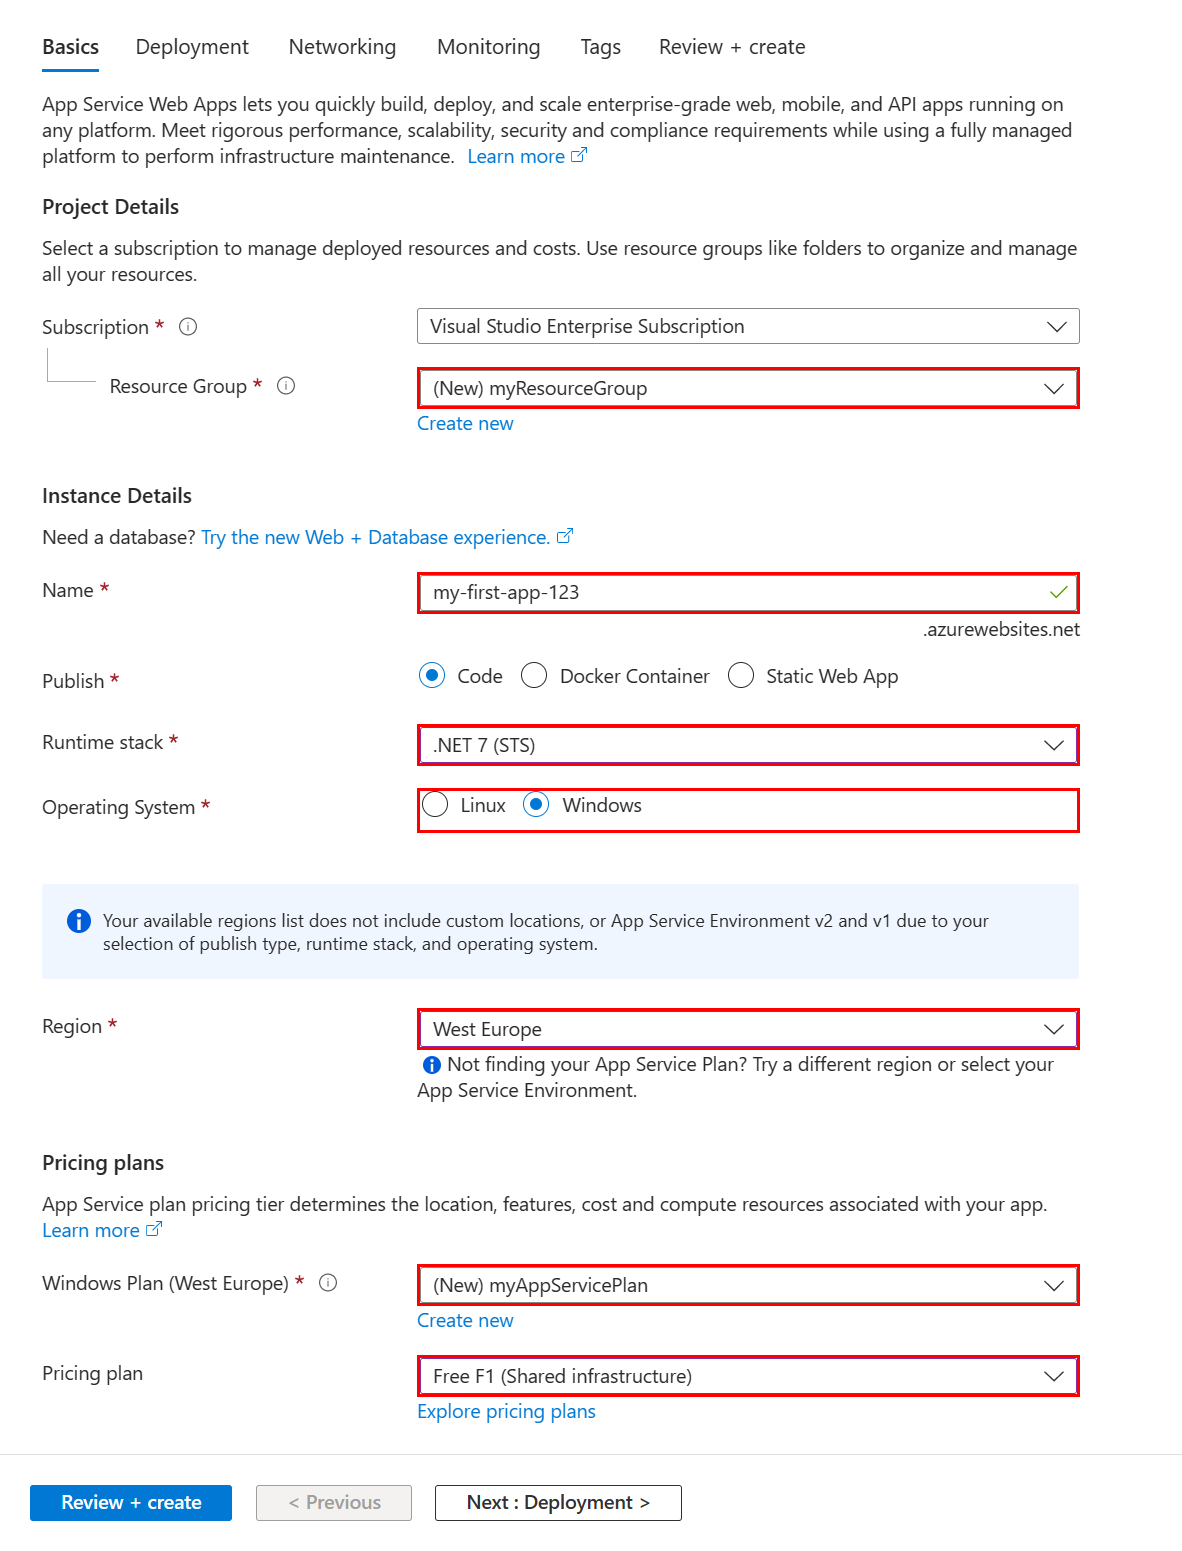
In the Basics tab:
- Under Resource group, select Create new. Type myResourceGroup for the name.
- Under Name, type a globally unique name for your web app.
- Under Publish, select Code.
- Under Runtime stack select .NET 7 (STS).
- Select an Operating System, and a Region you want to serve your app from.
- Under App Service Plan, select Create new and type myAppServicePlan for the name.
- Under Pricing plan, select Free F1.
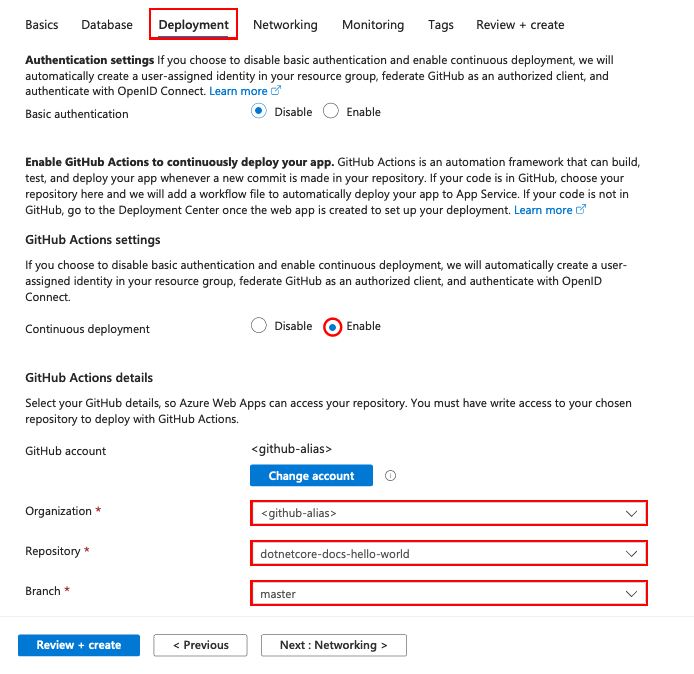
Select the Deployment tab at the top of the page
Under GitHub Actions settings, set Continuous deployment to Enable.
Under GitHub Actions details, authenticate with your GitHub account, and select the following options:
- For Organization select the organization where you have forked the demo project.
- For Repository select the dotnetcore-docs-hello-world project.
- For Branch select master.
Note
By default, the creation wizard disables basic authentication and GitHub Actions deployment is created using a user-assigned identity. If you get a permissions error during resource creation, your Azure account may not have enough permissions. You can configure GitHub Actions deployment later with an identity generated for you by an Azure administrator, or you can also enable basic authentication instead.
Select the Review + create button at the bottom of the page.
After validation runs, select the Create button at the bottom of the page.
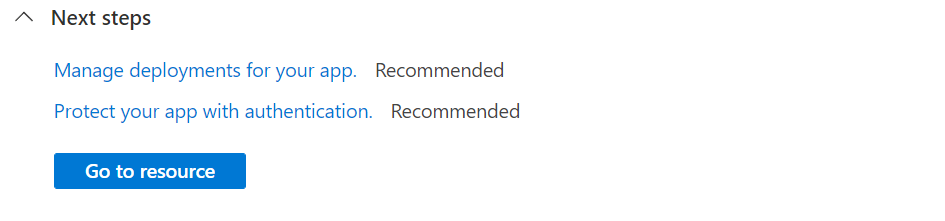
After deployment is complete, select Go to resource.
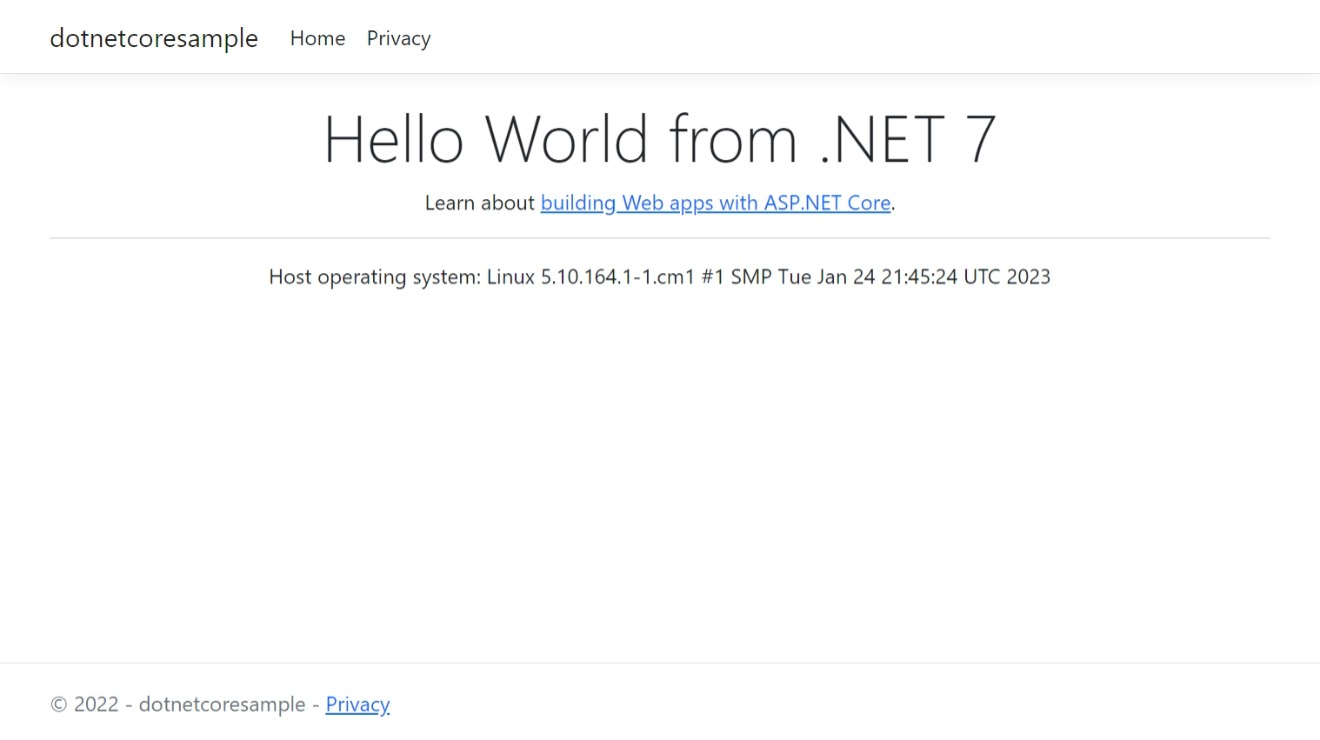
Browse to the deployed application in your web browser at the URL
http://<app-name>.azurewebsites.net.


Sign into your Azure account by using the az login command and following the prompt:
azd auth loginCreate the Azure resources and deploy your app using the
azd upcommand:azd upThe
azd upcommand might take a few minutes to complete.azd upuses the Bicep files in your projects to create the resource group, App Service Plan, and hosting app. It also performs certain configurations such as enabling logging and deploys your compiled app code. While it's running, the command provides messages about the provisioning and deployment process, including a link to the deployment in Azure. When it finishes, the command also displays a link to the deploy application.Open a web browser and navigate to the URL:
You see the ASP.NET Core 7.0 web app displayed in the page.
3. Update the app and redeploy
Follow these steps to update and redeploy your web app:
In Solution Explorer, under your project, open Index.cshtml.
Replace the first
<div>element with the following code:<div class="jumbotron"> <h1>.NET 💜 Azure</h1> <p class="lead">Example .NET app to Azure App Service.</p> </div>Save your changes.
To redeploy to Azure, right-click the MyFirstAzureWebApp project in Solution Explorer and select Publish.
In the Publish summary page, select Publish.
When publishing completes, Visual Studio launches a browser to the URL of the web app.
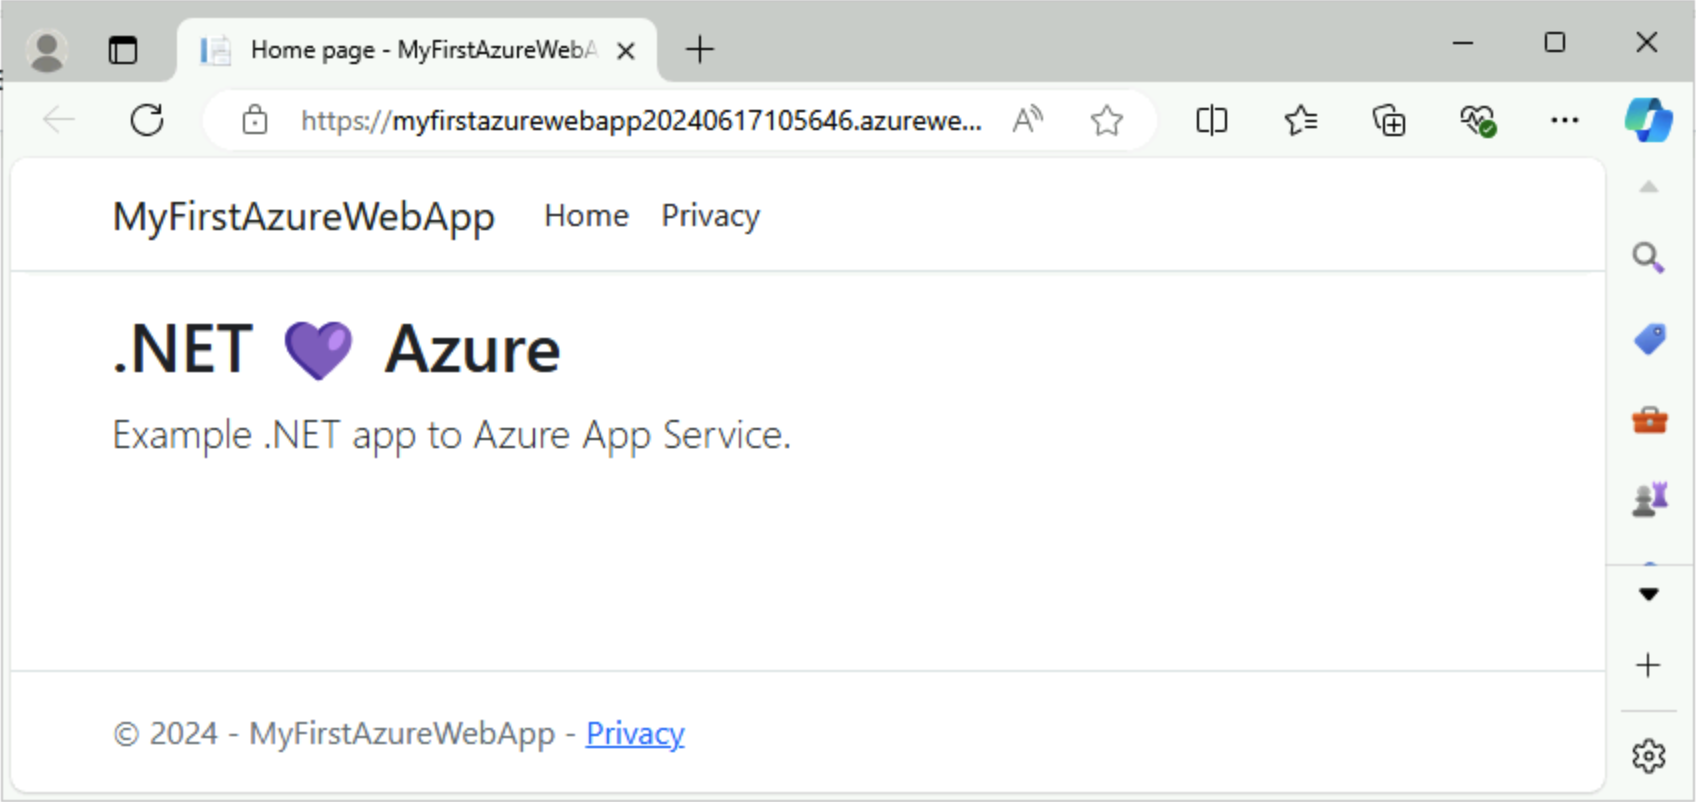
You see the updated ASP.NET Core 7.0 web app displayed in the page.

Open Index.cshtml.
Replace the first
<div>element with the following code:<div class="jumbotron"> <h1>.NET 💜 Azure</h1> <p class="lead">Example .NET app to Azure App Service.</p> </div>Save your changes.
In Visual Studio Code, open the Command Palette, Ctrl+Shift+P.
Search for and select "Azure App Service: Deploy to Web App".
Select Deploy when prompted.
When publishing completes, select Browse Website in the notification and select Open when prompted.
You see the updated ASP.NET Core 7.0 web app displayed in the page.
In the local directory, open the Index.cshtml file. Replace the first <div> element:
<div class="jumbotron">
    <h1>.NET 💜 Azure</h1>
    <p class="lead">Example .NET app to Azure App Service.</p>
</div>
Save your changes, then redeploy the app using the az webapp up command again:
ASP.NET Core 7.0 is cross-platform, based on your previous deployment replace <os> with either linux or windows.
az webapp up --os-type <os>
This command uses values that are cached locally in the .azure/config file, including the app name, resource group, and App Service plan.
Once deployment has completed, switch back to the browser window that opened in the Browse to the app step, and hit refresh.
You see the updated ASP.NET Core 7.0 web app displayed in the page.

In the local directory, open the Index.cshtml file. Replace the first
<div>element:<div class="jumbotron"> <h1>.NET 💜 Azure</h1> <p class="lead">Example .NET app to Azure App Service.</p> </div>From the application root folder, prepare your local MyFirstAzureWebApp application for deployment using the
dotnet publishcommand:dotnet publish --configuration ReleaseChange to the release directory and create a zip file from the contents:
cd bin\Release\net7.0\publish Compress-Archive -Path * -DestinationPath deploy.zipPublish the zip file to the Azure app using the Publish-AzWebApp command:
Publish-AzWebApp -ResourceGroupName myResourceGroup -Name <app-name> -ArchivePath (Get-Item .\deploy.zip).FullName -ForceNote
-ArchivePathneeds the full path of the zip file.Once deployment has completed, switch back to the browser window that opened in the Browse to the app step, and hit refresh.
You see the updated ASP.NET Core 7.0 web app displayed in the page.
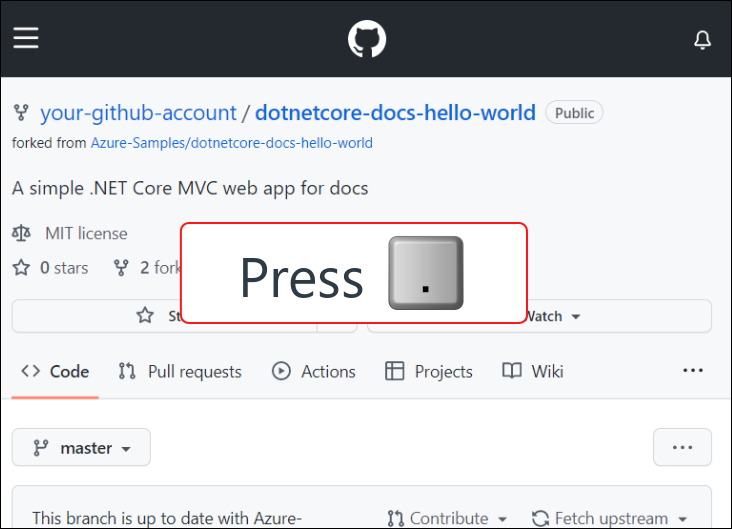
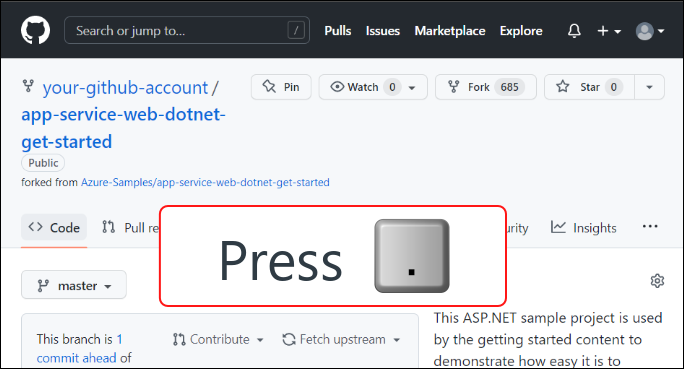
Browse to your GitHub fork of the sample code.
On your repo page, press
.to start Visual Studio Code within your browser.Note
The URL will change from GitHub.com to GitHub.dev. This feature only works with repos that have files. This does not work on empty repos.
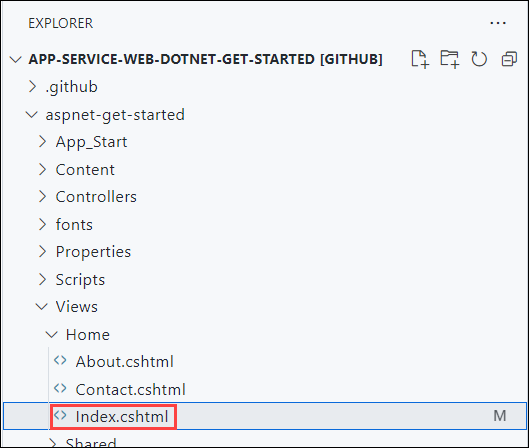
Open Index.cshtml.
Index.cshtml is located in the
Pagesfolder.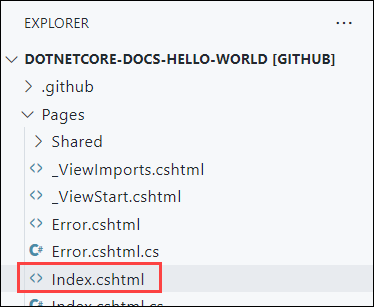
Replace the first
<div>element with the following code:<div class="jumbotron"> <h1>.NET 💜 Azure</h1> <p class="lead">Example .NET app to Azure App Service.</p> </div>Save your changes.
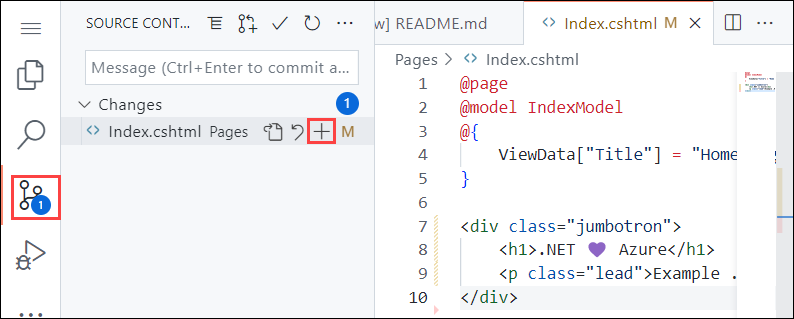
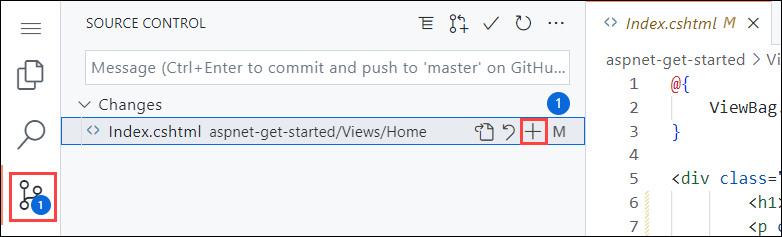
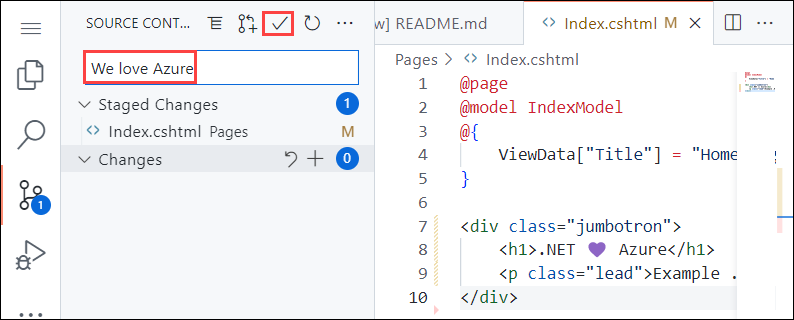
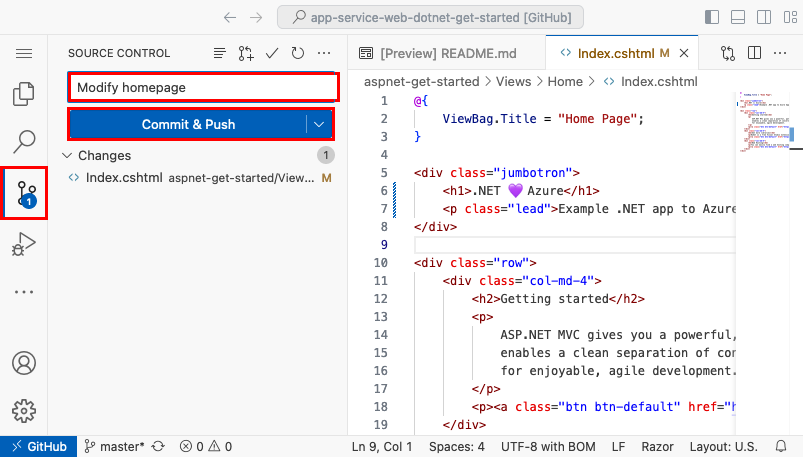
From the Source Control menu, select the Stage Changes button to stage the change.
Enter a commit message such as
We love Azure. Then, select Commit and Push.Once deployment has completed, return to the browser window that opened during the Browse to the app step, and refresh the page.
You see the updated ASP.NET Core 7.0 web app displayed in the page.


In the local directory, open the Index.cshtml file. Replace the first <div> element:
<div class="jumbotron">
    <h1>.NET 💜 Azure</h1>
    <p class="lead">Example .NET app to Azure App Service.</p>
</div>
Save your changes, then redeploy the app using the azd up command again:
azd up
azd up will skip the provisioning resources step this time and only redeploy your code, since there have been no changes to the Bicep files.
Once deployment has completed, the browser will open to the updated ASP.NET Core 7.0 web app.
4. Manage the Azure app
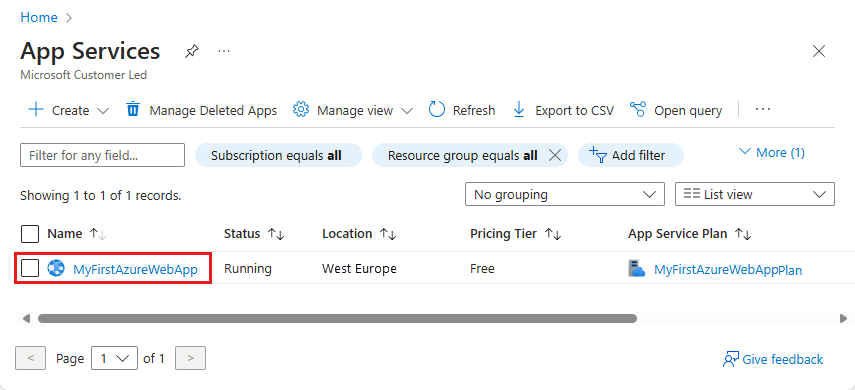
To manage your web app, go to the Azure portal, and search for and select App Services.
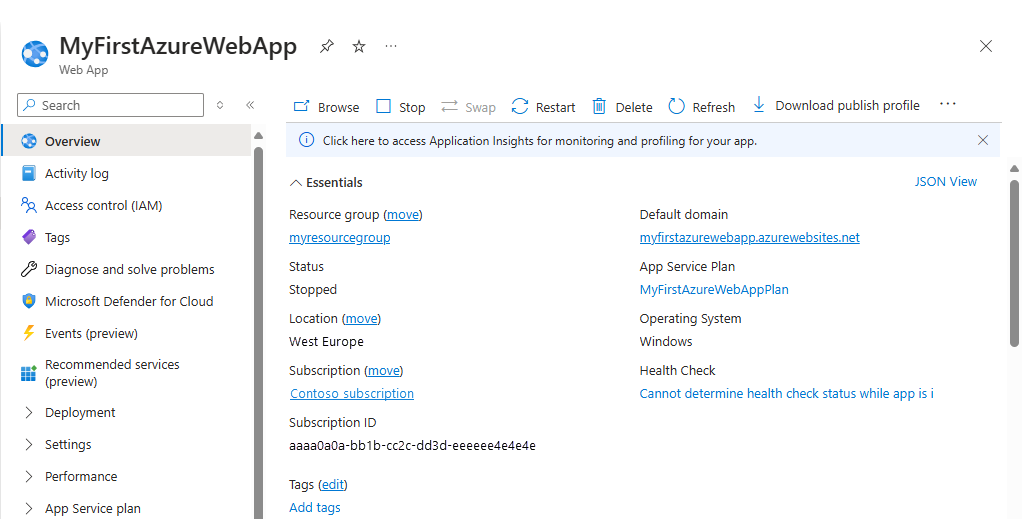
On the App Services page, select the name of your web app.
The Overview page for your web app, contains options for basic management like browse, stop, start, restart, and delete. The left menu provides further pages for configuring your app.
Clean up resources
In the preceding steps, you created Azure resources in a resource group. If you don't expect to need these resources in the future, you can delete them by deleting the resource group.
- From your web app's Overview page in the Azure portal, select the myResourceGroup link under Resource group.
- On the resource group page, make sure that the listed resources are the ones you want to delete.
- Select Delete, type myResourceGroup in the text box, and then select Delete.
Clean up resources
In the preceding steps, you created Azure resources in a resource group. If you don't expect to need these resources in the future, delete the resource group by running the following command in the Cloud Shell:
az group delete --name myResourceGroup
This command may take a minute to run.
Clean up resources
In the preceding steps, you created Azure resources in a resource group. If you don't expect to need these resources in the future, delete the resource group by running the following PowerShell command:
Remove-AzResourceGroup -Name myResourceGroup
This command may take a minute to run.
Clean up resources
In the preceding steps, you created Azure resources in a resource group. If you don't expect to need these resources in the future, you can delete them by deleting the resource group.
- From your web app's Overview page in the Azure portal, select the myResourceGroup link under Resource group.
- On the resource group page, make sure that the listed resources are the ones you want to delete.
- Select Delete, type myResourceGroup in the text box, and then select Delete.
Clean up resources
Use the azd down command to remove the resource group and all resources associated with it:
azd down
Visit the Azure Developer CLI documentation for next steps on working with azd templates and additional features.
Next steps
Advance to the next article to learn how to create a .NET Core app and connect it to a SQL Database:
Feedback
Coming soon: Throughout 2024 we will be phasing out GitHub Issues as the feedback mechanism for content and replacing it with a new feedback system. For more information see: https://aka.ms/ContentUserFeedback.
Submit and view feedback for