Note
Access to this page requires authorization. You can try signing in or changing directories.
Access to this page requires authorization. You can try changing directories.
After you've connected your VMware vCenter to Azure, you can browse your vCenter inventory from the Azure portal.

To view all the connected vCenters, visit the VMware vCenter blade in Azure Arc center. From there, you browse your virtual machines (VMs), resource pools, templates, and networks. From the inventory of your vCenter resources, you can select and enable one or more resources in Azure. When you enable a vCenter resource in Azure, it creates an Azure resource that represents your vCenter resource. You can use this Azure resource to assign permissions or conduct management operations.
Enable resource pools, clusters, hosts, datastores, networks, and VM templates in Azure
In this section, you enable resource pools, networks, and other non-VM resources in Azure.
Note
Enabling Azure Arc on a VMware vSphere resource is a read-only operation on vCenter. That is, it doesn't make changes to your resource in vCenter.
Note
To enable VM templates, VMware tools must be installed on them. If not installed, the Enable in Azure option will be grayed out.
From your browser, go to the vCenters blade on Azure Arc Center and navigate to your inventory resources blade.
Select the resource or resources you want to enable and then select Enable in Azure.
Select your Azure Subscription and Resource Group and then select Enable.
This starts a deployment and creates a resource in Azure, creating representations for your VMware vSphere resources. It allows you to manage who can access those resources through Azure role-based access control (RBAC) granularly.
Repeat these steps for one or more network, resource pool, and VM template resources.
Enable existing virtual machines in Azure
From your browser, go to the vCenters blade on Azure Arc Center and navigate to your vCenter.
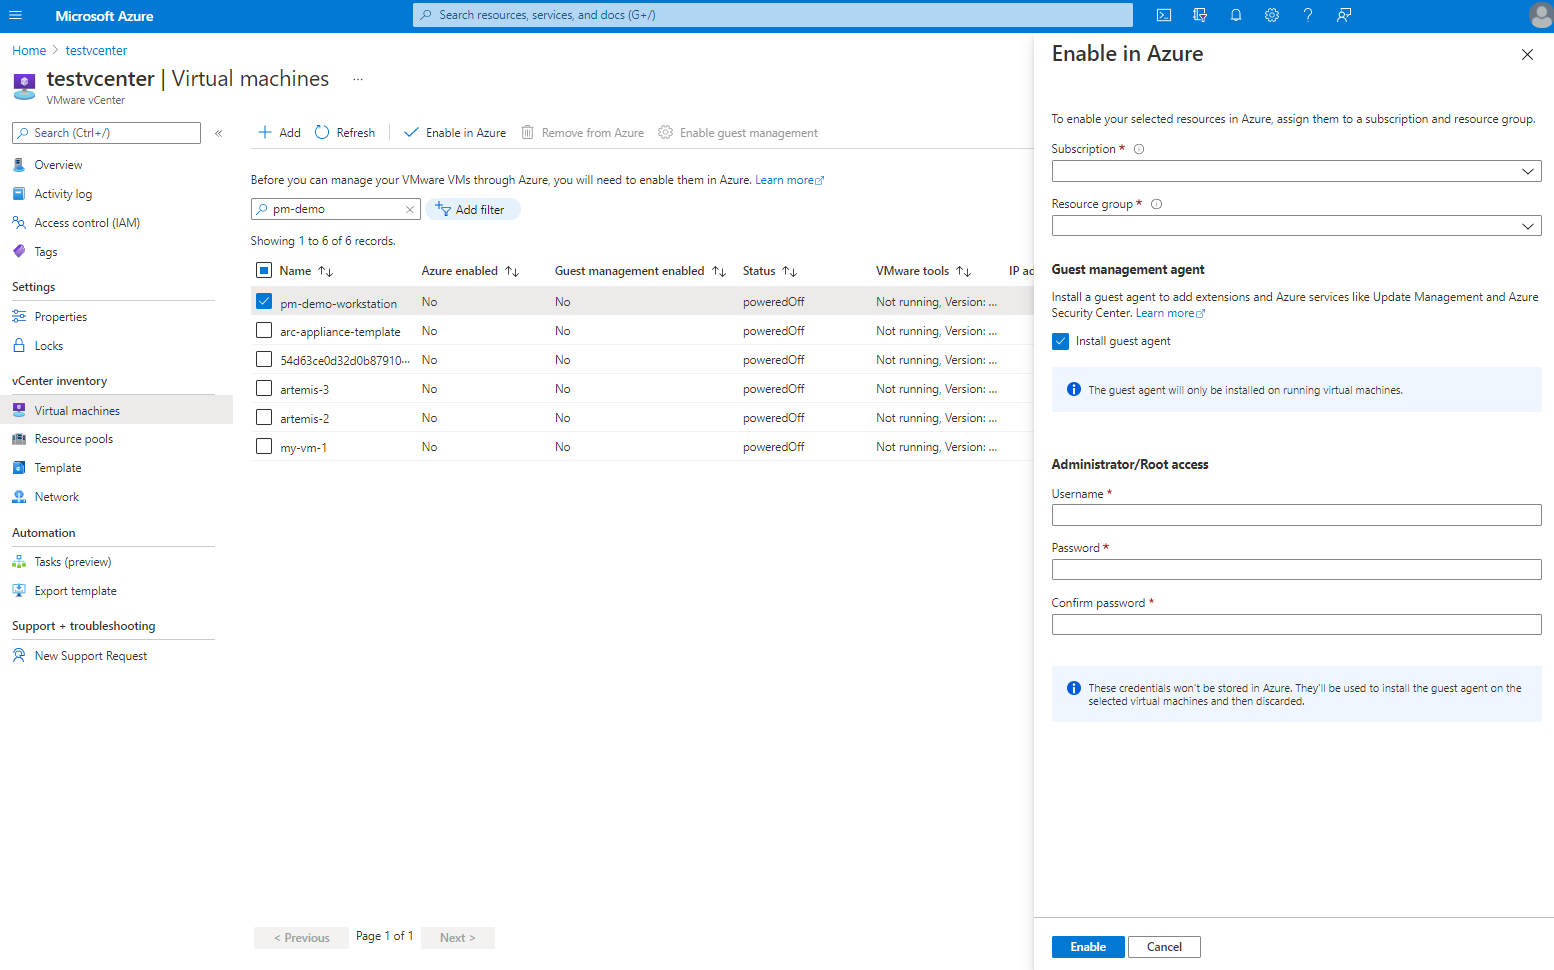
Navigate to the VM inventory resource blade, select the VMs you want to enable, and then select Enable in Azure.
Select your Azure Subscription and Resource Group.
(Optional) Select Install guest agent and then provide the Administrator username and password of the guest operating system.
The guest agent is the Azure Arc connected machine agent. You can install this agent later by selecting the VM in the VM inventory view on your vCenter and selecting Enable guest management. For information on the prerequisites of enabling guest management, see Manage VMware VMs through Arc-enabled VMware vSphere.
Select Enable to start the deployment of the VM represented in Azure.

For information on the capabilities enabled by a guest agent, see Manage access to VMware resources through Azure RBAC.
Note
Moving VMware vCenter resources between Resource Groups and Subscriptions is currently not supported.