Note
Access to this page requires authorization. You can try signing in or changing directories.
Access to this page requires authorization. You can try changing directories.
IT DevOps can use the Azure portal to monitor their solutions. In the Azure portal, you can:
- View the applications on lines and their statuses.
- View alerts related to deployment.
- Trace the issues causing failures.
Prerequisites
- An Azure subscription. If you don't have an Azure subscription, create one for free before you begin.
Open the Azure portal
In Azure portal, go to the workload orchestration page of Azure Arc.
The workload orchestration page has two tabs: Deployment alerts and All resources. Deployment alerts tab provides the list of issues to be debugged. All resources tab lists all the sites, K8 clusters and deployment targets.
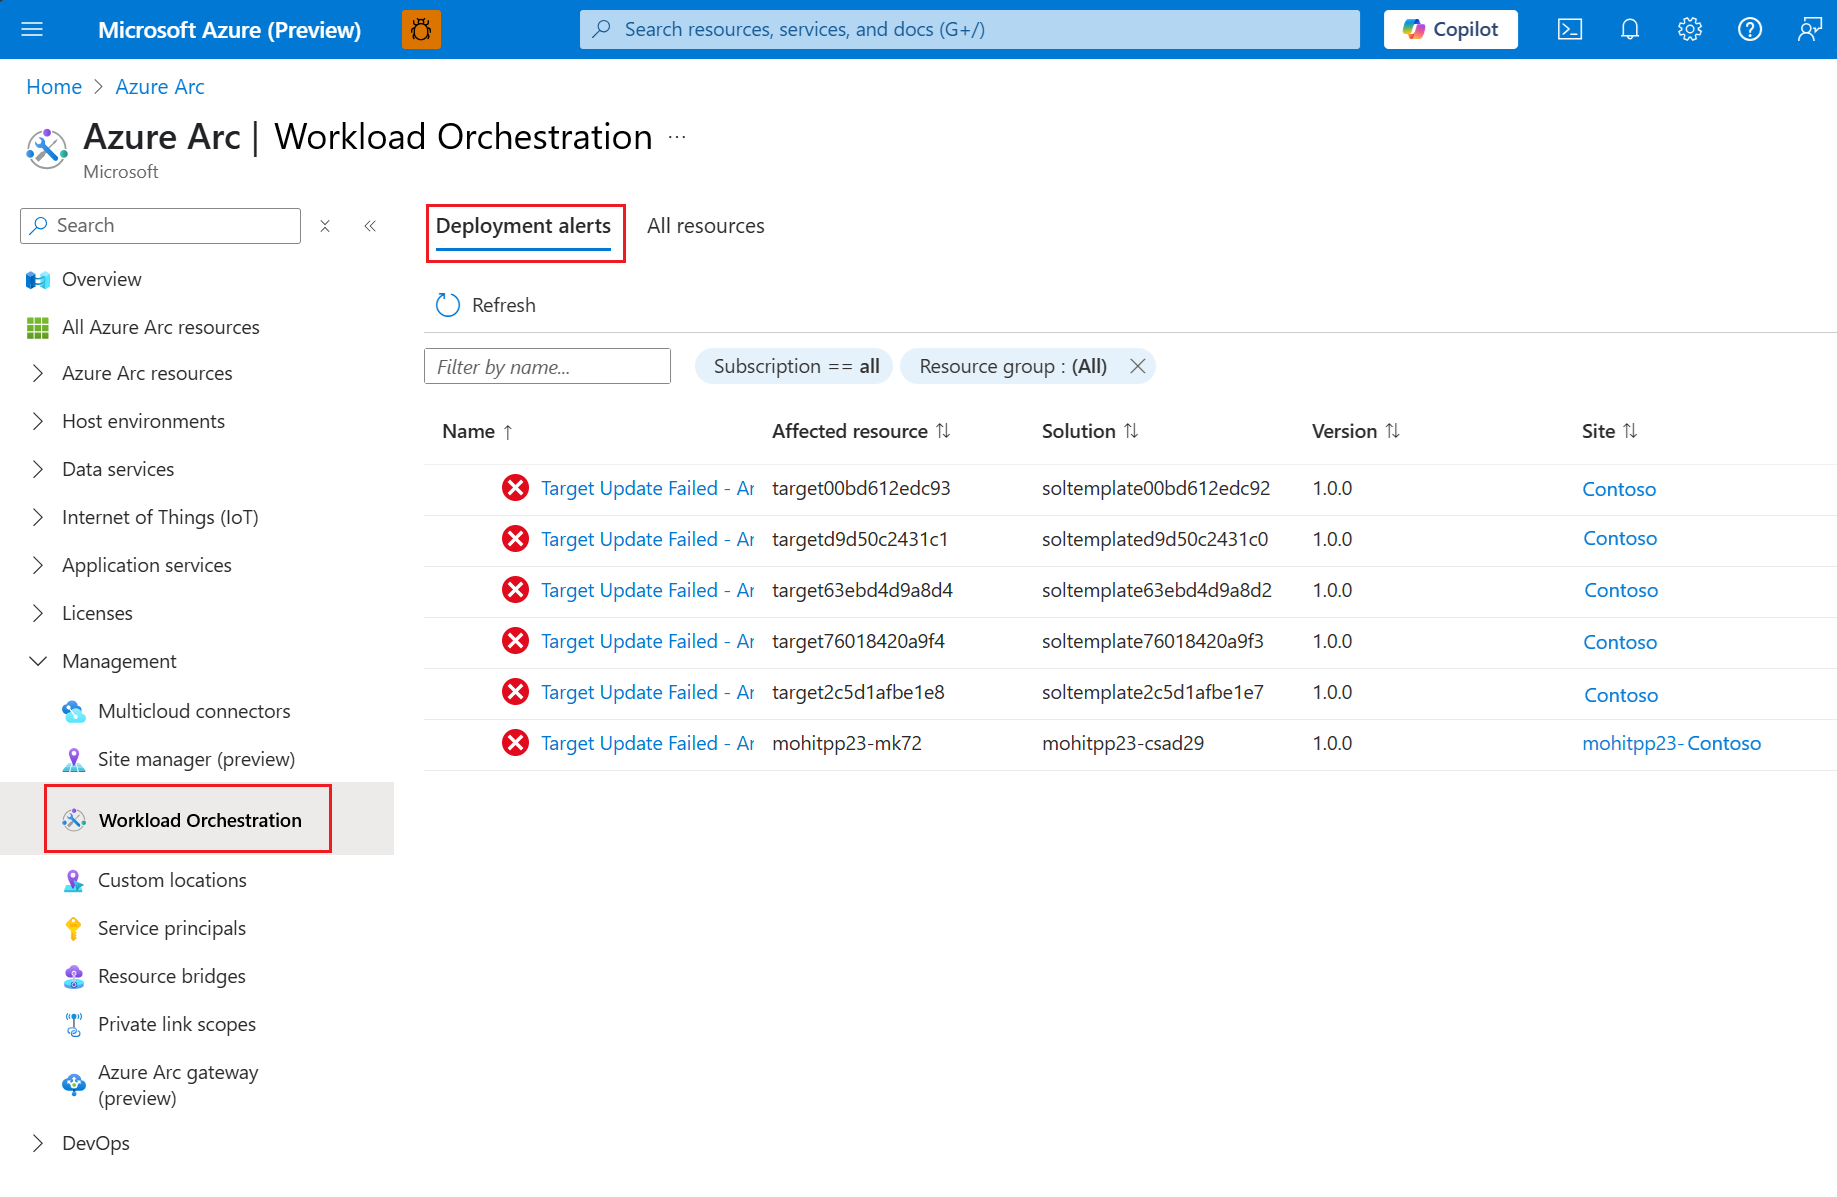

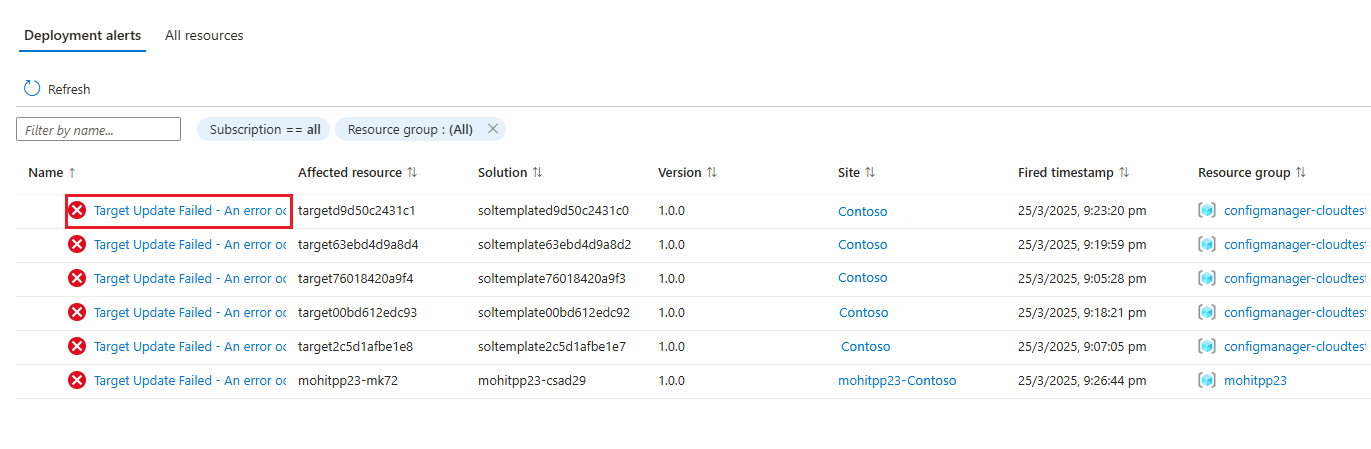
Monitor deployment alerts
In the Deployment alerts tab, you can see the list of deployment alerts. The list shows the target name, type, and other details.
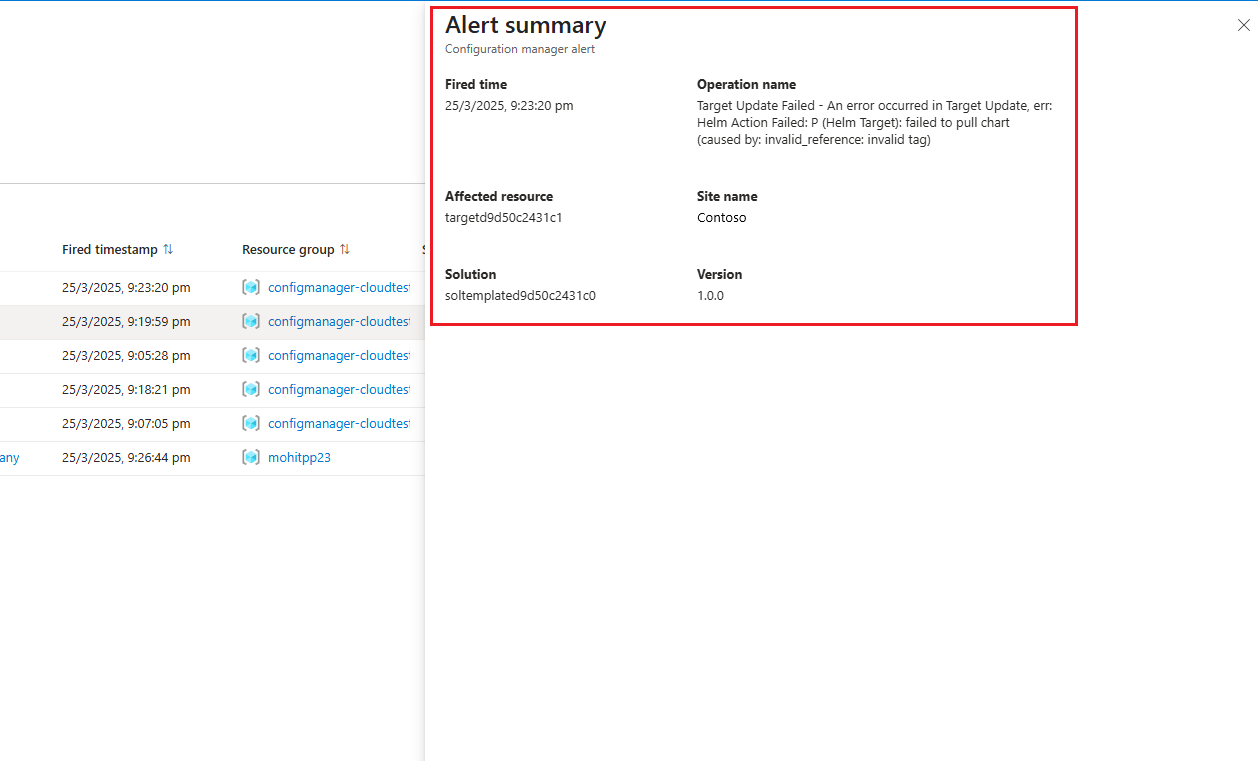
Click on the name of the target to view the details of the alert.
The alert summary shows the operation name, solution, fired time and affected targets.


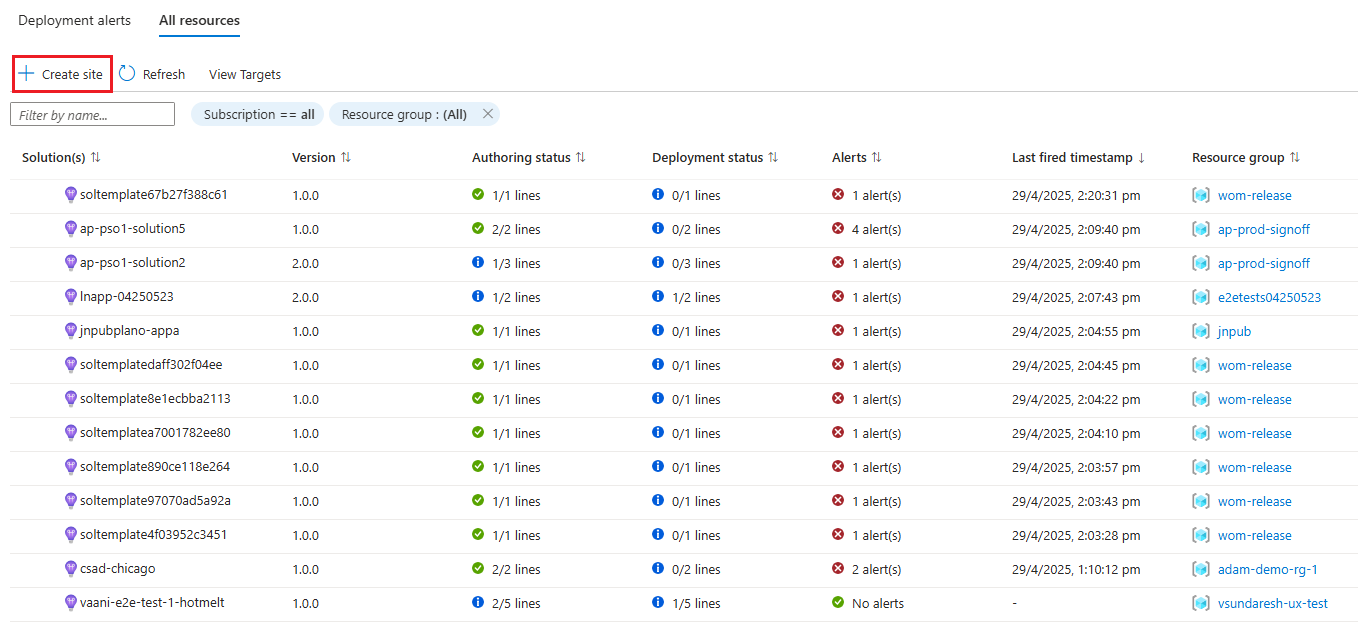
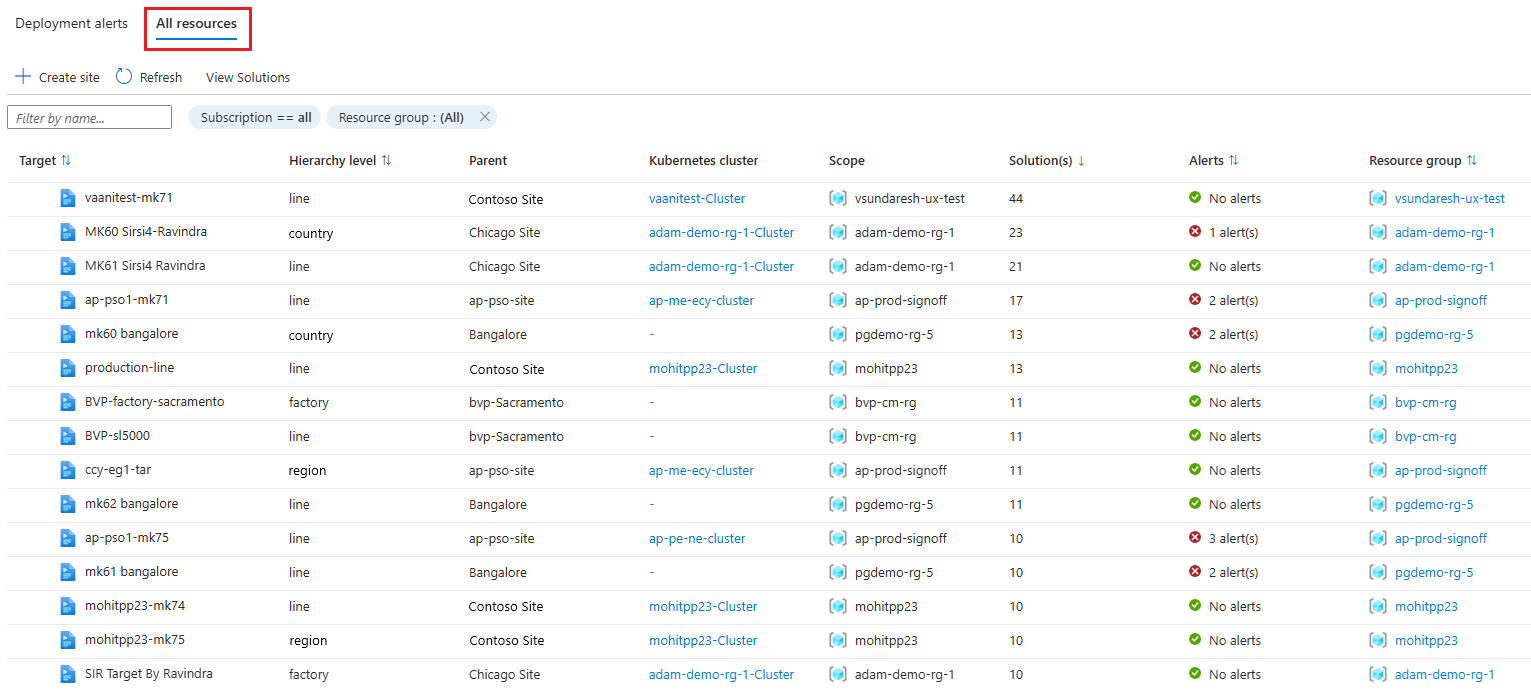
Monitor all resources
In the All resources tab, the default view shows the flattened list of sites and targets.
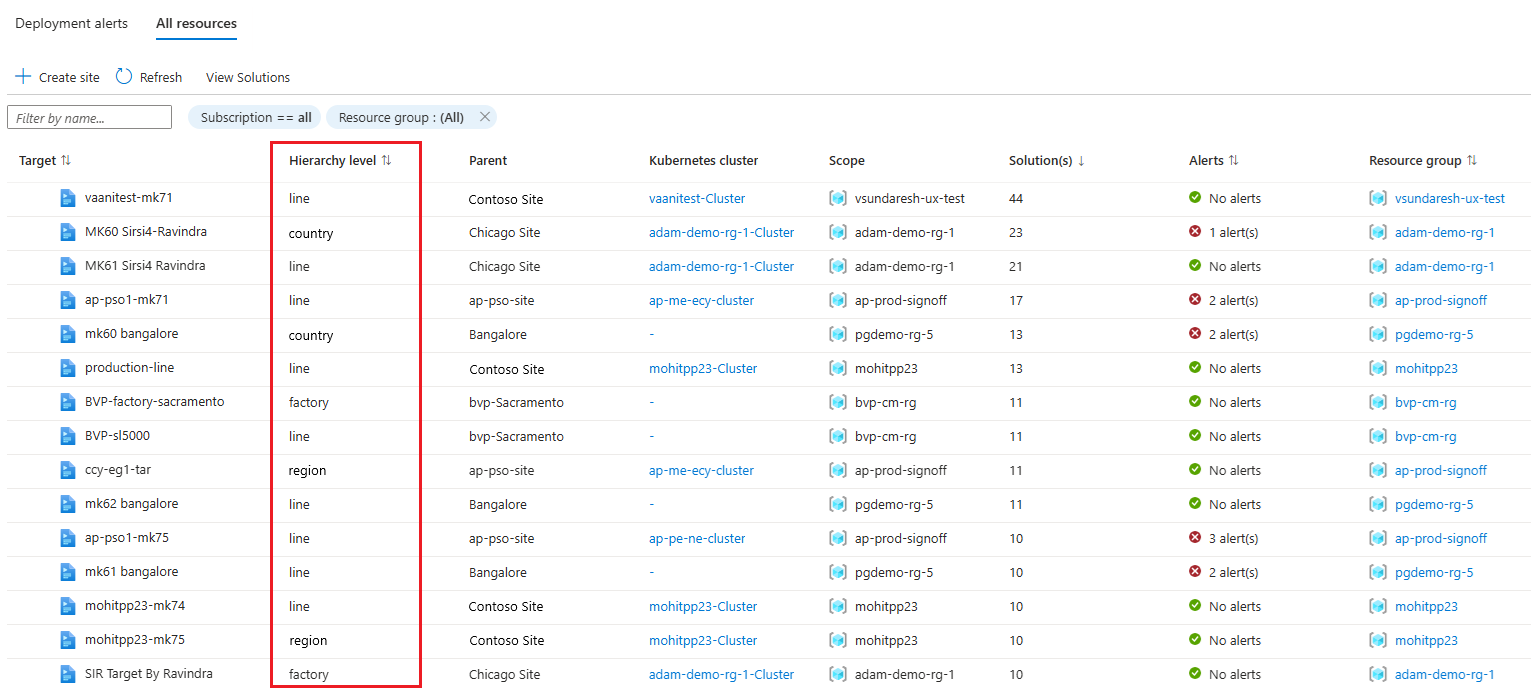
In the Hierarchy level column, you can see the hierarchy level of the resources. Workload orchestration allows you to have an organization with a minimum of two and a maximum of four levels of hierarchy. For more information, see Service groups at different hierarchy levels in workload orchestration.
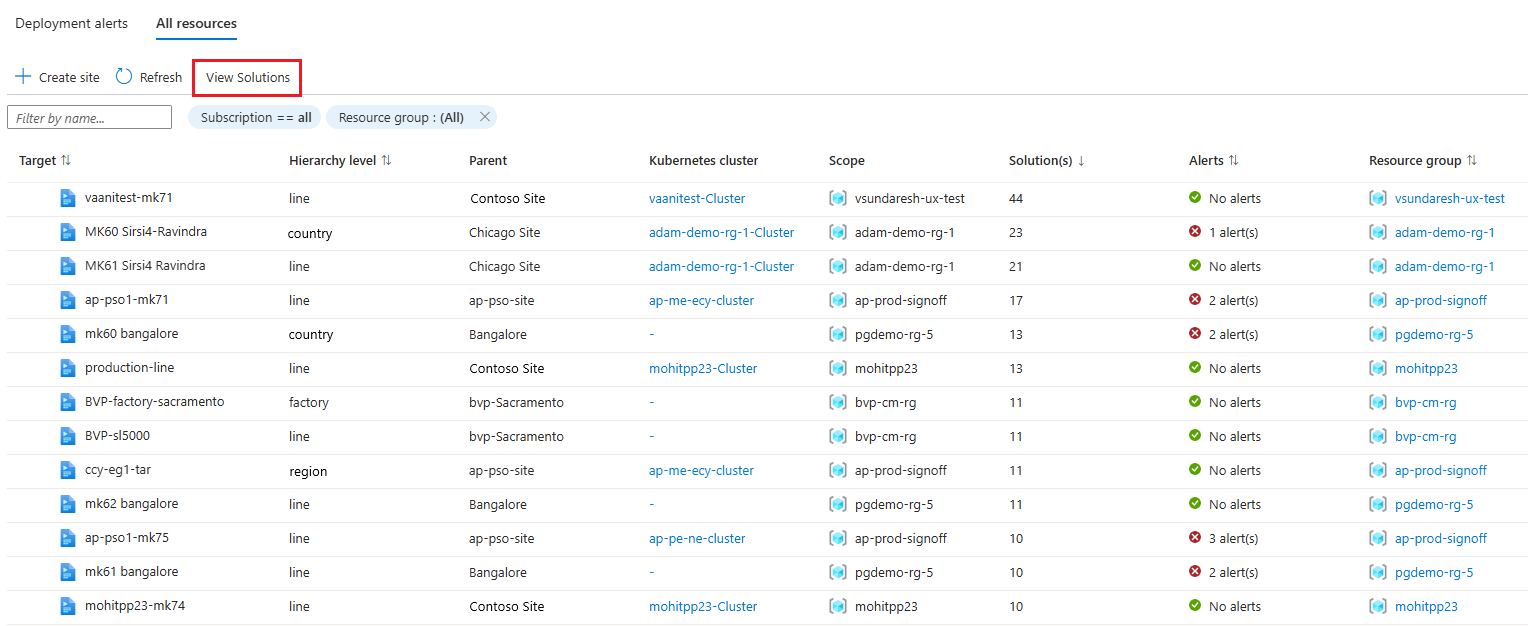
Click on View solutions.
The new view shows the list of solutions and statuses across targets.
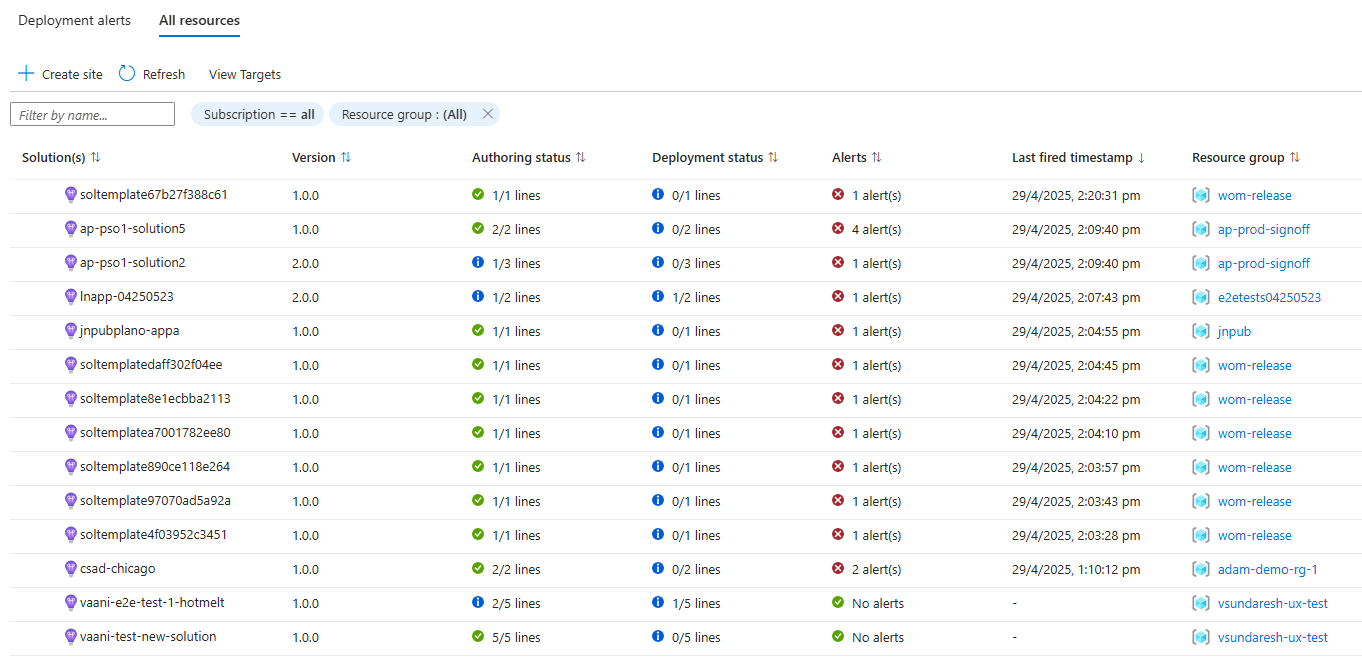
Click on View targets to go back to the previous list of targets.
Click on Create site to create a new site. For more information, see Create a site in Azure Arc.