Note
Access to this page requires authorization. You can try signing in or changing directories.
Access to this page requires authorization. You can try changing directories.
The azure-maps-control npm package is a client-side library that allows you to embed the Azure Maps map control into your node.js applications using JavaScript or TypeScript. This library makes it easy to use the Azure Maps REST services and lets you customize interactive maps with your content and imagery.
Prerequisites
To use the npm package in an application, you must have the following prerequisites:
- An Azure Maps account
- A subscription key or Microsoft Entra credentials. For more information, see authentication options.
Installation
Install the latest azure-maps-control package.
npm install azure-maps-control
This package includes a minified version of the source code, CSS Style Sheet, and the TypeScript definitions for the Azure Maps map control.
You would also need to embed the CSS Style Sheet for various controls to display correctly. If you're using a JavaScript bundler to bundle the dependencies and package your code, refer to your bundler's documentation on how it's done. For webpack, it's commonly done via a combination of style-loader and css-loader with documentation available at style-loader.
To begin, install style-loader and css-loader:
npm install --save-dev style-loader css-loader
Inside your source file, import atlas.min.css:
import "azure-maps-control/dist/atlas.min.css";
Then add loaders to the module rules portion of the webpack config:
module.exports = {
  module: {
    rules: [
      {
        test: /\.css$/i,
        use: ["style-loader", "css-loader"]
      }
    ]
  }
};
Refer to the following section for a complete example.
Create a map in a node.js application
Embed a map in a web page using the map control npm package.
Create a new project
npm initnpm initis a command that helps you create a package.json file for your node project. It asks you some questions and generates the file based on your answers. You can also use-yor–yesto skip the questions and use the default values. The package.json file contains information about your project, such as its name, version, dependencies, scripts, etc.Install the latest azure-maps-control package.
npm install azure-maps-controlInstall webpack and other dev dependencies.
npm install --save-dev webpack webpack-cli style-loader css-loaderUpdate package.json by adding a new script for
"build": "webpack". The file should now look something like the following:{ "name": "azure-maps-npm-demo", "version": "1.0.0", "description": "", "main": "index.js", "scripts": { "test": "echo \"Error: no test specified\" && exit 1", "build": "webpack" }, "author": "", "license": "ISC", "dependencies": { "azure-maps-control": "^2.3.1" }, "devDependencies": { "css-loader": "^6.8.1", "style-loader": "^3.3.3", "webpack": "^5.88.1", "webpack-cli": "^5.1.4" } }Create a webpack config file named webpack.config.js in the project's root folder. Include these settings in the config file.
module.exports = {
  entry: "./src/js/main.js",
  mode: "development",
  output: {
    path: `${__dirname}/dist`,
    filename: "bundle.js"
  },
  module: {
    rules: [
      {
        test: /\.css$/i,
        use: ["style-loader", "css-loader"]
      }
    ]
  }
};
Add a new JavaScript file at ./src/js/main.js with this code.
import * as atlas from "azure-maps-control";
import "azure-maps-control/dist/atlas.min.css";

const onload = () => {
  // Initialize a map instance.
  const map = new atlas.Map("map", {
    view: "Auto",
    // Add authentication details for connecting to Azure Maps.
    authOptions: {
      authType: "subscriptionKey",
      subscriptionKey: "<Your Azure Maps Key>"
    }
  });
};

document.body.onload = onload;
Add a new HTML file named index.html in the project's root folder with this content:
<!DOCTYPE html>
<html lang="en">
  <head>
    <meta charset="utf-8" />
    <title>Azure Maps demo</title>
    <script src="./dist/bundle.js" async></script>
    <style>
      html,
      body,
      #map {
        width: 100%;
        height: 100%;
        padding: 0;
        margin: 0;
      }
    </style>
  </head>
  <body>
    <div id="map"></div>
  </body>
</html>
Your project should now have the following files:
├───node_modules
├───index.html
├───package-lock.json
├───package.json
├───webpack.config.js
└───src
    └───js
        └───main.js
Run the following command to generate a JavaScript file at ./dist/bundle.js
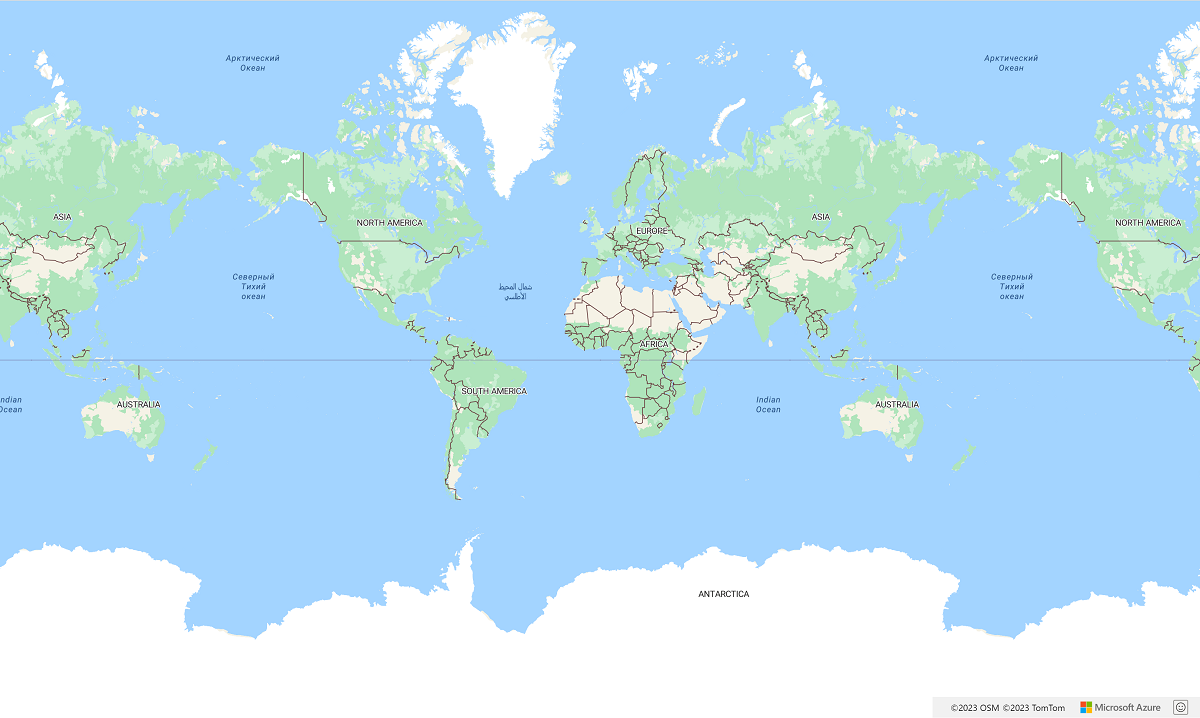
npm run buildOpen the file index.html in your web browser and view the rendered map. It should look like the following image:
Use other Azure Maps npm packages
Azure Maps offers other modules as npm packages that can be integrated into your application. These modules include:
The following sample shows how to import a module and use it in your application. This sample uses azure-maps-spatial-io to read a POINT(-122.34009 47.60995) string as GeoJSON and renders it on the map using a bubble layer.
Install the npm package.
npm install azure-maps-spatial-ioThen, use an import declaration to add the module to a source file:
import * as spatial from "azure-maps-spatial-io";Use
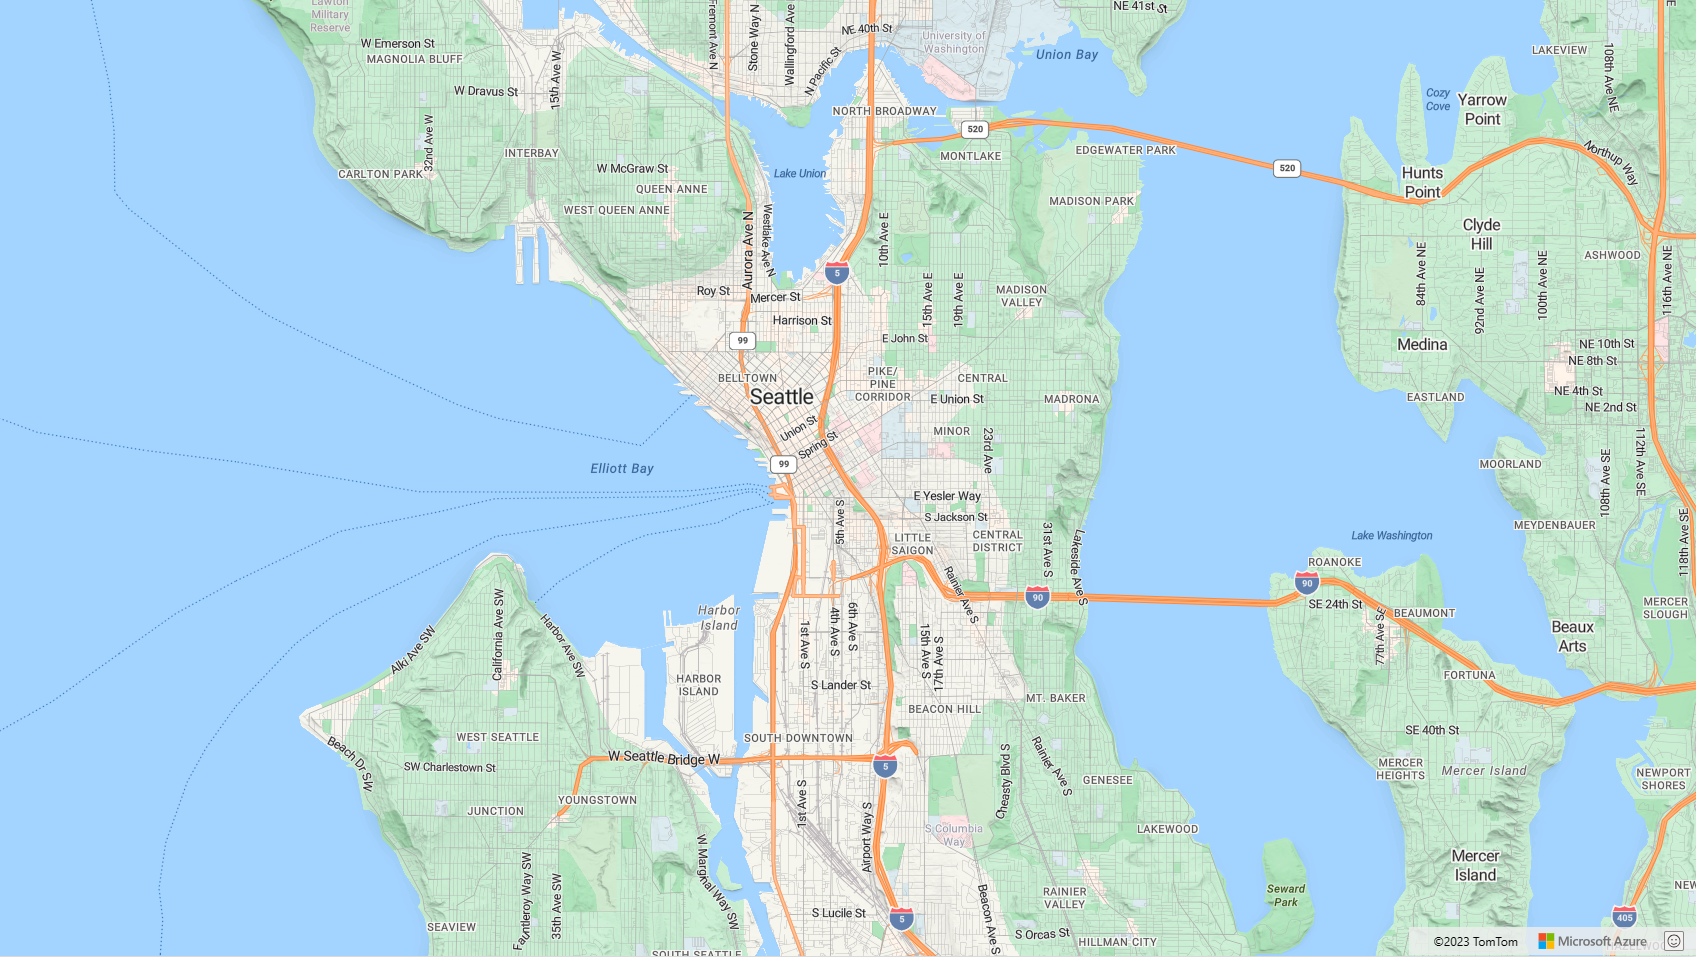
spatial.io.ogc.WKT.read()to parse the text.import * as atlas from "azure-maps-control"; import * as spatial from "azure-maps-spatial-io"; import "azure-maps-control/dist/atlas.min.css"; const onload = () => { // Initialize a map instance. const map = new atlas.Map("map", { center: [-122.34009, 47.60995], zoom: 12, view: "Auto", // Add authentication details for connecting to Azure Maps. authOptions: { authType: "subscriptionKey", subscriptionKey: "<Your Azure Maps Key>" } }); // Wait until the map resources are ready. map.events.add("ready", () => { // Create a data source and add it to the map. const datasource = new atlas.source.DataSource(); map.sources.add(datasource); // Create a layer to render the data map.layers.add(new atlas.layer.BubbleLayer(datasource)); // Parse the point string. var point = spatial.io.ogc.WKT.read("POINT(-122.34009 47.60995)"); // Add the parsed data to the data source. datasource.add(point); }); }; document.body.onload = onload;Webpack 5 may throw errors about not being able to resolve some node.js core modules. Add these settings to your webpack config file to fix the problem.
module.exports = {
  // ...
  resolve: {
    fallback: { "crypto": false, "worker_threads": false }
  }
};
This image is a screenshot of the sample’s output.
Next steps
Learn how to create and interact with a map:
Learn how to style a map:
Learn best practices and see samples: