Add a popup to the map
This article shows you how to add a popup to a point on a map.
Understand the code
The following code adds a point feature with name and description properties to the map using a symbol layer. An instance of the Popup class is created but not displayed. Mouse events are added to the symbol layer to trigger opening and closing the popup. When the marker symbol is hovered, the popup's position property is updated with position of the marker, and the content option is updated with some HTML that wraps the name and description properties of the point feature being hovered. The popup is then displayed on the map using its open function.
//Define an HTML template for a custom popup content laypout.
var popupTemplate = '<div class="customInfobox"><div class="name">{name}</div>{description}</div>';

//Create a data source and add it to the map.
var dataSource = new atlas.source.DataSource();
map.sources.add(dataSource);

dataSource.add(new atlas.data.Feature(new atlas.data.Point([-122.1333, 47.63]), {
  name: 'Microsoft Building 41',
  description: '15571 NE 31st St, Redmond, WA 98052'
}));

//Create a layer to render point data.
var symbolLayer = new atlas.layer.SymbolLayer(dataSource);

//Add the polygon and line the symbol layer to the map.
map.layers.add(symbolLayer);

//Create a popup but leave it closed so we can update it and display it later.
popup = new atlas.Popup({
  pixelOffset: [0, -18],
  closeButton: false
});

//Add a hover event to the symbol layer.
map.events.add('mouseover', symbolLayer, function (e) {
  //Make sure that the point exists.
  if (e.shapes && e.shapes.length > 0) {
    var content, coordinate;
    var properties = e.shapes[0].getProperties();
    content = popupTemplate.replace(/{name}/g, properties.name).replace(/{description}/g, properties.description);
    coordinate = e.shapes[0].getCoordinates();

    popup.setOptions({
      //Update the content of the popup.
      content: content,

      //Update the popup's position with the symbol's coordinate.
      position: coordinate

    });
    //Open the popup.
    popup.open(map);
  }
});

map.events.add('mouseleave', symbolLayer, function (){
  popup.close();
});
Reusing a popup with multiple points
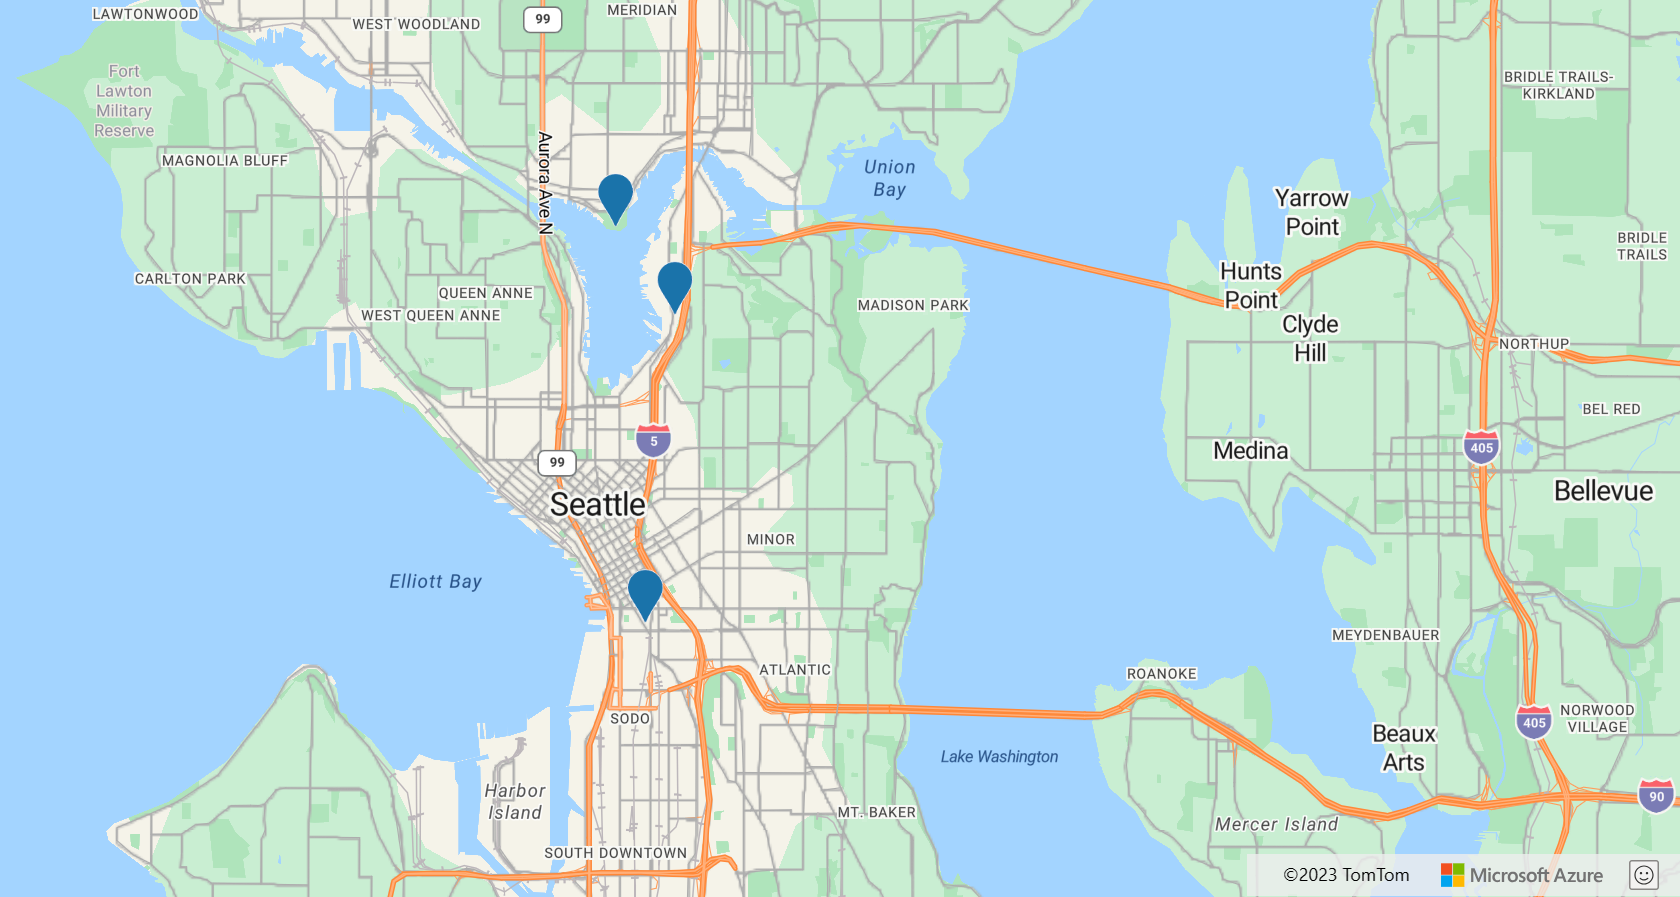
There are cases in which the best approach is to create one popup and reuse it. For example, you might have a large number of points and want to show only one popup at a time. By reusing the popup, the number of DOM elements created by the application is greatly reduced, which can provide better performance. The following sample creates 3-point features. If you select on any of them, a popup is displayed with the content for that point feature.
For a fully functional sample that shows how to create one popup and reuse it rather than creating a popup for each point feature, see Reusing Popup with Multiple Pins in the Azure Maps Samples. For the source code for this sample, see Reusing Popup with Multiple Pins source code.
Customizing a popup
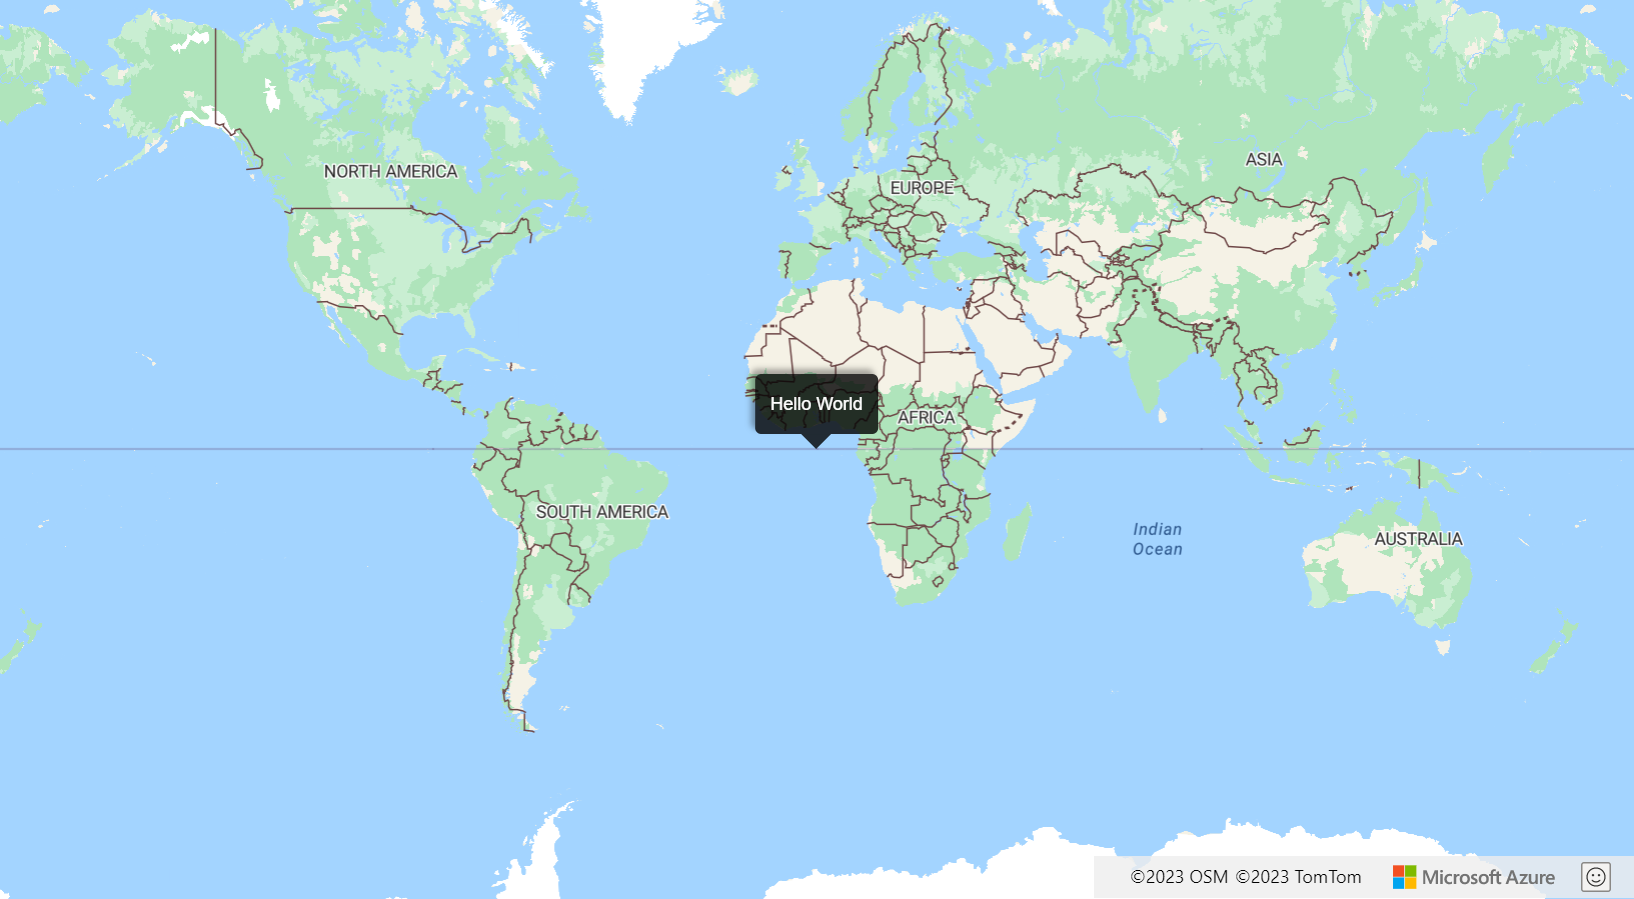
By default, the popup has a white background, a pointer arrow on the bottom, and a close button in the top-right corner. The following sample changes the background color to black using the fillColor option of the popup. The close button is removed by setting the CloseButton option to false. The HTML content of the popup uses padded of 10 pixels from the edges of the popup. The text is made white, so it shows up nicely on the black background.
For a fully functional sample that shows how to customize the look of a popup, see Customize a popup in the Azure Maps Samples. For the source code for this sample, see Customize a popup source code.
Add popup templates to the map
Popup templates make it easy to create data driven layouts for popups. The following sections demonstrate the use of various popup templates to generate formatted content using properties of features.
Note
By default, all content rendered use the popup template will be sandboxed inside of an iframe as a security feature. However, there are limitations:
- All scripts, forms, pointer lock and top navigation functionality is disabled. Links are allowed to open up in a new tab when selected.
- Older browsers that don't support the
srcdocparameter on iframes will be limited to rendering a small amount of content.
If you trust the data being loaded into the popups and potentially want these scripts loaded into popups be able to access your application, you can disable this by setting the popup templates sandboxContent option to false.
String template
The String template replaces placeholders with values of the feature properties. The properties of the feature don't have to be assigned a value of type String. For example, value1 holds an integer. These values are then passed to the content property of the popupTemplate.
The numberFormat option specifies the format of the number to display. If the numberFormat isn't specified, then the code uses the popup templates date format. The numberFormat option formats numbers using the Number.toLocaleString function. To format large numbers, consider using the numberFormat option with functions from NumberFormat.format. For instance, the code following snippet uses maximumFractionDigits to limit the number of fraction digits to two.
Note
There's only one way in which the String template can render images. First, the String template needs to have an image tag in it. The value being passed to the image tag should be a URL to an image. Then, the String template needs to have isImage set to true in the HyperLinkFormatOptions. The isImage option specifies that the hyperlink is for an image, and the hyperlink will be loaded into an image tag. When the hyperlink is clicked, the image will open.
var templateOptions = {
  content: 'This template uses a string template with placeholders.<br/><br/> - Value 1 = {value1}<br/> - Value 2 = {value2/subValue}<br/> - Array value [2] = {arrayValue/2}',
  numberFormat: {
    maximumFractionDigits: 2
  }
};

var feature = new atlas.data.Feature(new atlas.data.Point([0, 0]), {
    title: 'Template 1 - String template',
    value1: 1.2345678,
    value2: {
        subValue: 'Pizza'
    },
    arrayValue: [3, 4, 5, 6]
});

var popup = new atlas.Popup({
  content: atlas.PopupTemplate.applyTemplate(feature.properties, templateOptions),
  position: feature.geometry.coordinates
});
PropertyInfo template
The PropertyInfo template displays available properties of the feature. The label option specifies the text to display to the user. If label isn't specified, then the hyperlink is displayed. And, if the hyperlink is an image, the value assigned to the "alt" tag is displayed. The dateFormat specifies the format of the date, and if the date format isn't specified, then the date renders as a string. The hyperlinkFormat option renders clickable links, similarly, the email option can be used to render clickable email addresses.
Before the PropertyInfo template display the properties to the end user, it recursively checks that the properties are indeed defined for that feature. It also ignores displaying style and title properties. For example, it doesn't display color, size, anchor, strokeOpacity, and visibility. So, once property path checking is complete in the back-end, the PropertyInfo template shows the content in a table format.
var templateOptions = {
  content: [
    {
        propertyPath: 'createDate',
        label: 'Created Date'
    },
    {
        propertyPath: 'dateNumber',
        label: 'Formatted date from number',
        dateFormat: {
          weekday: 'long',
          year: 'numeric',
          month: 'long',
          day: 'numeric',
          timeZone: 'UTC',
          timeZoneName: 'short'
        }
    },
    {
        propertyPath: 'url',
        label: 'Code samples',
        hideLabel: true,
        hyperlinkFormat: {
          lable: 'Go to code samples!',
          target: '_blank'
        }
    },
    {
        propertyPath: 'email',
        label: 'Email us',
        hideLabel: true,
        hyperlinkFormat: {
          target: '_blank',
          scheme: 'mailto:'
        }
    }
  ]
};

var feature = new atlas.data.Feature(new atlas.data.Point([0, 0]), {
    title: 'Template 2 - PropertyInfo',
    createDate: new Date(),
    dateNumber: 1569880860542,
    url: 'https://samples.azuremaps.com/',
    email: 'info@microsoft.com'
}),

var popup = new atlas.Popup({
  content: atlas.PopupTemplate.applyTemplate(feature.properties, templateOptions),
  position: feature.geometry.coordinates
});
Multiple content templates
A feature might also display content using a combination of the String template and the PropertyInfo template. In this case, the String template renders placeholders values on a white background. And, the PropertyInfo template renders a full width image inside a table. The properties in this sample are similar to the properties we explained in the previous samples.
var templateOptions = {
  content: [
    'This template has two pieces of content; a string template with placeholders and a array of property info which renders a full width image.<br/><br/> - Value 1 = {value1}<br/> - Value 2 = {value2/subValue}<br/> - Array value [2] = {arrayValue/2}',
    [{
      propertyPath: 'imageLink',
      label: 'Image',
      hideImageLabel: true,
      hyperlinkFormat: {
        isImage: true
      }
    }]
  ],
  numberFormat: {
    maximumFractionDigits: 2
  }
};

var feature = new atlas.data.Feature(new atlas.data.Point([0, 0]), {
    title: 'Template 3 - Multiple content template',
    value1: 1.2345678,
    value2: {
    subValue: 'Pizza'
    },
    arrayValue: [3, 4, 5, 6],
    imageLink: 'https://samples.azuremaps.com/images/Pike_Market.jpg'
});

var popup = new atlas.Popup({
  content: atlas.PopupTemplate.applyTemplate(feature.properties, templateOptions),
  position: feature.geometry.coordinates
});
Points without a defined template
When the Popup template isn't defined to be a String template, a PropertyInfo template, or a combination of both, then it uses the default settings. When the title and description are the only assigned properties, the popup template shows a white background, a close button in the top-right corner. And, on small and medium screens, it shows an arrow at the bottom. The default settings show inside a table for all properties other than the title and the description. Even when falling back to the default settings, the popup template can still be manipulated programmatically. For example, users can turn off hyperlink detection and the default settings would still apply to other properties.
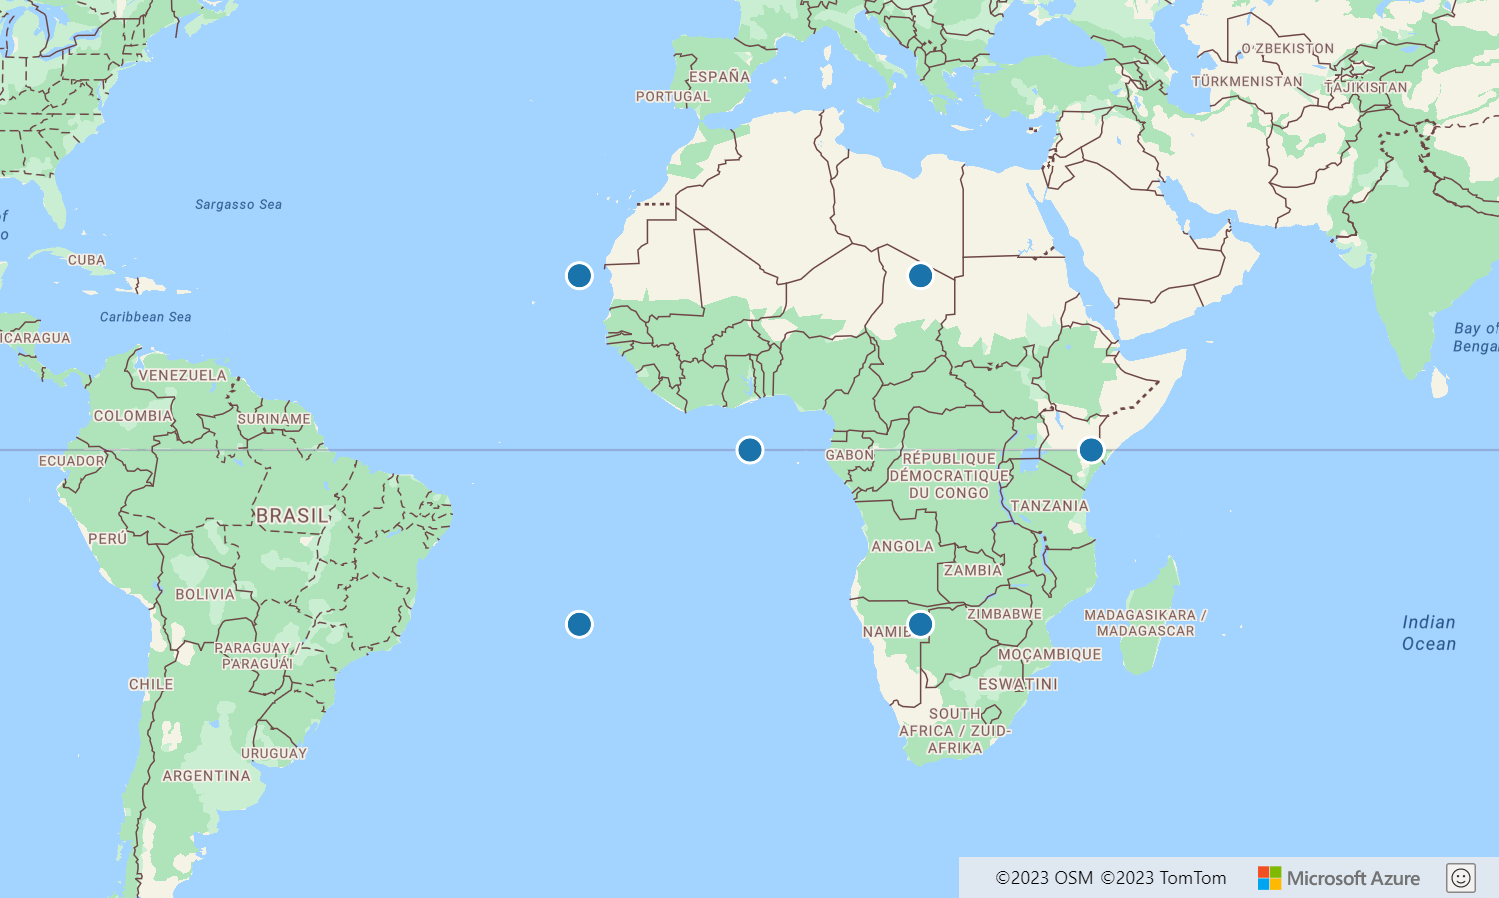
Once running, you can select the points on the map to see the popup. There's a point on the map for each of the following popup templates: String template, PropertyInfo template, and Multiple content template. There are also three points to show how templates render using the defaulting settings.
function InitMap()
{
  var map = new atlas.Map('myMap', {
      zoom: 2,
      view: "Auto",

    //Add authentication details for connecting to Azure Maps.
      authOptions: {
          authType: 'subscriptionKey',
          subscriptionKey: '{Your-Azure-Maps-Subscription-key}'
      }
  });

  //Wait until the map resources are ready.
  map.events.add('ready', function() {
    //Create a data source and add it to the map.
    var datasource = new atlas.source.DataSource();
    map.sources.add(datasource);

    //Add sample data.
    datasource.add([
      new atlas.data.Feature(new atlas.data.Point([-20, 20]), {
        title: 'No template - title/description',
        description: 'This point doesn\'t have a template defined, fallback to title and description properties.'
      }),

      new atlas.data.Feature(new atlas.data.Point([20, 20]), {
        title: 'No template - property table',
        message: 'This point doesn\'t have a template defined, fallback to title and table of properties.',
        randomValue: 10,
        url: 'https://samples.azuremaps.com/',
        imageLink: 'https://samples.azuremaps.com/images/Pike_Market.jpg',
        email: 'info@microsoft.com'
      }),

      new atlas.data.Feature(new atlas.data.Point([40, 0]), {
        title: 'No template - hyperlink detection disabled',
        message: 'This point doesn\'t have a template defined, fallback to title and table of properties.',
        randomValue: 10,
        url: 'https://samples.azuremaps.com/',
        email: 'info@microsoft.com',
        popupTemplate: {
          detectHyperlinks: false
        }
      }),

      new atlas.data.Feature(new atlas.data.Point([-20, -20]), {
        title: 'Template 1 - String template',
        value1: 1.2345678,
        value2: {
          subValue: 'Pizza'
        },
        arrayValue: [3, 4, 5, 6],
        popupTemplate: {
          content: 'This template uses a string template with placeholders.<br/><br/> - Value 1 = {value1}<br/> - Value 2 = {value2/subValue}<br/> - Array value [2] = {arrayValue/2}',
          numberFormat: {
            maximumFractionDigits: 2
          }
        }
      }),

      new atlas.data.Feature(new atlas.data.Point([20, -20]), {
        title: 'Template 2 - PropertyInfo',
        createDate: new Date(),
        dateNumber: 1569880860542,
        url: 'https://samples.azuremaps.com/',
        email: 'info@microsoft.com',
        popupTemplate: {
          content: [{
            propertyPath: 'createDate',
            label: 'Created Date'
          },
                    {
                      propertyPath: 'dateNumber',
                      label: 'Formatted date from number',
                      dateFormat: {
                        weekday: 'long',
                        year: 'numeric',
                        month: 'long',
                        day: 'numeric',
                        timeZone: 'UTC',
                        timeZoneName: 'short'
                      }
                    },
                    {
                      propertyPath: 'url',
                      label: 'Code samples',
                      hideLabel: true,
                      hyperlinkFormat: {
                        lable: 'Go to code samples!',
                        target: '_blank'
                      }
                    },
                    {
                      propertyPath: 'email',
                      label: 'Email us',
                      hideLabel: true,
                      hyperlinkFormat: {
                        target: '_blank',
                        scheme: 'mailto:'
                      }
                    }
                    ]
        }
      }),

      new atlas.data.Feature(new atlas.data.Point([0, 0]), {
        title: 'Template 3 - Multiple content template',
        value1: 1.2345678,
        value2: {
          subValue: 'Pizza'
        },
        arrayValue: [3, 4, 5, 6],
        imageLink: 'https://samples.azuremaps.com/images/Pike_Market.jpg',
        popupTemplate: {
          content: [
            'This template has two pieces of content; a string template with placeholders and a array of property info which renders a full width image.<br/><br/> - Value 1 = {value1}<br/> - Value 2 = {value2/subValue}<br/> - Array value [2] = {arrayValue/2}',
            [{
              propertyPath: 'imageLink',
              label: 'Image',
              hideImageLabel: true,
              hyperlinkFormat: {
                isImage: true
              }
            }]
          ],
          numberFormat: {
            maximumFractionDigits: 2
          }
        }
      }),
    ]);

    //Create a layer that defines how to render the points on the map.
    var layer = new atlas.layer.BubbleLayer(datasource);
    map.layers.add(layer);

    //Create a popup but leave it closed so we can update it and display it later.
    popup = new atlas.Popup();

    //Add a click event to the layer.
    map.events.add('click', layer, showPopup);
  });

  function showPopup(e) {
    if (e.shapes && e.shapes.length > 0) {
      var properties = e.shapes[0].getProperties();

      popup.setOptions({
        //Update the content of the popup.
        content: atlas.PopupTemplate.applyTemplate(properties, properties.popupTemplate),

        //Update the position of the popup with the pins coordinate.
        position: e.shapes[0].getCoordinates()
      });

      //Open the popup.
      popup.open(map);
    }
  }
}
Reuse popup template
Similar to reusing a popup, you can reuse popup templates. This approach is useful when you only want to show one popup template at a time, for multiple points. Reusing popup templates reduces the number of DOM elements created by the application, improving your applications performance. The following sample uses the same popup template for three points. If you select on any of them, a popup is displayed with the content for that point feature.
For a fully functional sample that shows hot to reuse a single popup template with multiple features that share a common set of property fields, see Reuse a popup template in the Azure Maps Samples. For the source code for this sample, see Reuse a popup template source code.
Popup events
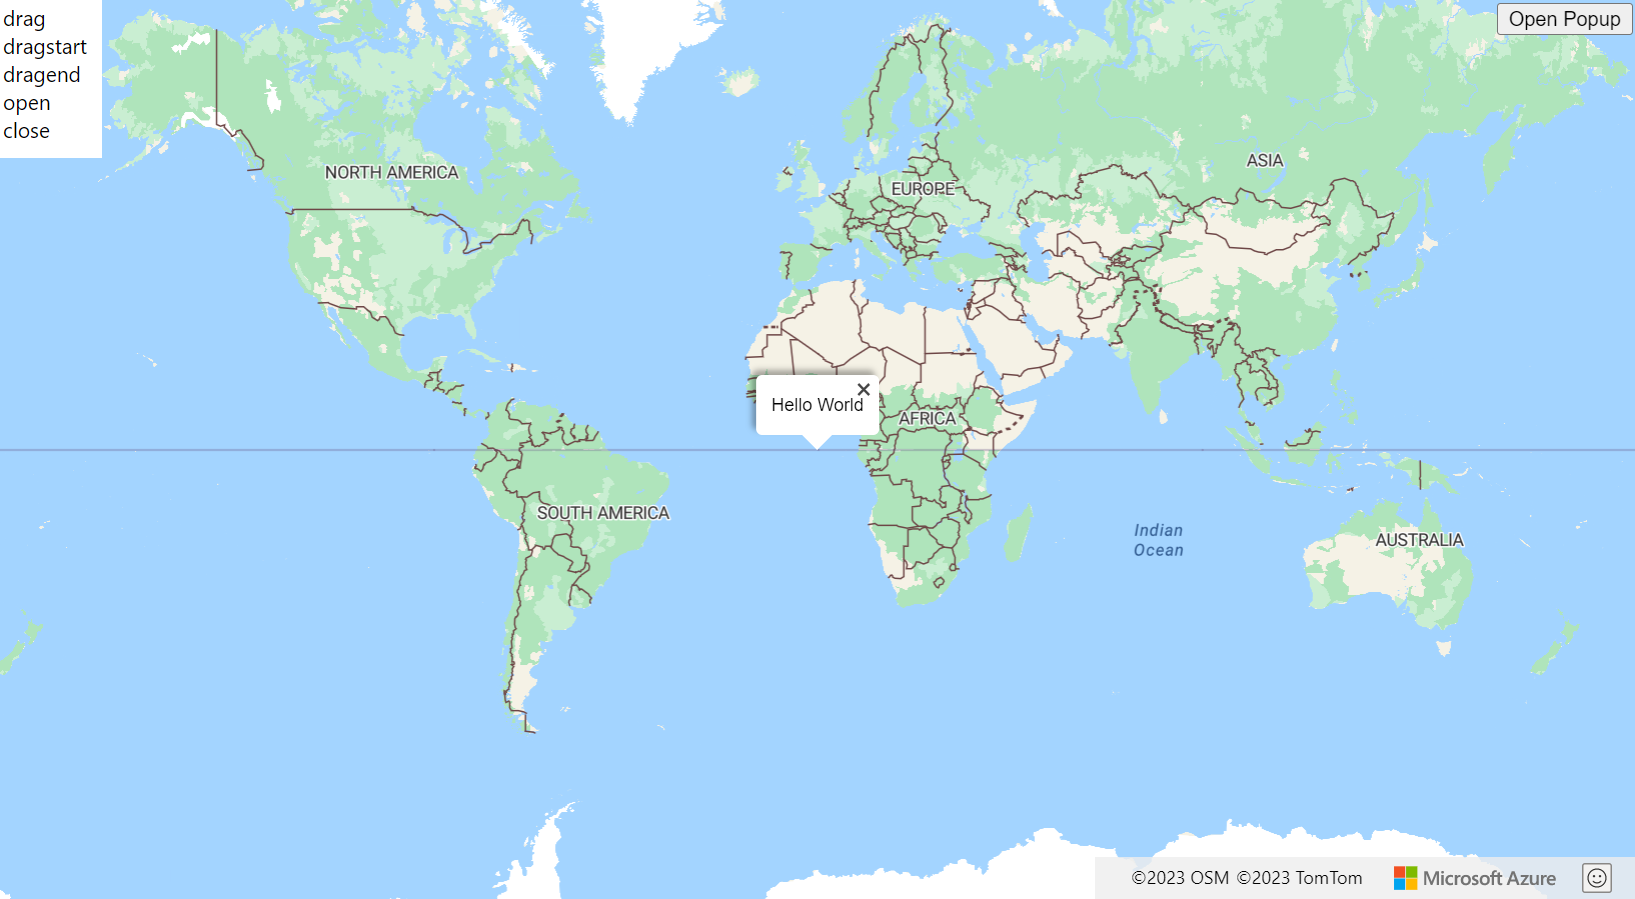
Popups can be opened, closed, and dragged. The popup class provides events to help developers react to these events. The following sample highlights which events fire when the user opens, closes, or drags the popup.
For a fully functional sample that shows how to add events to popups, see Popup events in the Azure Maps Samples. For the source code for this sample, see Popup events source code.
Next steps
Learn more about the classes and methods used in this article:
See the following great articles for full code samples:


