Note
Access to this page requires authorization. You can try signing in or changing directories.
Access to this page requires authorization. You can try changing directories.
The Logs Ingestion API in Azure Monitor allows you to send custom data to a Log Analytics workspace. This tutorial uses Azure Resource Manager templates (ARM templates) to walk through configuration of the components required to support the API and then provides a sample application using both the REST API and client libraries for .NET, Go, Java, JavaScript, and Python.
Note
This tutorial uses ARM templates to configure the components required to support the Logs ingestion API. See Tutorial: Send data to Azure Monitor Logs with Logs ingestion API (Azure portal) for a similar tutorial that uses the Azure portal UI to configure these components.
The steps required to configure the Logs ingestion API are as follows:
- Create a Microsoft Entra application to authenticate against the API.
- Create a custom table in a Log Analytics workspace. This is the table you'll be sending data to.
- Create a data collection rule (DCR) to direct the data to the target table.
- Give the Microsoft Entra application access to the DCR.
- See Sample code to send data to Azure Monitor using Logs ingestion API for sample code to send data to using the Logs ingestion API.
Note
This article includes options for using a DCR ingestion endpoint or a data collection endpoint (DCE). You can choose to user either one, but a DCE is required with Logs ingestion API if private link is used. See When is a DCE required?.
Prerequisites
To complete this tutorial, you need:
- A Log Analytics workspace where you have at least contributor rights.
- Permissions to create DCR objects in the workspace.
Collect workspace details
Start by gathering information that you'll need from your workspace.
Go to your workspace in the Log Analytics workspaces menu in the Azure portal. On the Properties page, copy the Resource ID and save it for later use.

Create Microsoft Entra application
Start by registering a Microsoft Entra application to authenticate against the API. Any Resource Manager authentication scheme is supported, but this tutorial follows the Client Credential Grant Flow scheme.
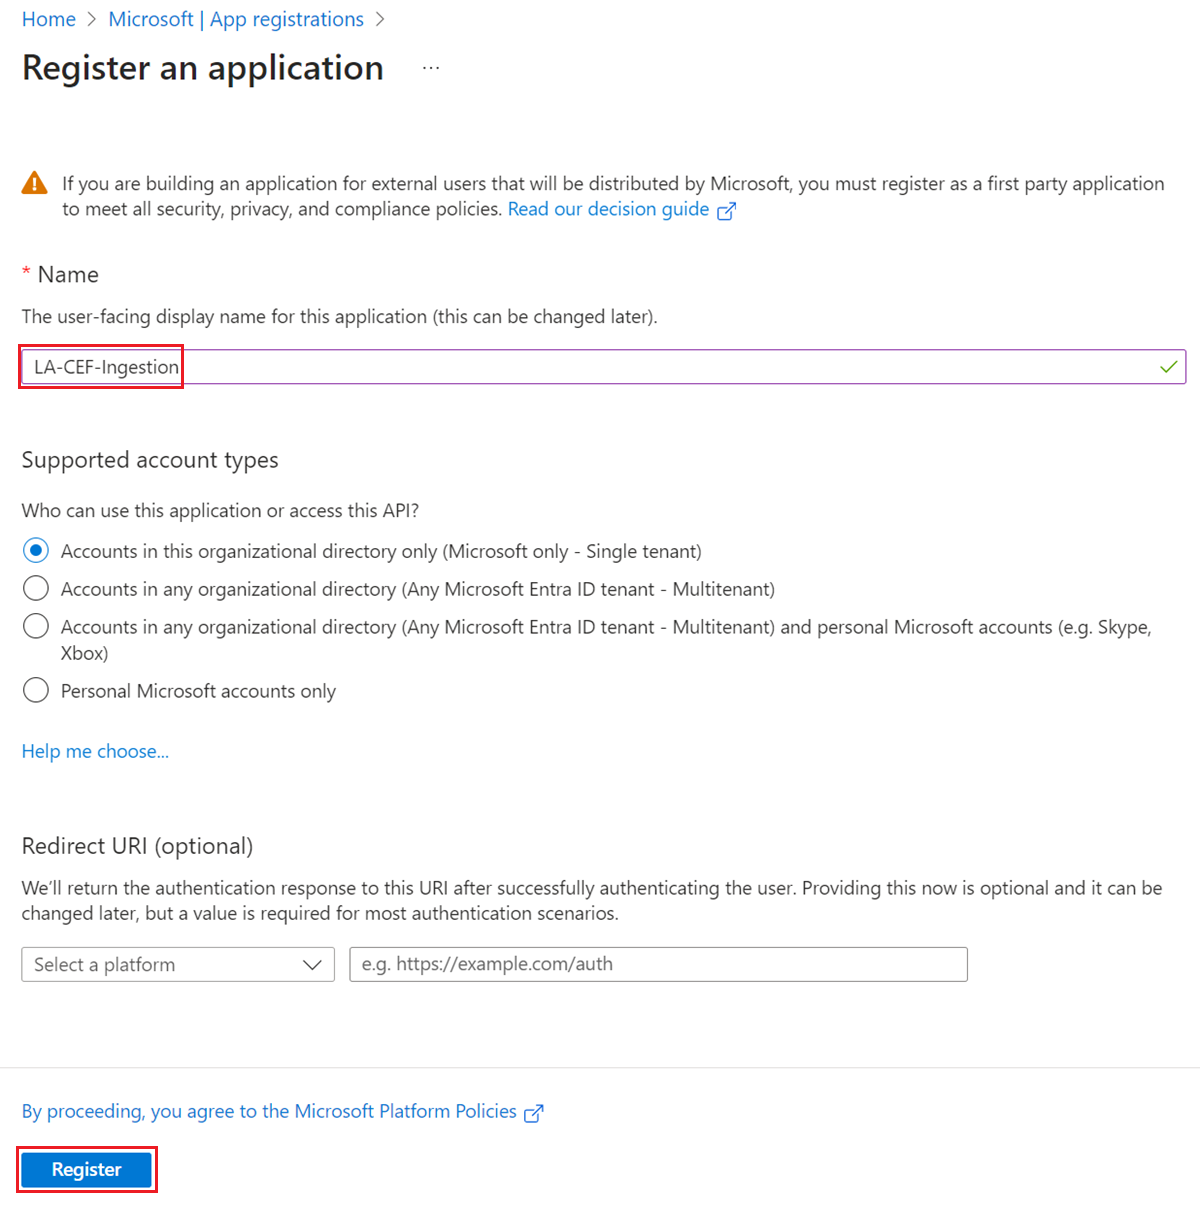
On the Microsoft Entra ID menu in the Azure portal, select App registrations > New registration.

Give the application a name and change the tenancy scope if the default isn't appropriate for your environment. A Redirect URI isn't required.
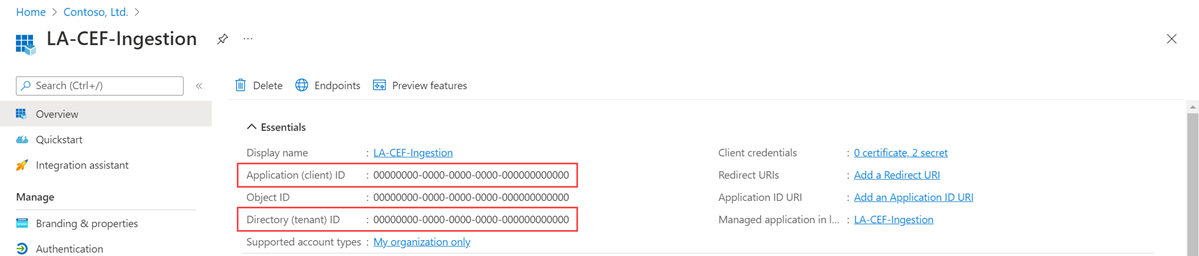
After registration, you can view the details of the application. Note the Application (client) ID and the Directory (tenant) ID. You'll need these values later in the process.
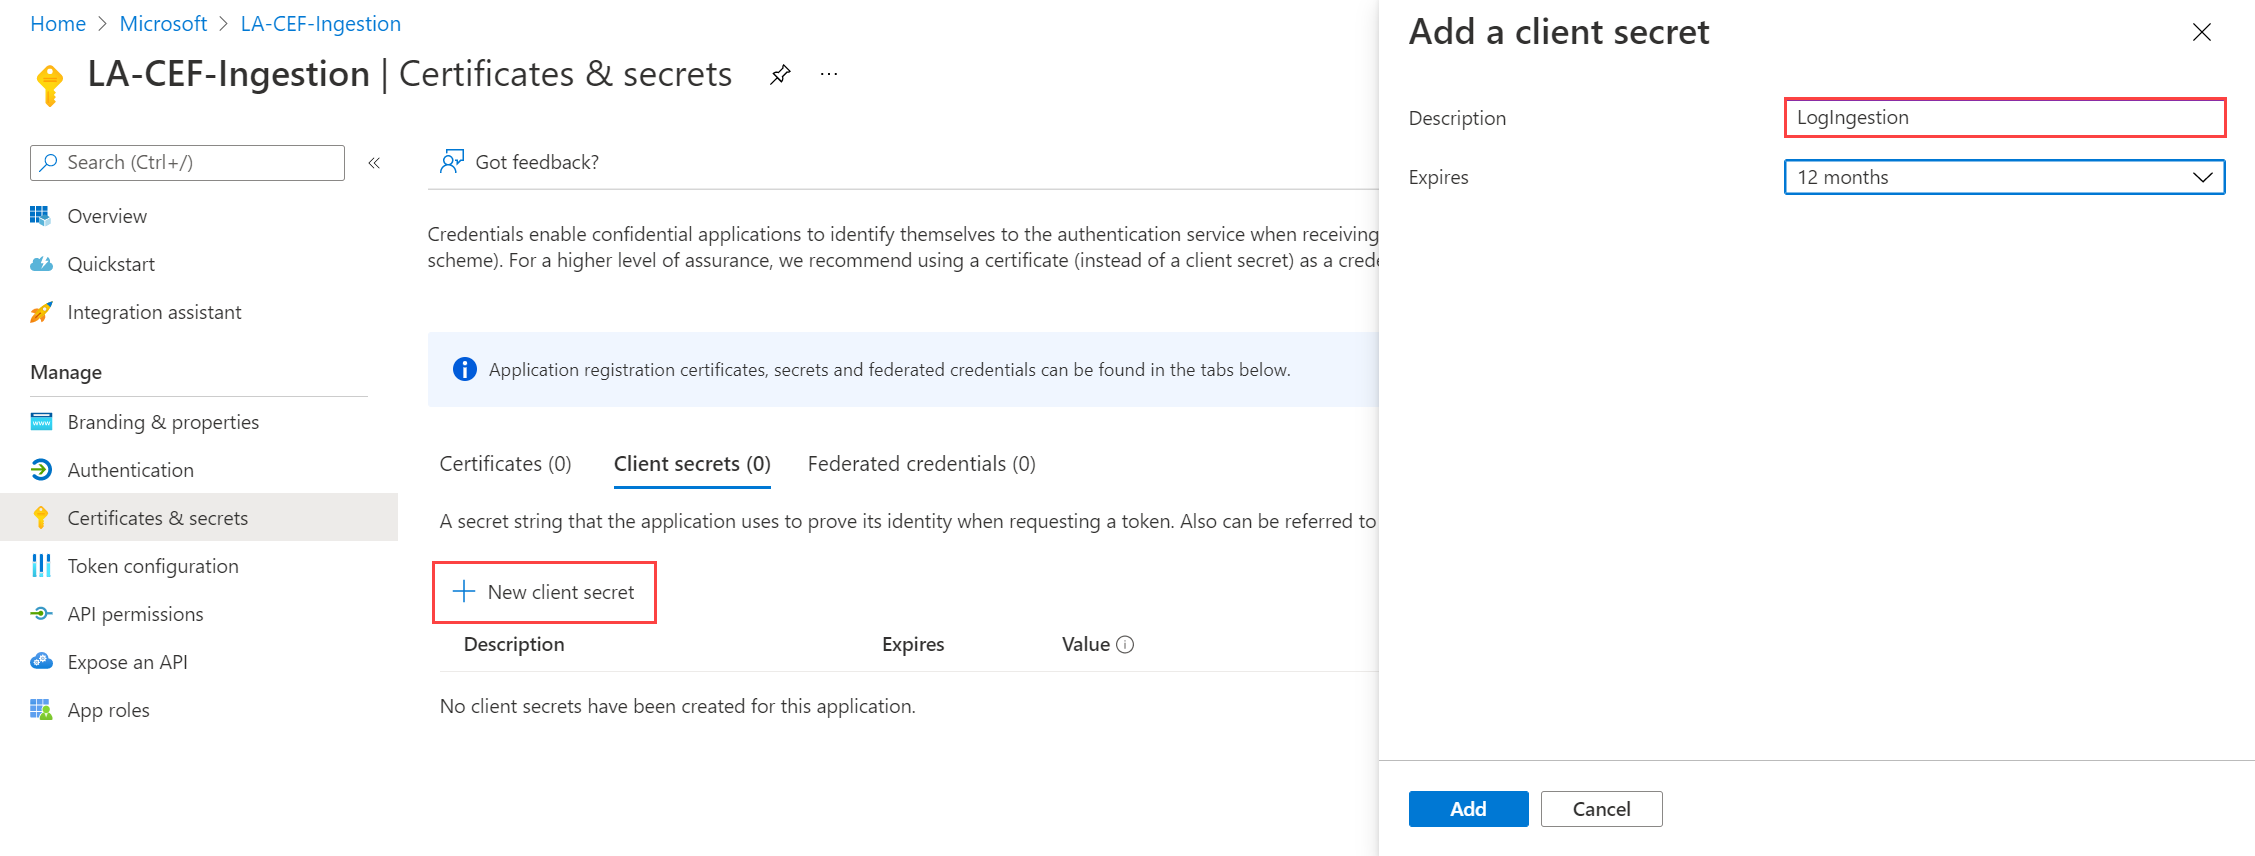
Generate an application client secret, which is similar to creating a password to use with a username. Select Certificates & secrets > New client secret. Give the secret a name to identify its purpose and select an Expires duration. The option 12 months is selected here. For a production implementation, you would follow best practices for a secret rotation procedure or use a more secure authentication mode, such as a certificate.
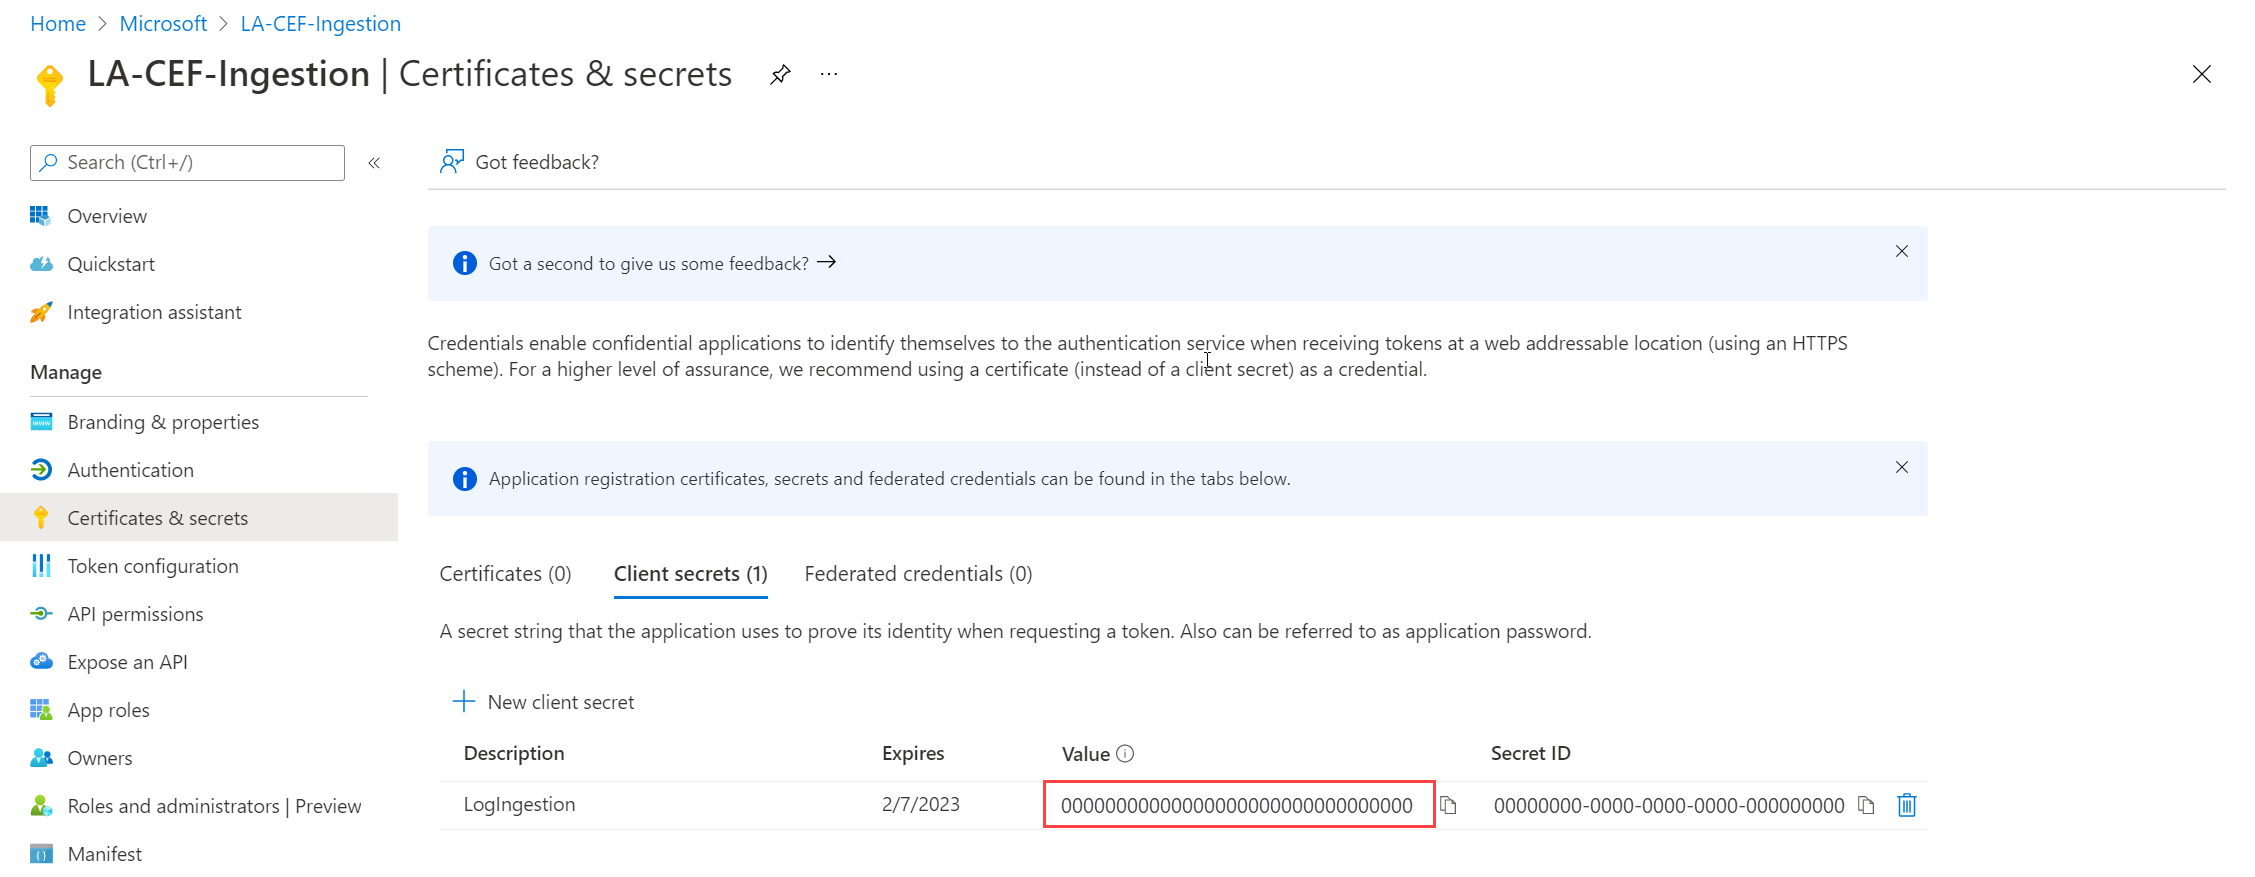
Select Add to save the secret and then note the Value. Ensure that you record this value because you can't recover it after you leave this page. Use the same security measures as you would for safekeeping a password because it's the functional equivalent.


Create data collection endpoint
A DCE isn't required if you use the DCR ingestion endpoint.


Create new table in Log Analytics workspace
The custom table must be created before you can send data to it. The table for this tutorial will include five columns shown in the schema below. The name, type, and description properties are mandatory for each column. The properties isHidden and isDefaultDisplay both default to false if not explicitly specified. Possible data types are string, int, long, real, boolean, dateTime, guid, and dynamic.
Note
This tutorial uses PowerShell from Azure Cloud Shell to make REST API calls by using the Azure Monitor Tables API. You can use any other valid method to make these calls.
Important
Custom tables must use a suffix of _CL.
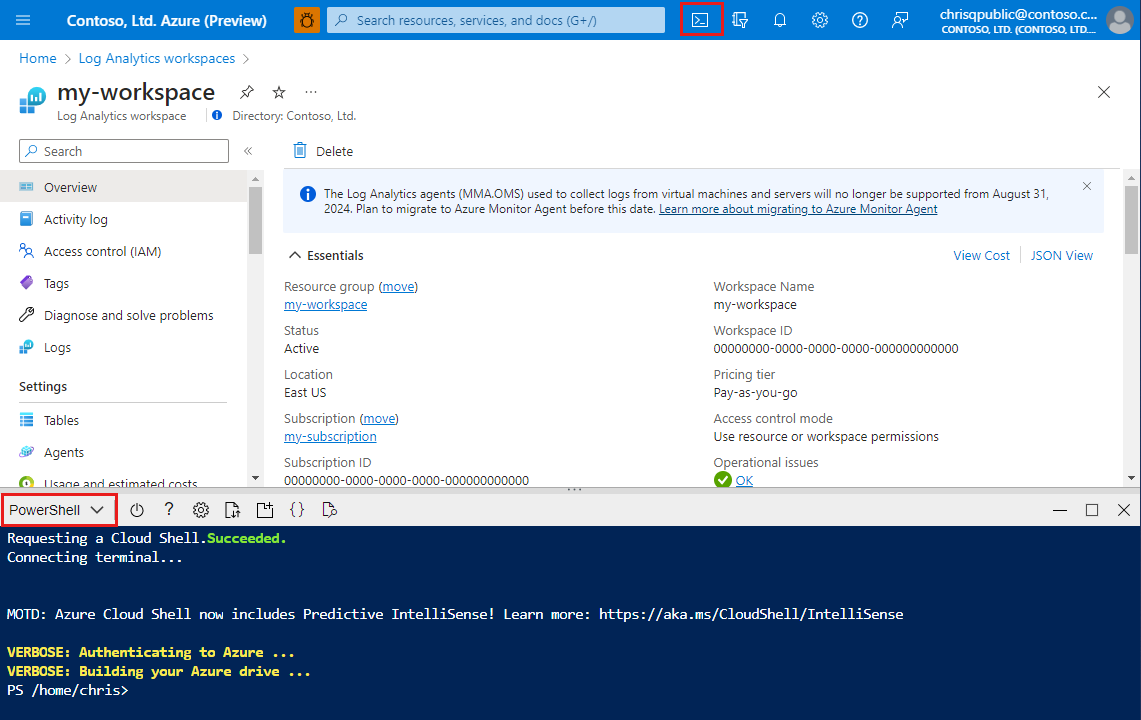
Select the Cloud Shell button in the Azure portal and ensure the environment is set to PowerShell.
Copy the following PowerShell code and replace the variables in the Path parameter with the appropriate values for your workspace in the
Invoke-AzRestMethodcommand. Paste it into the Cloud Shell prompt to run it.$tableParams = @' { "properties": { "schema": { "name": "MyTable_CL", "columns": [ { "name": "TimeGenerated", "type": "datetime", "description": "The time at which the data was generated" }, { "name": "Computer", "type": "string", "description": "The computer that generated the data" }, { "name": "AdditionalContext", "type": "dynamic", "description": "Additional message properties" }, { "name": "CounterName", "type": "string", "description": "Name of the counter" }, { "name": "CounterValue", "type": "real", "description": "Value collected for the counter" } ] } } } '@ Invoke-AzRestMethod -Path "/subscriptions/{subscription}/resourcegroups/{resourcegroup}/providers/microsoft.operationalinsights/workspaces/{workspace}/tables/MyTable_CL?api-version=2022-10-01" -Method PUT -payload $tableParams

Create data collection rule
The DCR defines how the data will be handled once it's received. This includes:
- Schema of data that's being sent to the endpoint
- Transformation that will be applied to the data before it's sent to the workspace
- Destination workspace and table the transformed data will be sent to
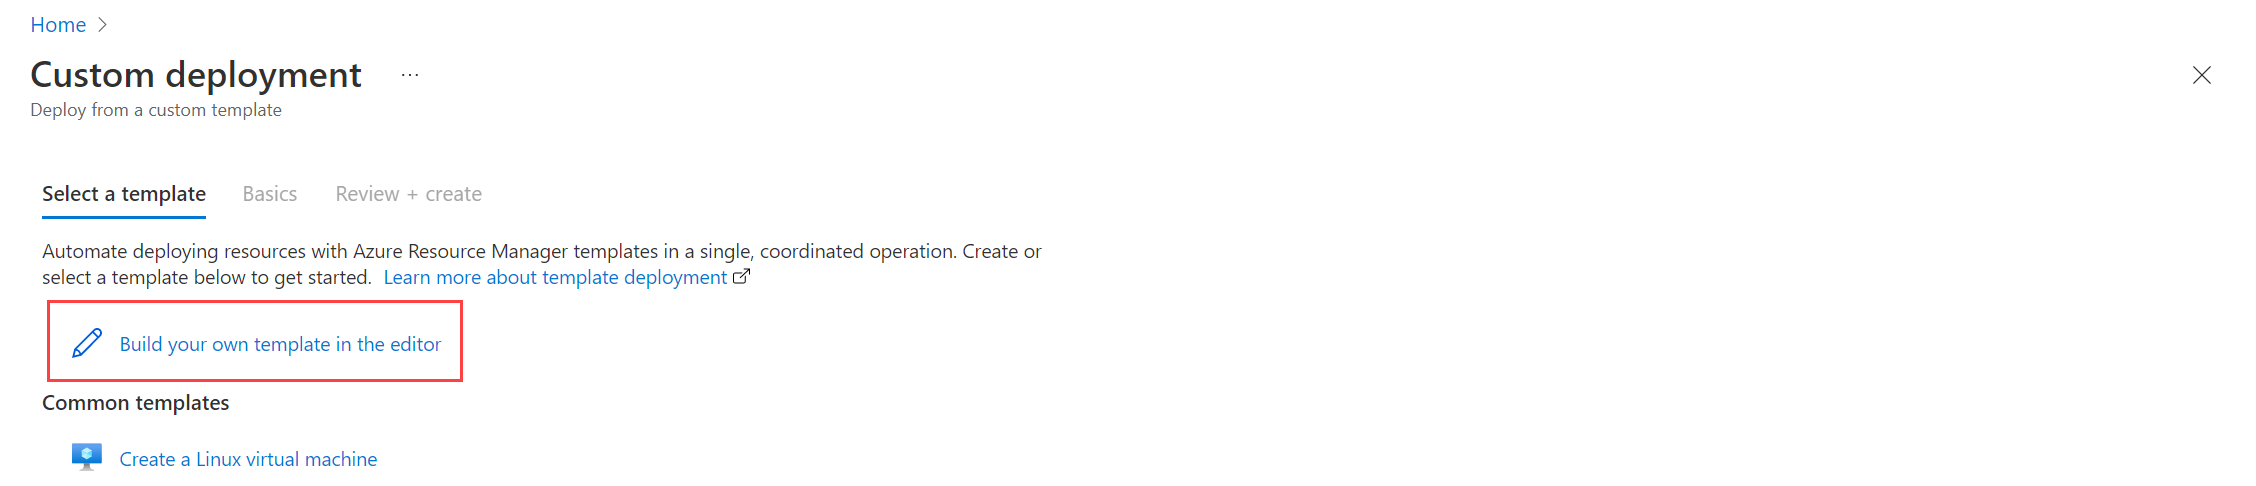
In the Azure portal's search box, enter template and then select Deploy a custom template.

Select Build your own template in the editor.
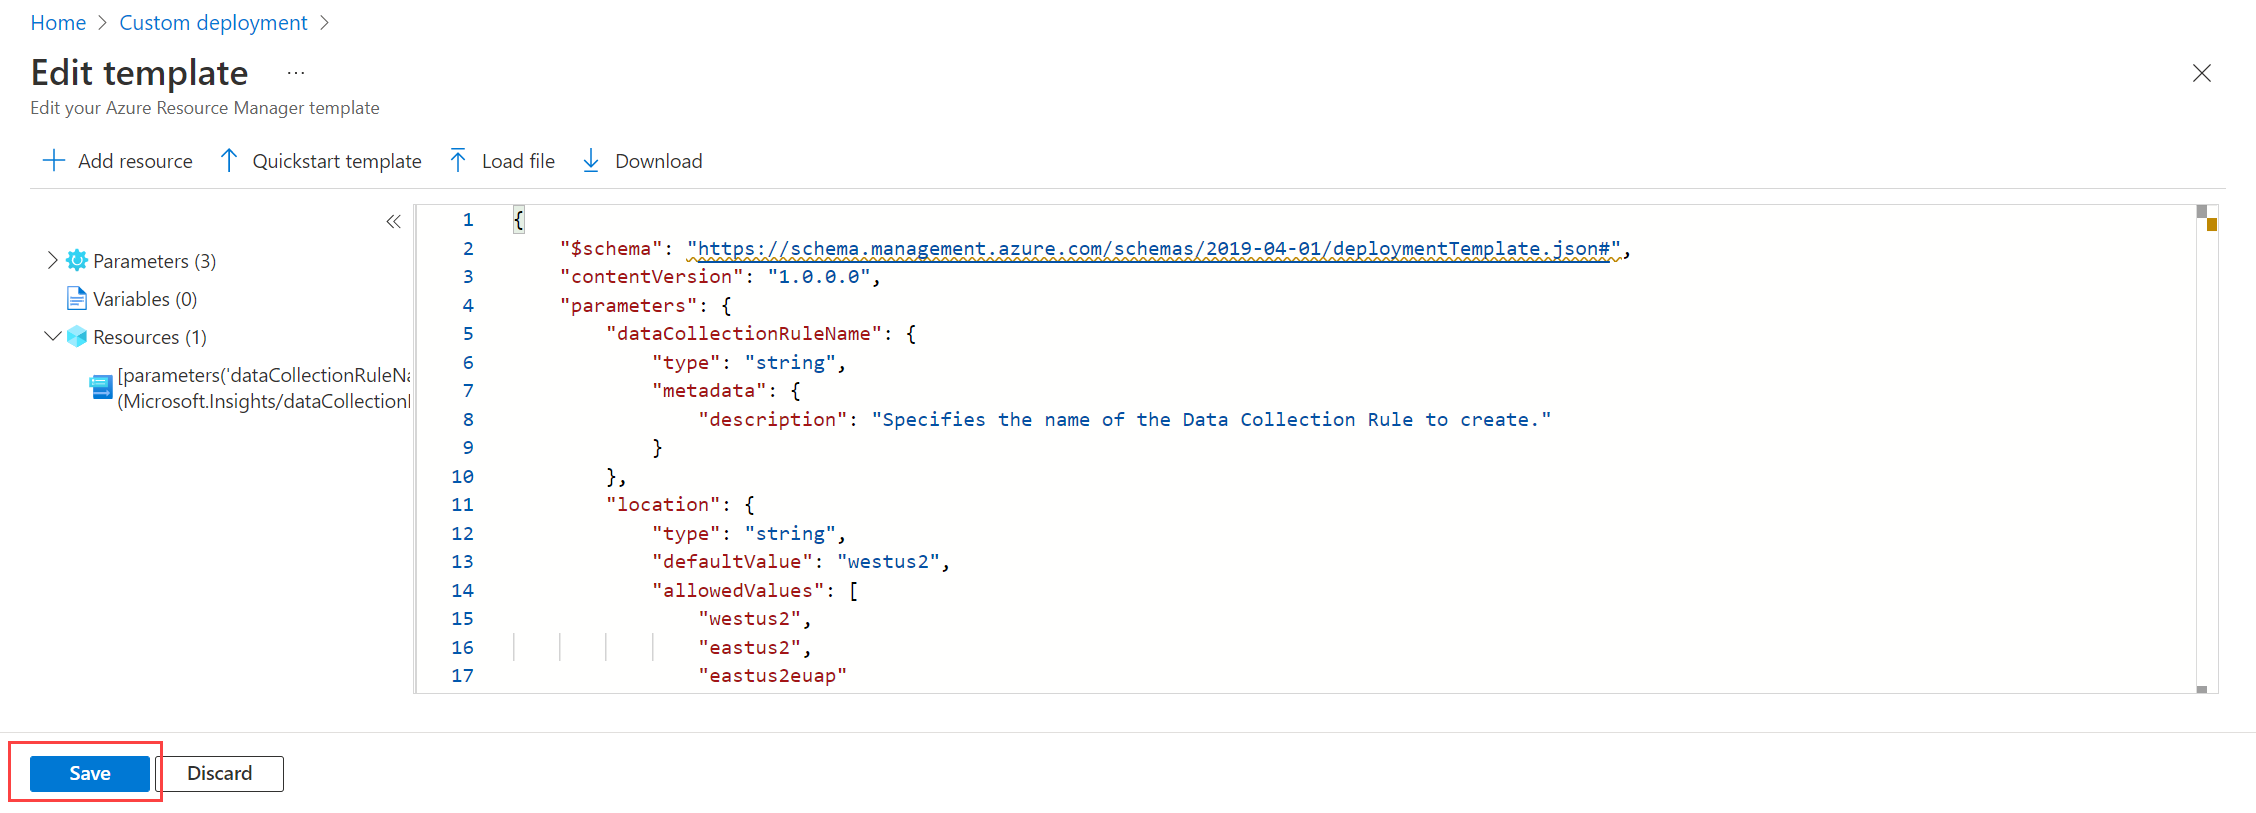
Paste the following ARM template into the editor and then select Save.
Notice the following details in the DCR defined in this template:
streamDeclarations: Column definitions of the incoming data.destinations: Destination workspace.dataFlows: Matches the stream with the destination workspace and specifies the transformation query and the destination table. The output of the destination query is what will be sent to the destination table.
{
    "$schema": "https://schema.management.azure.com/schemas/2019-08-01/deploymentTemplate.json#",
    "contentVersion": "1.0.0.0",
    "parameters": {
        "dataCollectionRuleName": {
            "type": "string",
            "metadata": {
                "description": "Specifies the name of the Data Collection Rule to create."
            }
        },
        "location": {
            "type": "string",
            "metadata": {
                "description": "Specifies the location in which to create the Data Collection Rule."
            }
        },
        "workspaceResourceId": {
            "type": "string",
            "metadata": {
                "description": "Specifies the Azure resource ID of the Log Analytics workspace to use."
            }
        }
    },
    "resources": [
        {
            "type": "Microsoft.Insights/dataCollectionRules",
            "name": "[parameters('dataCollectionRuleName')]",
            "location": "[parameters('location')]",
            "apiVersion": "2023-03-11",
            "kind": "Direct",
            "properties": {
                "streamDeclarations": {
                    "Custom-MyTable": {
                        "columns": [
                            {
                                "name": "Time",
                                "type": "datetime"
                            },
                            {
                                "name": "Computer",
                                "type": "string"
                            },
                            {
                                "name": "AdditionalContext",
                                "type": "string"
                            },
                            {
                                "name": "CounterName",
                                "type": "string"
                            },
                            {
                                "name": "CounterValue",
                                "type": "real"
                            }
                        ]
                    }
                },
                "destinations": {
                    "logAnalytics": [
                        {
                            "workspaceResourceId": "[parameters('workspaceResourceId')]",
                            "name": "myworkspace"
                        }
                    ]
                },
                "dataFlows": [
                    {
                        "streams": [
                            "Custom-MyTable"
                        ],
                        "destinations": [
                            "myworkspace"
                        ],
                        "transformKql": "source | extend jsonContext = parse_json(AdditionalContext) | project TimeGenerated = Time, Computer, AdditionalContext = jsonContext, CounterName=tostring(jsonContext.CounterName), CounterValue=toreal(jsonContext.CounterValue)",
                        "outputStream": "Custom-MyTable_CL"
                    }
                ]
            }
        }
    ],
    "outputs": {
        "dataCollectionRuleId": {
            "type": "string",
            "value": "[resourceId('Microsoft.Insights/dataCollectionRules', parameters('dataCollectionRuleName'))]"
        }
    }
}
On the Custom deployment screen, specify a Subscription and Resource group to store the DCR. Then provide values defined in the template. The values include a Name for the DCR and the Workspace Resource ID that you collected in a previous step. The Location should be the same location as the workspace. The Region will already be populated and will be used for the location of the DCR.
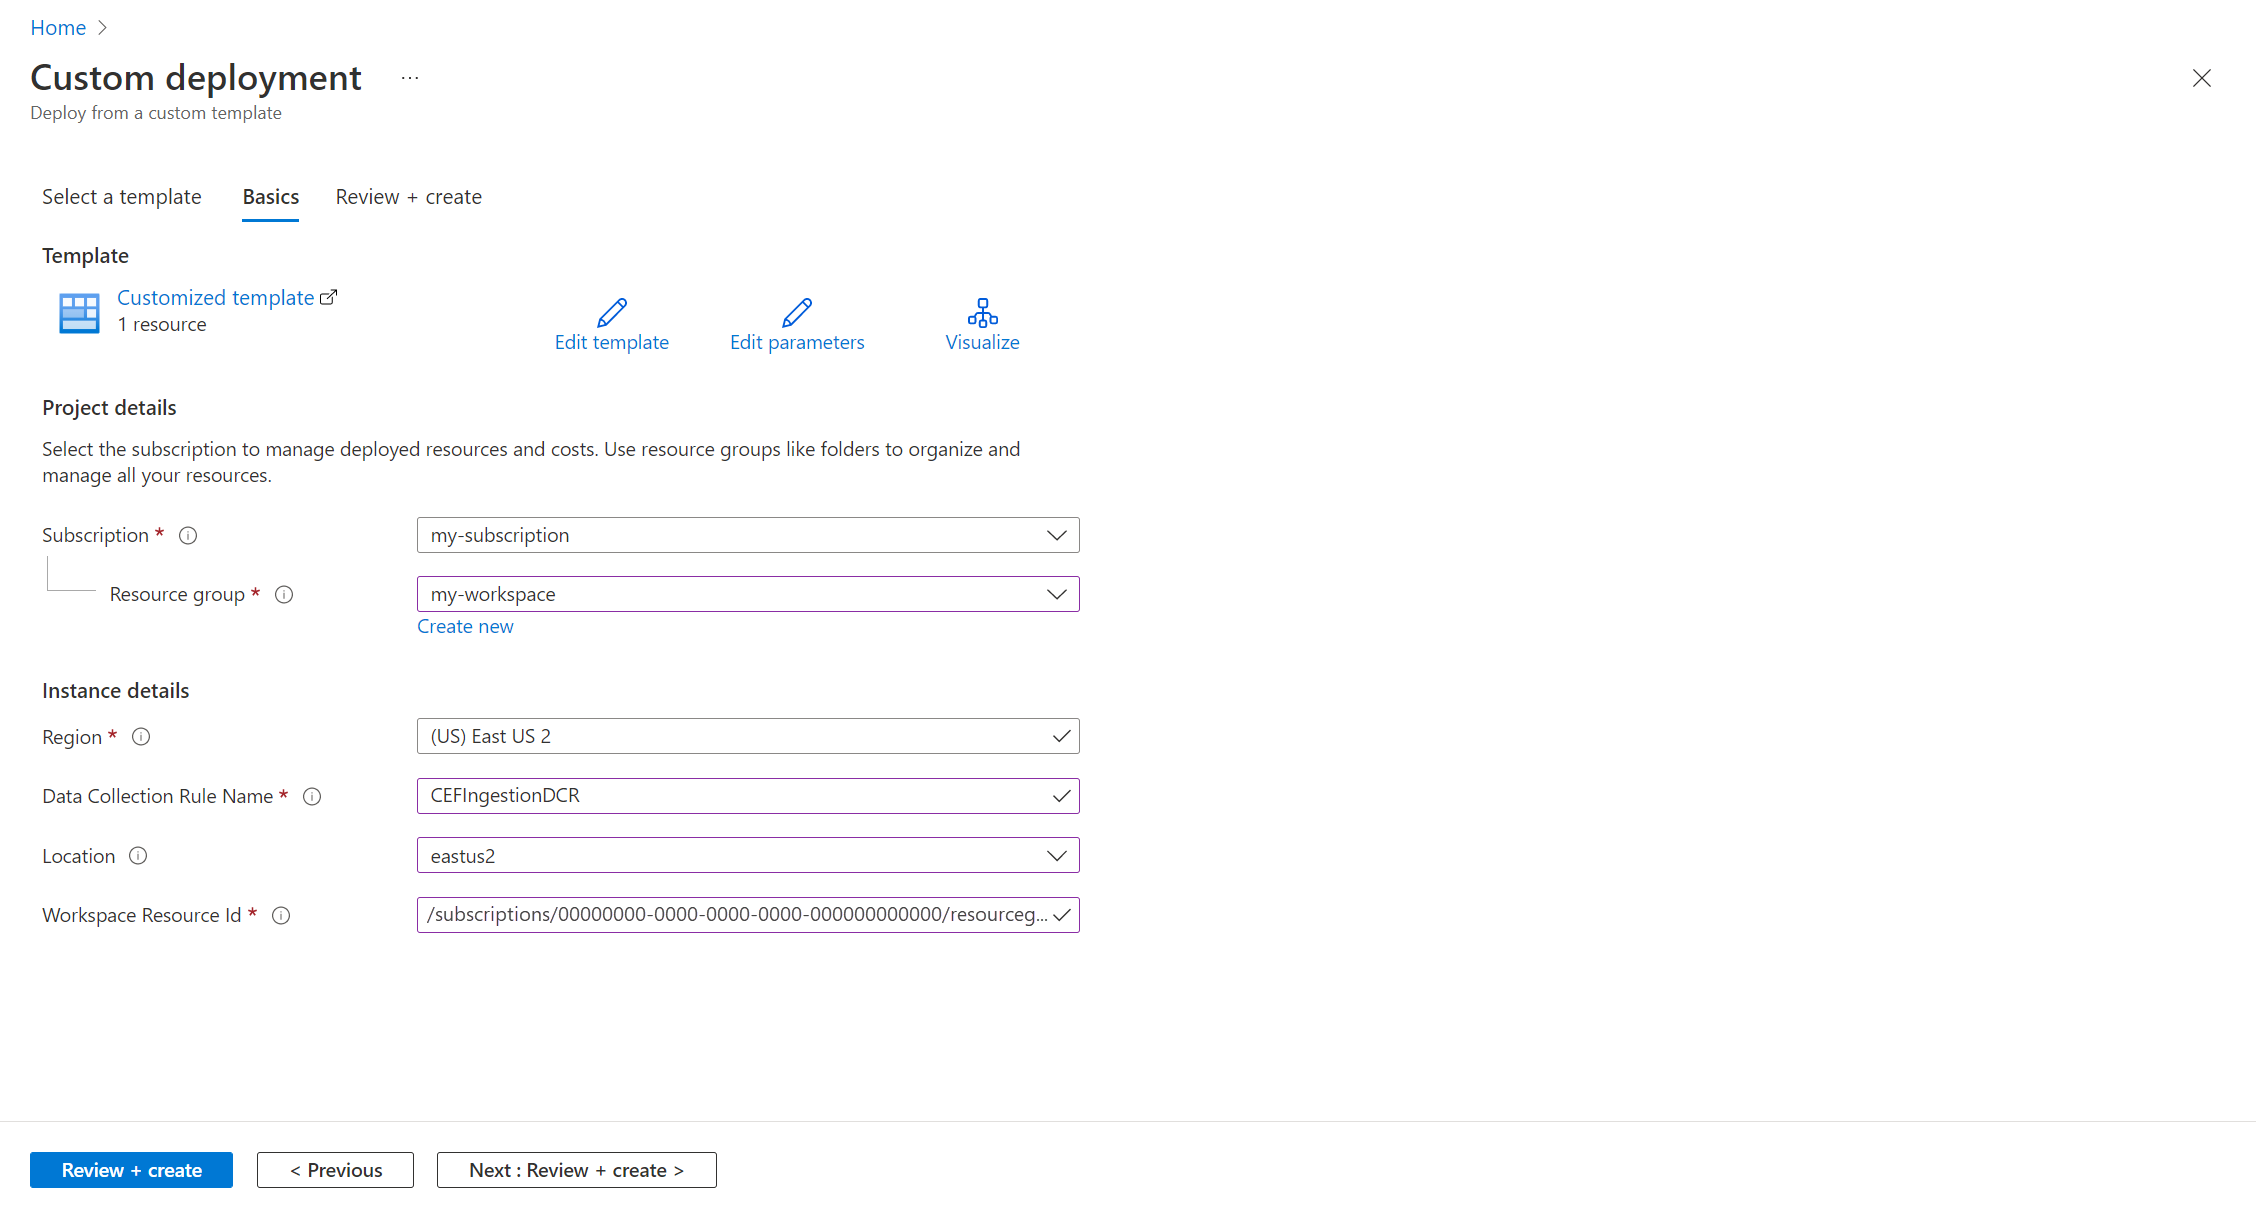
Select Review + create and then select Create after you review the details.
When the deployment is complete, expand the Deployment details box and select your DCR to view its details. Select JSON View.
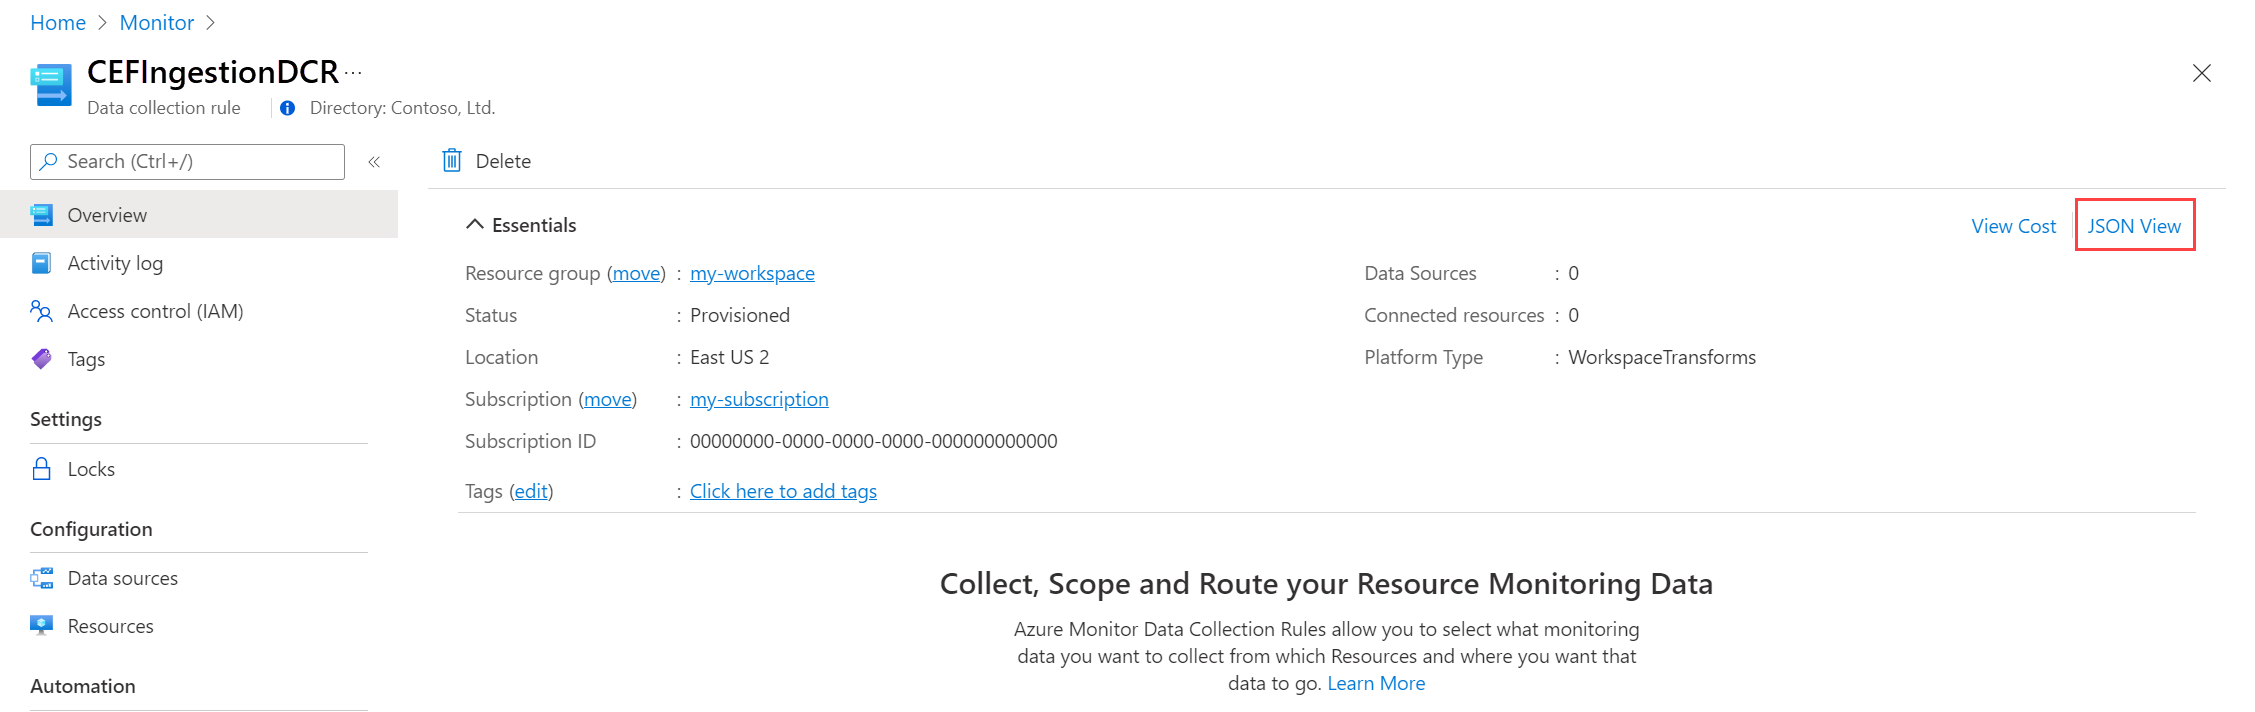
Copy the Immutable ID and Logs ingestion URI for the DCR. You'll use these when you send data to Azure Monitor using the API.


Assign permissions to a DCR
After the DCR has been created, the application needs to be given permission to it. Permission will allow any application using the correct application ID and application key to send data to the new DCR.
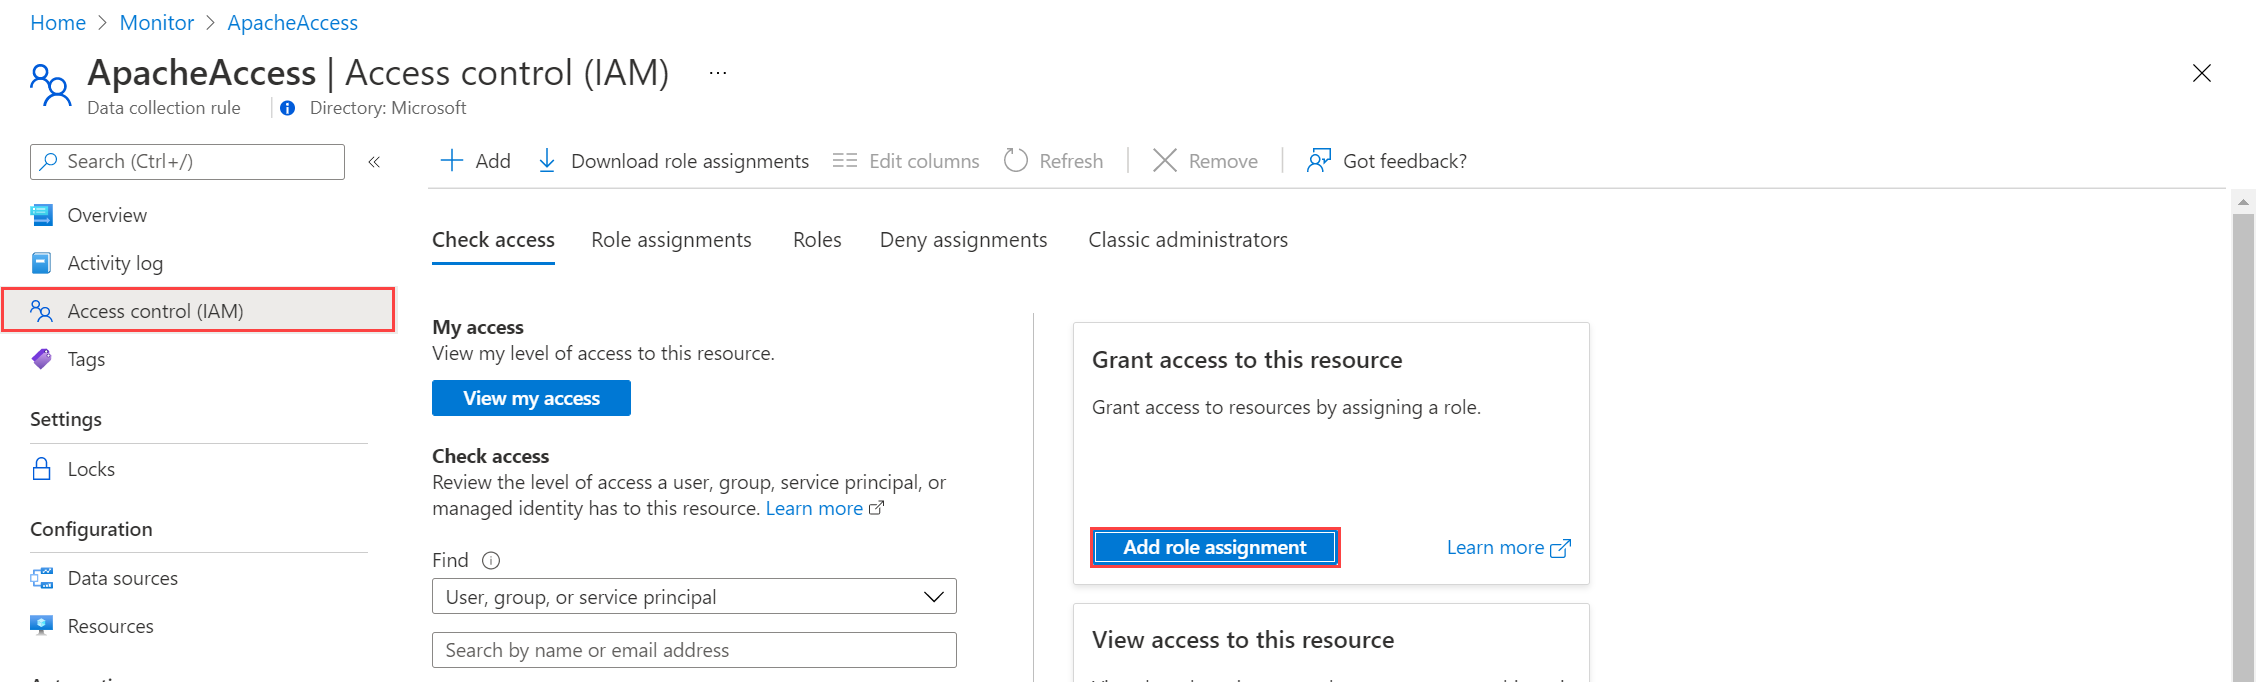
From the DCR in the Azure portal, select Access Control (IAM) > Add role assignment.
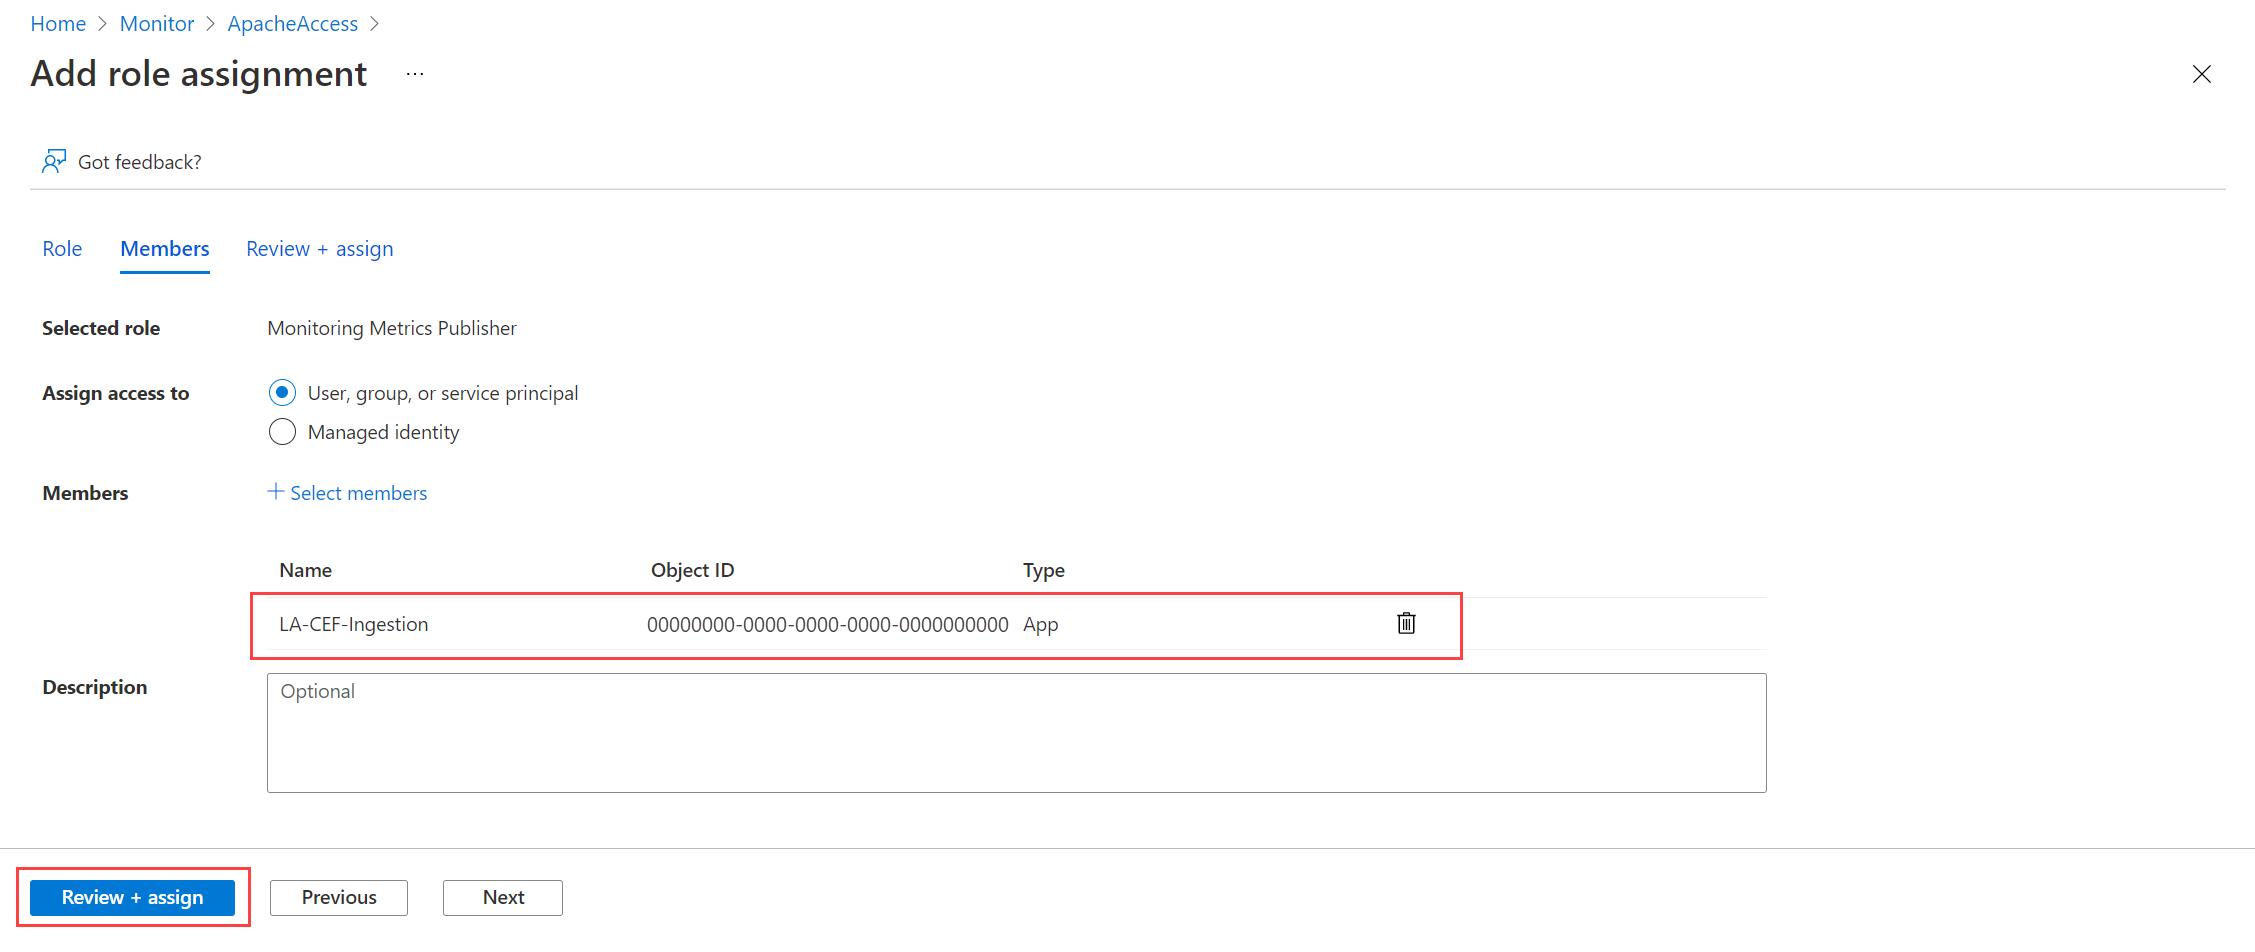
Select Monitoring Metrics Publisher and select Next. You could instead create a custom action with the
Microsoft.Insights/Telemetry/Writedata action.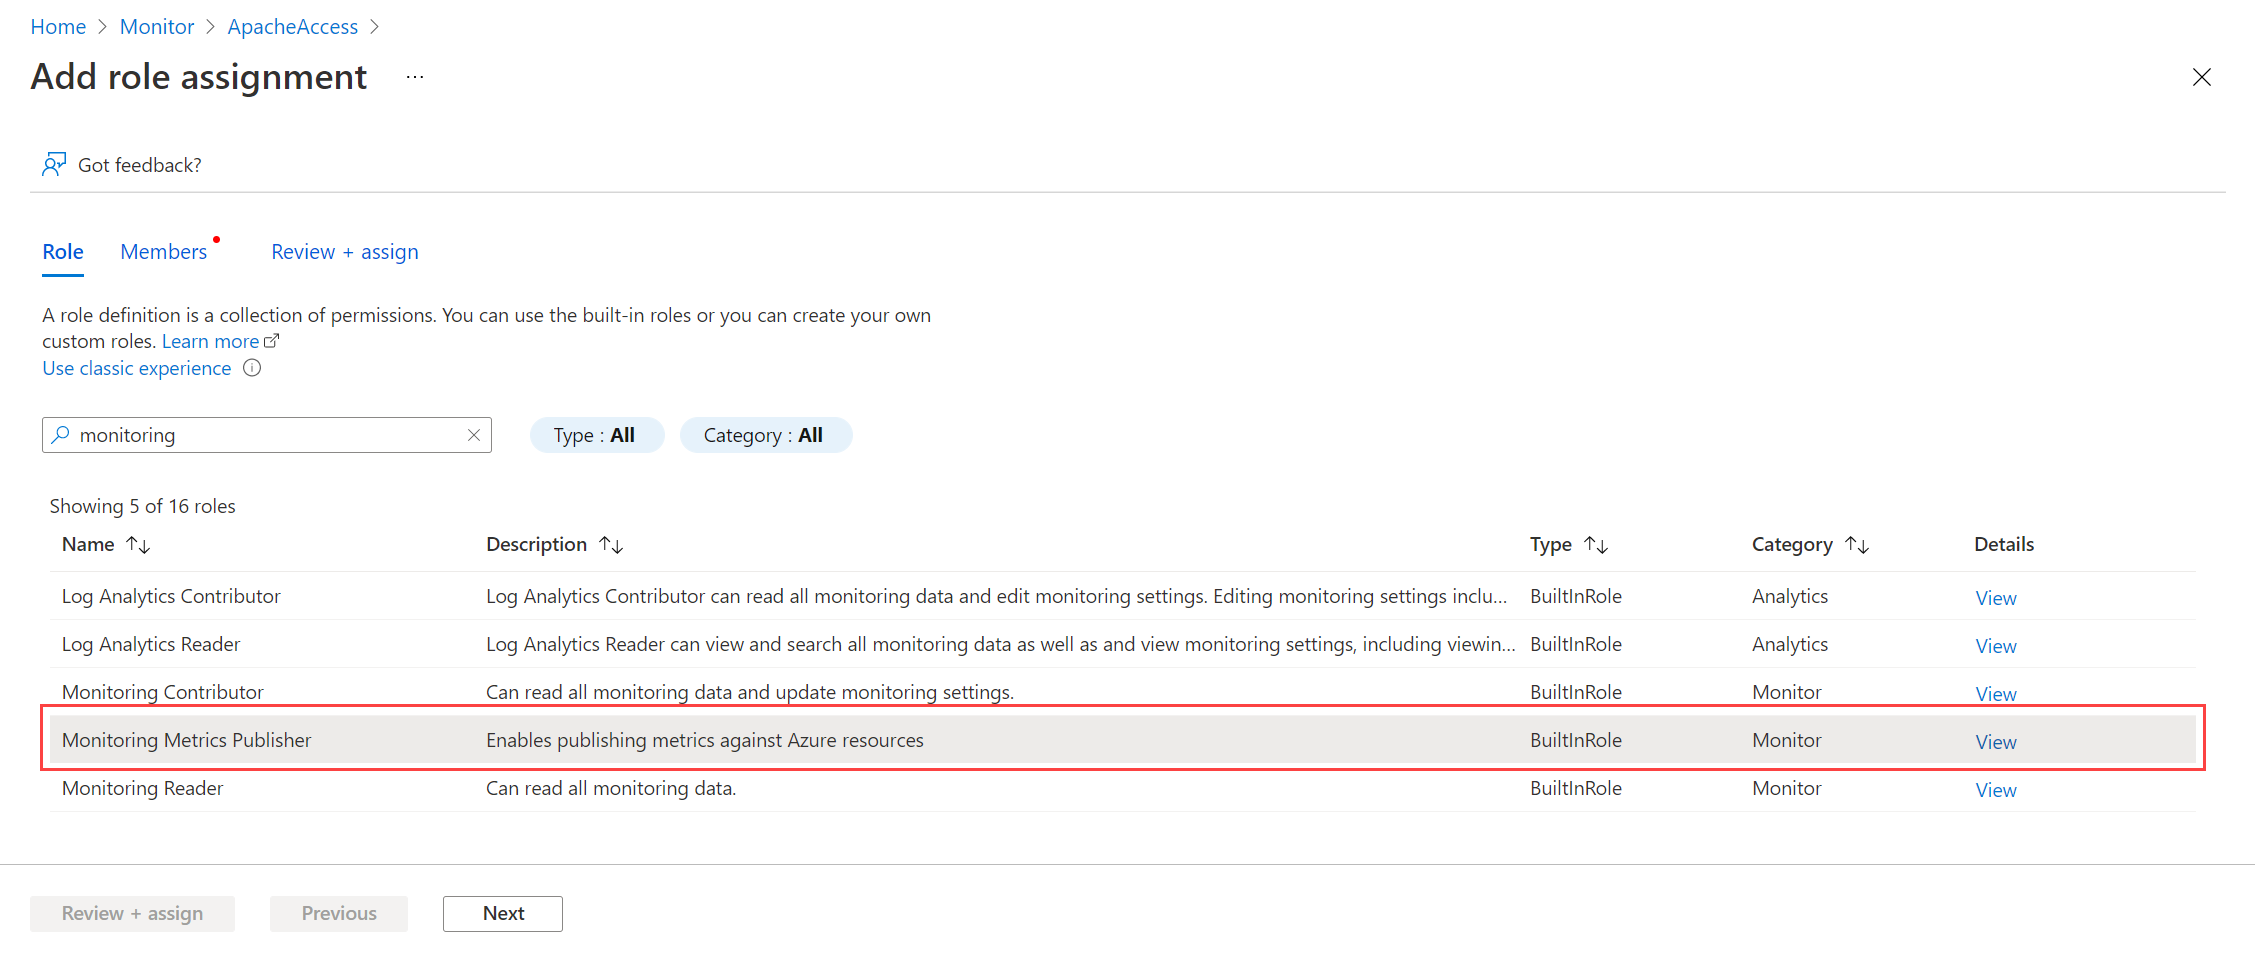
Select User, group, or service principal for Assign access to and choose Select members. Select the application that you created and choose Select.
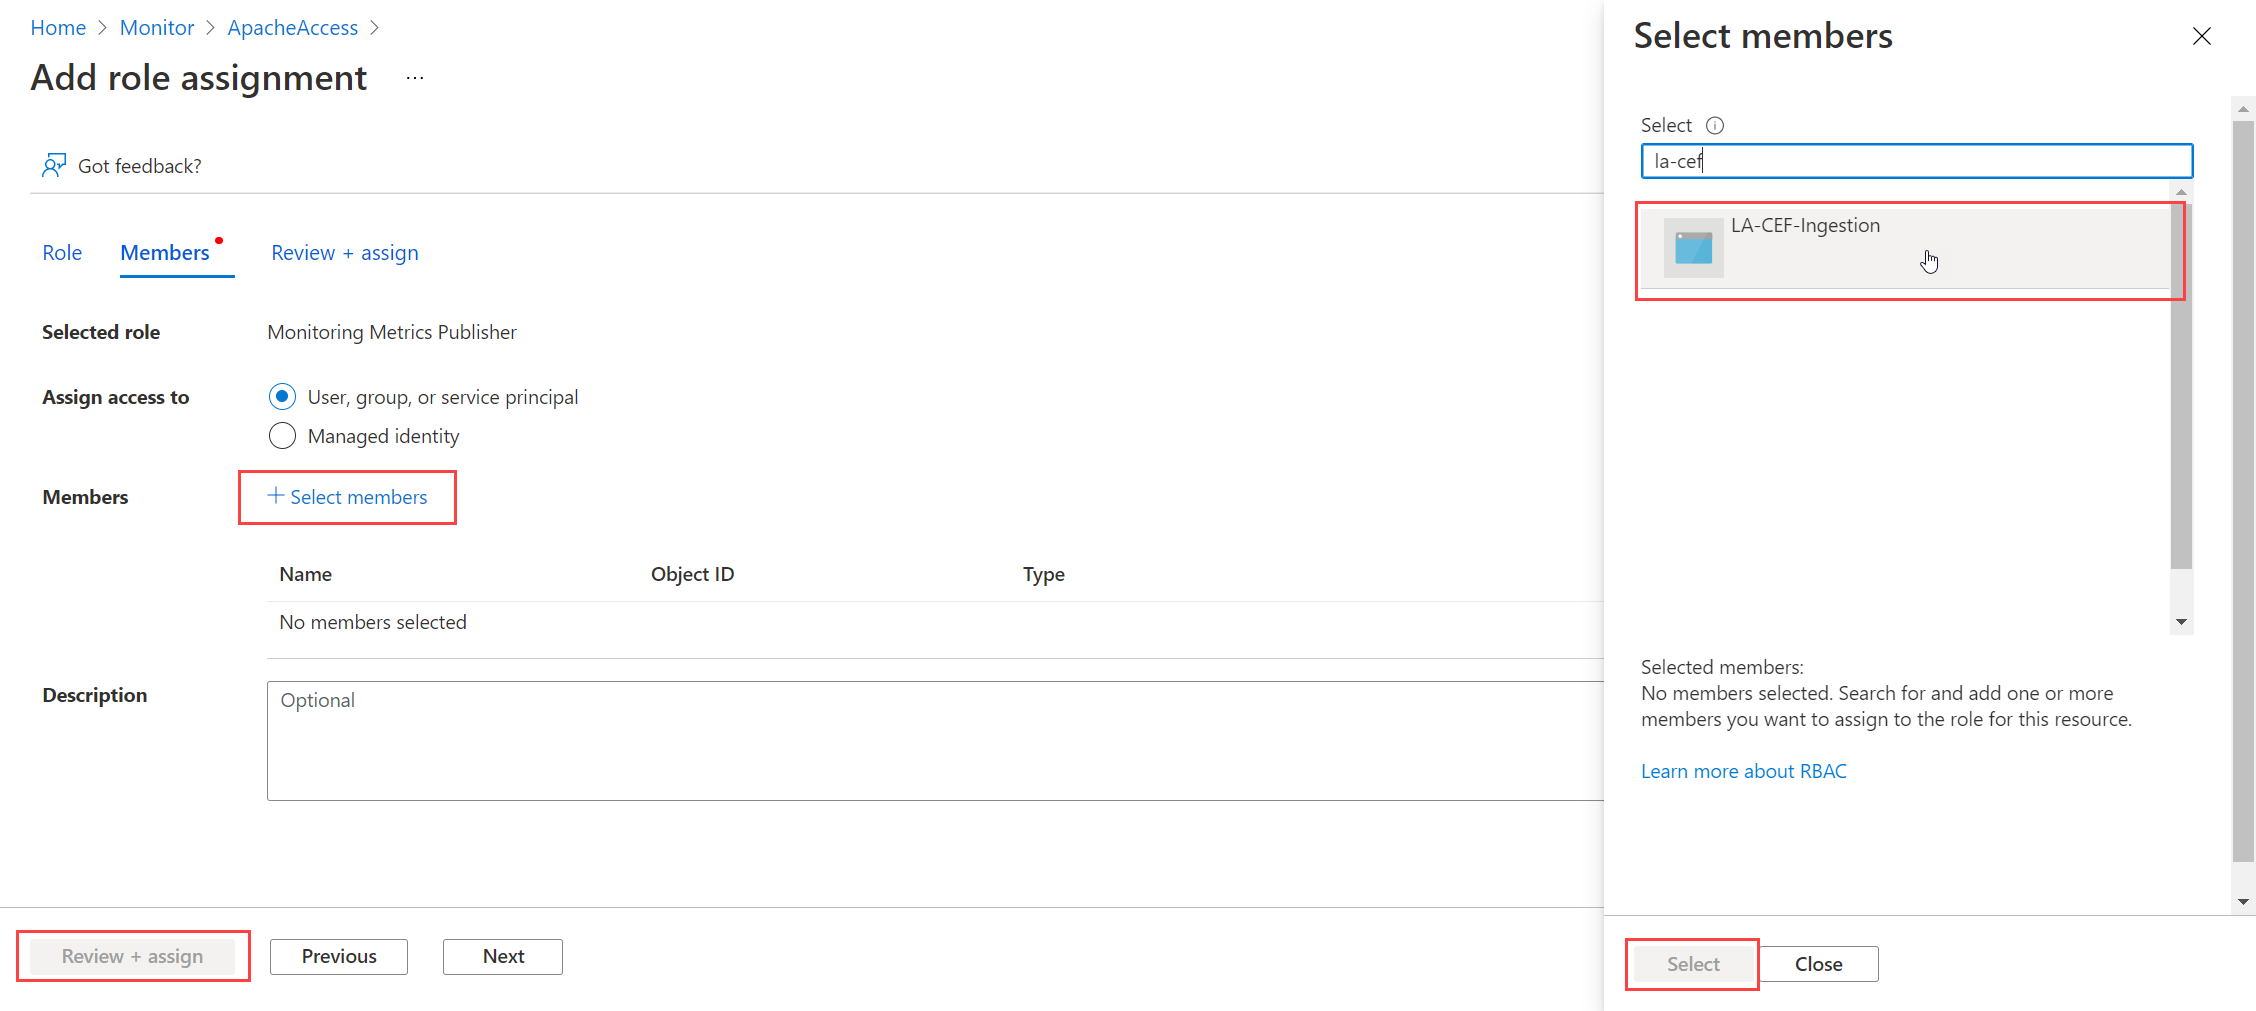
Select Review + assign and verify the details before you save your role assignment.


Sample code
See Sample code to send data to Azure Monitor using Logs ingestion API for sample code using the components created in this tutorial.