Note
Access to this page requires authorization. You can try signing in or changing directories.
Access to this page requires authorization. You can try changing directories.
After configuring a dashboard, you can publish it and share it with other users in your organization. When you share a dashboard, you can control who can view it by using Azure role-based access control (Azure RBAC) to assign roles to either a single user or a group of users. You can select a role that allows them only to view the published dashboard, or a role that also allows them to modify it.
Tip
Within a dashboard, individual tiles enforce their own access control requirements based on the resources they display. You can share any dashboard broadly, even if some data on specific tiles might not be visible to all users.
Understand access control for dashboards
From an access control perspective, dashboards are no different from other resources, such as virtual machines or storage accounts. Published dashboards are implemented as Azure resources. Each dashboard exists as a manageable item contained in a resource group within your subscription.
Azure RBAC lets you assign users to roles at four different levels of scope: management group, subscription, resource group, or resource. Azure RBAC permissions are inherited from higher levels down to the individual resource. In many cases, you may already have users assigned to roles for the subscription that will give them access to the published dashboard.
For example, users who have the Owner or Contributor role for a subscription can list, view, create, modify, or delete dashboards within the subscription. Users with a custom role that includes the Microsoft.Portal/Dashboards/Write permission can also perform these tasks.
Users with the Reader role for the subscription (or a custom role with Microsoft.Portal/Dashboards/Read permission) can list and view dashboards within that subscription, but they can't modify or delete them. These users are able to make private copies of dashboards for themselves. They can also make local edits to a published dashboard for their own use, such as when troubleshooting an issue, but they can't publish those changes back to the server.
To expand access to a dashboard beyond the access granted at the subscription level, you can assign permissions to an individual dashboard, or to a resource group that contains several dashboards. For example, if a user should have limited permissions across the subscription, but needs to be able to edit one particular dashboard, you can assign a different role with more permissions (such as Contributor) for that dashboard only.
Important
Since individual tiles within a dashboard can enforce their own access control requirements, some users with access to view or edit a dashboard may not be able to see information within specific tiles. To ensure that users can see data within a certain tile, be sure that they have the appropriate permissions for the underlying resources accessed by that tile.
Publish a dashboard
To share access to a dashboard, you must first publish it. When you do so, other users in your organization will be able to access and modify the dashboard based on their Azure RBAC roles.
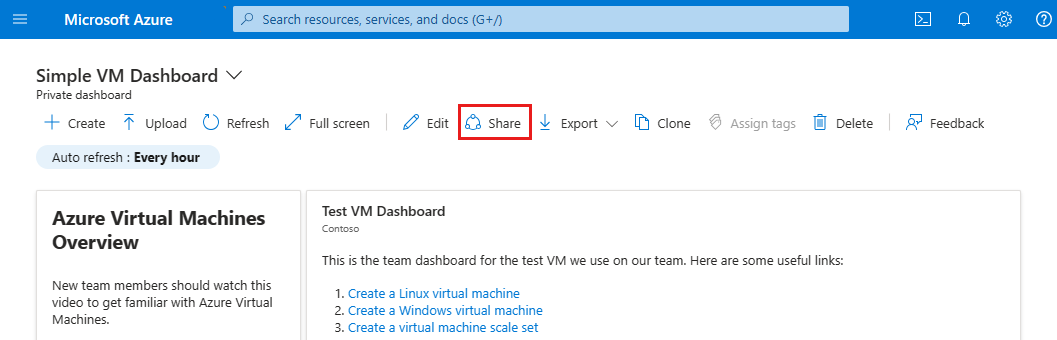
In the dashboard, select Share.
In Sharing + access control, select Publish.
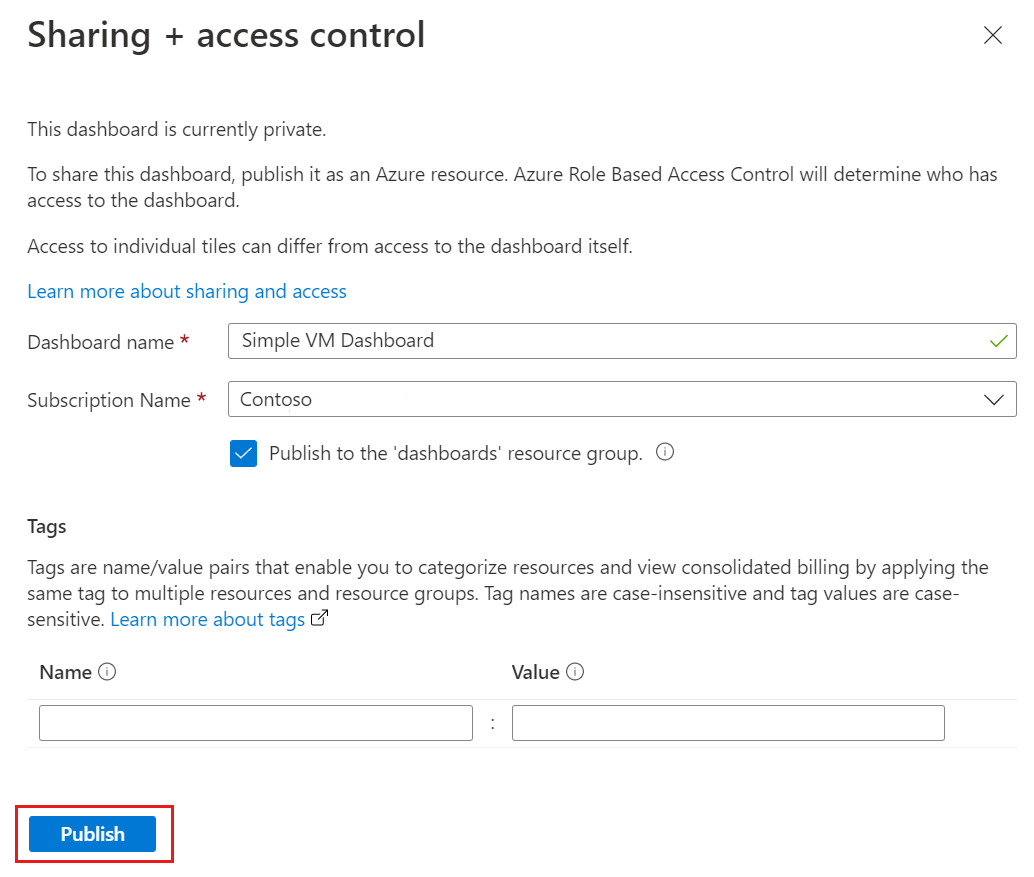
By default, sharing publishes your dashboard to a resource group named dashboards. To select a different resource group, clear the checkbox.
To add optional tags to the dashboard, enter one or more name/value pairs.
Select Publish.
Your dashboard is now published. If the permissions that users inherit from the subscription are sufficient, you don't need to do anything more. Otherwise, read on to learn how to expand access to specific users or groups.
Assign access to a dashboard
For each dashboard that you have published, you can assign Azure RBAC built-in roles to groups of users (or to individual users). This lets them use that role on the dashboard, even if their subscription-level permissions wouldn't normally allow it.
After publishing the dashboard, select Manage sharing, then select Access control.
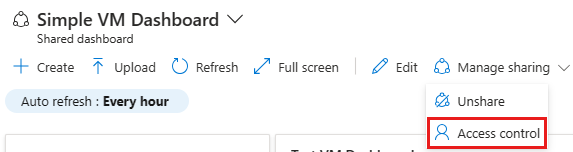
In Access Control, select Role assignments to see existing users that are already assigned a role for this dashboard.
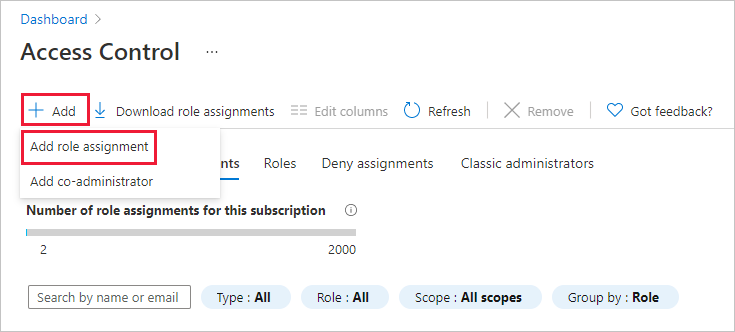
To add a new user or group, select Add, then select Add role assignment.
Select the role you want to grant, such as Contributor or Reader, and then select Next.
Select Select members, then select one or more Microsoft Entra groups and/or users. If you don't see the user or group you're looking for in the list, use the search box. When you have finished, choose Select.
Select Review + assign to complete the assignment.
Tip
As noted above, individual tiles within a dashboard can enforce their own access control requirements based on the resources that the tile displays. If users need to see data for a specific tile, be sure that they have the appropriate permissions for the underlying resources accessed by that tile.
Next steps
- View the list of Azure built-in roles.
- Learn about managing groups in Microsoft Entra ID.
- Learn more about managing Azure resources by using the Azure portal.
- Create a dashboard in the Azure portal.