Note
Access to this page requires authorization. You can try signing in or changing directories.
Access to this page requires authorization. You can try changing directories.
Bitnami by VMware provides a rich catalog of turnkey virtual appliances. You can deploy any vSphere compatible appliance by Bitnami available in the VMware Marketplace, including many of the most common open-source software projects.
In this article, learn how to install and configure the following virtual appliances packaged by Bitnami on your Azure VMware Solution private cloud:
LAMP
Jenkins
PostgreSQL
NGINX
RabbitMQ
Prerequisites
Azure VMware Solution private cloud deployed with a minimum of three nodes.
Networking configured as described in Network planning checklist.
Step 1: Download the Bitnami virtual appliance OVA/OVF file
Go to the VMware Marketplace and download the virtual appliance you want to install on your Azure VMware Solution private cloud:
Select the version, select Download, and then accept the EULA license.
Note
Make sure the file is accessible from the virtual machine.
Step 2: Access the local vCenter Server of your private cloud
Sign in to the Azure portal.
Note
If you need access to the Azure US Gov portal, go to https://portal.azure.us/
Select your private cloud, and then Manage > Identity.
Copy the vCenter Server URL, username, and password. You'll use them to access your virtual machine (VM).
Select Overview, select the VM, and then connect to it through RDP. If you need help with connecting, see connect to a virtual machine for details.
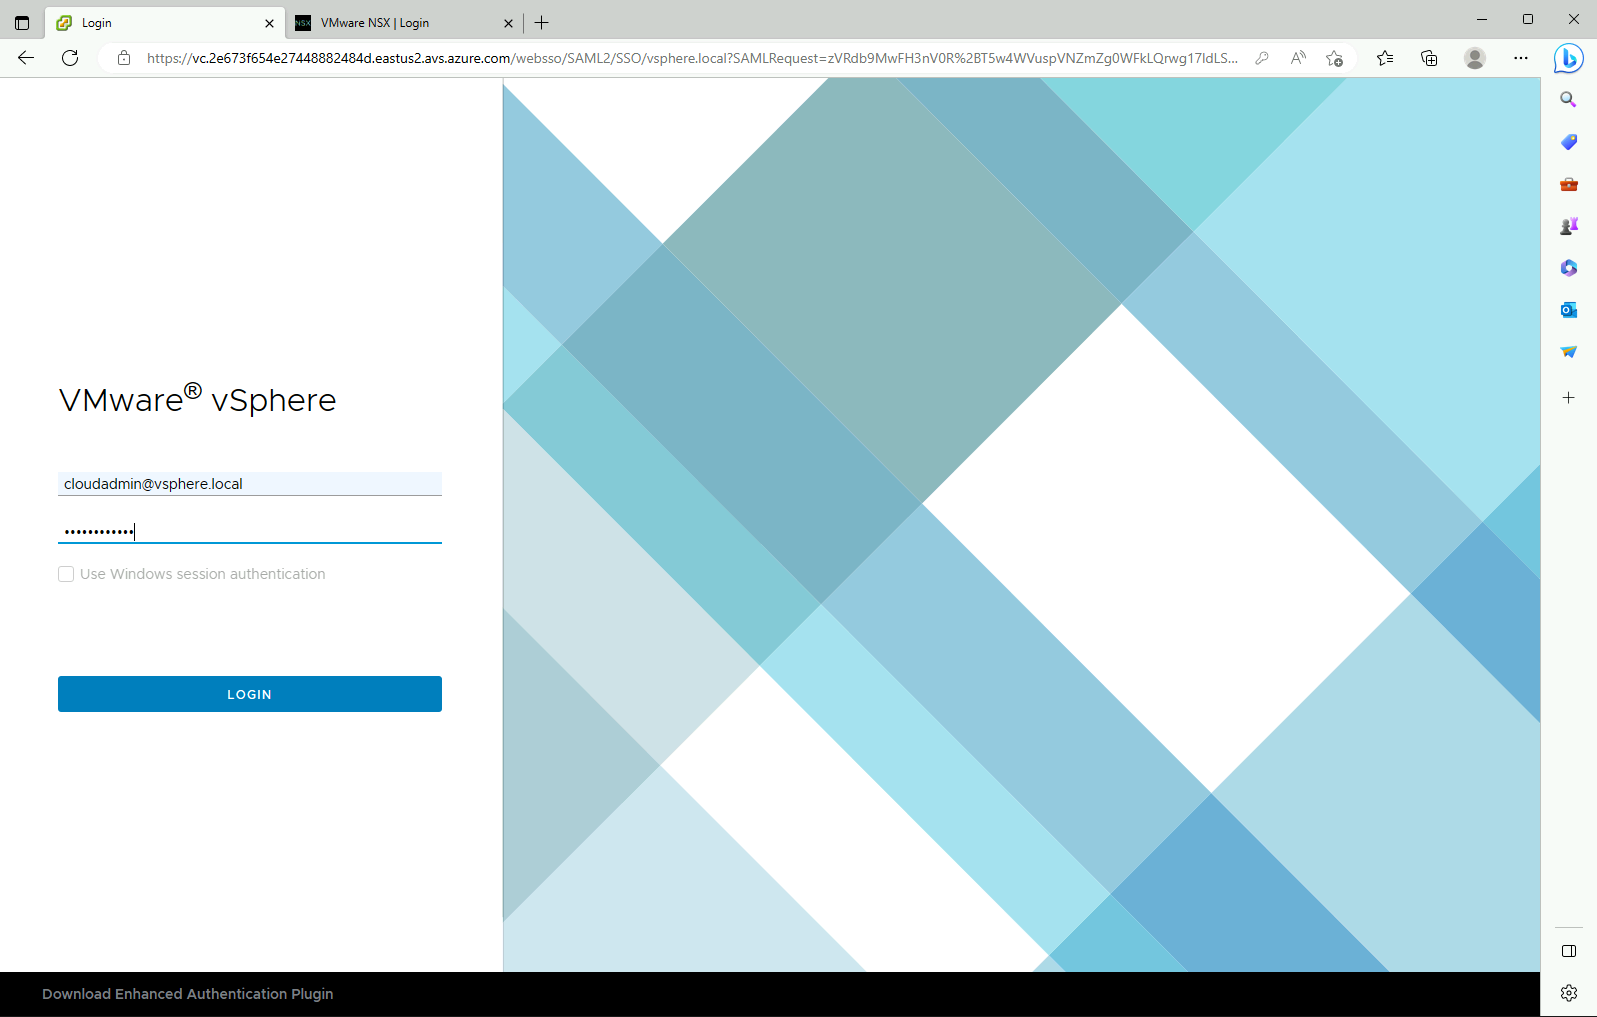
In the VM, open a browser and navigate to the vCenter URL.
Sign in with the
cloudadmin@vsphere.localuser credentials you copied earlier.
Step 3: Install the Bitnami OVA/OVF file in vCenter Server
Right-click the cluster that you want to install the LAMP virtual appliance and select Deploy OVF Template.
Select Local file and navigate to the OVF file you downloaded earlier. Then select Next.
Select your data center and provide a name for your virtual appliance VM, for example, bitnami-lampstack. Then select Next.
Select the ESXi host as the compute resource to run your VM and then select Next.
Review the details and select Next.
Accept the license agreement and select Next.
Select the storage for your VM and select Next.
Select the destination network for your VM and select Next.
Provide the required information to customize the template, such as the VM and networking properties. Then select Next.
Review the configuration settings and then select Finish.
From the Task Console, verify that the status of the OVF template deployment has completed successfully.
After the installation finishes, under Actions, select Power on to turn on the appliance.
From the vCenter Server console, select Launch Web Console and sign in to the Bitnami virtual appliance. Check the Bitnami virtual appliance support documentation for the default username and password.
Note
You can change the default password to a more secure one. For more information, see ...
Step 4: Assign a static IP to the virtual appliance
In this step, you'll modify the bootproto and onboot parameters and assign a static IP address to the Bitnami virtual appliance.
Search for the network configuration file.
sudo find /etc -name \*ens160\*Edit the /etc/sysconfig/network-scripts/ifcfg-ens160 file and modify the boot parameters. Then add the static IP, netmask, and gateway addresses.
bootproto=static
onboot=yes
View and confirm the changes to the ifcfg-ens160 file.
cat ifcfg-ens160Restart the networking service. This stops the networking services first and then applies the IP configuration.
sudo systemctl restart networkPing the gateway IP address to verify the configuration and VM connectivity to the network.
Confirm that the default route 0.0.0.0 is listed.
sudo route -n
Step 5: Enable SSH access to the virtual appliance
In this step, you'll enable SSH on your virtual appliance for remote access control. The SSH service is disabled by default. You'll also use an OpenSSH client to connect to the host console.
Enable and start the SSH service.
sudo rm /etc/ssh/sshd_not_to_be_run
sudo systemctl enable sshd
sudo systemctl start sshd
Edit the /etc/ssh/sshd_config file to change the password authentication.
PasswordAuthentication yesView and confirm the changes to the sshd_config file.
sudo cat sshd_configReload the changes made to the file.
sudo /etc/init.d/ssh force-reloadStart the SSH session.
ssh hostname:22At the virtual appliance console prompt, enter the Bitnami username and password to connect to the host.