Note
Access to this page requires authorization. You can try signing in or changing directories.
Access to this page requires authorization. You can try changing directories.
In addition to the default domain that is included in an instance of Azure Web PubSub, you can add a custom domain. A custom domain is a domain name that you own and manage. You can use a custom domain to access your Web PubSub resources. For example, you can use contoso.example.com instead of contoso.webpubsub.azure.com to access your resources.
Prerequisites
- An Azure account with an active subscription. If you don't have an Azure account, you can create an account for free.
- An Azure Web PubSub resource at a minimum Premium tier.
- An Azure Key Vault resource.
- A custom certificate matching custom domain that is stored in Azure Key Vault.
Add a custom certificate
Before you can add a custom domain, add a matching custom certificate. A custom certificate is a resource of your instance of Web PubSub. It references a certificate in your key vault. For security and compliance, Web PubSub doesn't permanently store your certificate. Instead, it fetches the certificate from your key vault and keeps it in memory.
Access the key vault by using a managed identity
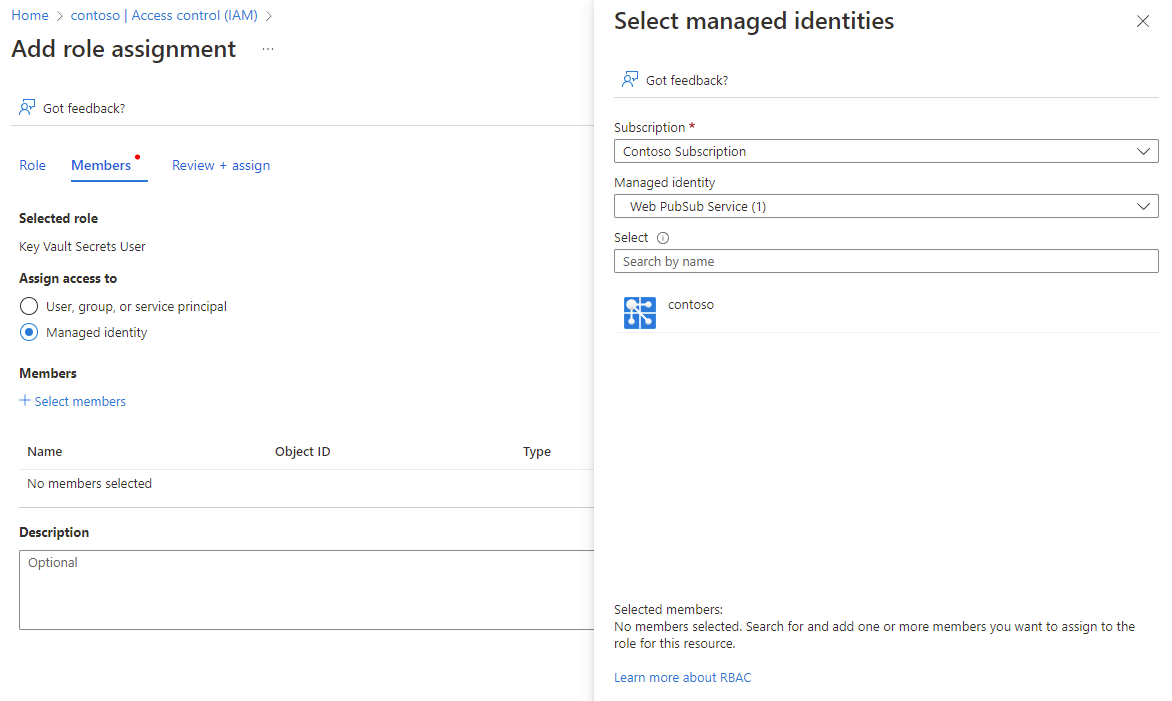
Azure Web PubSub uses a managed identity to access your key vault. To authorize access, it must be granted permissions.
Create a managed identity
In the Azure portal, go to your Web PubSub resource.
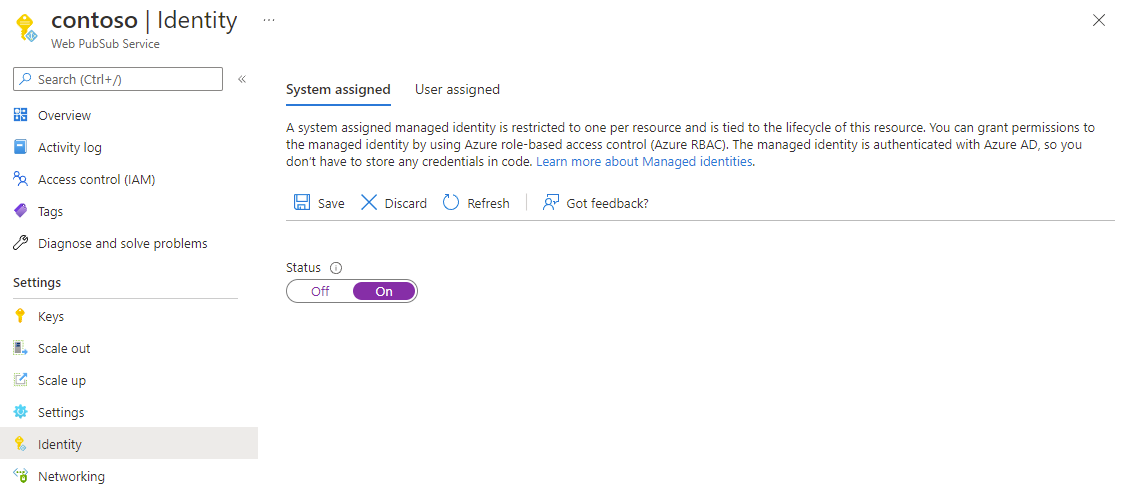
On the left menu, select Identity.
Select the type of identity to use: System assigned or User assigned. To use a user-assigned identity, you create one first.
To use a system-assigned identity:
Select On.
Select Yes to confirm.
Select Save.
To add a user-assigned identity:
Select Add user assigned managed identity.
Select an existing identity.
Select Add.
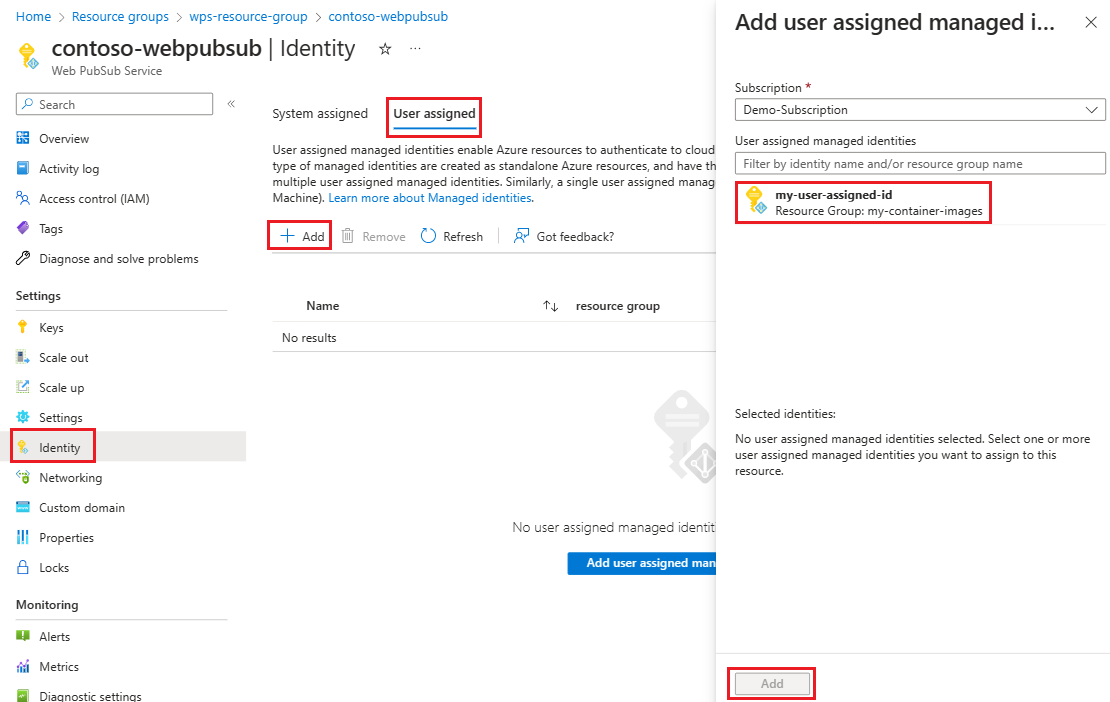
Select Save.
Give key vault access to the managed identity
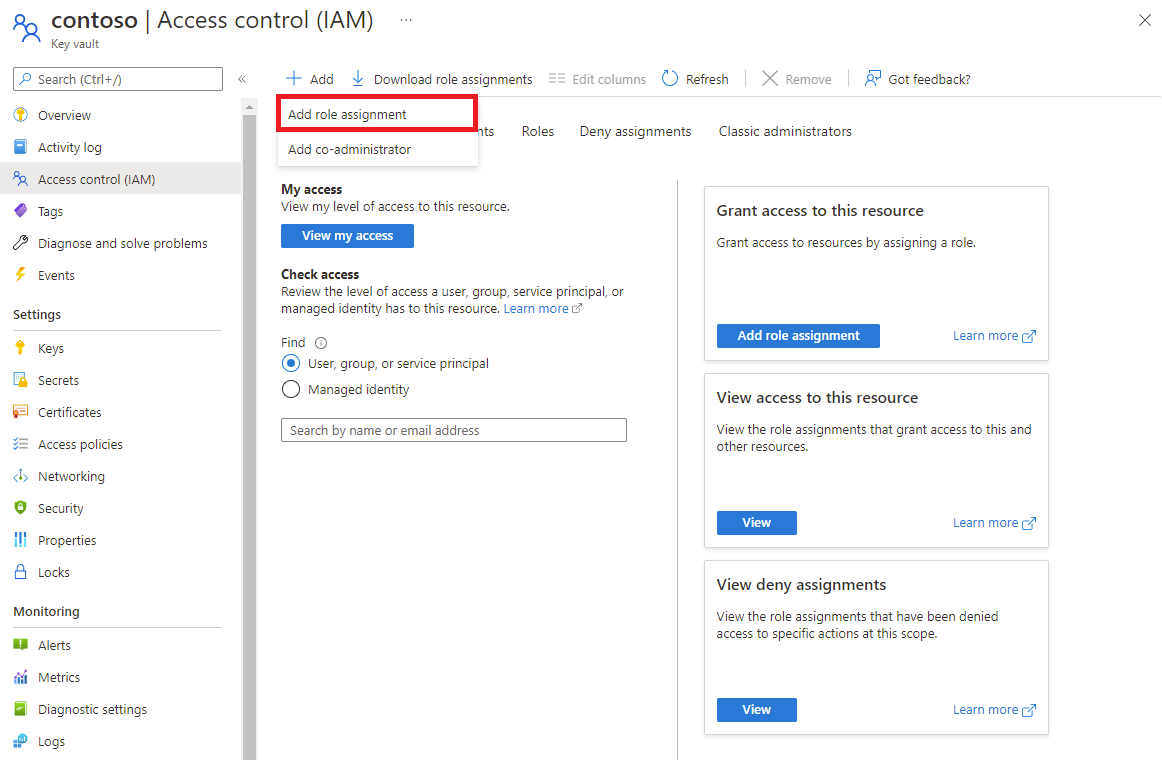
Depending on how you configure your Azure Key Vault permissions model, you might need to grant permissions at different locations in the Azure portal.
If you use a key vault built-in access policy as a key vault permissions model:

In the Azure portal, go to your key vault.
On the left menu, select Access configuration.
Select Vault access policy.
Select Go to access policies.
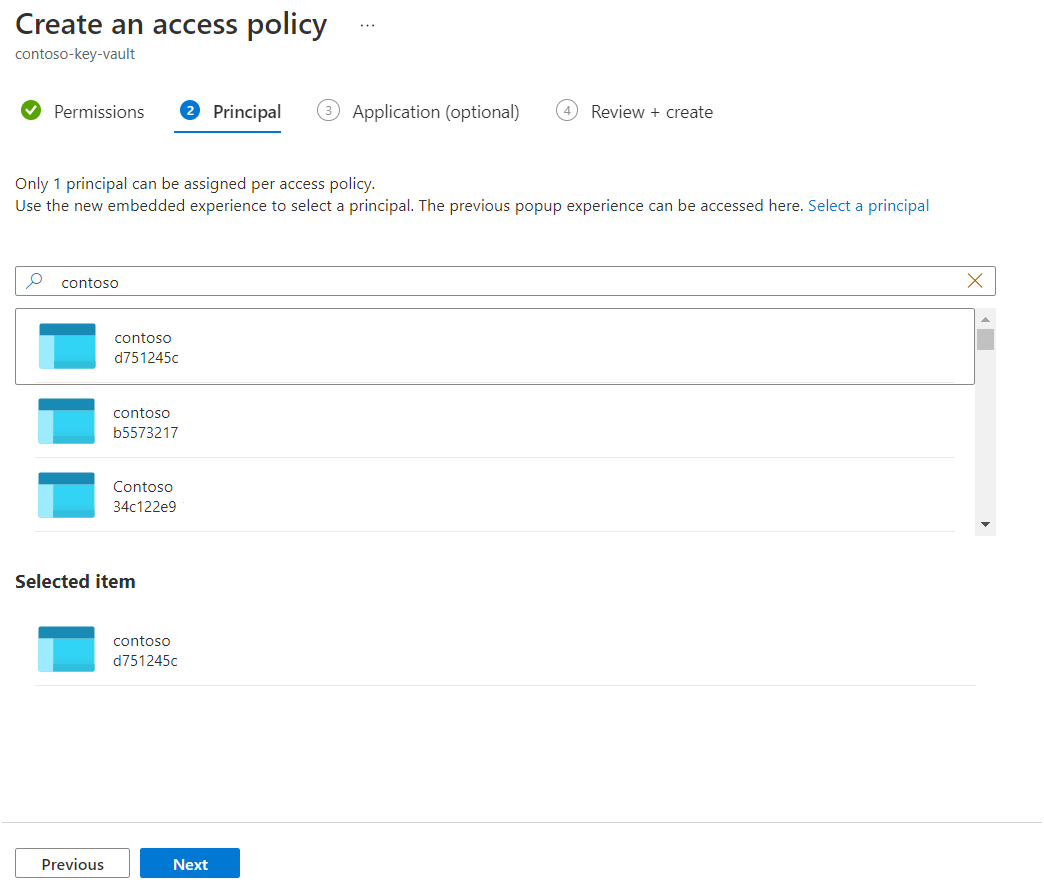
Select Create.
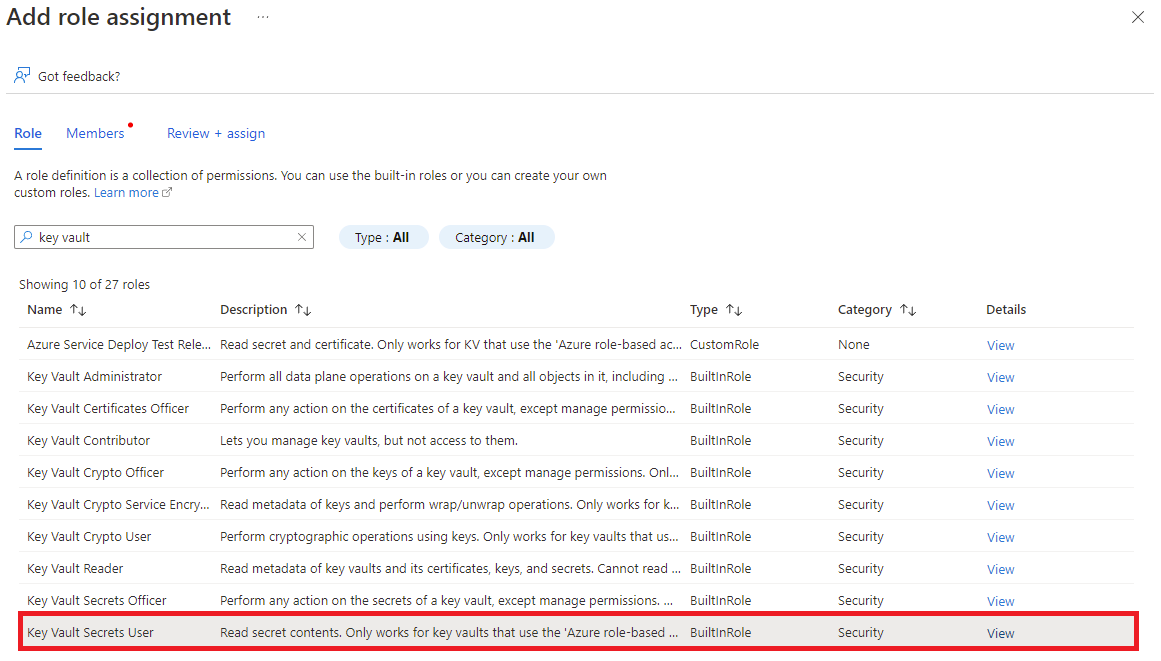
On the Create an access policy pane, select the Permissions tab.
For Secret permissions, select Get.
For Certificate permissions, select Get.
Select Next.

Search for the Web PubSub resource name.
Select Next.
Select the Application tab, and then select Next.
Select Create.

Create a custom certificate
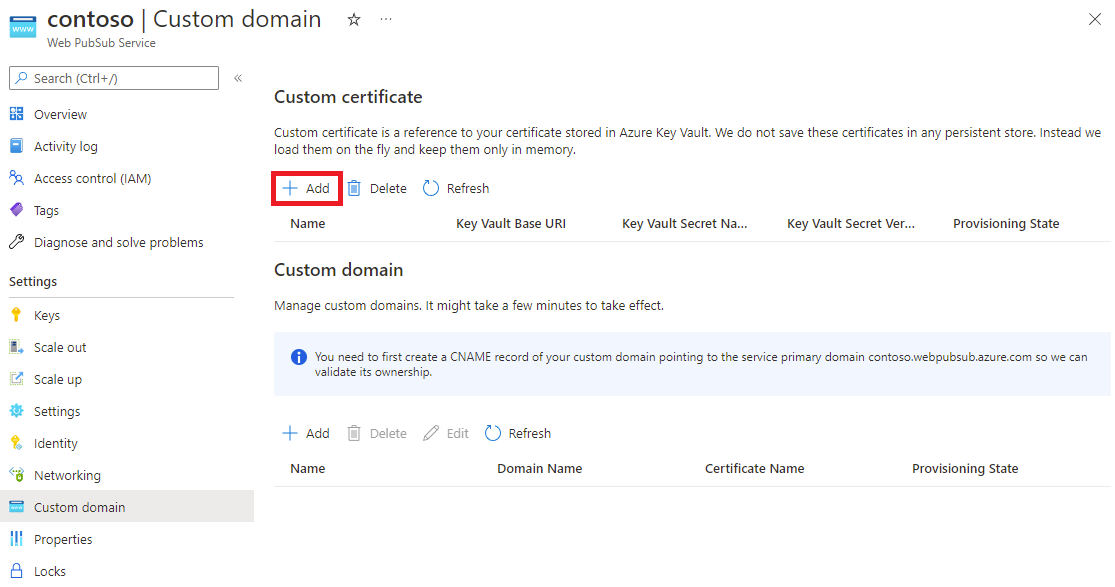
In the Azure portal, go to your Web PubSub resource.
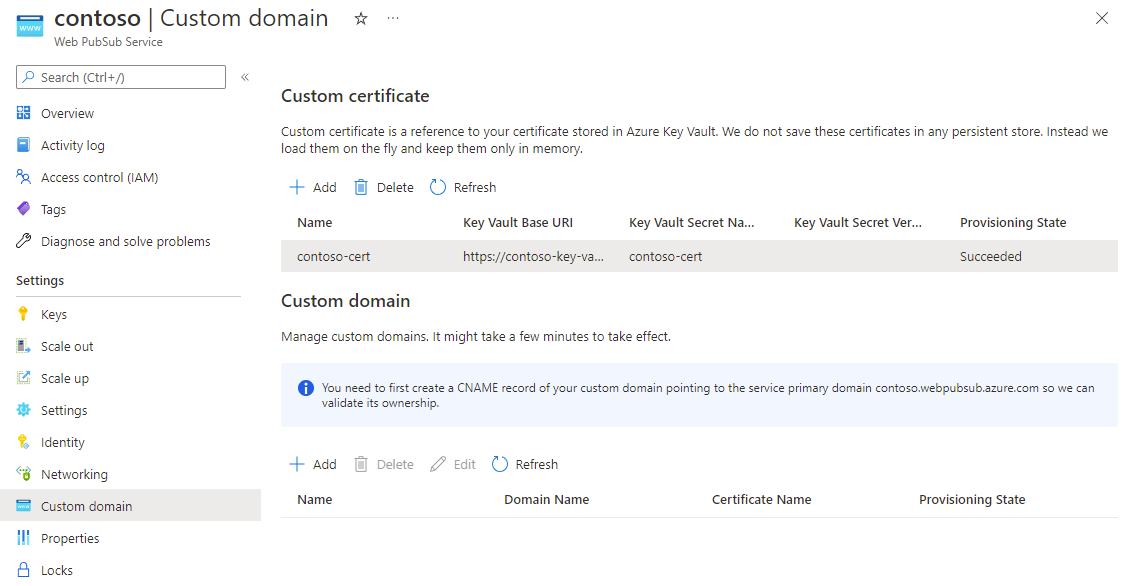
On the left menu, select Custom domain.
On the Custom certificate pane, select Add.
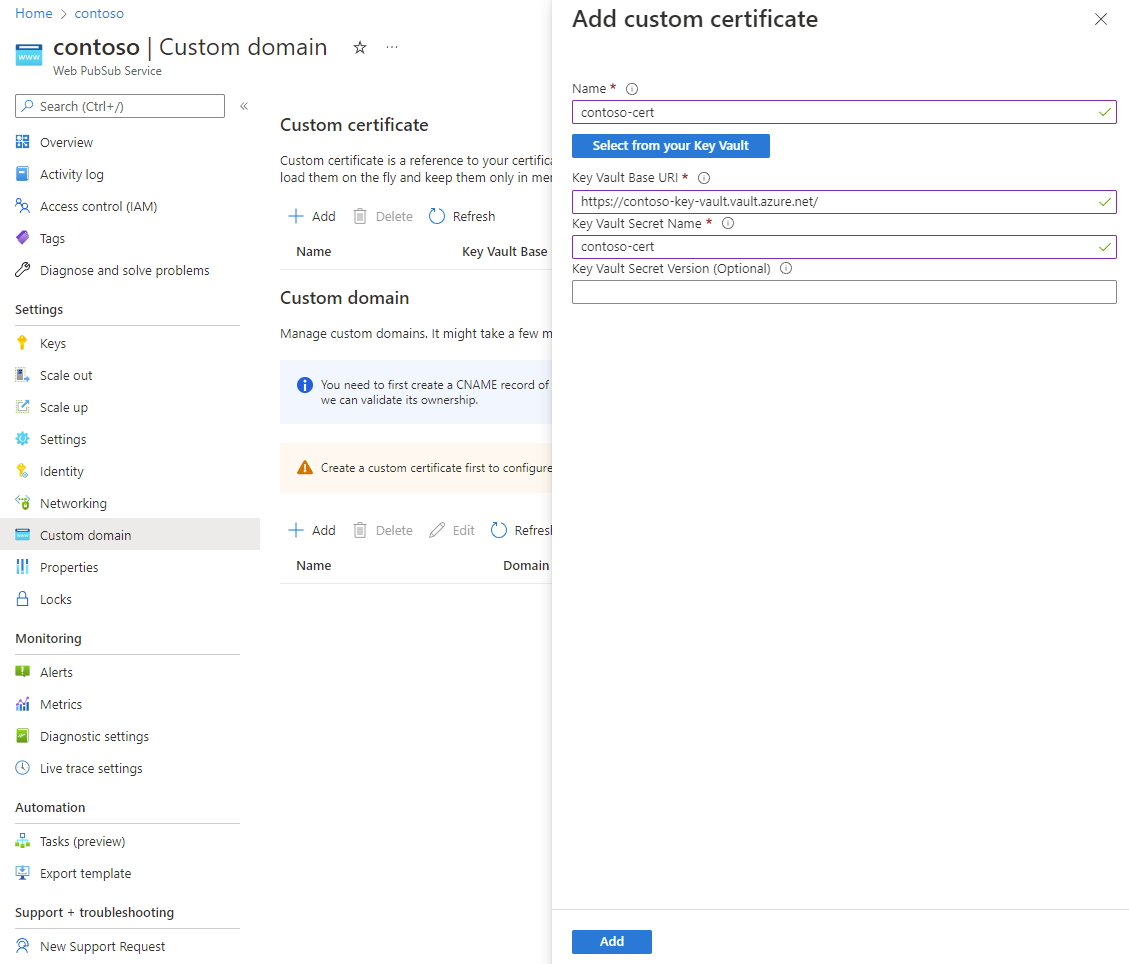
Enter a name for the custom certificate.
Choose Select from your Key Vault to choose a key vault certificate. After you select a key vault, values for Key Vault Base URI and Key Vault Secret Name are automatically added. You also have to option to edit these fields manually.
(Optional) To pin the certificate to a specific version, enter a value for Key Vault Secret Version.
Select Add.
Web PubSub fetches the certificate and validates its contents. When certificate validation succeeds, Provisioning State for the certificate is Succeeded.
Create a custom domain CNAME
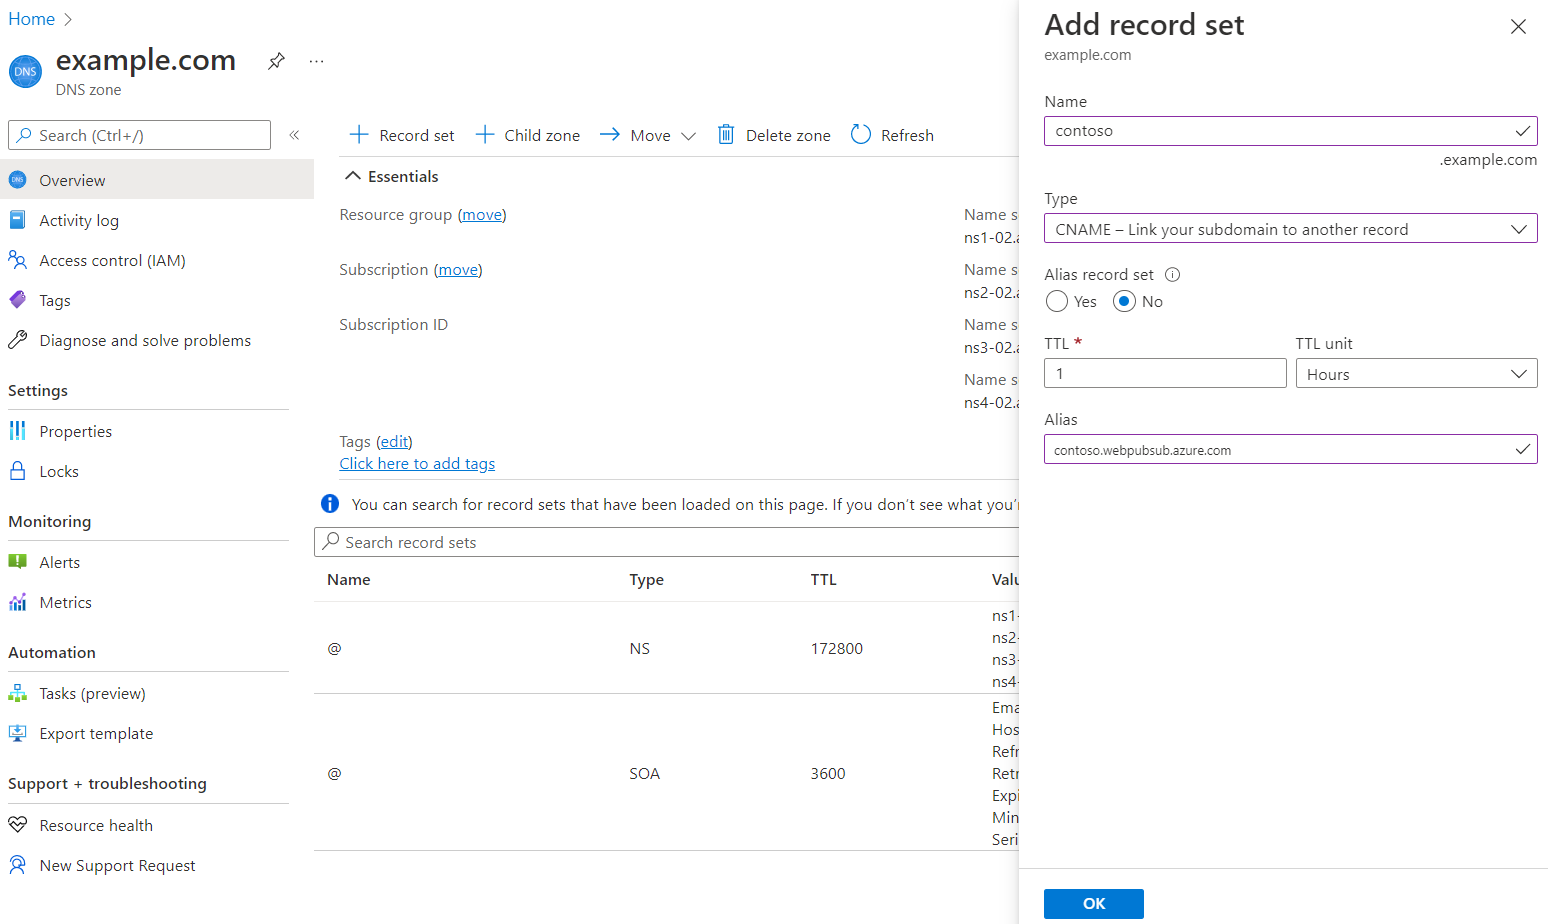
To validate the ownership of your custom domain, create a CNAME record for the custom domain and point it to the default domain of your Web PubSub resource.
For example, if your default domain is contoso.webpubsub.azure.com and your custom domain is contoso.example.com, create a CNAME record on example.com like in this example:
contoso.example.com. 0 IN CNAME contoso.webpubsub.azure.com
If you use Azure DNS Zone, to learn how to add a CNAME record, see Manage DNS records.
If you use other DNS providers, follow guidance in the provider's documentation to create a CNAME record.
Add a custom domain to Web PubSub
A custom domain is another sub resource of your Web PubSub instance. It contains all configurations that are required for a custom domain.
In the Azure portal, go to your Web PubSub resource.
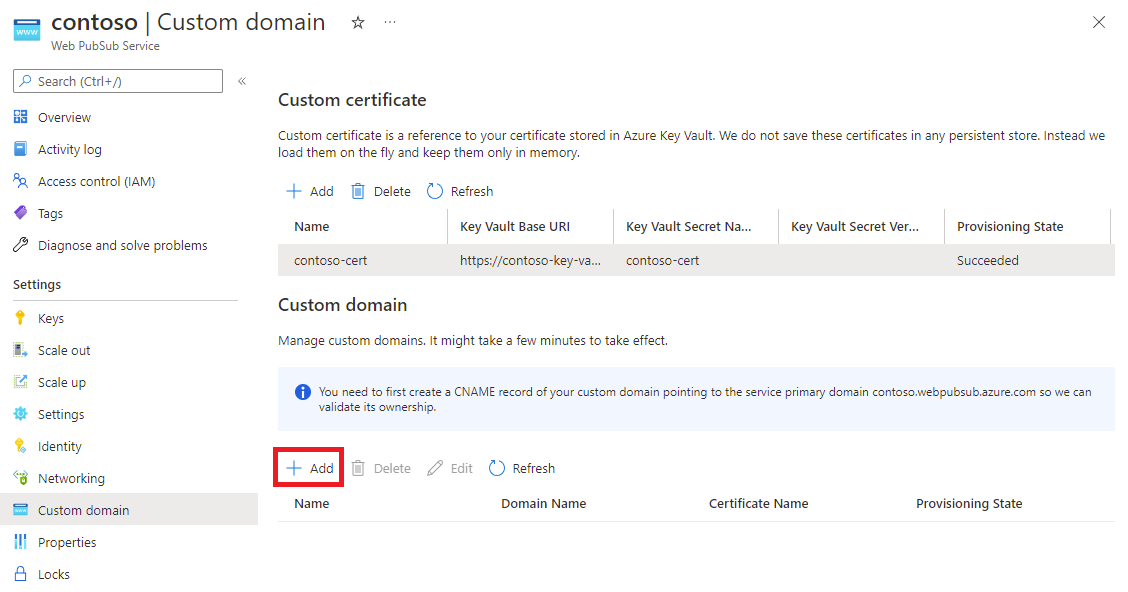
On the left menu, select Custom domain.
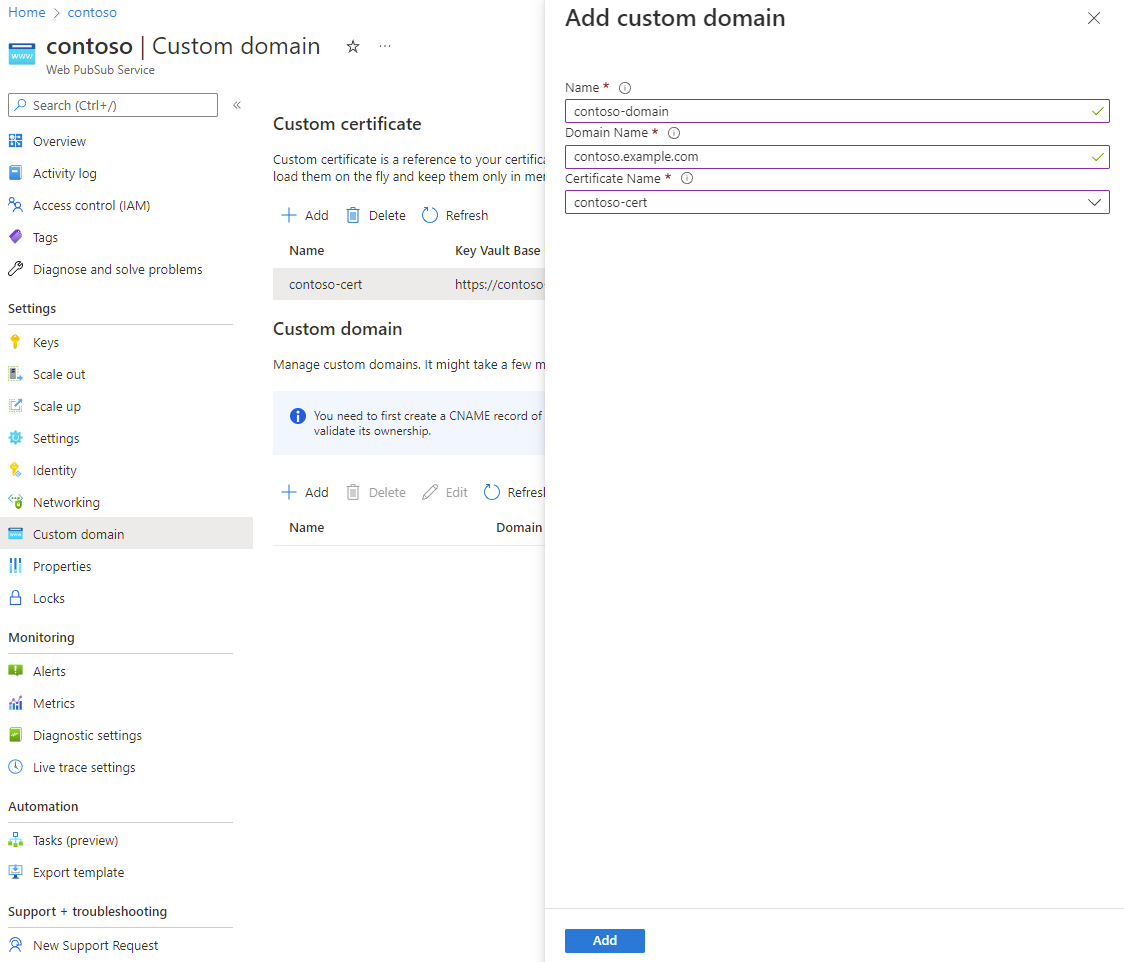
On the Custom domain pane, select Add.
Enter a name for the custom domain. Use the sub resource name.
Enter the domain name. Use the full domain name of your custom domain, for example,
contoso.com.Select a custom certificate that applies to this custom domain.
Select Add.
Verify your custom domain
You can now access your Web PubSub endpoint by using the custom domain.
To verify the domain, you can access the Health API. The following examples use cURL.
PS C:\> curl.exe -v https://contoso.example.com/api/health
...
> GET /api/health HTTP/1.1
> Host: contoso.example.com

< HTTP/1.1 200 OK
...
PS C:\>
The Health API should return a 200 status code without any certificate errors.
Configure a private network key vault
If you configure a private endpoint to your key vault, Web PubSub can't access the key vault by using a public network. You must set up a shared private endpoint to give Web PubSub access to your key vault via a private network.
After you create a shared private endpoint, you can create a custom certificate as usual. You don't have to change the domain in the key vault URI. For example, if your key vault base URI is https://contoso.vault.azure.net, continue to use this URI to configure a custom certificate.
You don't have to explicitly allow Web PubSub IP addresses in your key vault firewall settings. For more information, see Key vault private link diagnostics.
Rotate the certificate
If you don't specify a secret version when you create a custom certificate, Web PubSub periodically checks for the latest version in the key vault. When a new version is detected, it's automatically applied. The delay is typically less than an hour.
Alternatively, you can pin a custom certificate to a specific secret version in your key vault. When you need to apply a new certificate, you can edit the secret version, and then update the custom certificate proactively.