Configure Bastion for native client connections
This article helps you configure your Bastion deployment to accept connections from the native client (SSH or RDP) on your local computer to VMs located in the VNet. The native client feature lets you connect to your target VMs via Bastion using Azure CLI, and expands your sign-in options to include local SSH key pair and Microsoft Entra ID. Additionally, you can also upload or download files, depending on the connection type and client.

You can configure this feature by modifying an existing Bastion deployment, or you can deploy Bastion with the feature configuration already specified. Your capabilities on the VM when connecting via native client are dependent on what is enabled on the native client.
Note
Hourly pricing starts from the moment that Bastion is deployed, regardless of outbound data usage. For more information, see Pricing and SKUs. If you're deploying Bastion as part of a tutorial or test, we recommend that you delete this resource after you finish using it.
Deploy Bastion with the native client feature
If you haven't already deployed Bastion to your VNet, you can deploy with the native client feature specified by deploying Bastion using manual settings. For steps, see Tutorial - Deploy Bastion with manual settings. When you deploy Bastion, specify the following settings:
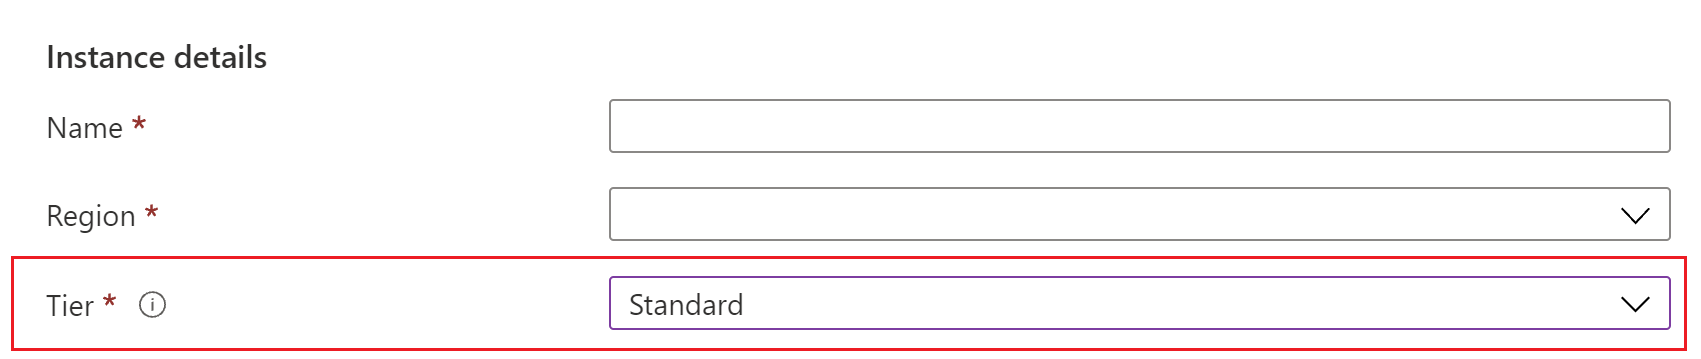
On the Basics tab, for Instance Details -> Tier select Standard. Native client support requires the Standard SKU.
Before you create the bastion host, go to the Advanced tab and check the box for Native Client Support, along with the checkboxes for any other features that you want to deploy.
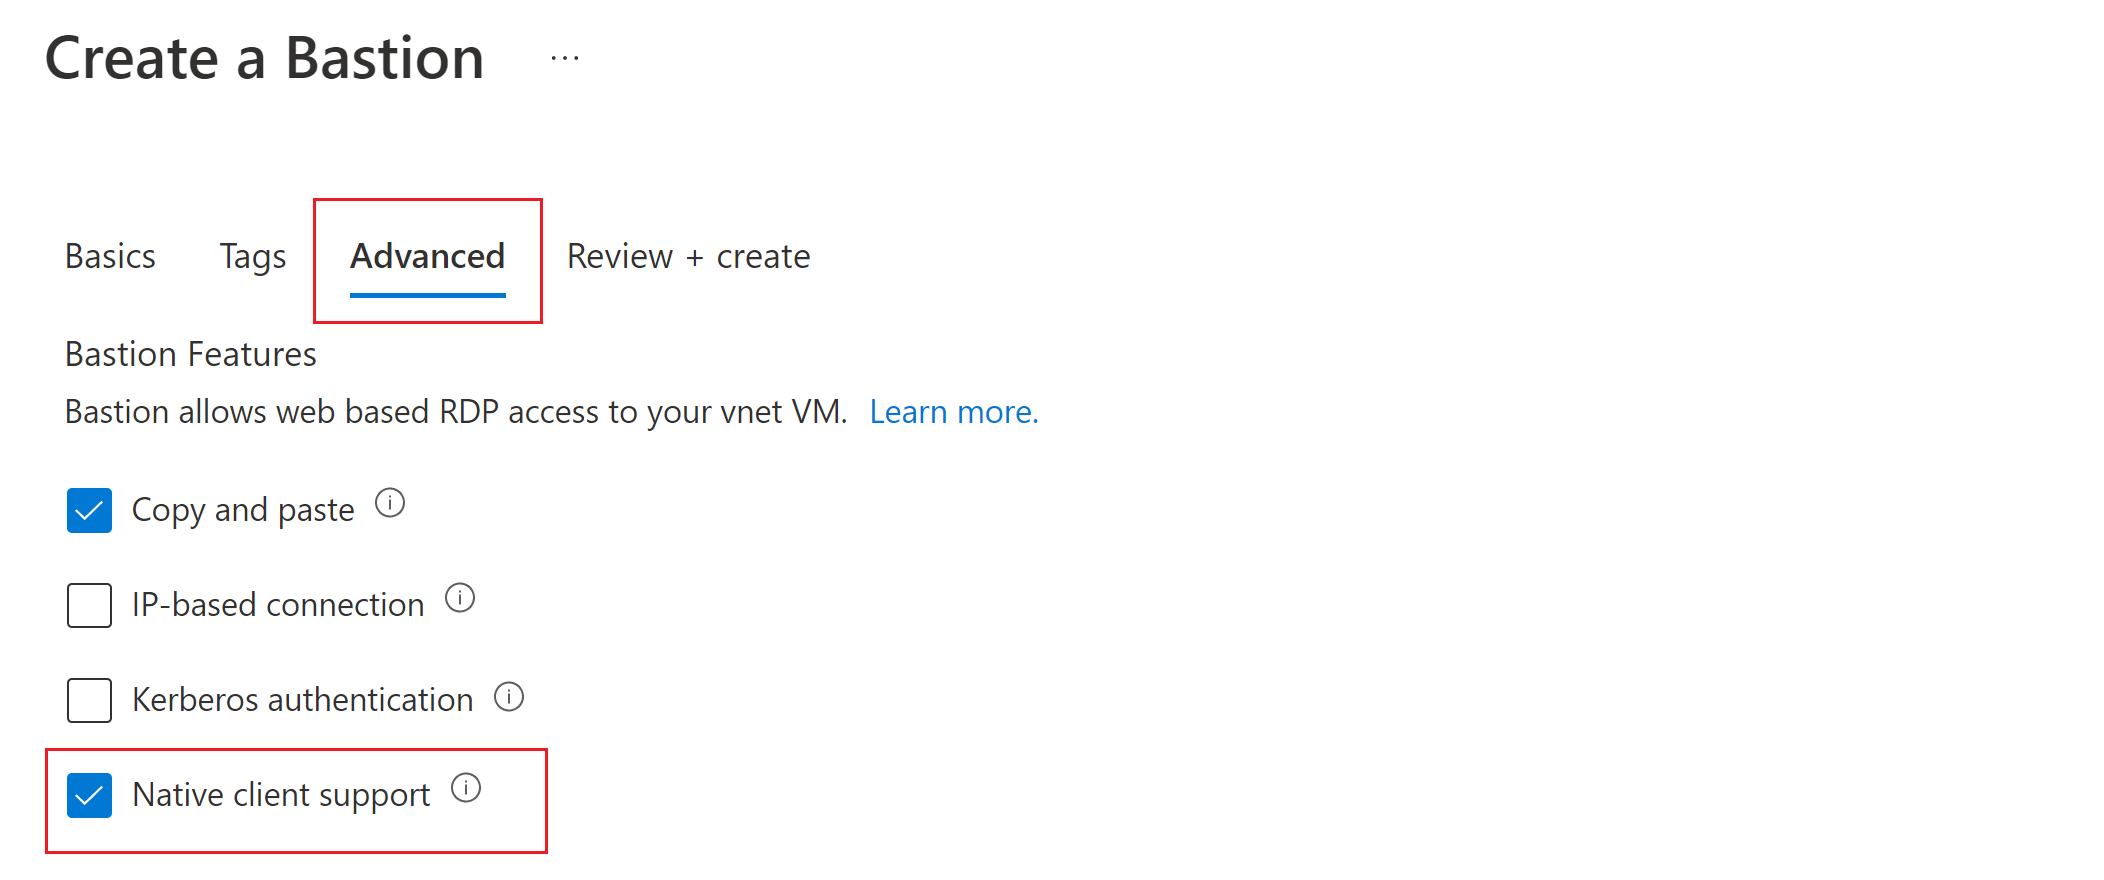
Select Review + create to validate, then select Create to deploy your Bastion host.


Modify an existing Bastion deployment
If you've already deployed Bastion to your VNet, modify the following configuration settings:
Navigate to the Configuration page for your Bastion resource. Verify that the SKU Tier is Standard. If it isn't, select Standard.
Select the box for Native Client Support, then apply your changes.


Secure your native client connection
If you want to further secure your native client connection, you can limit port access by only providing access to port 22/3389. To restrict port access, you must deploy the following NSG rules on your AzureBastionSubnet to allow access to select ports and deny access from any other ports.

Connecting to VMs
After you deploy this feature, there are different connection instructions, depending on the host computer you're connecting from, and the client VM to which you're connecting.
Use the following table to understand how to connect from native clients. Notice that different supported combinations of native client and target VMs allow for different features and require specific commands.
| Client | Target VM | Method | Microsoft Entra authentication | File transfer | Concurrent VM sessions | Custom port |
|---|---|---|---|---|---|---|
| Windows native client | Windows VM | RDP | Yes | Upload/Download | Yes | Yes |
| Linux VM | SSH | Yes | No | Yes | Yes | |
| Any VM | az network bastion tunnel | No | Upload | No | No | |
| Linux native client | Linux VM | SSH | Yes | No | Yes | Yes |
| Windows or any VM | az network bastion tunnel | No | Upload | No | No | |
| Other native client (putty) | Any VM | az network bastion tunnel | No | Upload | No | No |
Limitations:
- Signing in using an SSH private key stored in Azure Key Vault isn’t supported with this feature. Before signing in to a Linux VM using an SSH key pair, download your private key to a file on your local machine.
- Connecting using a native client isn't supported on Cloud Shell.
Next steps
Feedback
Coming soon: Throughout 2024 we will be phasing out GitHub Issues as the feedback mechanism for content and replacing it with a new feedback system. For more information see: https://aka.ms/ContentUserFeedback.
Submit and view feedback for