Protect and recover in Azure
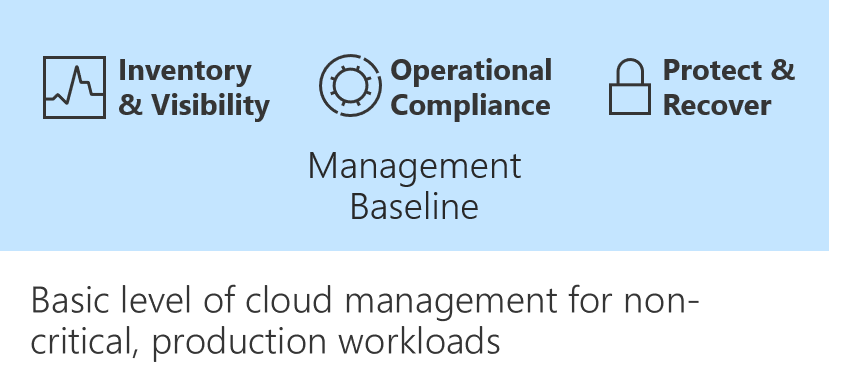
Protect and recover is the third and final discipline in any cloud-management baseline.
In Operational compliance in Azure the objective is to reduce the likelihood of a business interruption. The current article aims to reduce the duration and impact of outages that can't be prevented.
For any enterprise-grade environment, this table outlines the suggested minimum for any management baseline:
| Process | Tool | Purpose |
|---|---|---|
| Protect data | Azure Backup | Back up data and virtual machines in the cloud. |
| Protect the environment | Microsoft Defender for Cloud | Strengthen security and provide advanced threat protection across your hybrid workloads. |
Azure Backup
With Azure Backup, you can back up, protect, and recover your data in the Microsoft cloud. Azure Backup replaces your existing on-premises or offsite backup solution with a cloud-based solution. This new solution is reliable, secure, and cost competitive. Azure Backup can also help protect and recover on-premises assets through one consistent solution.
For data present in Azure, Azure Backup offer varied levels of protection. For example, when backing up key cloud infrastructure pieces such as Azure Virtual Machines and Azure Files, it offers Azure Virtual Machines backup and Azure Files backup. For more critical components such as databases running in Azure Virtual Machines, it offers dedicated database backup solutions for SQL Server and SAP HANA with far lower RPO.
Review the following section to see how easily you can enable backup for Azure Virtual Machines.
Enable backup for an Azure VM
- In the Azure portal, select Virtual machines, then select the VM you want to backup.
- On the Operations pane, select Backup.
- Create or select an existing Azure Recovery Services vault.
- Select Create (or edit) a new policy.
- Configure the schedule and retention period.
- Select OK.
- Select Enable backup.
For more details about Azure Backup, see Overview of Azure Backup.
Azure Site Recovery
Azure Site Recovery is a critical component in your disaster recovery strategy.
Site Recovery replicates VMs and workloads that are hosted in a primary Azure region. It replicates them to a copy that is hosted in a secondary region. When an outage occurs in your primary region, you fail over to the copy running in the secondary region. You then continue to access your applications and services from there. This proactive approach to recovery can significantly reduce recovery times. When the recovery environment is no longer needed, production traffic can fall back to the original environment.
Replicate an Azure VM to another region with Site Recovery
The following steps outline the process to use Site Recovery for Azure-to-Azure replication, which is replication of an Azure VM to another region.
Tip
Depending on your scenario, the exact steps might differ slightly.
Enable replication for the Azure VM
- In the Azure portal, select Virtual machines, then select the VM you want to replicate.
- On the Operations pane, select Disaster recovery.
- Select Configure disaster recovery > Target region, and choose the target region to which you'll replicate.
- For this quickstart, accept the default values for all other options.
- Select Enable replication, which starts a job to enable replication for the VM.
Verify settings
After the replication job has finished, you can check the replication status, verify replication health, and test the deployment.
- In the VM menu, select Disaster recovery.
- Verify replication health, the recovery points that have been created, and source and target regions on the map.
Learn more
Feedback
Coming soon: Throughout 2024 we will be phasing out GitHub Issues as the feedback mechanism for content and replacing it with a new feedback system. For more information see: https://aka.ms/ContentUserFeedback.
Submit and view feedback for