Note
Access to this page requires authorization. You can try signing in or changing directories.
Access to this page requires authorization. You can try changing directories.
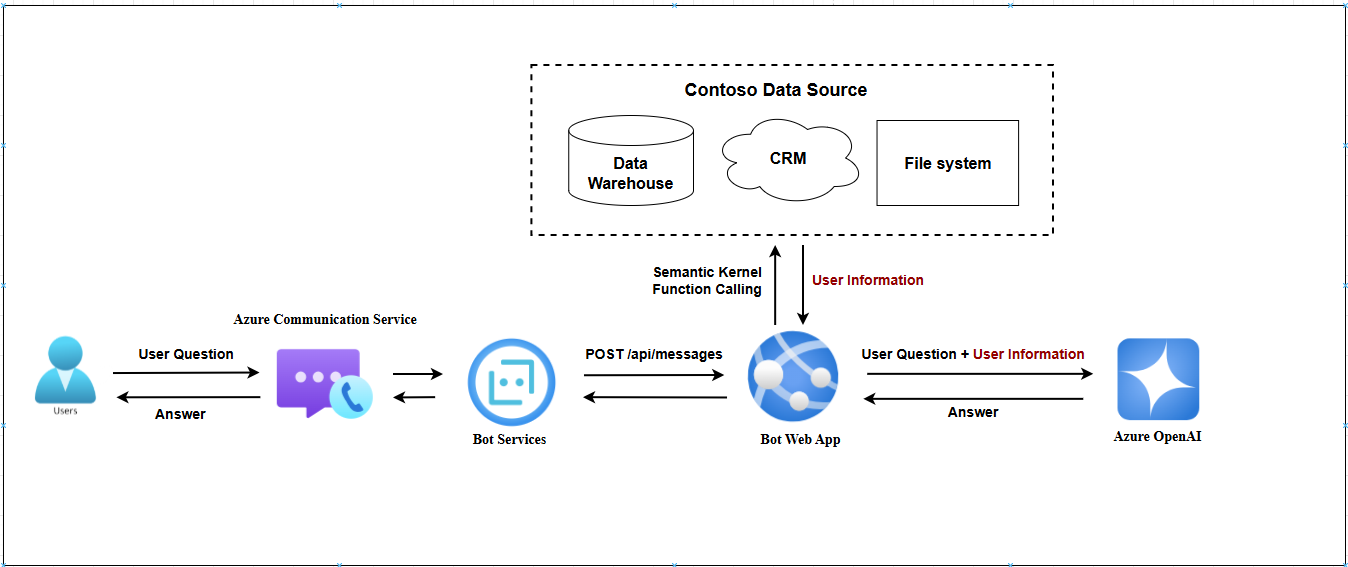
This article demonstrates how to integrate a conversational OpenAI bot with an Azure Communication Services chat. The OpenAI chat bot uses Microsoft Bot Framework integrated with Semantic Kernel. The OpenAI bot retrieves and summarizes responses from an internal knowledge base to answer user questions in natural language.
Step 1: Deploy a Base Model with Azure AI Foundry
In the Azure AI Foundry portal, follow the Create a project article to create a new project. When prompted, create a new hub and accept all default settings.
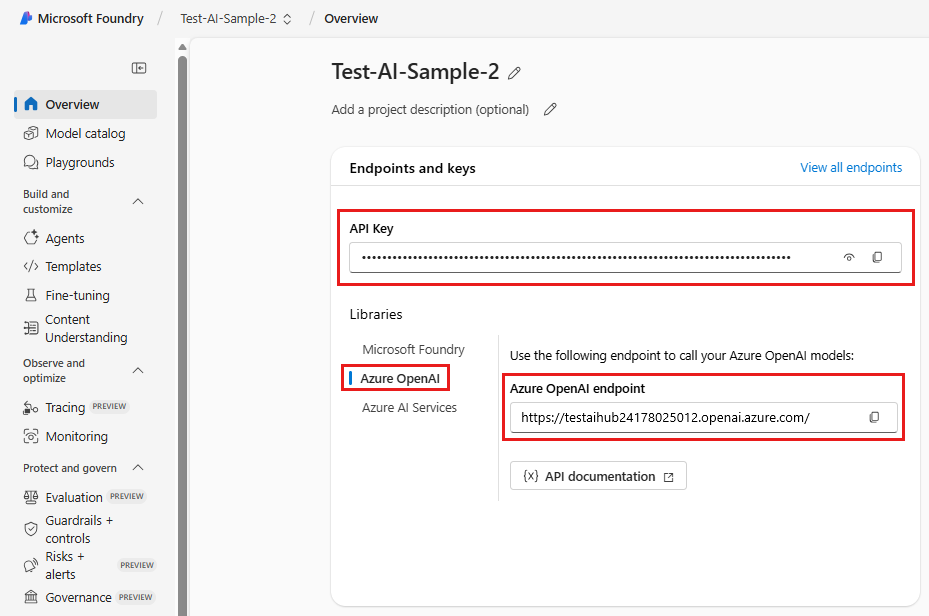
Open your project, go to Included capabilities, select Azure OpenAI Service, and save both the API key and the service endpoint URL.
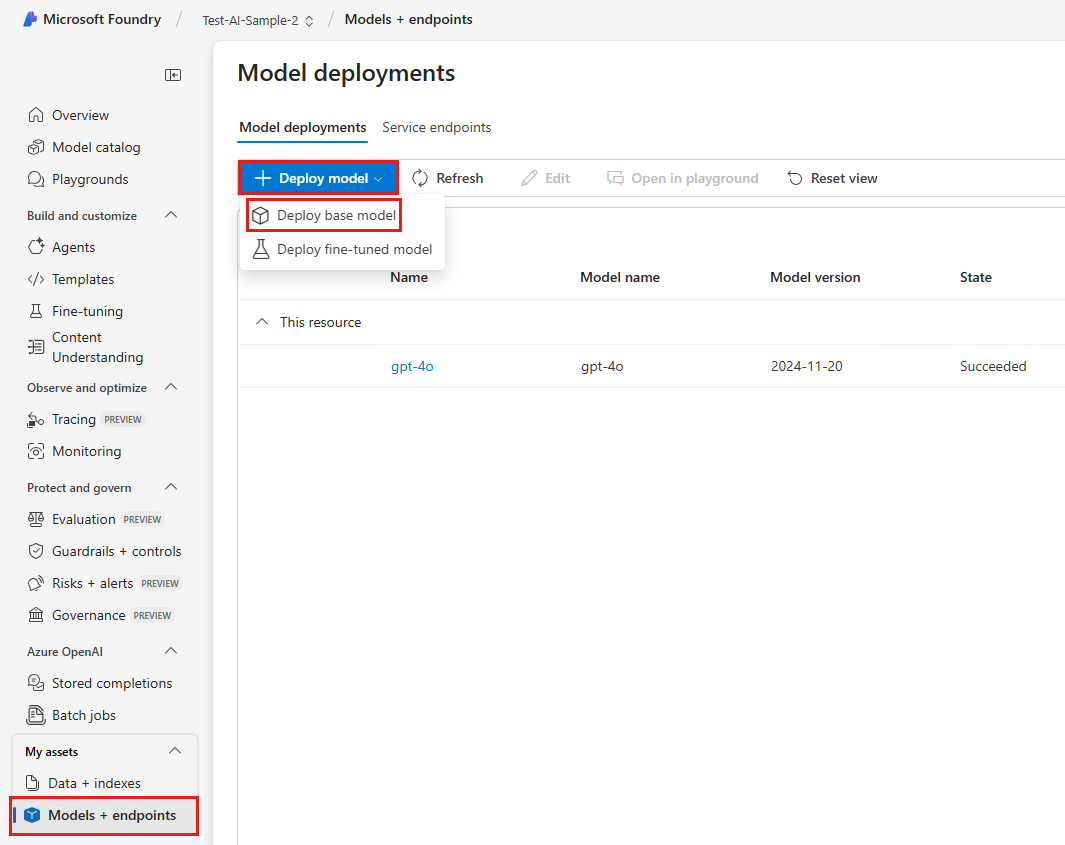
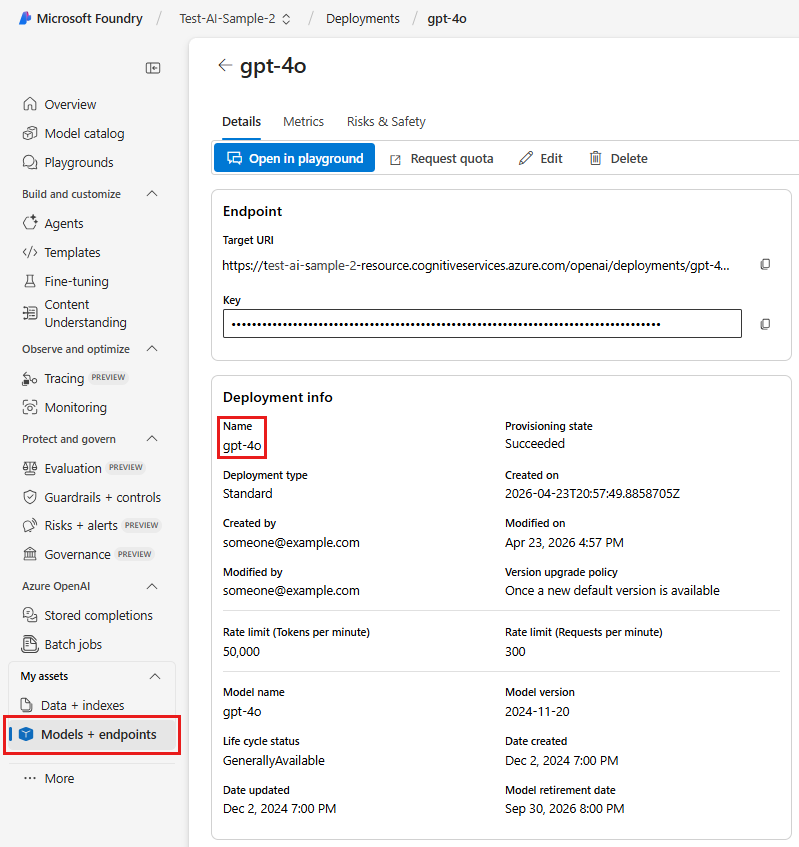
In the left-hand menu, navigate to My assets → Models + endpoints. Then click + Deploy Model and choose Deploy base model.
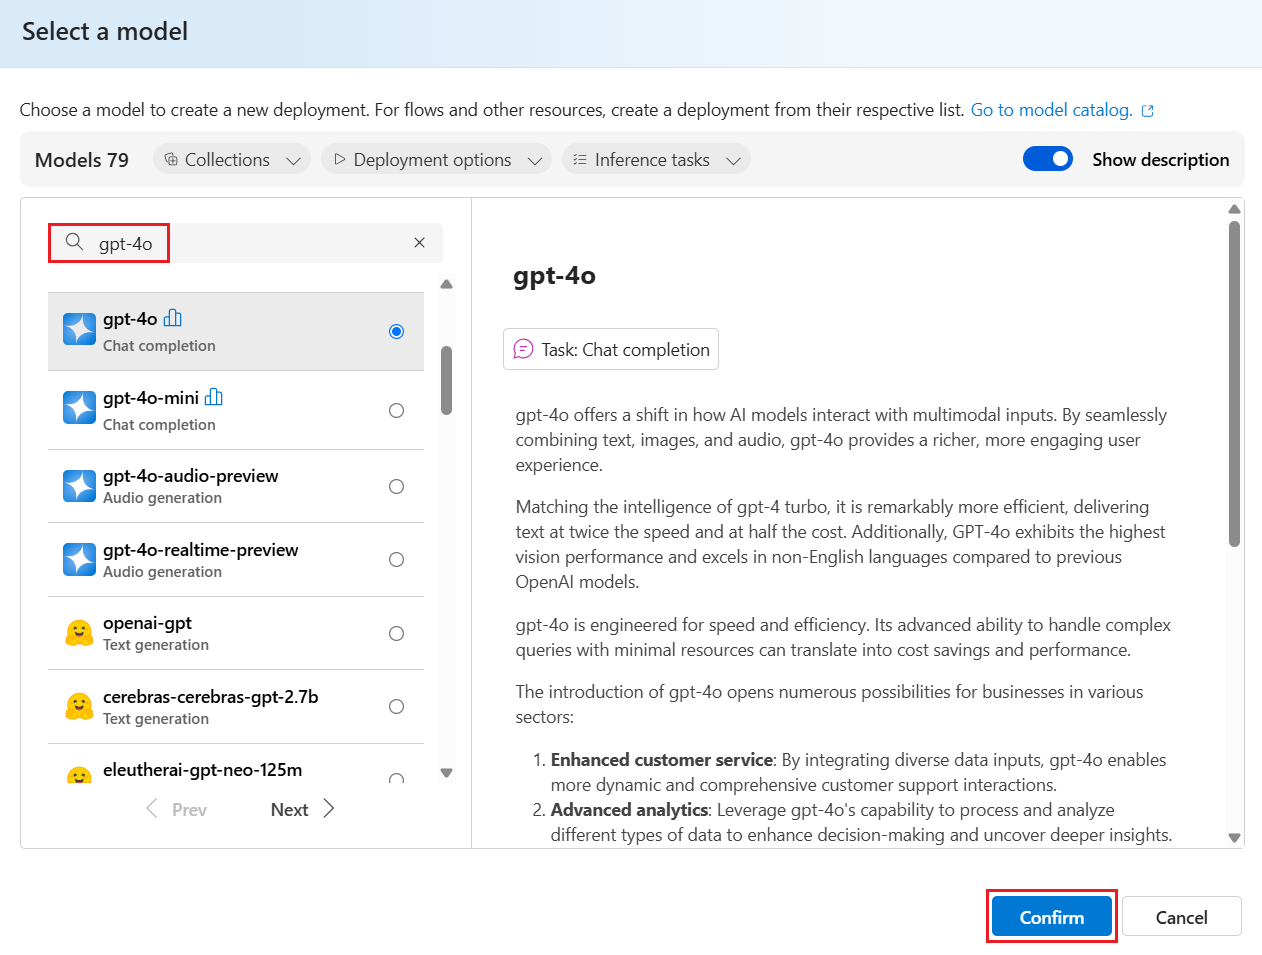
Select gpt-4o and click Confirm.
Enter a deployment name of your choice, then click Connect and deploy.

Once deployment completes, return to Models + endpoints to verify that your model is running. In this example, the deployed model is gpt-4o.
Step 2: Create a Web App resource
In the Azure portal, select Create a resource. In the search box, enter web app. Select the Web App tile.
In Create Web App, select or enter details for the app, including the region where you want to deploy the app.
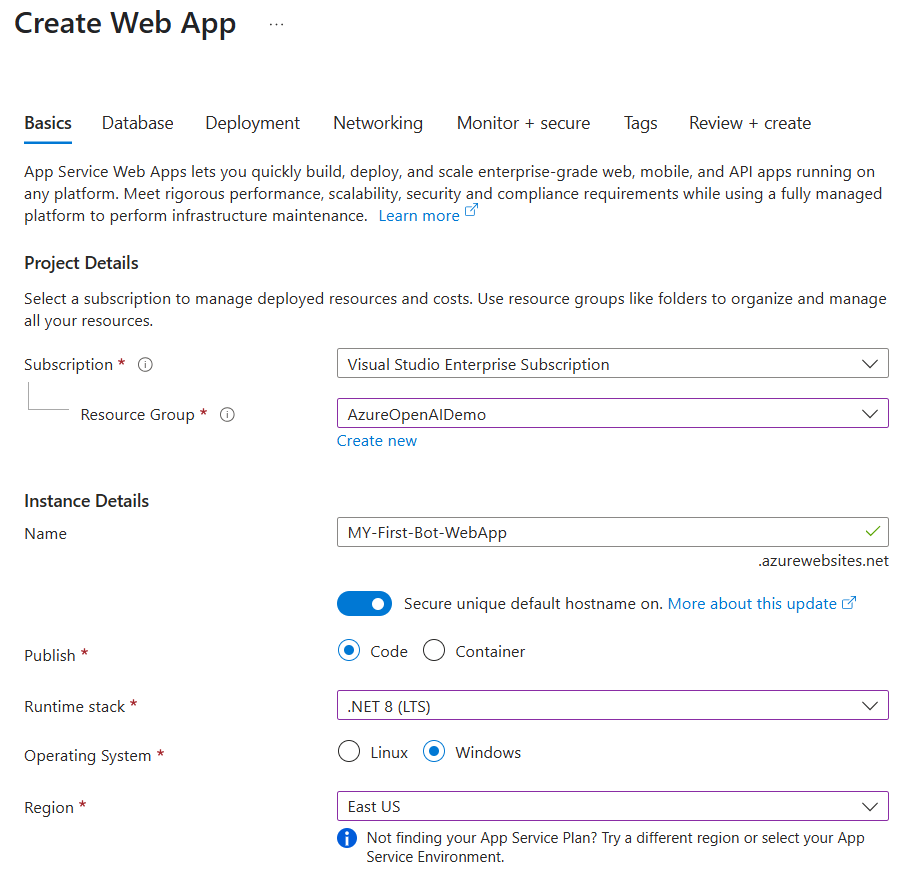
Select Review + Create to validate the deployment and review the deployment details. Then, select Create.
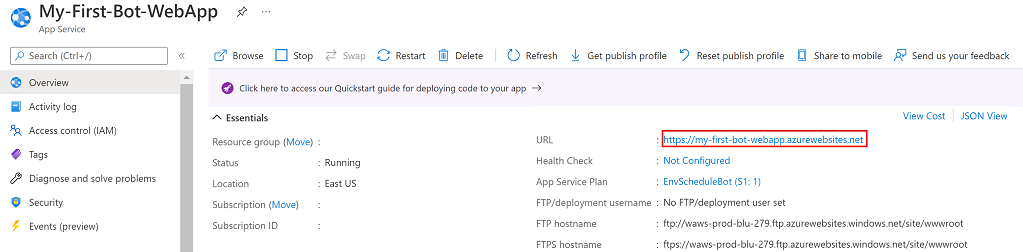
When the web app resource is created, copy the hostname URL shown in the resource details. The URL is part of the endpoint you create for the web app.
Step 3: Create an Azure Bot Service resource
In the Azure portal, select Create a resource. In the search box, enter bot. Select the Azure Bot tile.
In Create an Azure Bot, select Multi Tenant as Type of App and Create new Microsoft App ID" as Creation Type.
Select Review + Create to validate the deployment and review the deployment details. Then, select Create.
Get the bot app ID and create the password. Record these values to use for later configurations.
Step 4: Create a messaging endpoint for the bot
Azure Bot Service typically expects the Bot Application Web App Controller to expose an endpoint in the form /api/messages. The endpoint handles all messages sent to the bot.
Next, in the bot resource, create a web app messaging endpoint:
In Azure portal, go to your Azure Bot resource. From the resource menu, select Configuration.
In Configuration, for Messaging endpoint, paste the hostname URL of the web app you copied in the preceding section. Append the URL with
/api/messages.Select Apply.

Step 5: Create an Azure Communication Service Resource
In Azure portal, select Create a resource. In the search box, enter communication services. Select the Communication Services tile.
In Create an Azure Communication Service, you can specify the subscription, the resource group, the name of the Communication Services resource, and the geography associated with the resource.
Select Review + Create to validate the deployment and review the deployment details. Then select Create.
Go to the resource. Select Settings - Identities & User Access Tokens > Chat, then click Generate. Save the Identity and User Access Token for future use.

Step 6: Enable the Communication Services Chat channel
When you have a Communication Services resource, you can set up a Communication Services channel in the bot resource. This process generates a Bot Azure Communication Services User ID for the bot.
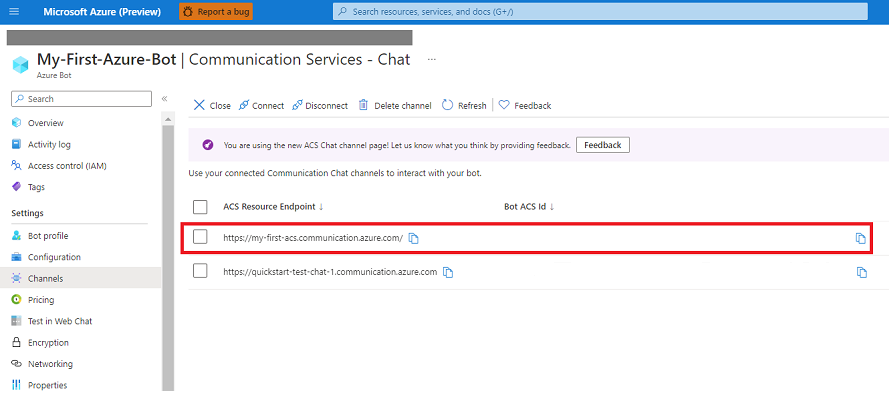
In the Azure portal, go to your Azure Bot resource. In the resource menu, select Channels. In the list of available channels, select Communication Services - Chat.
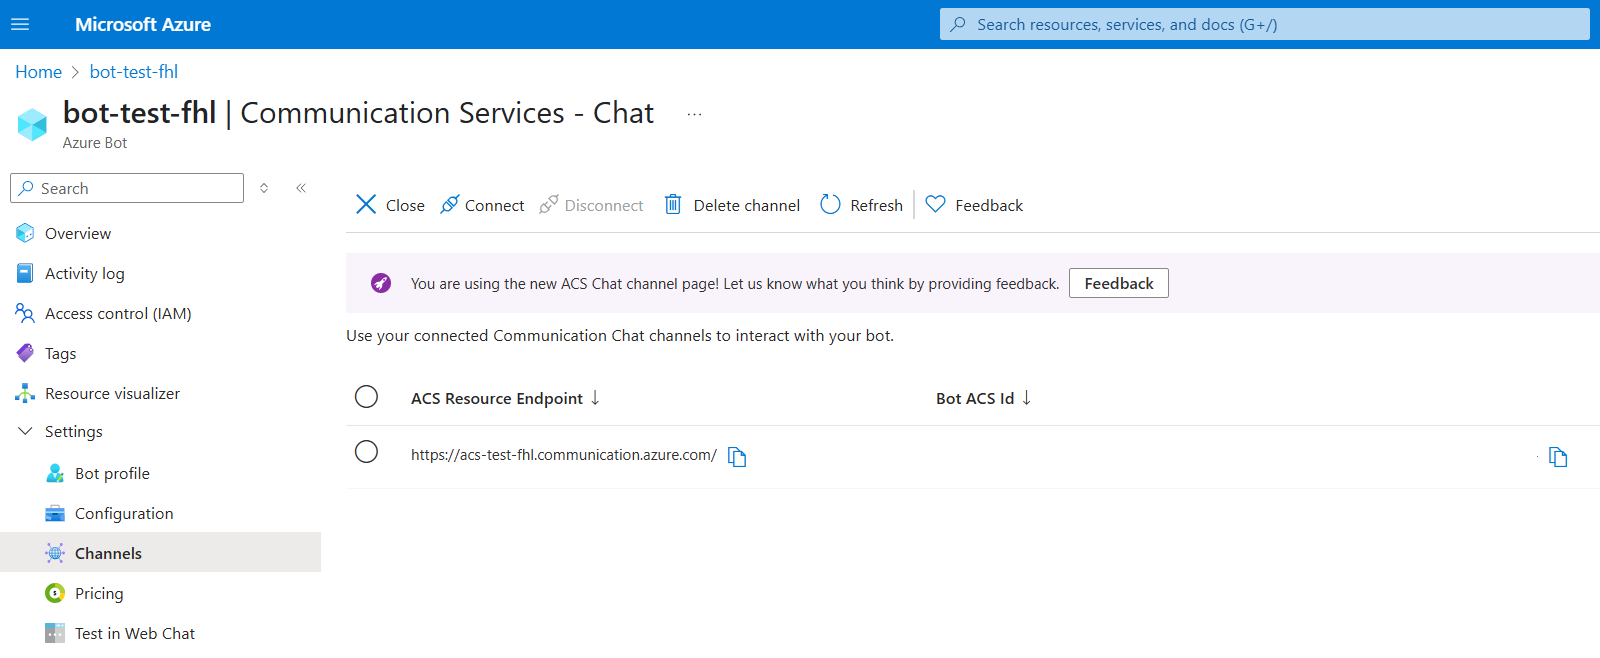
Select Connect to see a list of Communication Services resources that are available in your subscription.
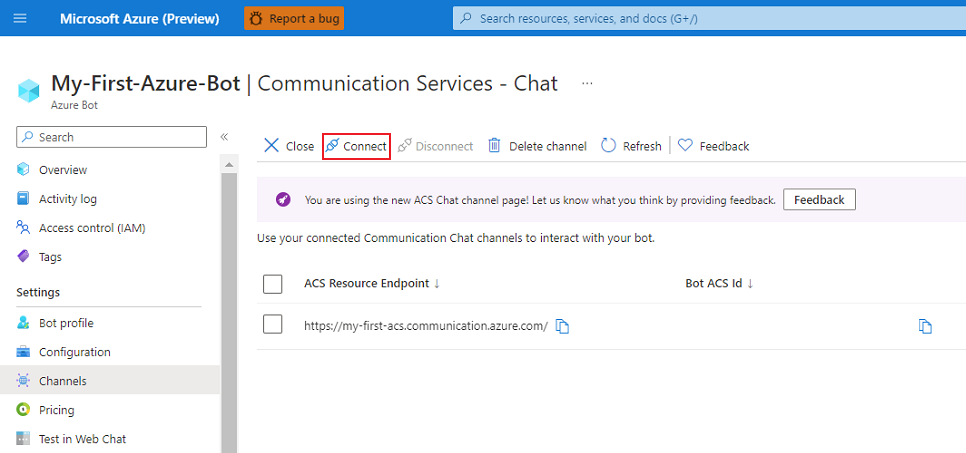
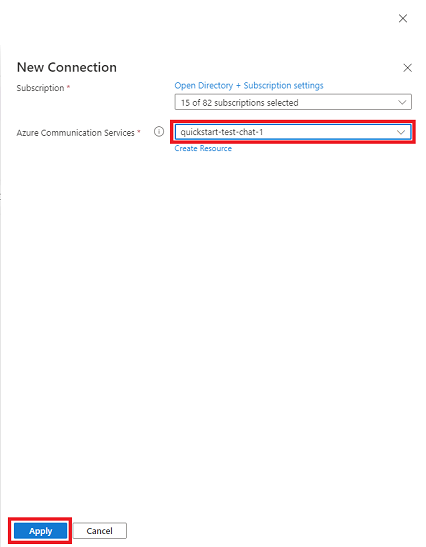
In the New Connection pane, select the Communication Services chat resource, and then select Apply.
When the resource details are verified, a Bot Azure Communication Services User ID is shown in the Bot Azure Communication Services Id column. Save the ID for later use.


Step 7: Deploy the web app
Open the
ChatBotfolder in the Sample Repo in Visual Studio Code (VS Code). Make sure to use VS Code because it supports Microsoft Entra ID in code deployment.Replace the placeholders in the sample repo with actual values:
- In the
SemanticKernelService.csfile, populate the values for variablesmodelId,endpoint, andapiKey. - In the
appsettings.jsonfile, populate the values for variablesMicrosoftAppIdandMicrosoftAppPasswordusing thebot app idand thebot passwordyou recorded in Step 3.
- In the
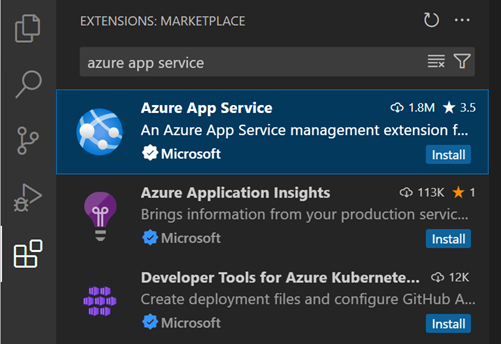
Install the Azure App Service extension in VS Code.
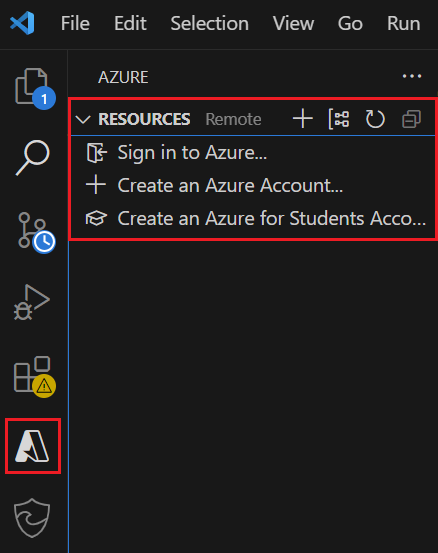
Sign in to your Azure account in VS Code. To access the sign in panel, click the Azure icon from the Activity Bar on the side of the window.
Install the Azure App Service extension in VS Code.
Build the project by running the following command in the root directory of the 'ChatBot' project.
dotnet publish -c Release -o ./bin/Publish


This command generates the bin and obj folders.
To deploy the Web App, right-click on the new
/bin/Publishfolder and select Deploy to Web App.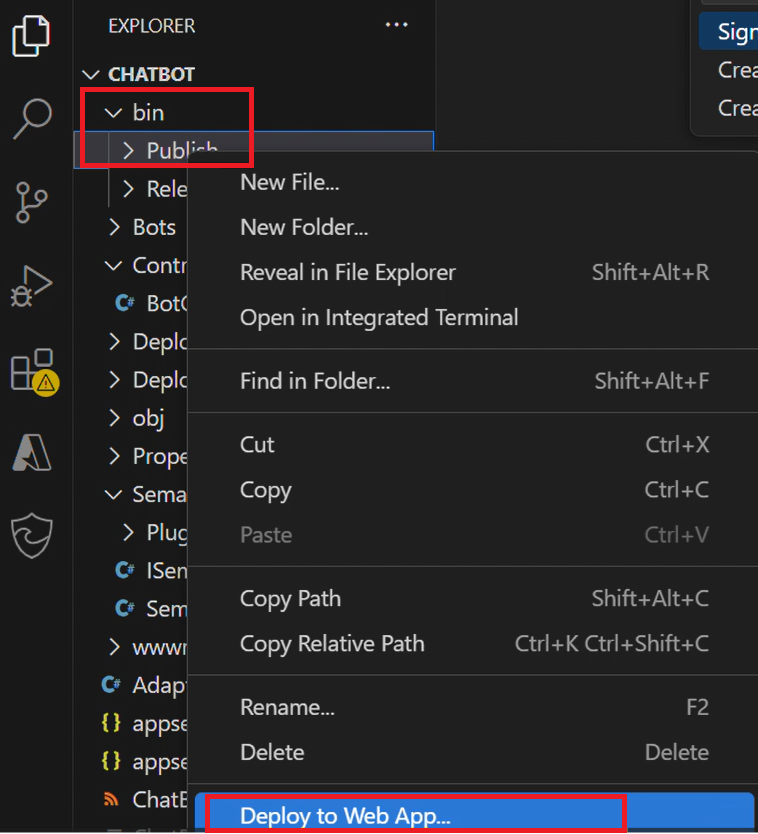
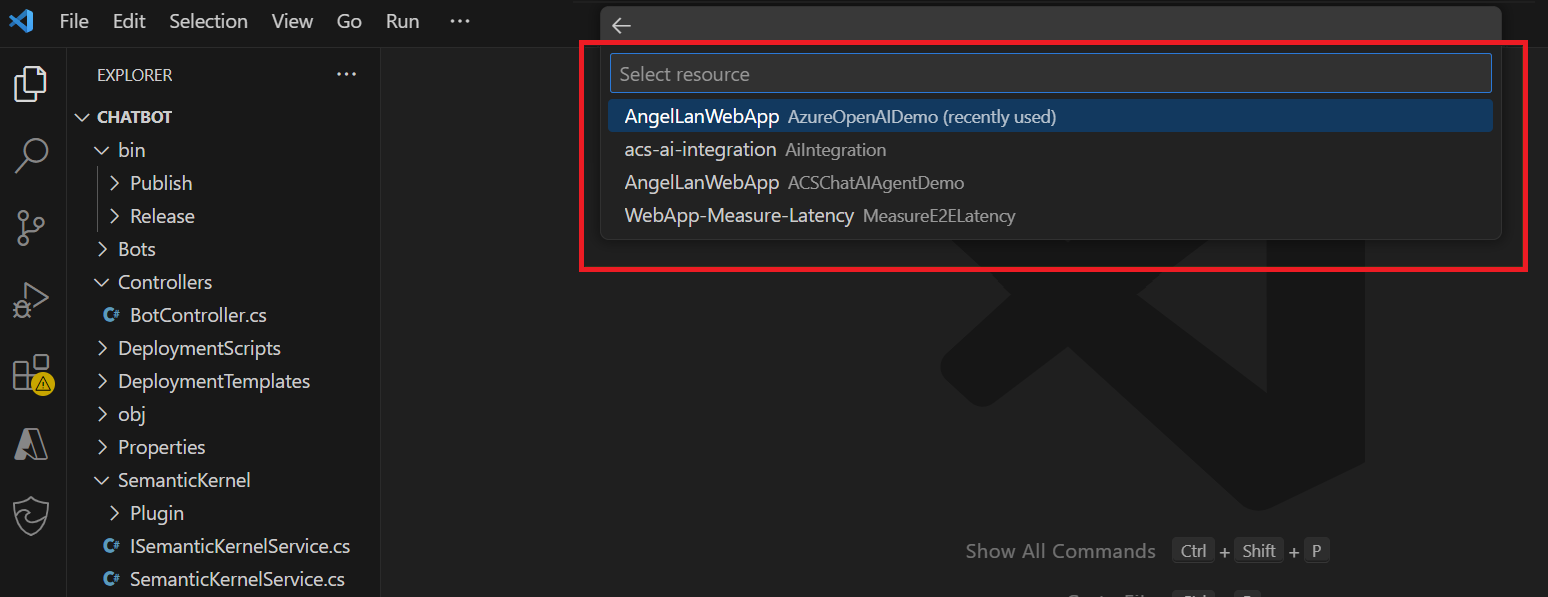
Choose the Azure App Service web app you want to deploy the application to. Confirm the deployment.
Step 8: Run the demo
Follow the steps before "Get a chat thread client" in Add Chat to your App to create a chat app and start a thread.
Key notes:
- You already created the Azure Communication Service resource in the portal, so you can directly use the
<Azure Communication Services endpoint>,<Access_ID>, and<Access_Token>in your code. - When creating a thread, you need to create another
ChatParticipantobject, using theBot Azure Communication Services User IDcreated in Step 6: Enable the Communication Services Chat channel as the<Access_ID>to represent the bot user. - Save the
Thread Idfor later use.
- You already created the Azure Communication Service resource in the portal, so you can directly use the
Open the UI Library composite: Azure Communication Services Chat Thread UI - Join Existing Chat Thread.
Provide the required information to join an existing Chat Thread.
- Display name: You can choose the one you prefer.
- User Identifier for user: the
<Access_ID>saved in step 8.1. - Valid token for user: the
<Access_Token>saved in step 8.1. - Azure Communication Services endpoint: the
<Azure Communication Services endpoint>saved in step 8.1. - Existing thread: the
Thread Idsaved in step 8.1.
Ask the following questions in sequence:
- Questions 1: My user ID is 110. I bought a laptop several days ago. Could you help to track the delivery?
- Question 2: I requested a return for my Power Bank. Any updates?
- Question 3: I bought Bluetooth Earphones 2 days ago, but they haven’t been shipped yet. Why?
OpenAI retrieves the data relevant to the semantics of the question and provides an answer based on available data.
Trademarks
This project might contain trademarks or logos for projects, products, or services. Authorized use of Microsoft trademarks or logos is subject to and must follow Microsoft's Trademark & Brand Guidelines.
Use of Microsoft trademarks or logos in modified versions of this project must not cause confusion or imply Microsoft sponsorship.
Any use of third-party trademarks or logos are subject to those third-party's policies.
Related articles
- Add a bot to your chat app.
- Join Existing Chat Thread from Azure Communication Services Chat Thread UI Library.