Note
Access to this page requires authorization. You can try signing in or changing directories.
Access to this page requires authorization. You can try changing directories.
APPLIES TO:  Azure Stack Edge Pro - GPUAzure Stack Edge Pro 2Azure Stack Edge Pro RAzure Stack Edge Mini R
This article describes how to create backups of virtual machine disks on Azure Stack Edge Pro GPU device using Azure PowerShell.
Important
This procedure is meant to be used for VMs that are stopped. To back up running VMs, we recommend that you use a third-party backup tool.
Workflow
The following steps summarize the high-level workflow to back up a VM disk on your device:
- Stop the VM.
- Take a snapshot of the VM disk.
- Copy the snapshot to a local storage account as a VHD.
- Upload the VHD to an external target.
Prerequisites
Before you back up VMs, make sure that:
- You've access to a client that you'll use to connect to your device.
- Your client runs a Supported OS.
- Your client is configured to connect to the local Azure Resource Manager of your device as per the instructions in Connect to Azure Resource Manager for your device.
Verify connection to local Azure Resource Manager
Make sure that the following steps can be used to access the device from your client.
Verify that your client can connect to the local Azure Resource Manager.
Call local device APIs to authenticate:
Provide the username
EdgeArmUserand the password to connect via Azure Resource Manager. If you do not recall the password, Reset the password for Azure Resource Manager and use this password to sign in.
Back up a VM Disk
Get a list of the VMs running on your device. Identify the VM that you want to stop and the corresponding resource group.
Get-AzVMHere is an example output:
PS C:\Users\user> Get-AzVM

ResourceGroupName            Name Location         VmSize OsType                NIC
-----------------            ---- --------         ------ ------                ---
MYASEAZRG                  myazvm dbelocal Standard_D1_v2  Linux           myaznic1
MYASERG           myasewindowsvm2 dbelocal Standard_D1_v2  Linux myasewindowsvm2nic

PS C:\Users\user>
Set some parameters.
$ResourceGroupName = "<Resource group name>"
$VmName = "<VM name>"
Stop the VM.
Stop-AzVM –ResourceGroupName $ResourceGroupName -Name $VmNameHere is an example output:
PS C:\Users\user> Stop-AzVM -ResourceGroupName myaserg -Name myasewindowsvm2
Virtual machine stopping operation
This cmdlet will stop the specified virtual machine. Do you want to continue?
[Y] Yes  [N] No  [S] Suspend  [?] Help (default is "Y"): Y

OperationId : 8a2fa7ea-99d0-4f9f-b8ca-e37389cd8413
Status      : Succeeded
StartTime   : 6/28/2021 11:51:33 AM
EndTime     : 6/28/2021 11:51:50 AM
Error       :

PS C:\Users\user>
You can also stop the VM from the Azure portal.
Take a snapshot of the VM disk and save the snapshot to a local resource group. You can use this procedure for both OS and data disks.
Get the list of disks on your device, or in a specific resource group. Make a note of the name of the disk to back up.
$Disk = Get-AzDisk -ResourceGroupName $ResourceGroupName
$Disk.Name
Here is an example output:
PS C:\Users\user> $Disk = Get-AzDisk -ResourceGroupName myaserg
PS C:\Users\user> $Disk.Name
myasewindowsvm2_disk1_2a066432056446669368969835d5e3b3
myazdisk1
myvmdisk2
PS C:\Users\user>
Create a local resource group to serve as the destination for the VM snapshot. Location is set as
dbelocal.New-AzResourceGroup -ResourceGroupName <Resource group name> -Location dbelocalPS C:\Users\user> New-AzResourceGroup -ResourceGroupName myaseazrg1 -Location dbelocal ResourceGroupName : myaseazrg1 Location : dbelocal ProvisioningState : Succeeded Tags : ResourceId : /subscriptions/.../resourceGroups/myaseazrg1 PS C:\Users\user>Set some parameters.
$DiskResourceGroup = <Disk resource group>
$DiskName = <Disk name>
$SnapshotName = <Snapshot name>
$DestinationRG = <Snapshot destination resource group>
Set the snapshot configuration and take the snapshot.
$Disk = Get-AzDisk -ResourceGroupName $DiskResourceGroup -DiskName $DiskName
$SnapshotConfig = New-AzSnapshotConfig -SourceUri $Disk.Id -CreateOption Copy -Location 'dbelocal'
$Snapshot = New-AzSnapshot -Snapshot $SnapshotConfig -SnapshotName $SnapshotName -ResourceGroupName $DestinationRG
Verify that the snapshot is created in the destination resource group.
Get-AzSnapshot -ResourceGroupName $DestinationRGHere is an example output:
PS C:\Users\user> $DiskResourceGroup = "myaserg"
PS C:\Users\user> $DiskName = "myazdisk1"
PS C:\Users\user> $SnapshotName = "myasdisk1ss"
PS C:\Users\user> $DestinationRG = "myaseazrg1"
PS C:\Users\user> $Disk = Get-AzDisk -ResourceGroupName $DiskResourceGroup -DiskName $DiskName
PS C:\Users\user> $SnapshotConfig = New-AzSnapshotConfig -SourceUri $Disk.Id -CreateOption Copy -Location 'dbelocal'
PS C:\Users\user> $Snapshot=New-AzSnapshot -Snapshot $SnapshotConfig -SnapshotName $SnapshotName -ResourceGroupName $DestinationRG
PS C:\Users\user> Get-AzSnapshot -ResourceGroupName $DestinationRG

ResourceGroupName            : myaseazrg1
ManagedBy                    :
Sku                          : Microsoft.Azure.Management.Compute.Models.SnapshotSku
TimeCreated                  : 6/28/2021 6:57:40 PM
OsType                       :
HyperVGeneration             :
CreationData                 : Microsoft.Azure.Management.Compute.Models.CreationDat
                               a
DiskSizeGB                   : 10
DiskSizeBytes                : 10737418240
UniqueId                     : fbc1cfac-8bbb-44d8-8aa4-9e8811950fcc
EncryptionSettingsCollection :
ProvisioningState            : Succeeded
Incremental                  : False
Encryption                   : Microsoft.Azure.Management.Compute.Models.Encryption
Id                           : /subscriptions/.../r
                               esourceGroups/myaseazrg1/providers/Microsoft.Compute/
                               snapshots/myasdisk1ss
Name                         : myasdisk1ss
Type                         : Microsoft.Compute/snapshots
Location                     : DBELocal
Tags                         : {}

PS C:\Users\user>
Copy the snapshot into a local storage account
Copy the snapshots to a local storage account on your device.
Set some parameters.
$StorageAccountRG = <Local storage account resource group>
$StorageAccountName = <Storage account name>
$StorageEndpointSuffix = <Connection string in format: DeviceName.DnsDomain.com>
$DestStorageContainer = <Destination storage container>
$DestFileName = <Blob file name>
Create a local storage account on your device.
New-AzStorageAccount -Name $StorageAccountName -ResourceGroupName $StorageAccountRG -Location DBELocal -SkuName Standard_LRSHere is an example output:
PS C:\Users\user> New-AzStorageAccount -Name  $StorageAccountName -ResourceGroupName $StorageAccountRG -Location DBELocal -SkuName Standard_LRS

StorageAccountName ResourceGroupName PrimaryLocation SkuName      Kind    AccessTier
------------------ ----------------- --------------- -------      ----    ----------
myaseazsa1         myaseazrg2        DBELocal        Standard_LRS Storage
PS C:\Users\user>
Create a container in the local storage account that you created.
$keys = Get-AzStorageAccountKey -ResourceGroupName $StorageAccountRG -Name $StorageAccountName
$keyValue = $keys[0].Value
$storageContext = New-AzStorageContext -StorageAccountName $StorageAccountName -StorageAccountKey $keyValue -Protocol Http -Endpoint $StorageEndpointSuffix;
$container = New-AzStorageContainer -Name $DestStorageContainer -Context $storageContext -Permission Container -ErrorAction Ignore;
Here is an example output:
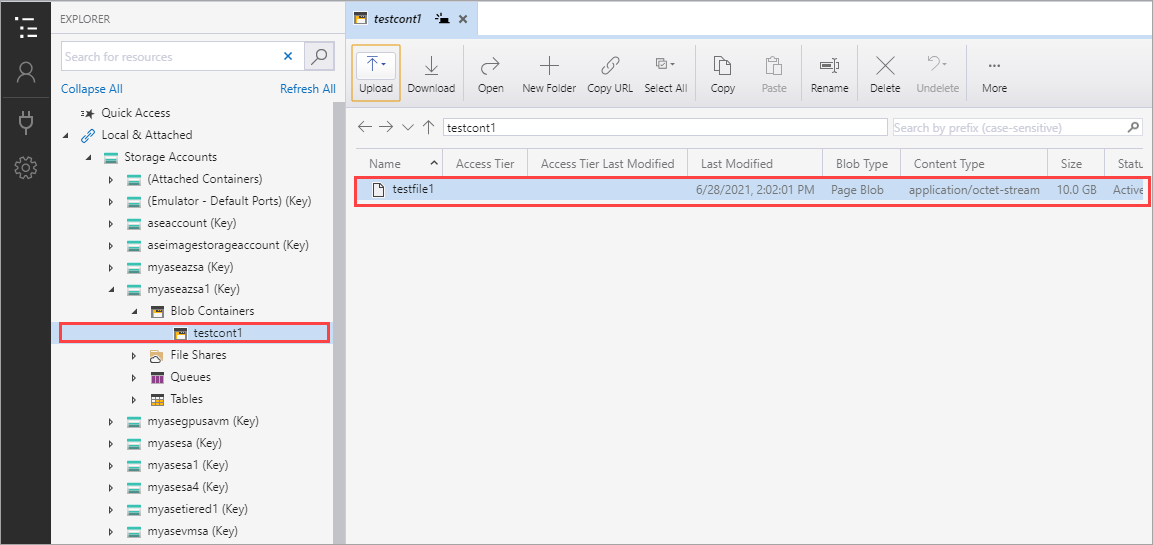
PS C:\Users\user> $StorageAccountRG = "myaseazrg2"
PS C:\Users\user> $StorageAccountName = "myaseazsa1"
PS C:\Users\user> $StorageEndpointSuffix = "myasegpu.wdshcsso.com"
PS C:\Users\user> $DestStorageContainer = "testcont1"
PS C:\Users\user> $DestFileName = "testfile1"

PS C:\Users\user> $keys = Get-AzStorageAccountKey -ResourceGroupName $StorageAccountRG -Name $StorageAccountName
PS C:\Users\user> $keyValue = $keys[0].Value
PS C:\Users\user> $storageContext = New-AzStorageContext -StorageAccountName $StorageAccountName -StorageAccountKey $keyValue -Protocol Http -Endpoint $StorageEndpointSuffix;
PS C:\Users\user> $storagecontext

StorageAccountName  : myaseazsa1
BlobEndPoint        : http://myaseazsa1.blob.myasegpu.wdshcsso.com/
TableEndPoint       : http://myaseazsa1.table.myasegpu.wdshcsso.com/
QueueEndPoint       : http://myaseazsa1.queue.myasegpu.wdshcsso.com/
FileEndPoint        : http://myaseazsa1.file.myasegpu.wdshcsso.com/
Context             : Microsoft.WindowsAzure.Commands.Storage.AzureStorageContext
Name                :
StorageAccount      : BlobEndpoint=http://myaseazsa1.blob.myasegpu.wdshcsso.com/;Que
                      ueEndpoint=http://myaseazsa1.queue.myasegpu.wdshcsso.com/;Tabl
                      eEndpoint=http://myaseazsa1.table.myasegpu.wdshcsso.com/;FileE
                      ndpoint=http://myaseazsa1.file.myasegpu.wdshcsso.com/;AccountN
                      ame=myaseazsa1;AccountKey=[key hidden]
TableStorageAccount : BlobEndpoint=http://myaseazsa1.blob.myasegpu.wdshcsso.com/;Que
                      ueEndpoint=http://myaseazsa1.queue.myasegpu.wdshcsso.com/;Tabl
                      eEndpoint=http://myaseazsa1.table.myasegpu.wdshcsso.com/;FileE
                      ndpoint=http://myaseazsa1.file.myasegpu.wdshcsso.com/;DefaultE
                      ndpointsProtocol=https;AccountName=myaseazsa1;AccountKey=[key
                      hidden]
Track2OauthToken    :
EndPointSuffix      : myasegpu.wdshcsso.com/
ConnectionString    : BlobEndpoint=http://myaseazsa1.blob.myasegpu.wdshcsso.com/;Que
                      ueEndpoint=http://myaseazsa1.queue.myasegpu.wdshcsso.com/;Tabl
                      eEndpoint=http://myaseazsa1.table.myasegpu.wdshcsso.com/;FileE
                      ndpoint=http://myaseazsa1.file.myasegpu.wdshcsso.com/;AccountN
                      ame=myaseazsa1;AccountKey=itOn5Awjh3hnoGKL7EDQ681zhIKG/szCt05Z
                      IWAxP/T22gwEXb5l0sKjI833Hqpc0MsBiSH2rM6NuuwnJyEO1Q==
ExtendedProperties  : {}


PS C:\Users\user> $container = New-AzStorageContainer -Name $DestStorageContainer -Context $storageContext -Permission Container -ErrorAction Ignore;
PS C:\Users\user> $container
Blob End Point: http://myaseazsa1.blob.myasegpu.wdshcsso.com/

Name                 PublicAccess         LastModified
----                 ------------         ------------
testcont1           Container            6/28/2021 2:46:03 PM +00:00

PS C:\Users\user>
You can also use Azure Storage Explorer to Create a local storage account and then Create a container in the local storage account on your device.
Download the snapshot into the local storage account.
$sassnapshot = Grant-AzSnapshotAccess -ResourceGroupName $DestinationRG -SnapshotName $SnapshotName -Access 'Read' -DurationInSecond 3600
$destContext = New-AzStorageContext –StorageAccountName $StorageAccountName -StorageAccountKey $keyValue
Start-AzStorageBlobCopy -AbsoluteUri $sassnapshot.AccessSAS -DestContainer $DestStorageContainer -DestContext $destContext -DestBlob $DestFileName
Here is an example output:
PS C:\Users\user> $sassnapshot

AccessSAS : https://md-2.blob.myasegpu.wdshcsso.com/22615edc48654bb8b77e383d3a7649ac
/abcd.vhd?sv=2017-04-17&sr=b&si=43ca8395-6942-496b-92d7-f0d6dc68ab63&sk=system-1&sig
=K%2Bc34uq7%2BLcTetG%2Bj9loOH440e03vDkD24Ug0Gf%2Bex8%3D

PS C:\Users\user> $destContext = New-AzStorageContext -StorageAccountName $StorageAccountName -StorageAccountKey $keyValue
PS C:\Users\user> $destContext


StorageAccountName  : myaseazsa1
BlobEndPoint        : https://myaseazsa1.blob.myasegpu.wdshcsso.com/
TableEndPoint       : https://myaseazsa1.table.myasegpu.wdshcsso.com/
QueueEndPoint       : https://myaseazsa1.queue.myasegpu.wdshcsso.com/
FileEndPoint        : https://myaseazsa1.file.myasegpu.wdshcsso.com/
Context             : Microsoft.WindowsAzure.Commands.Storage.AzureStorageContext
Name                :
StorageAccount      : BlobEndpoint=https://myaseazsa1.blob.myasegpu.wdshcsso.com/;Qu
                      eueEndpoint=https://myaseazsa1.queue.myasegpu.wdshcsso.com/;Ta
                      bleEndpoint=https://myaseazsa1.table.myasegpu.wdshcsso.com/;Fi
                      leEndpoint=https://myaseazsa1.file.myasegpu.wdshcsso.com/;Acco
                      untName=myaseazsa1;AccountKey=[key hidden]
TableStorageAccount : BlobEndpoint=https://myaseazsa1.blob.myasegpu.wdshcsso.com/;Qu
                      eueEndpoint=https://myaseazsa1.queue.myasegpu.wdshcsso.com/;Ta
                      bleEndpoint=https://myaseazsa1.table.myasegpu.wdshcsso.com/;Fi
                      leEndpoint=https://myaseazsa1.file.myasegpu.wdshcsso.com/;Defa
                      ultEndpointsProtocol=https;AccountName=myaseazsa1;AccountKey=[
                      key hidden]
Track2OauthToken    :
EndPointSuffix      : myasegpu.wdshcsso.com/
ConnectionString    : BlobEndpoint=https://myaseazsa1.blob.myasegpu.wdshcsso.com/;Qu
                      eueEndpoint=https://myaseazsa1.queue.myasegpu.wdshcsso.com/;Ta
                      bleEndpoint=https://myaseazsa1.table.myasegpu.wdshcsso.com/;Fi
                      leEndpoint=https://myaseazsa1.file.myasegpu.wdshcsso.com/;Acco
                      untName=myaseazsa1;AccountKey=itOn5Awjh3hnoGKL7EDQ681zhIKG/szC
                      t05ZIWAxP/T22gwEXb5l0sKjI833Hqpc0MsBiSH2rM6NuuwnJyEO1Q==
ExtendedProperties  : {}

PS C:\Users\user> Start-AzStorageBlobCopy -AbsoluteUri $sassnapshot.AccessSAS -DestContainer $DestStorageContainer -DestContext $destContext -DestBlob $DestFileName

   AccountName: myaseazsa1, ContainerName: testcont1

Name                 BlobType  Length          ContentType                    LastMo
                                                                              dified
----                 --------  ------          -----------                    ------
testfile1            BlockBlob -1                                             202...

PS C:\Users\user>
You can also use Storage Explorer to verify that the snapshot was copied correctly to the storage account.
Download VHD to external target
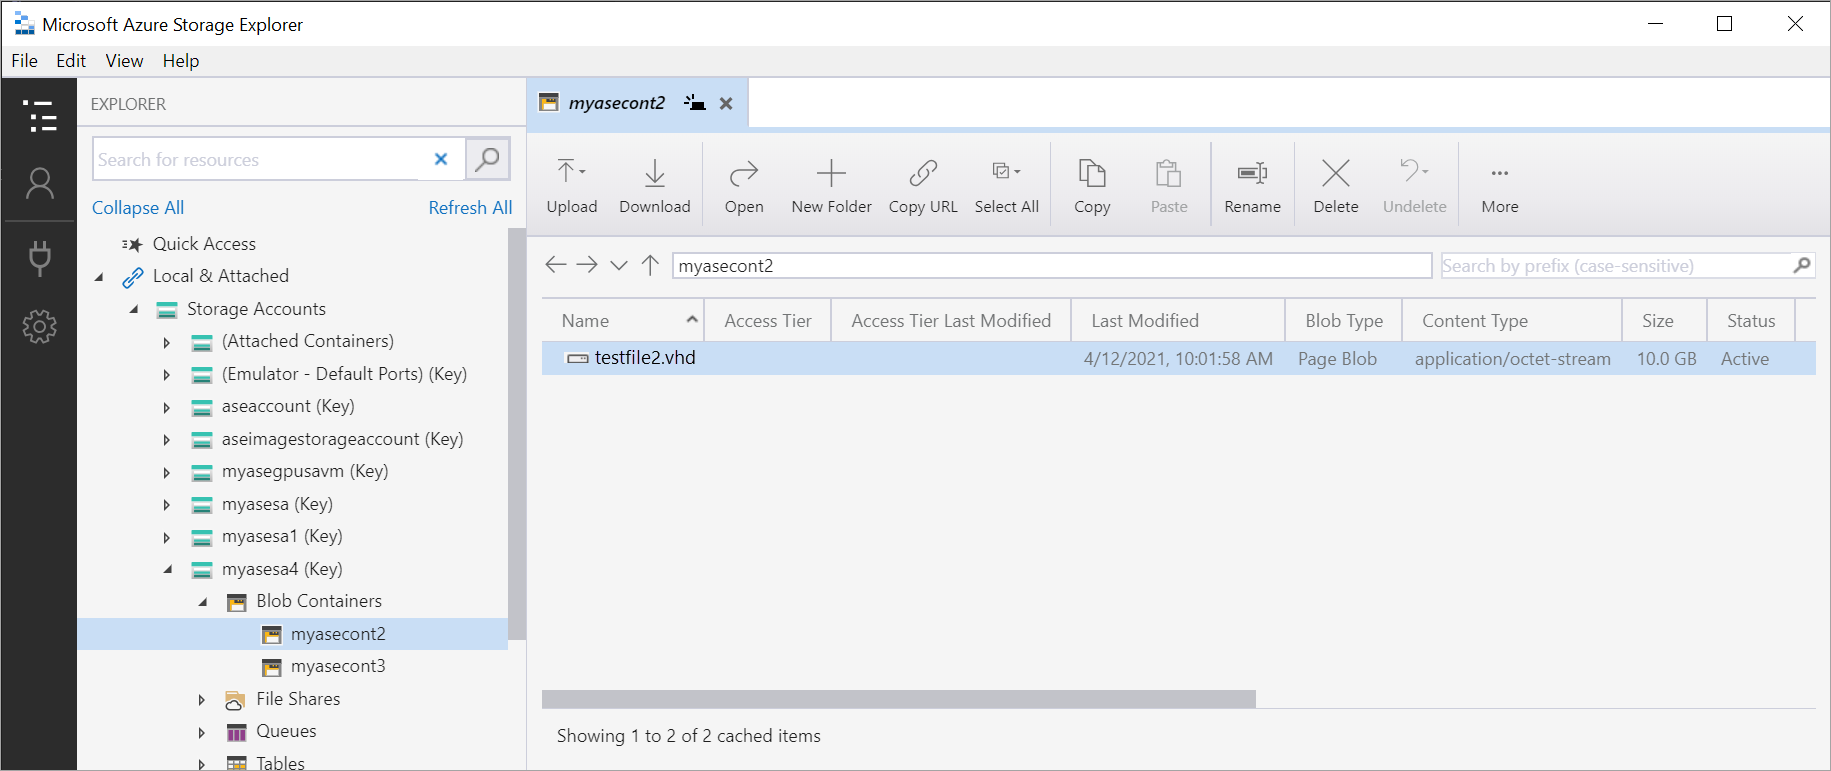
To move your backups to an external location, you can use Azure Storage Explorer or AzCopy.
Use the following AzCopy command to download VHD to an external target.
azcopy copy "https://<local storage account name>.blob.<device name>.<DNS domain>/<container name>/<filename><SAS query string>" <destination target>To set up and use Azure Storage Explorer with Azure Stack Edge, see the instructions in Use Storage Explorer for upload.
Next steps
Deploy virtual machines on your Azure Stack Edge Pro GPU device using templates.