Use the Azure portal to manage network interfaces on the VMs on your Azure Stack Edge Pro GPU
APPLIES TO:  Azure Stack Edge Pro - GPUAzure Stack Edge Pro 2Azure Stack Edge Pro RAzure Stack Edge Mini R
You can create and manage virtual machines (VMs) on an Azure Stack Edge device using Azure portal, templates, Azure PowerShell cmdlets and via Azure CLI/Python scripts. This article describes how to manage the network interfaces on a VM running on your Azure Stack Edge device using the Azure portal.
When you create a VM, you specify one virtual network interface to be created. You may want to add one or more network interfaces to the virtual machine after it is created. You may also want to change the default network interface settings for an existing network interface.
This article explains how to add a network interface to an existing VM, change existing settings such as IP type (static vs. dynamic), and detach or delete an existing interface.
About network interfaces on VMs
A network interface enables a virtual machine (VM) running on your Azure Stack Edge Pro device to communicate with Azure and on-premises resources.
You can create one or more virtual switches using the local UI. After the virtual switch is created, Azure Stack Edge will create a default network for it. A VM can attach to the default network via a virtual switch. The default network name is the same as the virtual switch name.
Creating a virtual network is optional. You must create a virtual network only if your network is in a different VLAN network, or if it has a different, non-default address space and gateway.
Multiple network interfaces can be associated with one virtual switch. Each network interface on your VM has a static or a dynamic IP address assigned to it. With IP addresses assigned to multiple network interfaces on your VM, certain capabilities are enabled on your VM. For example, your VM can host multiple websites or services with different IP addresses and SSL certificates on a single server.
A VM on your device can serve as a network virtual appliance, such as a firewall or a load balancer. For more information about adding a virtual local area network (LAN) configuration on a virtual switch, see Create virtual LANs.
Prerequisites
Before you begin to manage VMs on your device via the Azure portal, make sure that:
You've access to an activated Azure Stack Edge Pro GPU device. You have enabled a network interface for compute on your device. This action creates a virtual switch on that network interface on your VM.
In the local UI of your device, go to Compute. Select the network interface that you will use to create a virtual switch.
Enable compute on the network interface. Azure Stack Edge Pro GPU creates and manages a virtual switch corresponding to that network interface.
You have at least one VM deployed on your device. To create this VM, see the instructions in Deploy VM on your Azure Stack Edge Pro via the Azure portal.
Your VM should be in Stopped state. To stop your VM, go to Virtual machines and select the VM you want to stop. In the VM Details page, select Stop and then select Yes when prompted for confirmation. Before you add, edit, or delete network interfaces, you must stop the VM.

Add a network interface
Follow these steps to add a network interface to a virtual machine deployed on your device.
Go to the virtual machine that you have stopped, and select Networking.
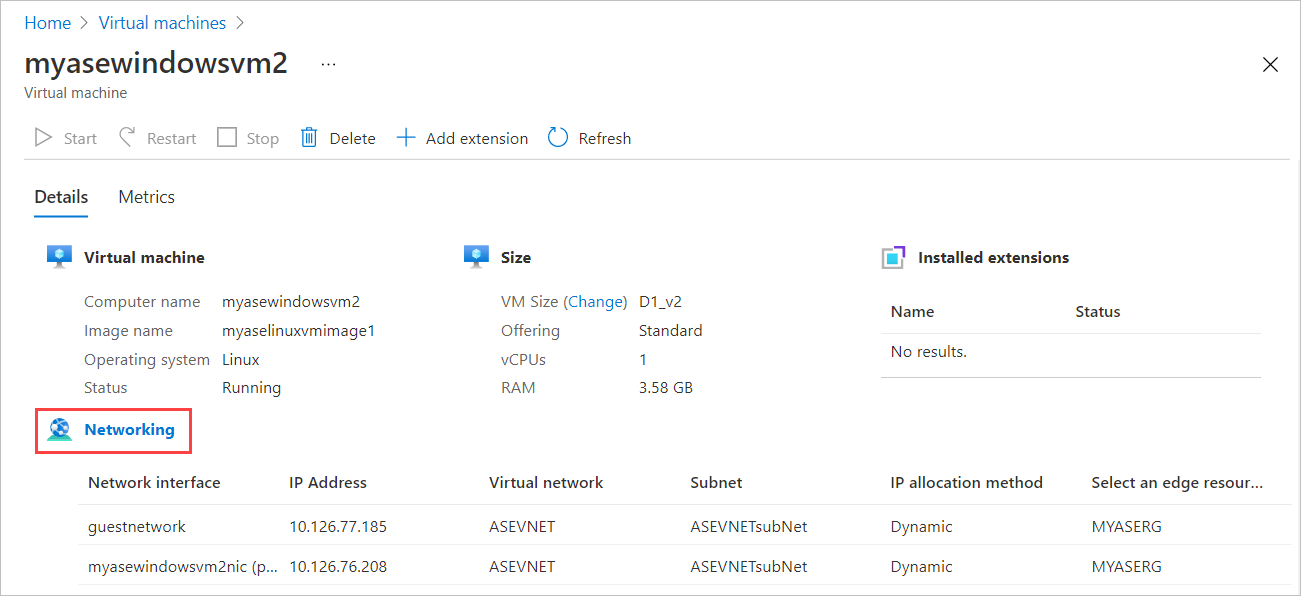
In the Networking blade, from the command bar, select + Add network interface.

In the Add network interface blade, enter the following parameters:
Field Description Name A unique name within the edge resource group. The name cannot be changed after the network interface is created. To manage multiple network interfaces easily, use the suggestions provided in the Naming conventions. Select an edge resource group Select the edge resource group to add the network interface to. Virtual network The virtual network associated with the virtual switch created on your device when you enabled compute on the network interface. Subnet A subnet within the selected virtual network. This field is automatically populated with the subnet associated with the network interface on which you enabled compute. IP address assignment A static or a dynamic IP for your network interface. The static IP should be an available, free IP from the specified subnet range. Choose dynamic if a DHCP server exists in the environment. 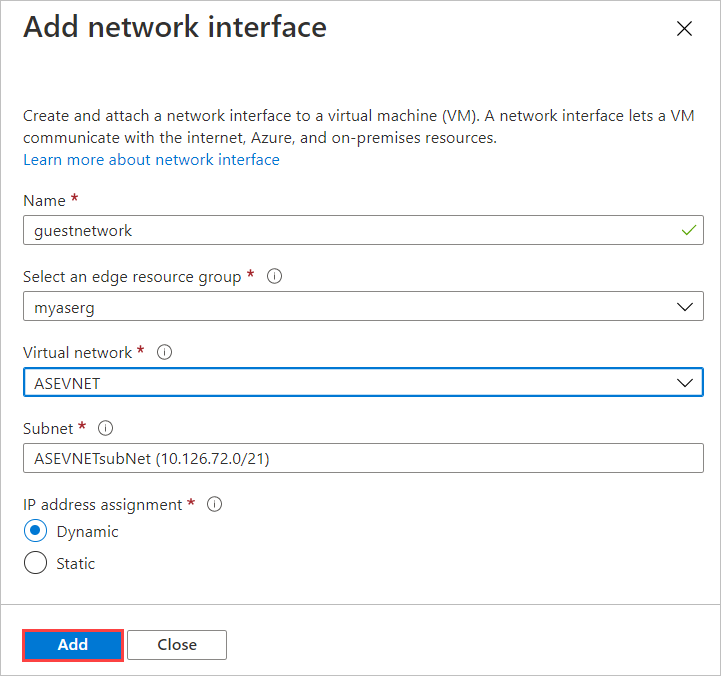
You'll see a notification that the network interface creation is in progress.
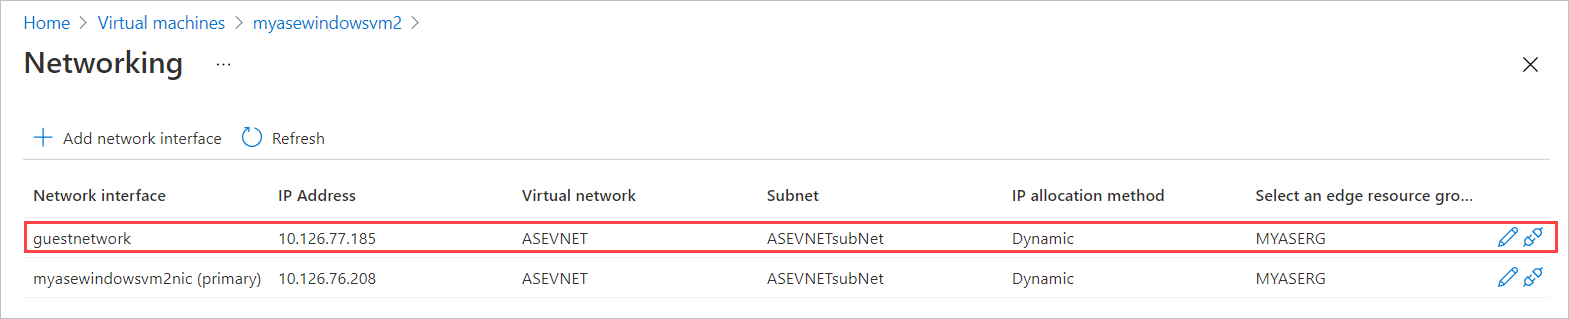
After the network interface is successfully created, the list of network interfaces refreshes to display the newly created interface.
Edit a network interface
Follow these steps to edit a network interface associated with a virtual machine deployed on your device.
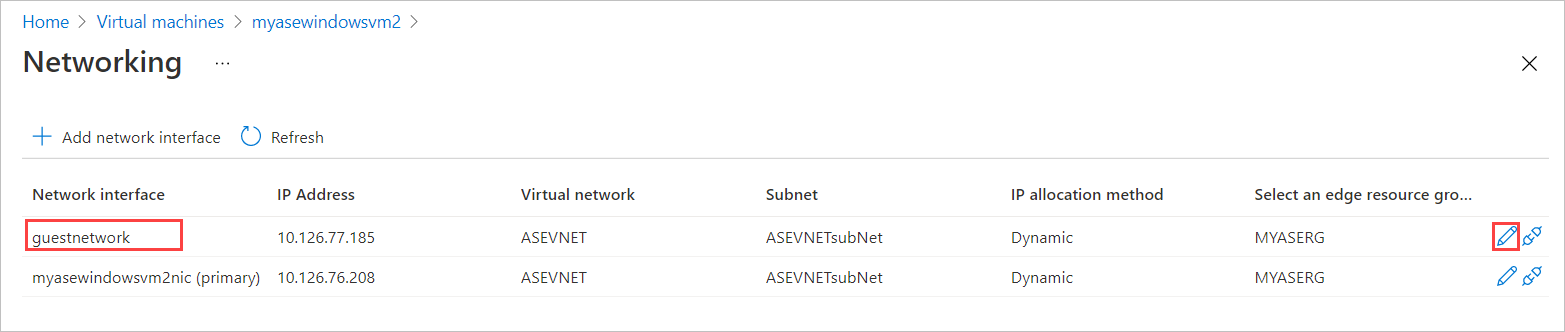
Go to the virtual machine that you have stopped, and select Networking in the virtual machine Details.
In the list of network interfaces, select the interface that you wish to edit. In the far right of the network interface selected, select the edit icon (pencil).
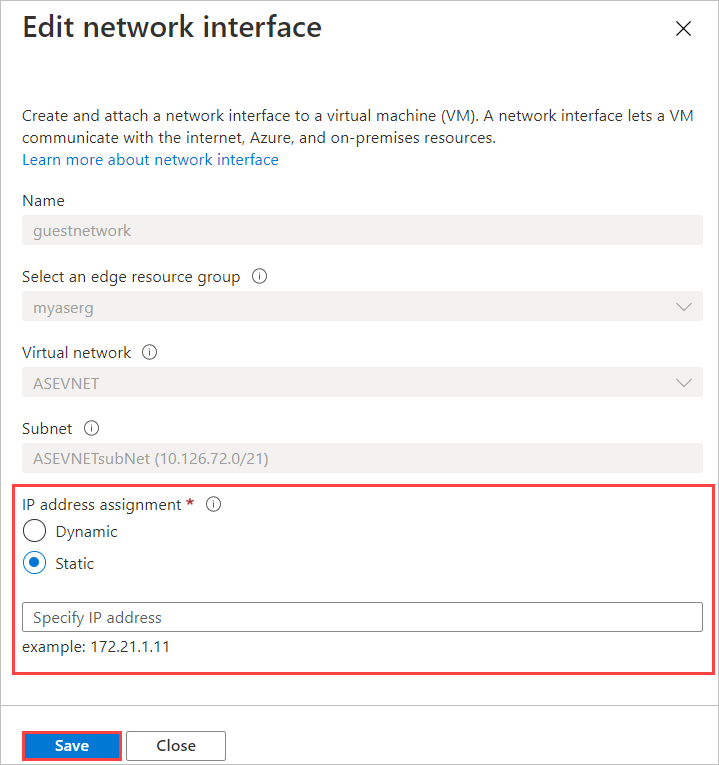
In the Edit network interface blade, you can only change the IP assignment of the network interface. The name, edge resource group, virtual network, and subnet associated with the network interface can't be changed once it is created. Change the IP assignment to static, and save the changes.
The list of network interface refreshes to display the updated network interface.
Detach a network interface
Follow these steps to detach or remove a network interface associated with a virtual machine deployed on your device.
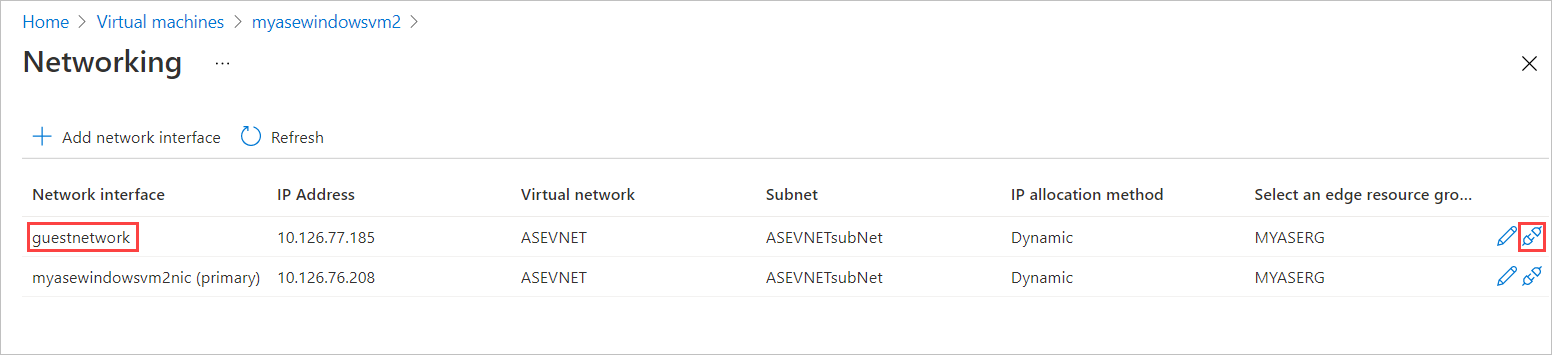
Go to the virtual machine that you have stopped, and select Networking in the virtual machine Details.
In the list of network interfaces, select the interface that you wish to edit. In the far right of the network interface selected, select the detach icon (unplug).
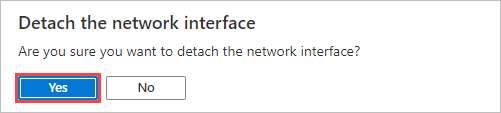
You'll see a message asking you to confirm that you want to detach the network interface. Select Yes.
After the interface is completely detached, the list of network interfaces is refreshed to display the remaining interfaces.
Delete a network interface
Follow these steps to delete a network interface that isn't attached to a virtual machine.
Go to Virtual machines, and then to the Resources page. Select Networking.
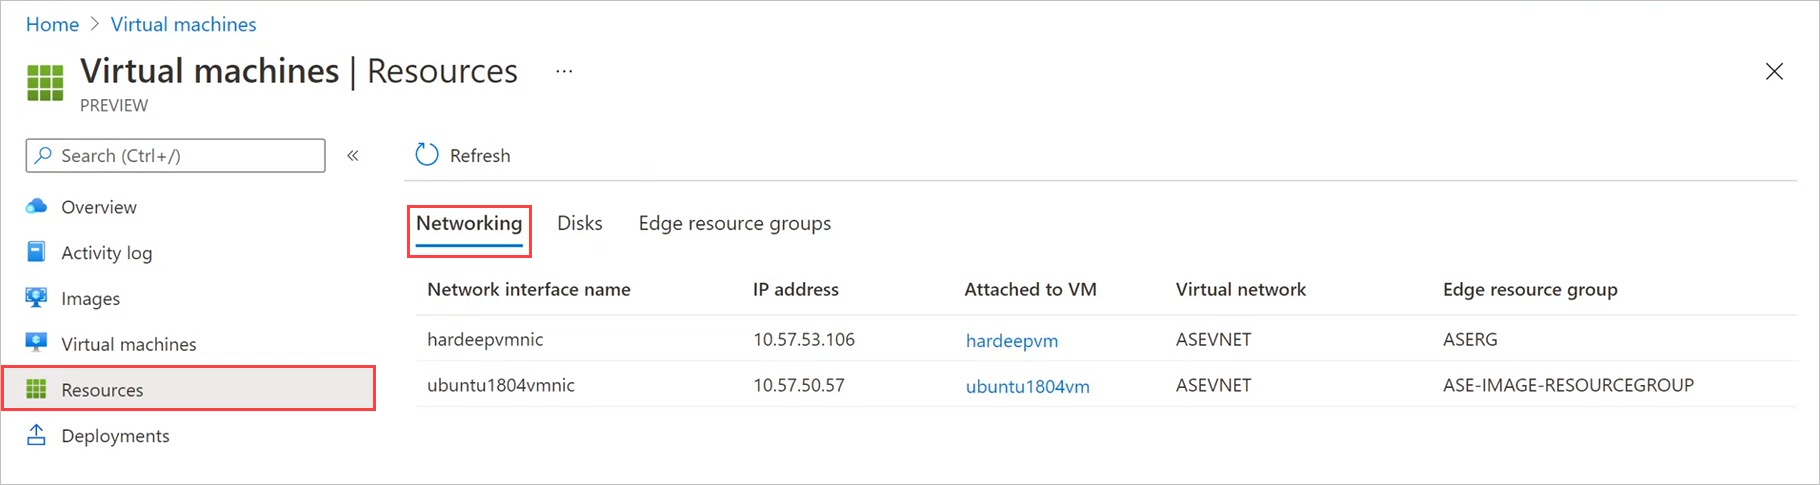
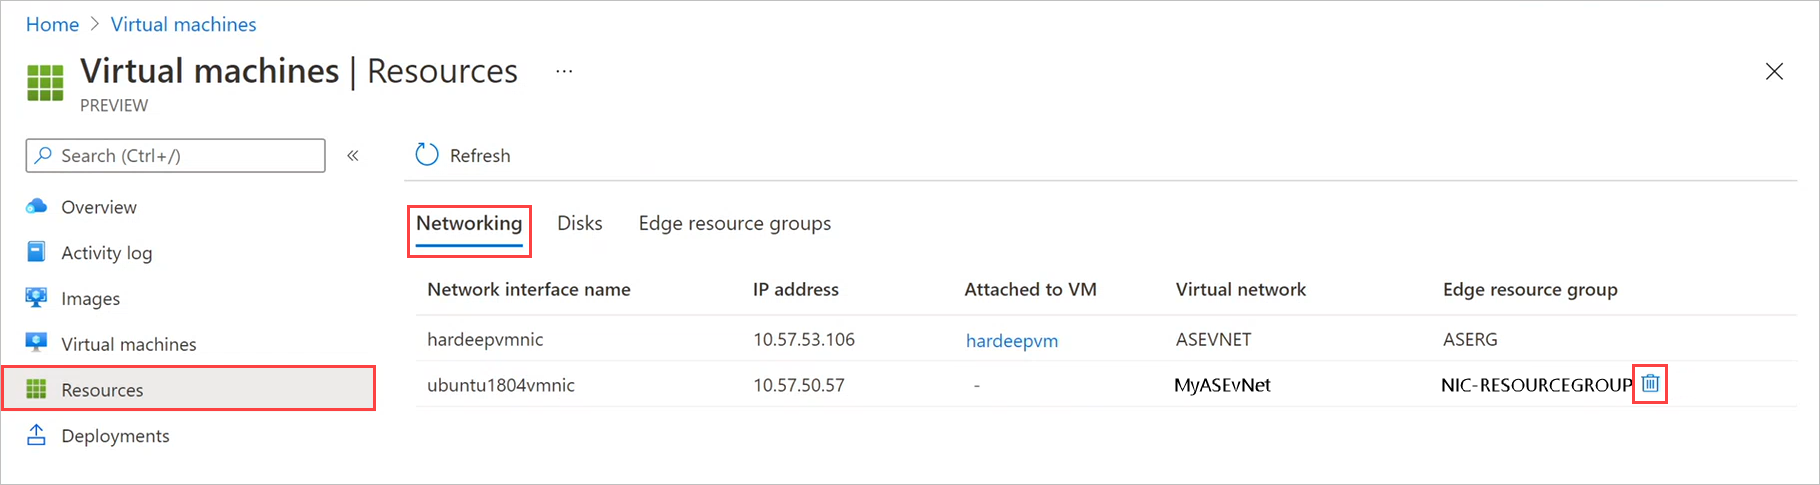
On the Networking blade, select the delete icon (trashcan) by the network interface you want to delete. The delete icon is only displayed for network interfaces that aren't attached to a VM.
You'll see a message asking you to confirm that you want to delete the network interface. The operation can't be reversed. Select Yes.

After deletion of the network interface completes, the network interface is removed from the list.
Next steps
To learn how to deploy virtual machines on your Azure Stack Edge Pro device, see Deploy virtual machines via the Azure portal.
Feedback
Coming soon: Throughout 2024 we will be phasing out GitHub Issues as the feedback mechanism for content and replacing it with a new feedback system. For more information see: https://aka.ms/ContentUserFeedback.
Submit and view feedback for