Note
Access to this page requires authorization. You can try signing in or changing directories.
Access to this page requires authorization. You can try changing directories.
APPLIES TO:  Azure Stack Edge Pro - GPUAzure Stack Edge Pro 2Azure Stack Edge Pro RAzure Stack Edge Mini R
This article explains how to resize the virtual machines (VMs) deployed on your Azure Stack Edge Pro GPU device.
About VM sizing
The VM size determines the amount of compute resources (like CPU, GPU, and memory) that are made available to the VM. You should create virtual machines by using a VM size appropriate for your application workload.
Even though all the machines will be running on the same hardware, machine sizes have different limits for disk access. This can help you manage overall disk access across your VMs. If a workload increases, you can also resize an existing virtual machine.
For more information, see Supported VM sizes for your device.
Prerequisites
Before you resize a VM running on your device via the Azure portal, make sure that:
You have at least one VM deployed on your device. To create this VM, see the instructions in Deploy VM on your Azure Stack Edge Pro via the Azure portal.
Your VM should be in Stopped state. To stop your VM, go to Virtual machines > Overview and select the VM you want to stop. In the Overview page, select Stop and then select Yes when prompted for confirmation. Before you resize your VM, you must stop the VM.

Resize a VM
Follow these steps to resize a virtual machine deployed on your device.
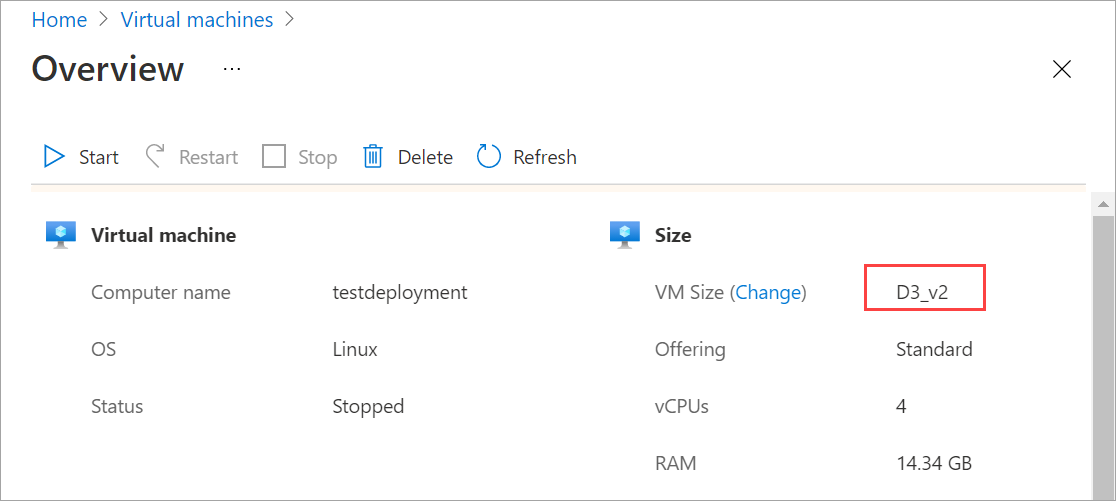
Go to the virtual machine that you have stopped, and select VM size (change) in the virtual machine Details.

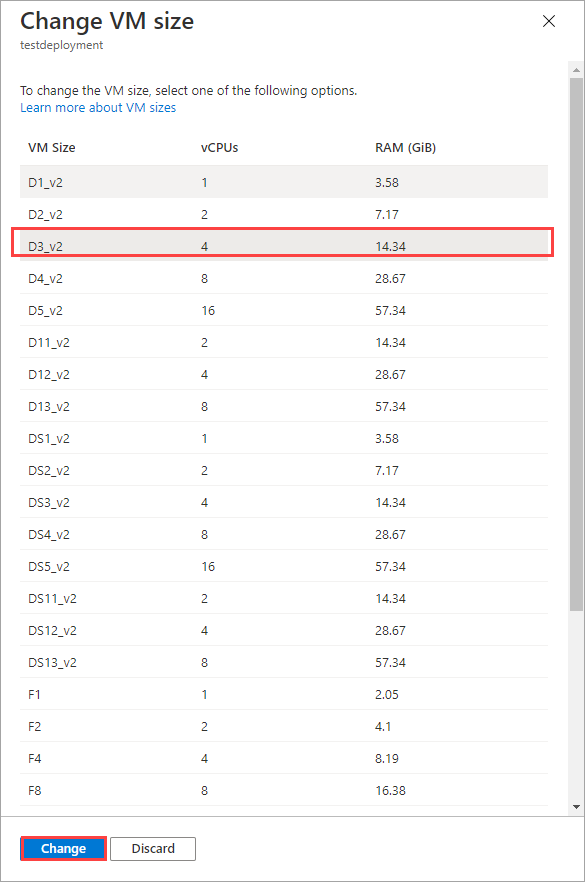
In the Change VM size blade, from the command bar, select the VM size and then select Change.
You'll see a notification that the virtual machine is being updated. After the virtual machine is successfully updated, the Overview page refreshes to display the resized VM.
Next steps
To learn how to deploy virtual machines on your Azure Stack Edge Pro device, see Deploy virtual machines via the Azure portal.