Use self-managed shipping for Azure Data Box Disk in the Azure portal
This article describes self-managed shipping tasks to order, pick-up, and drop-off of Azure Data Box Disk. You can manage Data Box Disk using the Azure portal.
Prerequisites
Self-managed shipping is available as an option when you Order Azure Data Box Disk. Self-managed shipping is only available in the following regions:
- US Government
- United States
- United Kingdom
- Western Europe
- Australia
- Japan
- Singapore
- South Korea
- South Africa
- India
- Brazil
Use self-managed shipping
When you place a Data Box Disk order, you can choose self-managed shipping option.
In your Azure Data Box Disk order, under the Contact details, select + Add Shipping Address.
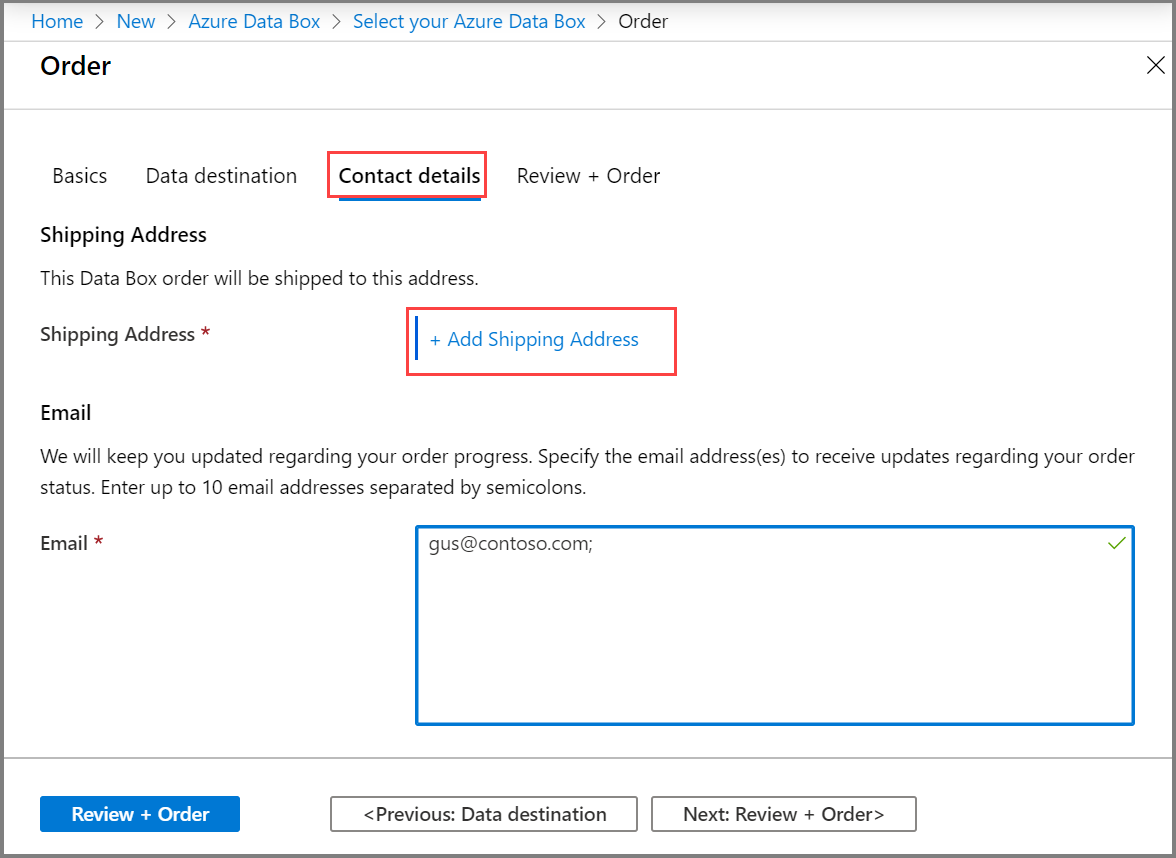
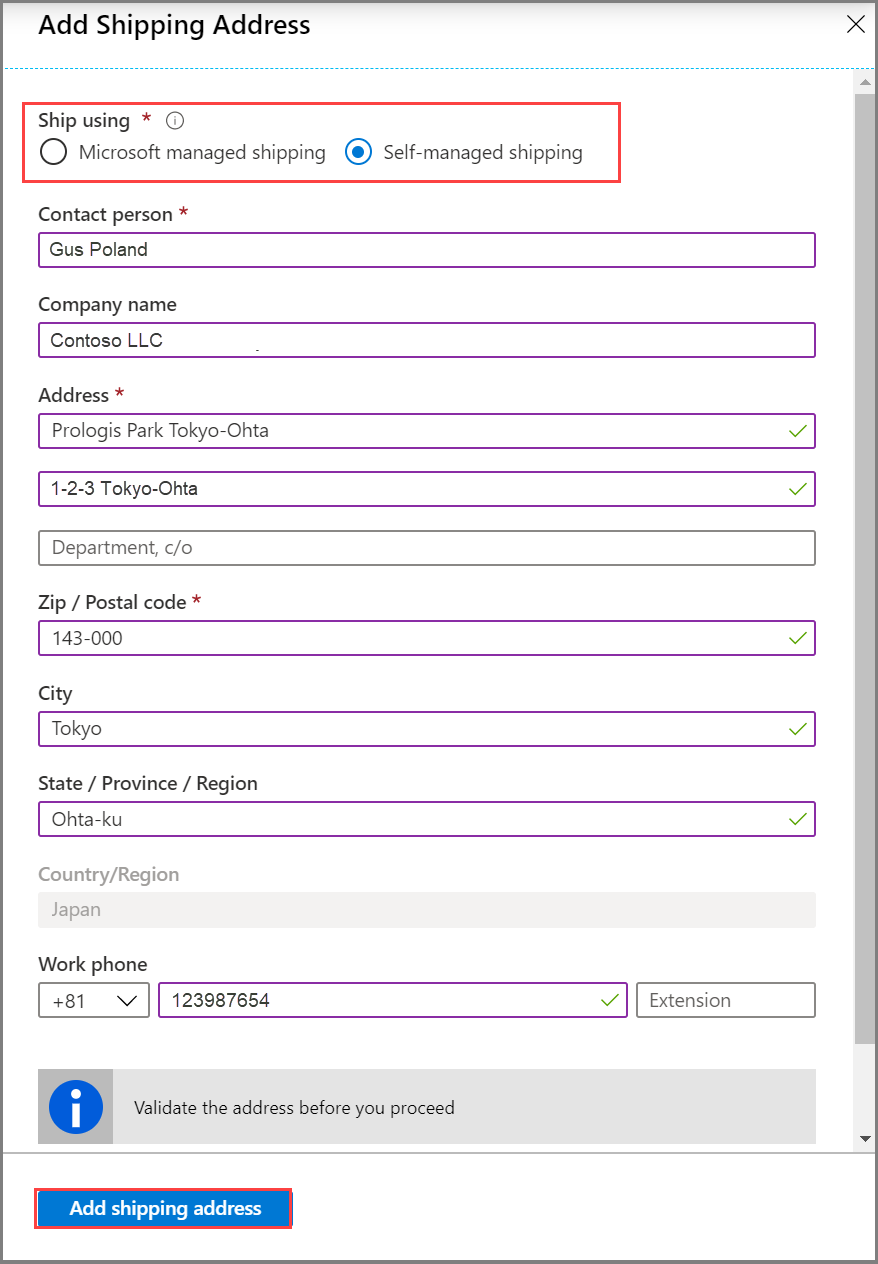
When choosing shipping type, select the Self-managed shipping option. This option is only available if you are in a supported region as described in the prerequisites.
After you provide your shipping address, you'll need to validate it and complete your order.
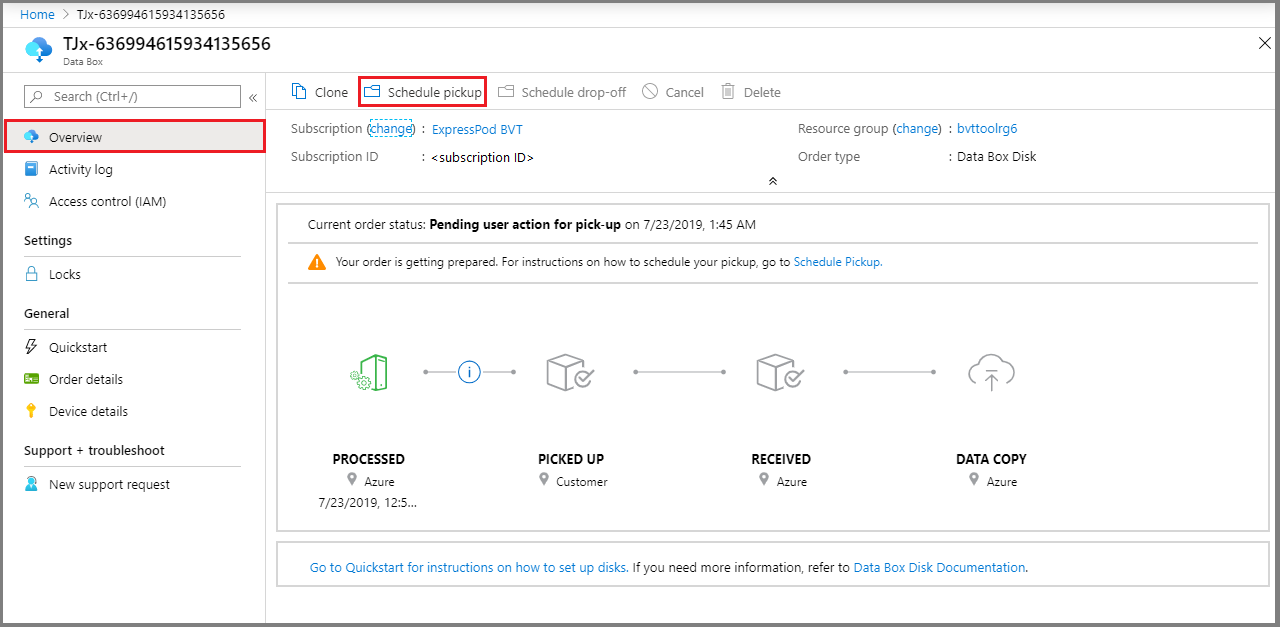
Once the device has been prepared and you received an email notification, you can schedule a pickup. In your Azure Data Box Disk order, go to Overview and then select Schedule pickup.
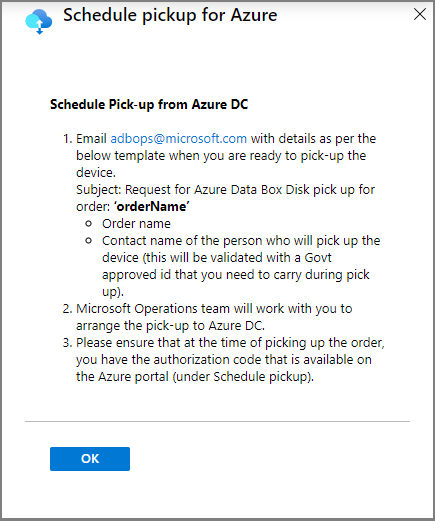
Follow the instructions in the Schedule pickup for Azure. Before you can get your authorization code, you must email adbops@microsoft.com to schedule the device pickup from your region's datacenter.
Instructions for Brazil: If you're scheduling a device pickup in Brazil, include the following information in your email. The datacenter will schedule the pickup after they receive an inbound
Nota Fiscal, which can take up to 4 business days.Subject: Request Azure Data Box Disk pickup for order: <ordername> - Order name - Company name - Company legal name (if different) - CNPJ (Business Tax ID, format: 00.000.000/0000-00) or CPF (Individual Tax ID, format: 000.000.000-00) - Address - Country - Phone number - Contact name of the person who will pick up the Data Box Disk (A government-issued photo ID will be required to validate the contact’s identity upon arrival.)After you've scheduled your device pickup, you can view your authorization code in Schedule pickup for Azure.
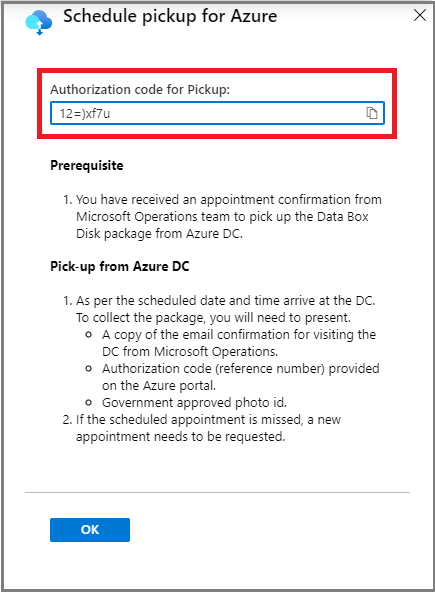
Make a note of this authorization code. The person who picks up the device will need to have it.
As per security requirements, at the time of scheduling pick-up, it's necessary to provide the name and details of the person who will be arriving for the pickup. You or the point of contact must carry a government-approved photo ID, which will be validated at the datacenter.
Pick up the Data Box Disk from the datacenter at the scheduled time.
The person who is picking up the device needs to provide the following:
A copy of the email confirmation for visiting the datacenter from Microsoft Operations.
The authorization code. The reference number is unique for a pick-up or a drop-off and is validated at the datacenter.
Government-approved photo ID. The ID will be validated at the datacenter, and the name and details of the person picking up the device must be provided when the pickup is scheduled.
Note
If a scheduled appointment is missed, you'll need to schedule a new appointment.
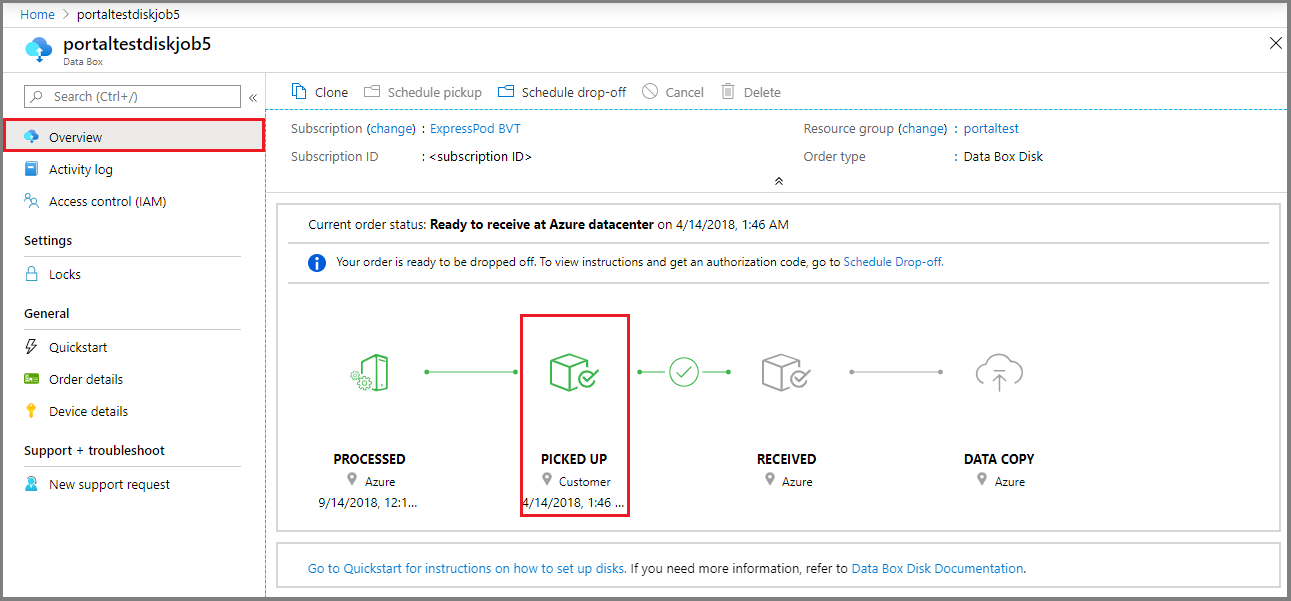
Your order automatically moves to the Picked up state after the device is picked up from the datacenter.
After the device is picked up, you may copy data to the Data Box Disk(s) at your site. After the data copy is complete, you can prepare to ship the Data Box Disk.
After you finish the data copy, contact operations to schedule an appointment for the drop-off. You'll need to share the details of the person coming to the datacenter to drop off the disks. The datacenter will also need to verify the authorization code at the time of drop-off. You'll find the authorization code for drop-off in the Azure portal under Schedule drop off.
Note
Do not share the authorization code over email. This is only to be verified at the datacenter during drop-off.
If you're returning a Data Box Disk in Brazil, see Return Azure Data Box Disk for detailed instructions.
After you receive an appointment for drop-off, the order should be in the Ready to receive at Azure datacenter state in the Azure portal.

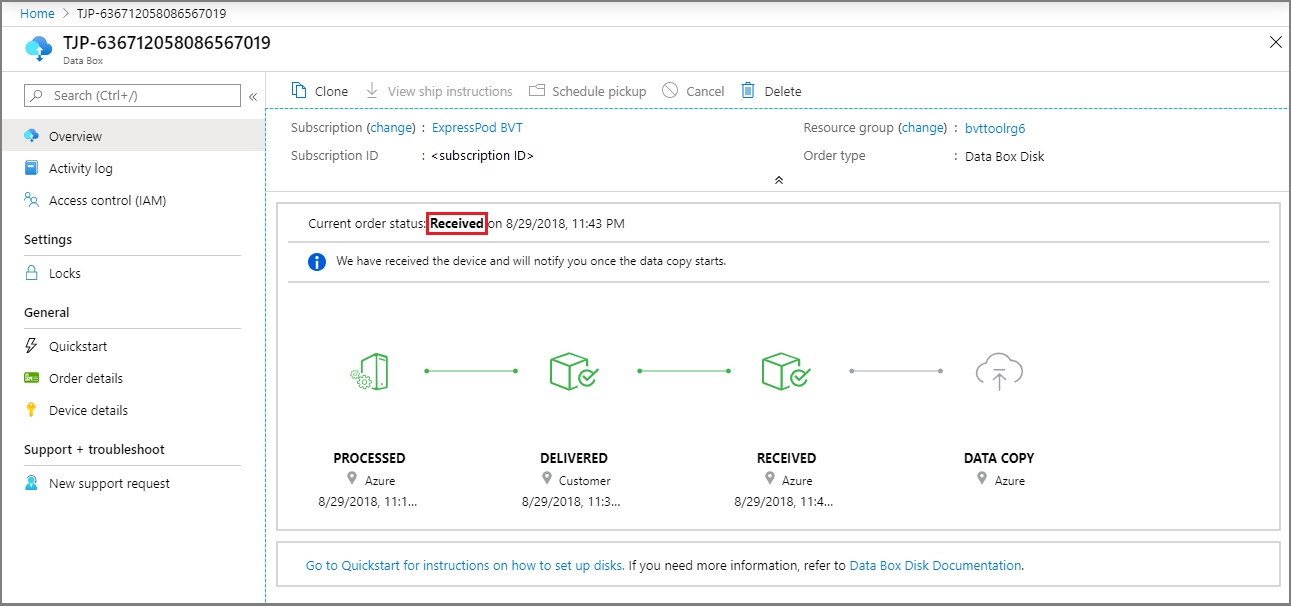
After your ID and authorization code have been verified, and you've dropped off the device at the datacenter, the order status should be Received.
Once the device is received, the data copy will continue. When the copy finishes, the order is complete.