Note
Access to this page requires authorization. You can try signing in or changing directories.
Access to this page requires authorization. You can try changing directories.
Databricks Git folders can be used in your CI/CD flows. By configuring Databricks Git folders in the workspace, you can use source control for work in Git repositories and integrate them into your data engineering workflows. For a more comprehensive overview of CI/CD with Azure Databricks, see CI/CD on Azure Databricks.
Usage flows
Most of the work in developing automation for Git folders is in the initial configuration for your folders and in understanding the Azure Databricks Repos REST API you use to automate Git operations from Azure Databricks jobs. Before you start building your automation and setting up folders, review the remote Git repositories you will incorporate into your automation flows and select the right ones for the different stages of your automation, including development, integration, staging, and production.
- Admin flow: For production flows, a Azure Databricks workspace admin sets up top-level folders in your workspace to host the production git folders. The admin clones a Git repository and branch when creating them, and could give these folders meaningful names such as "Production", "Test", or "Staging" which correspond to the remote Git repositories' purpose in your development flows. For more details, see Production Git folder.
- User flow: A user can create a Git folder under
/Workspace/Users/<email>/based on a remote Git repository. A user creates a local user-specific branch for the work the user will commit to it and push to the remote repository. For information on collaborating in user-specific Git folders, see Collaborate using Git folders. - Merge flow: Users can create pull requests (PRs) after pushing from a Git folder. When the PR is merged, automation can pull the changes into the production Git folders using the Azure Databricks Repos API.
Collaborate using Git folders
You can easily collaborate with others using Git folders, pulling updates and pushing changes directly from the Azure Databricks UI. For example, use a feature or development branch to aggregate changes made across multiple branches.
The following flow describes how to collaborate using a feature branch:
- Clone your existing Git repository to your Databricks workspace.
- Use the Git folders UI to create a feature branch from the main branch. You can create and use multiple feature branches to do your work.
- Make your modifications to Azure Databricks notebooks and other files in the repository.
- Commit and push your changes to the remote Git repository.
- Contributors can now clone the Git repository into their own user folder.
- Working on a new branch, a coworker makes changes to the notebooks and other files in the Git folder.
- The contributor commits and pushes their changes to the remote Git repository.
- When you or other contributors are ready to merge your code, create a PR on the Git provider website. Review your code with your team before merging the changes into the deployment branch.
Note
Databricks recommends that each developer work on their own branch. For information about how to resolve merge conflicts, see Resolve merge conflicts.
Choose a CI/CD approach
Databricks recommends using Databricks Asset Bundles to package and deploy your CI/CD workflows. If you prefer to deploy only source-controlled code into the workspace, you can set up a production Git folder. For a more comprehensive overview of CI/CD with Azure Databricks, see CI/CD on Azure Databricks.
Tip
Define resources like jobs and pipelines in source files using bundles, then create, deploy and manage bundles in workspace Git folders. See Collaborate on bundles in the workspace.
Production Git folder
Production Git folders serve a different purpose than user-level Git folders located in your user folder in /Workspace/Users/. User-level Git folders act as local checkouts, where users develop and push code changes. In contrast, production Git folders are created by Databricks admins outside of user folders and contain production deployment branches. Production Git folders contain the source for automated workflows and should only be updated programmatically when pull requests (PRs) are merged into the deployment branches. For production Git folders, limit user access to run-only and allow only admins and Azure Databricks service principals to edit.
To create a Git production folder:
Choose a Git repository and branch for deployment.
Get a service principal and configure a Git credential for the service principal to access this Git repository.
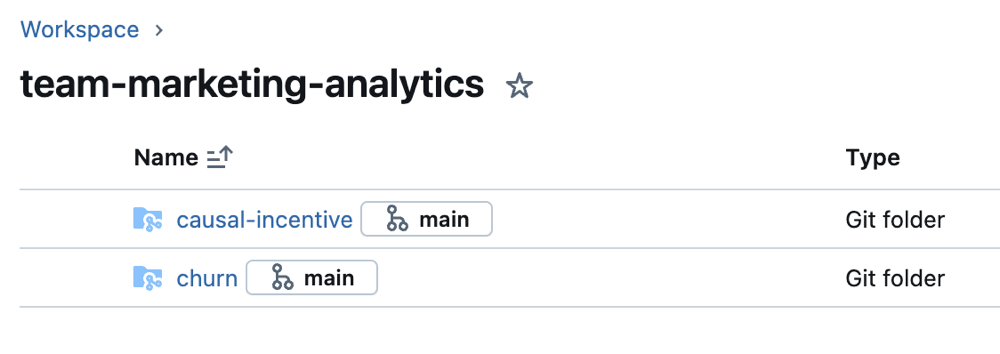
Create a Azure Databricks Git folder for the Git repository and branch in a subfolder under
Workspacededicated to a project, team and development stage.Select Share after selecting the folder or Share (Permissions) by right-clicking on the folder under the Workspace tree. Configure the Git folder with the following permissions:
- Set Can Run for any project users
- Set Can Run for any Azure Databricks service principal accounts that will run automation for it.
- If appropriate for your project, set Can View for all users in the workspace to encourage discovery and sharing.
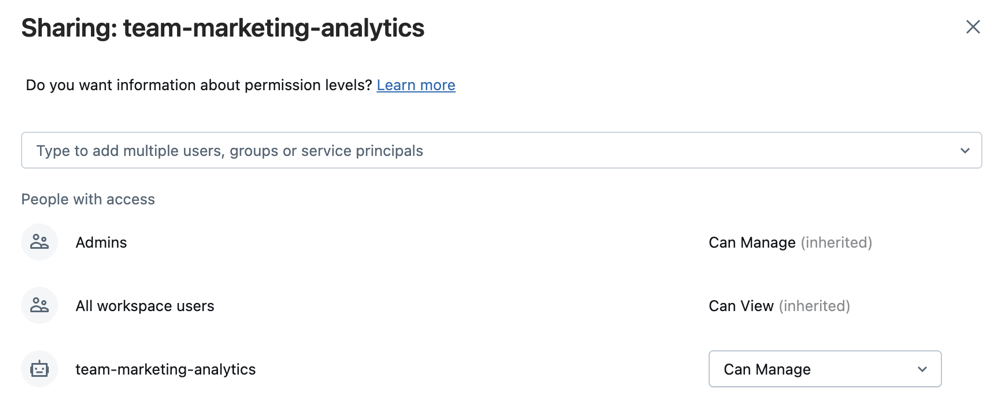
Select Add.
Set up automated updates to Databricks Git folders. You can use automation to keep a production Git folder in sync with the remote branch by doing one of the following:
- Use external CI/CD tools such as GitHub Actions to pull the latest commits to a production Git folder when a pull request merges into the deployment branch. For a Github Actions example, see Run a CI/CD workflow that updates a Production Git folder.
- If you cannot access external CI/CD tools, create a scheduled job to update a Git folder in your workspace with the remote branch. Schedule a simple notebook with the following code to run periodically:
from databricks.sdk import WorkspaceClient
w = WorkspaceClient()
w.repos.update(w.workspace.get_status(path=”<git-folder-workspace-full-path>”).object_id, branch=”<branch-name>”)
For more information about automation with the Azure Databricks Repos API, see the Databricks REST API documentation for Repos.