Test the Defender for Storage data security features
After you enable Microsoft Defender for Storage, you can test the service and run a proof of concept. This helps you familiarize yourself with its features and validate that its advanced security capabilities effectively protect your storage accounts by generating real security alerts. This guide walks you through testing various aspects of the security coverage offered by Defender for Storage.
There are three main components to test:
- Malware scanning (if enabled)
- Sensitive data threat detection (if enabled)
- Activity monitoring
Tip
A hands-on lab to try out malware scanning in Defender for Storage
We recommend you try the Ninja training instructions for detailed step-by-step instructions on how to test malware scanning end-to-end with setting up responses to scanning results. This is part of the 'labs' project that helps customers get ramped up with Microsoft Defender for Cloud and provide hands-on practical experience with its capabilities.
Test malware scanning
Follow these steps to test malware scanning after enabling the feature:
To verify that the setup is successful, upload a file to the storage account. You can use the Azure portal to upload a file
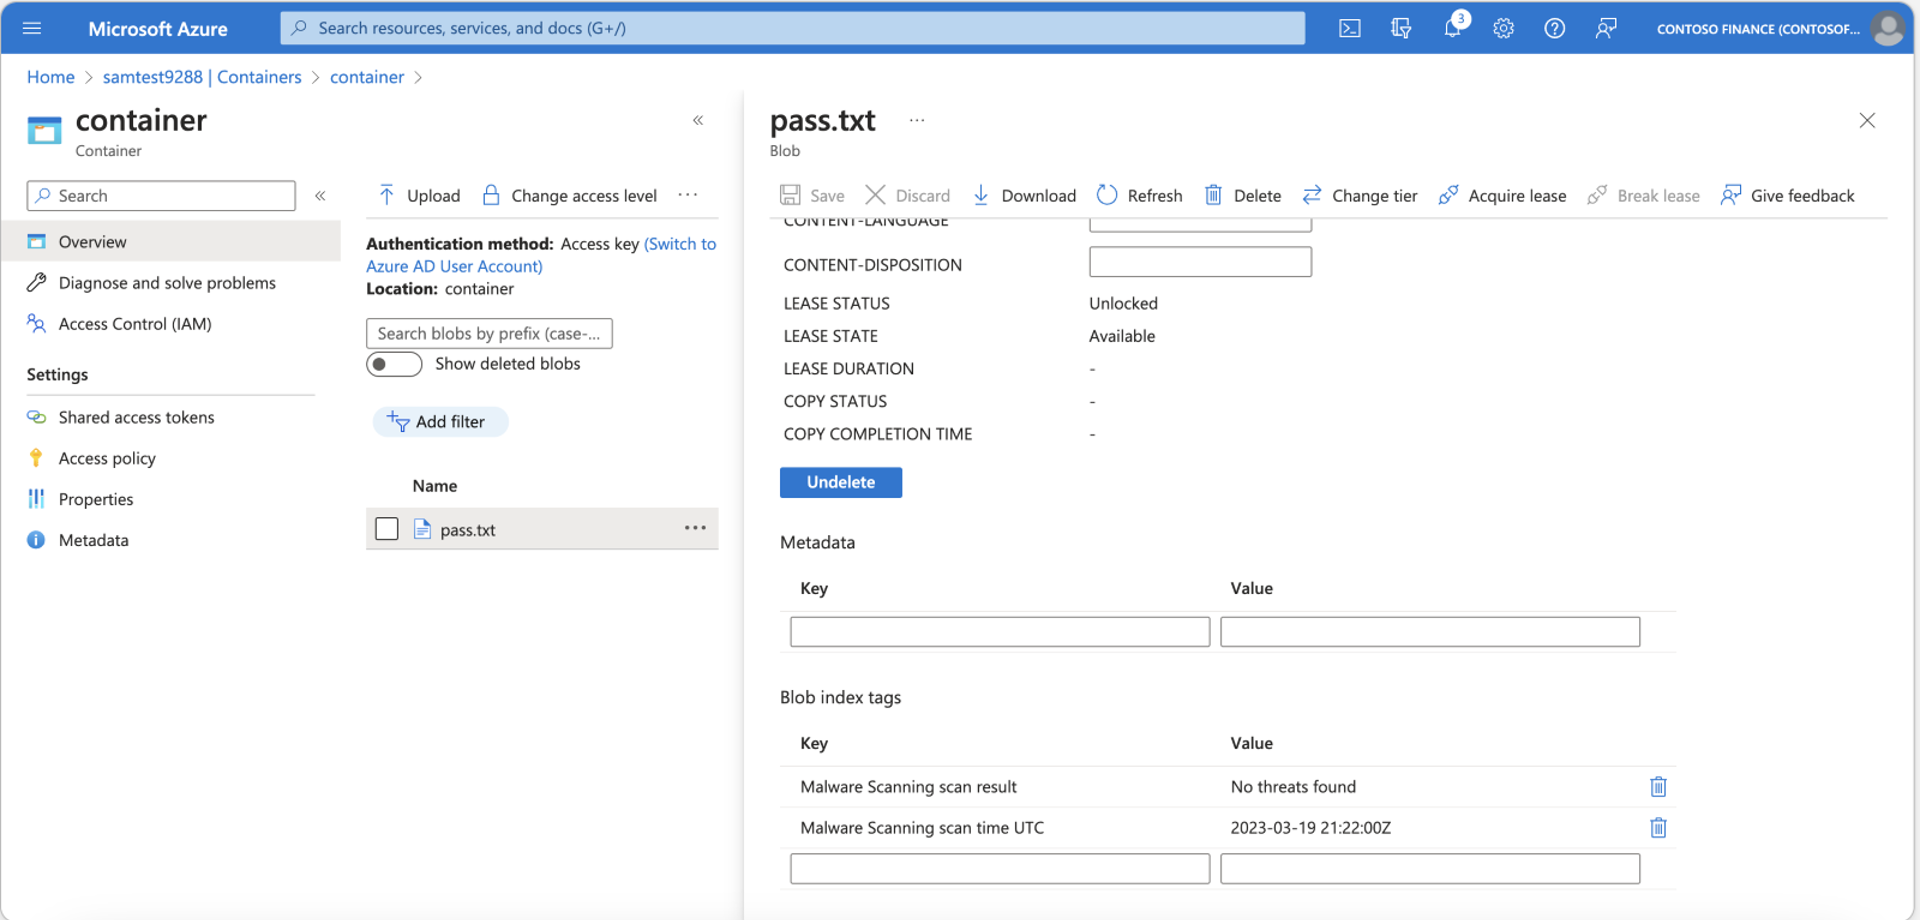
Inspect new blob index tags:
After uploading the file, view the blob and examine its blob index tags.
You should see two new tags: Malware scanning scan result and Malware scanning scan time.
The blob index tags serve as a helpful way to view the scan results.
If you don't see the new blob index tags, select the Refresh button.
Note
Index tags are not supported for ADLS Gen. To test and validate your protection for premium block blobs, look at the generated security alert.
Upload an EICAR test file to simulate malware upload
To simulate a malware upload using an EICAR test file, follow these steps:
Prepare for the EICAR test file:
To avoid causing damage, use an EICAR test file instead of real malware. Standardized antimalware software treats EICAR test files as malware.
Exclude an empty folder to prevent your endpoint antivirus protection from deleting the file. For Microsoft Defender for Endpoint (MDE) users, refer to add an exclusion to Windows Security.
Create the EICAR test file:
Copy the following string:
X5O!P%@AP[4\PZX54(P^)7CC)7}$EICAR-STANDARD-ANTIVIRUS-TEST-FILE!$H+H*Paste the string into a .TXT file and save it in the excluded folder.
Upload the EICAR test file to your storage account.
Verify the Malware scanning scan result index tag:
Check for the Malware scanning scan result index tag with the value Malicious.
If the tags aren't visible, select the Refresh button.
Receive a Microsoft Defender for Cloud security alert:
Navigate to Microsoft Defender for Cloud using the search bar in Azure.
Select on Security Alerts.
Review the security alert:
a. Locate the alert titled Malicious file uploaded to storage account.
b. Select on the alert’s View full details button to see all the related details.
Learn more about Defender for Storage security alerts in the reference table for all security alerts in Microsoft Defender for Cloud.
Test sensitive data threat detection
To test the sensitive data threat detection feature by uploading test data that represents sensitive information to your storage account, follow these steps:
Create a new storage account:
Choose a subscription without Defender for Storage enabled.
Create a new storage account with a random name under the selected subscription.
Set up a test container:
Go to the Containers pane in the newly created storage account.
Select the + Container button to create a new blob container.
Name the new container test-container.
Upload test data:
Open a text editing application on your computer, such as Notepad or Microsoft Word.
Create a new file and save it in a format like TXT, CSV, or DOCX.
Add the following string to the file:
ASD 100-22-3333 SSN Text- this string is a test US (United States) SSN (Social Security Number).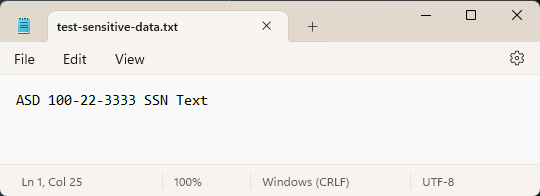
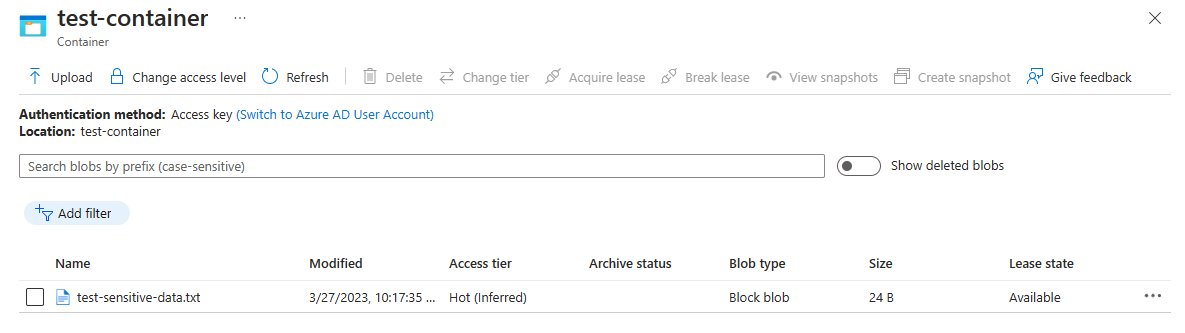
Save and upload the file to the test-container in the storage account.
Enable Defender for Storage:
In the Azure portal, go to Microsoft Defender for Cloud.
Enable Defender for Storage on the storage account with the Sensitivity Data Discovery feature enabled.
Sensitive data discovery scans for sensitive information within the first 24 hours. This occurs when you enable it at the storage account level or create a new storage account under a subscription protected by this feature at the subscription level. Following this initial scan, the service scans for sensitive information every seven days from the time of enablement.
Note
If you enable the feature and then add sensitive data on the days after enablement, the next scan for that newly added data will occur within the next 7-day scanning cycle, depending on the day of the week the data was added.
Change access level:
Return to the Containers pane.
Right-click on the test-container and select Change the access level.
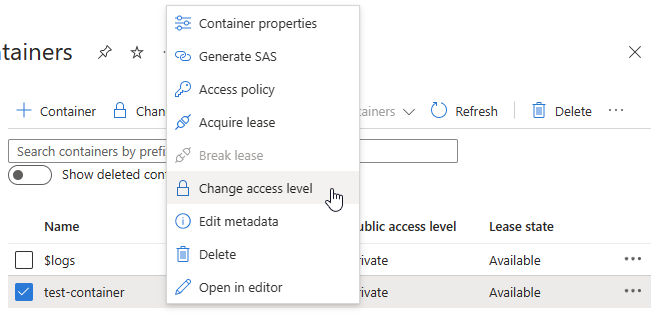
Choose the Container (anonymous read access for containers and blobs) option and select OK.
The previous step exposes the blob container's content to the internet, which triggers a security alert within 30-60 minutes.
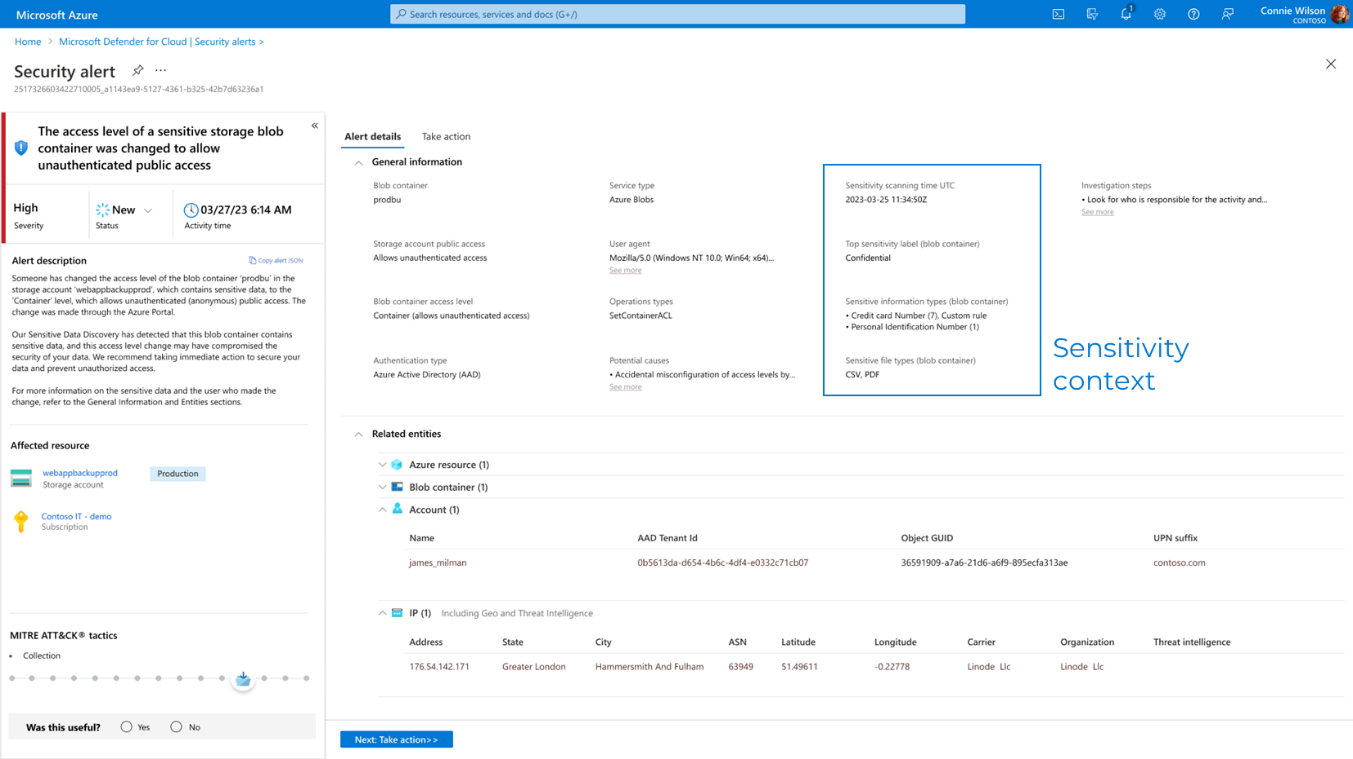
Review the security alert:
Go to the Security Alerts pane.
Look for the alert titled The access level of a sensitive storage blob container was changed to allow unauthenticated public access.
Select on the alert’s View full details button to see all the related details.
Learn more about Defender for Storage security alerts in the reference table for all security alerts in Microsoft Defender for Cloud.
Test activity monitoring
To test the activity monitoring feature by simulating access from a Tor exit node to a storage account, follow these steps:
Create a new storage account with a random name.
Set up a test container:
Go to the Containers pane in the storage account.
Select the + Container button to create a new blob container.
Name the new container test-container-tor.
Upload any file to the test-container-tor.
Generate a SAS (shared access signatures) token:
Right-click on the uploaded file and select Generate SAS.
Select the Generate SAS token and URL button.
Copy the Blob SAS URL.
Download the file using a Tor browser:
Open a Tor browser.
Paste the SAS URL into the address bar and press Enter.
Download the file when prompted.
The previous step triggers a Tor anomaly security alert within 1-3 hours.
Review the security alert:
Go to the Security Alerts pane.
Look for the alert titled Access from a Tor exit node to a storage blob container.
Select on the alert’s View full details button to see all the related details.
Learn more about Defender for Storage security alerts in the reference table for all security alerts in Microsoft Defender for Cloud.
Next steps
In this article, you learned how to test data protection and threat detection in Defender for Storage.
Learn more about: